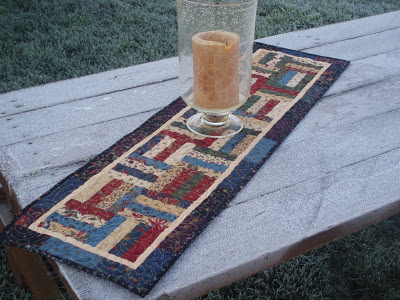
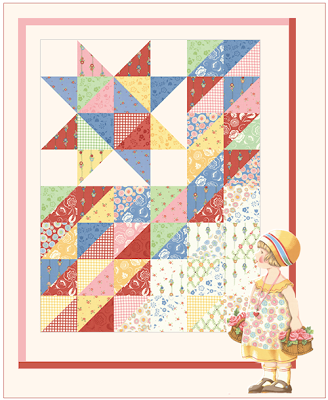
Cherries and Blossoms Table Topper

CHERRIES and BLOSSOMS
Table Topper by Sheri Howard


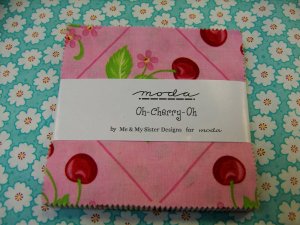
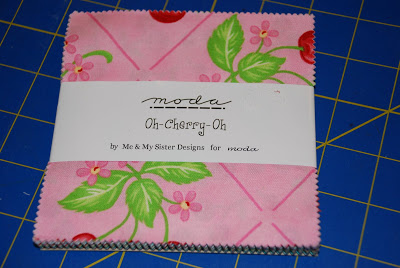
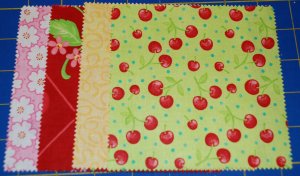
1 Charm Pack of Oh-Cherry-Oh by Me and My Sister
7/8 yard aqua floral yardage of Oh-Cherry-Oh
1/4 yard white fabric
1/4 yard fusible web
1 1/8 yard fabric for backing
38″ x 38″ batting
red thread for applique

4 1/2 yards med red ric-rack
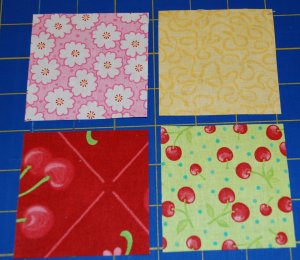
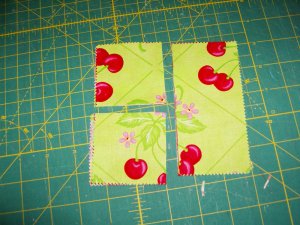
Step 1.. Cut the 5 large cherry print (with a colored background) pieces in half.
Step2.. Cut one of the sides into half again, yielding (10) 2 1/2″squares.
DO NOT cut both sides into 2 1/2″ squares.

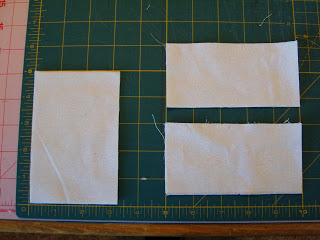
Step 3.. Cut 1 strip of white fabric 3 1/4″ by width of fabric

Step 4.. Cut (4) 3 1/4″ x 5″ pieces, set aside.

Step 5.. Cut that remaining strip to 2 1/2″ wide, and cut one more strip 2 1/2″ by width of fabric.
Step 6.. Cut into (12) 2 1/2″ x 5″ strips.
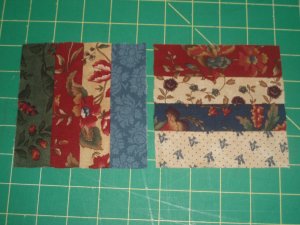
Step 7.. Sew (4) 2 1/2″ x 5″ white strips to the top of (4) of the solid looking 5″ x5″ pieces, and add a 2 1/2″ x 5″ white strip to the bottom of (2) solid pieces. Continue sewing blocks together until you have 2 strips as below. Press seams toward colors.
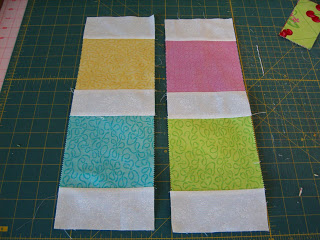
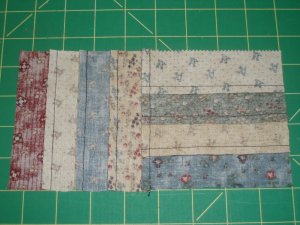
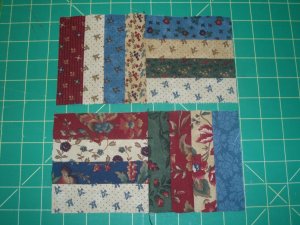
Step 8.. Sew (3) of the 2 1/2″ squares of large cherry ( from step 1.) end to end with a white 2 1/2″ x 5″ strip. Starting and ending with a color. Make (3) strips. Press seams toward colored squares. Sew picture below.
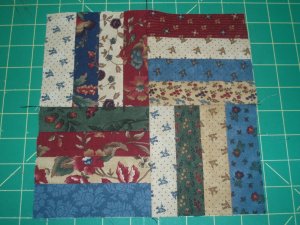
Step 9.. Sew all rows together like picture below. This makes the CENTER.
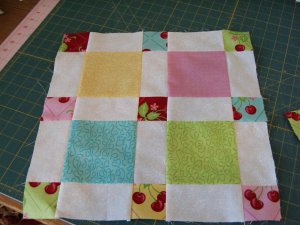
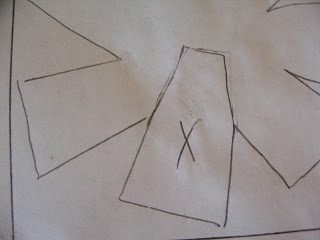
Step 10.. Draw a 5″ x 5″ square on a piece of paper, then draw a 7 petal pinwheel flower and a center circle from a large spool of thread.
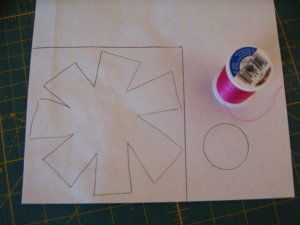
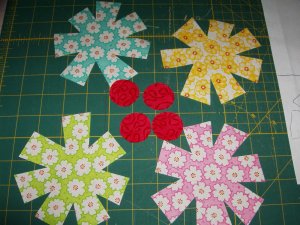
Step 11.. Trace (4) flowers and (8) center circles onto fusible web. Fuse (4) flowers on the 5″ x 5″ floral pieces and (8) centers on the (mostly) solid red 5″ x 5″ piece. You will have to squish the (8) centers on the red, so lay them on before you fuse. Only (4) centers are shown, but you need (8.)
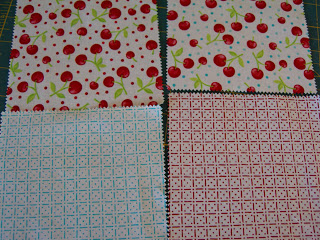
Step 12.. Find the 4 white pieces with very small print, and 2 small cherry prints with white background, save these pieces out for the corner blocks.
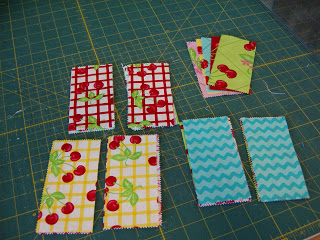
Step 13. . Cut the rest of the 5″ x 5″ squares in half, and adding the 2 1/2″ x 5″ left over pieces from (step 1.) These are now colored strips.
Step 14.. Lay out the CENTER and place the colored strips around CENTER until you like the color arrangement also adding the 3 1/4″ x 5″ white pieces (in the center) and corner blocks.
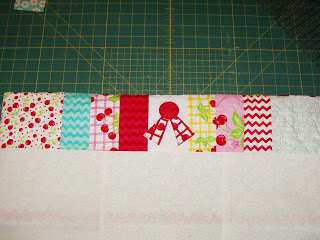
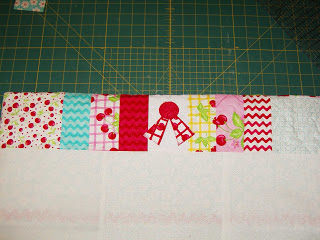
Step 15. . Sew (3) colored strips together with a white 3 1/4″ x 5″ white strip at the end, continue sewing (3) more colored strips to the white making a 7 piece strip. Make (4). These are now border strips. Sew (2) of these to opposite sides of the CENTER.

Step 16. . Sew (2) white corner blocks of small prints, and small cherry prints with white background from (step 12) to the ends of the last 2 border strips. Sew these to top and bottom of the CENTER.
Step 17. . Mark one of the petals on your piece of paper, and draw (8) petals onto fusible web, then fuse to left over colored strips. These will go on the 3 1/4″ x 5″ white strips. (see photo step 19.)
Step 18.. Applique flowers and red centers with red thread to the CENTER. The flowers hang over onto the seams a bit, but that is okay.
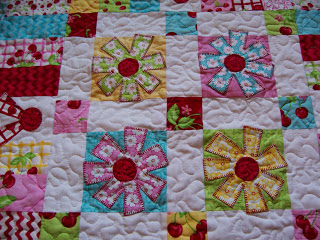
Step 19.. Applique the (8) petals and red centers with red thread to the 3 1/4″ x 5″ white strips.
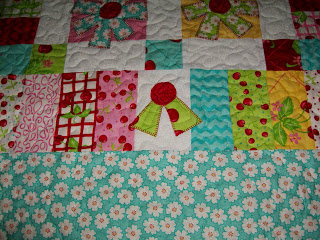
Border:

Step 20.. Cut (4) strips of aqua yardage 5″ width of fabric

Step 21.. Cut (2) strips of aqua yardage to 5″ x 24 1/2″ Sew to opposite sides of the CENTER.

Step 22.. Cut (2) strips of aqua yardage to 5″ x 34 1/2″ Sew to top and bottom of the CENTER.

Step 23. . Quilt

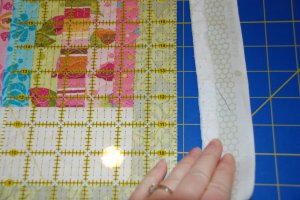
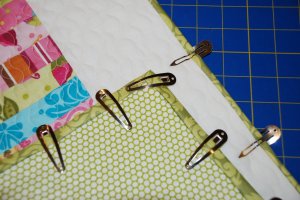
Step 24. . Cut binding strips 2 1/2″. Bind quilt. Finished size aprox. 35″ x 35″

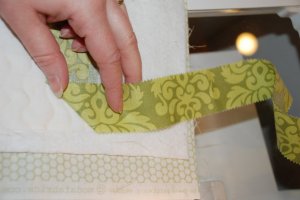
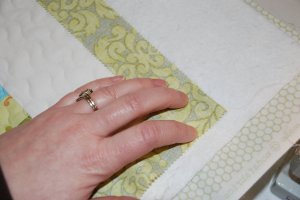
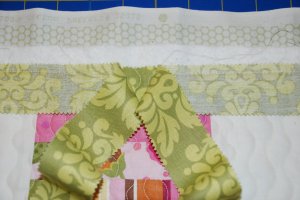
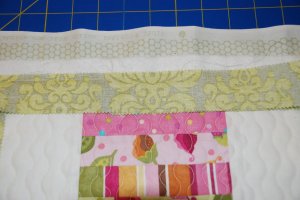
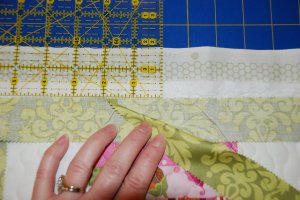
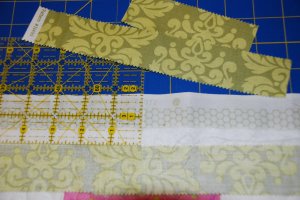
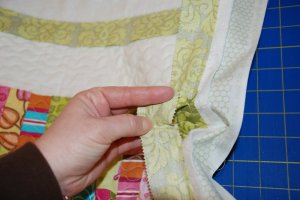
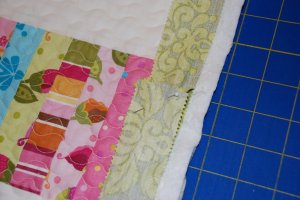
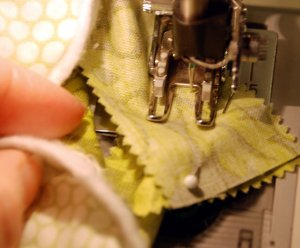
Step 25. . Sew red ric-rack around the edge on the binding seam.
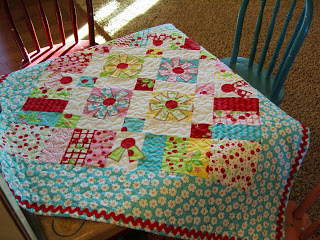

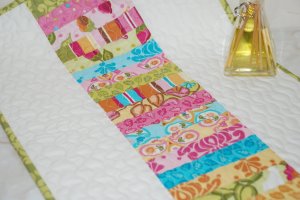
One adorable table topper
Sheri Howard
Sunday Best


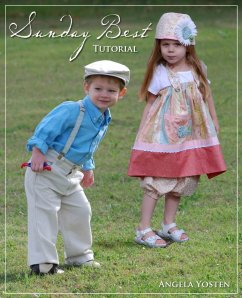
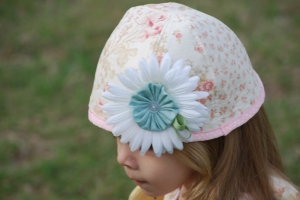
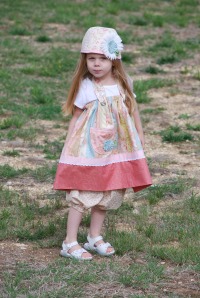
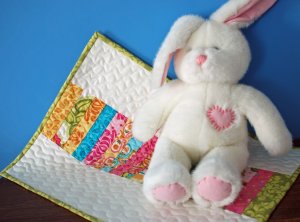
Get dressed up for Easter or any other occasion with these adorable outfits for toddlers, 12 months to 5T. Both are made from one Moda Jelly Roll. The boy outfit features a pair of timeless suspenders made from Jelly Roll strips which are fully adjustable. The girl outfit features pattern designer, Bananafana Designs, with her adorable new pattern “Lollipop”.


1 Jelly Roll – featured here is Aviary by 3 Sisters
Coordinating Thread

plus…

Boy Suspenders:
1 yard Lightweight Fusible Interfacing (because of the length of the suspenders)
4 – 1″ Suspender Clips (featured Dritz #10)
2 – 3/4″ Vest Buckles (featured Dritz #2-65)

Girl Lollipop Dress:
1 – Lollipop pattern #BB209 by Bananafana Designs
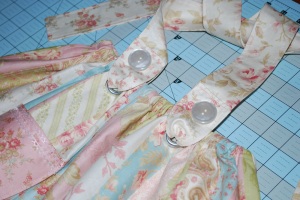
2 – 7/16″ Grommets plus tool
2 large buttons
2 yards 7/8″ ribbon for dress
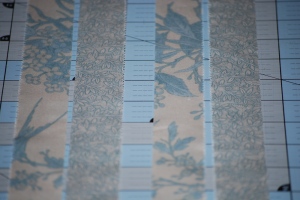
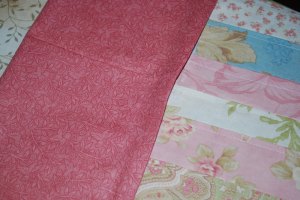
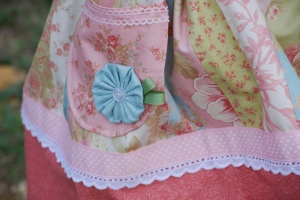
2 yards 1″ scalloped trim for dress (featured Moda Faded Memories scalloped trim #2113-22)
6 inches of 5/8″ ribbon for the pocket
1 pkg of 1/2″ elastic
1 pkg of 1/2″ double sided fusible tape

Additional Fabric yardage needed to complete the dress shown
2/3 yard for trim

**Please note these materials listed are to make the dress like it is shown here. The pattern may call for different yardages to make it the way it is on the pattern.


Buttons
fabric for appliques, yoyo’s, etc. – layer cakes work great for this as you get a great sampling of all the fabrics in the collection.
Supplies to make the hat and short bloomers included in the Lollipop pattern.


Boy Suspenders:

Step One…
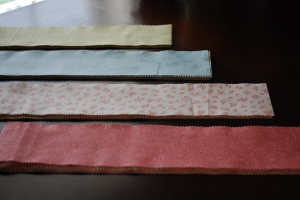
Choose two strips from your Jelly Roll to use for the front and back of the suspenders.

Step Two…
Cut the two Jelly Roll strips so they are both 29″ in length.

{For a smaller or larger size, simply measure the child from the front of the waist on one side, over the shoulder, and then cross the back to the opposite side on the back side of the waist. Take this number and add 5″. This is the length that you would need to cut your two strips.}

Step Three…
Cut the strips in half length-wise so that they are now 1 1/4″ wide.

You should now have 4 strips that measure 1 1/4″ x 29″. Determine which fabric you want for the visible side and which one you want for the back side of the suspender strap.

Step Four…
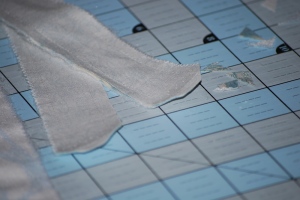
Take the two strips you want for the back side of the strap and iron the wrong side of the fabric to the fusible side of the interfacing. I like to iron the strips onto the full piece of interfacing first then cut around the strip once ironed on. This saves you from trying to make sure that the interfacing is lined up properly with the strip.

Step Five…
Place your front and back of the strap RST (right sides together) for both straps.

Sew with 1/4″ seam allowance all around the strap leaving a 3″ opening to turn the strap right side out.


Step Six…
clip the four corners of both straps for nice clean points.

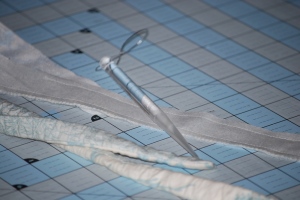
Using your favorite turning tool, turn the straps right side out. I like the Crystal Point Turner by Lee. Fits perfect in small openings like this and makes a nice clean point without punching through the fabric. Please be patient with this step. The straps are about 3/4″ wide now and turning may take a little time.
Step Seven…
Once you have turned both straps right side out, iron the straps flat lining up the opening so you can stitch the opening closed. Sew a 1/8″ seam around the entire strap. This will also close the 3″ opening plus gives the straps a uniform look. TIP: I like to make my stitch width a little bit wider to help keep the look of a nice straight stitch.

Step Eight…
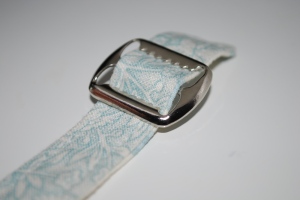
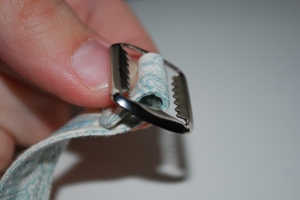
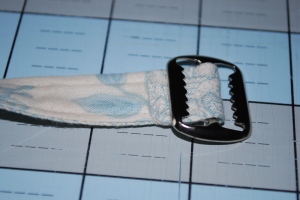
With the right side (side you want showing when wearing) of the strap facing up, weave the strap through one of the vest buckles as shown.


Step Nine…
Wrapping the strap back around the middle of the buckle, pinch the strap together about 1/2″ from the center of the buckle.


Step Ten…
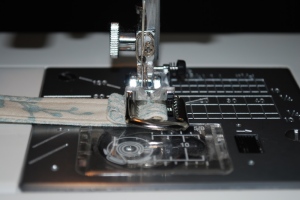
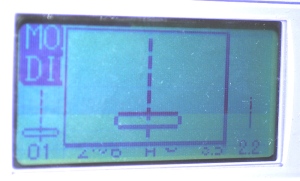
Set your sewing machine needle to the left.
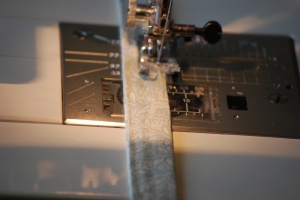
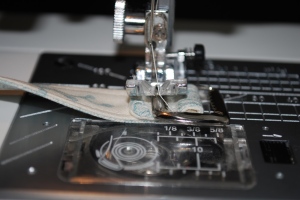
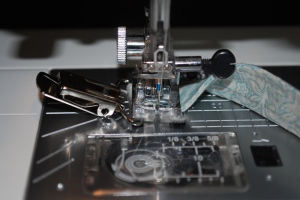
Place the buckle under the sewing machine foot as shown. Making sure that when sewing, the needle comes between the center of the buckle and the left side of the buckle. Stitch slowly and back stitch a couple times to reinforce the stitch. You may need to start it off by manually turning the needle up and down to be sure you are not going to hit the buckle with the needle.

Move the buckle so that now you will be sewing the end of the strap down in the same manner as mentioned above. Keeping the needle position to the left, stitch to the left side of the buckle.
You should now have your strap sewn in two places to hold the buckle in.


Step Eleven…
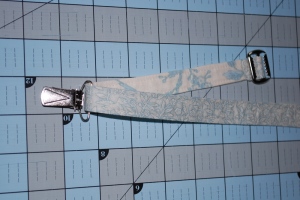
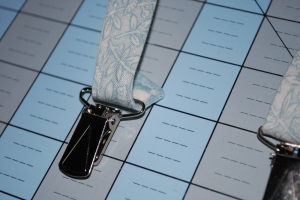
With the wrong side facing up, take the end of the strap without the buckle and weave it through one of the suspender clips. Be sure that the suspender clip is facing up like shown.

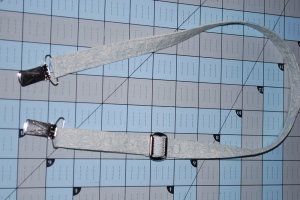
Weave the end of the strap through the buckle as shown.

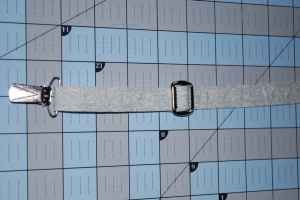
Your strap should now look like this.

Step Twelve…
Taking another suspender clip, weave the empty end of the strap through the clip with the right sides facing up about 1/2″.

Set your sewing machine needle to the regular position, centered.

Stitch across the end of the strap. Backstitch a few times for reinforcement.


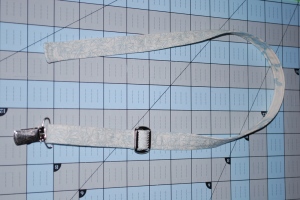
You now have one complete strap. Repeat steps Eight through Twelve for the other strap.

Step Thirteen…
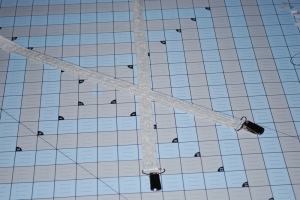
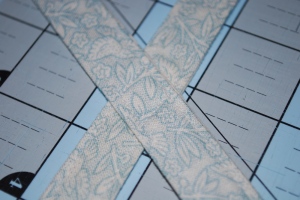
Place the straps on your child to determine where the straps will cross on the center of their back. I did about 5″ from the end of the fabric without the buckle to the center of where the two straps meet. See below. Place your two completed straps at a 60 degree angle.

Sew a diamond shape where the two straps cross to hold in place.

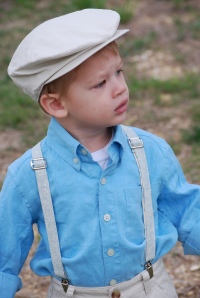
Boy suspenders are now complete… front view…

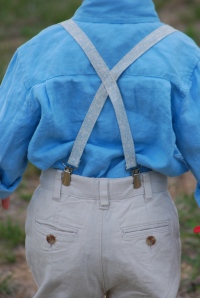
Back View….

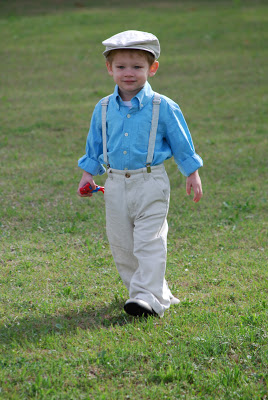
Pair up the suspenders with some linen trousers, shirt and newsboy hat for a very timeless look.
The linen clothing, hat and saddle shoes are from The Children’s Place.

Girl Lollipop Dress:

Step One…
Following the directions on the pattern, select and cut the number of Jelly Roll strips needed for the size you wish to make.


Step Two…

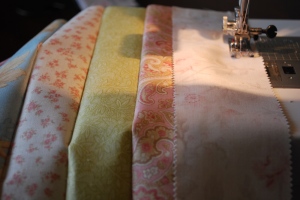
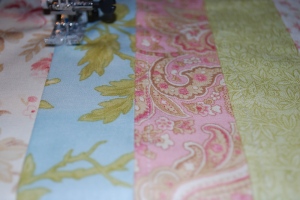
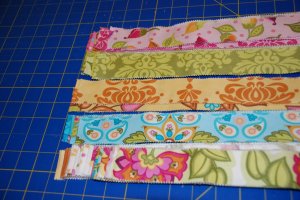
Sew all the strips together side by side making a large rectangle. I like to separate my strips by color then sew the strips in color order, such as pink, white, blue, green, then repeat until all the strips are all sewn together.


Step Three…
Iron the seams down to one side going in all one direction. Topstitch the seam in place 1/8″ from the seam.


Step Four…
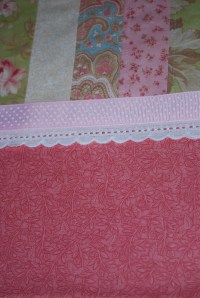
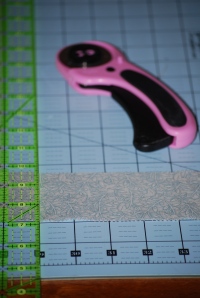
Measure and cut the trim piece as stated in the pattern and attach the trim to the strips.


Step Five…
Layout the ribbon and scallop trim and determine their position.

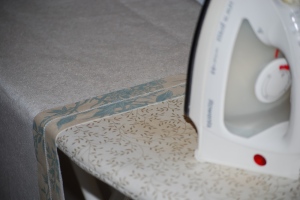
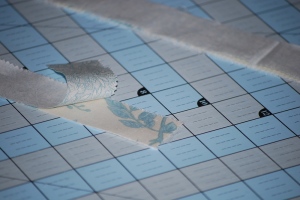
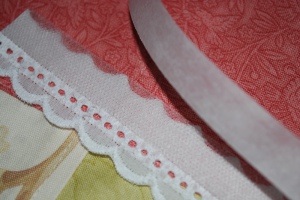
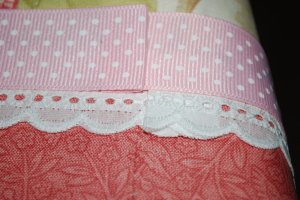
Apply the fusible tape to the back side of the scallop trim just above the detail.
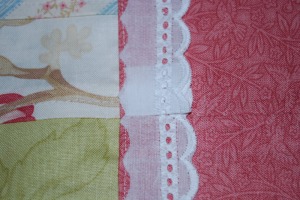
Position the scallop trim with the fusible tape right along the seam of the trim. Fold over the end to conceal the raw edge. Iron in place to fuse the trim to the trim.

Repeat these steps with the ribbon and place the ribbon just above the scallop trim to conceal the raw edge of the scallop trim. Iron in place.


Step Six…
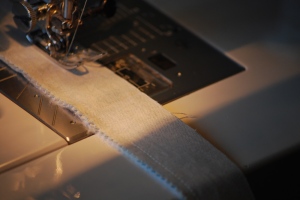
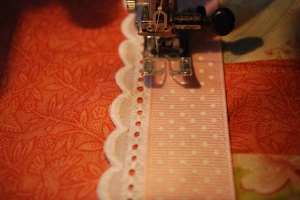
Sew a 1/8″ seam along either side of the ribbon. I use a wider stitch width to give it a straighter stitch appearance.


Step Seven…
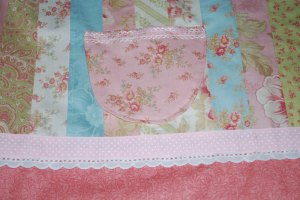
Cut out the pocket using the template provided in the pattern. Add your 5/8″ ribbon detail to the top of the pocket and stitch in the appropriate place on the dress.


Step Eight…

Create your straps, add grommets and attach the straps to the dress.
Step Nine…
Add any applique’, yo-yo’s, or other embellishments you desire to the dress.

Instructions for a matching hat and short bloomers are also included in the pattern to complete the look of your Sunday dress.


Dress is complete! Now you have one adorable Easter dress or any other occasion dress you wish to make. Great for any season, simply add a long sleeve shirt and replace the bloomers with tights for colder seasons. ADORABLE!


One Jelly Roll could make about…
3 Dresses and 1 Pair of Suspenders OR…
2 Dresses and 2 Pairs of Suspenders OR…
1 Dress and 16 Pairs of Suspenders OR…
20 Suspenders
ENJOY!
Suspenders designed by Angela Yosten
Thank you Jess for designing this adorable dress!

Pinwheel Baby Quilt


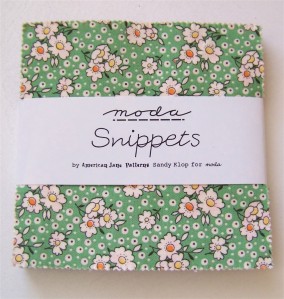
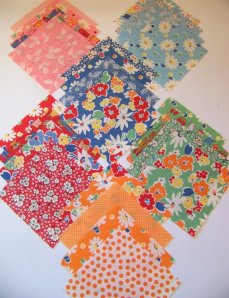
1 Charm Pack of Snippets by American Jane {40 squares}
1 1/4 yd. Moda Bella Solid White
1/3 yd. for Binding
1 1/4 yd. Backing and Batting

All seams are 1/4″
From White Cut:
3 – 5″ x 44″ strips (for pinwheels): Cut again into 5″ squares:
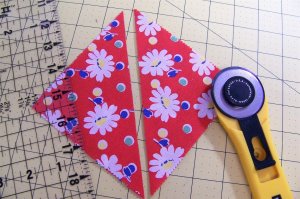
Cut again in half diagonally
4 – 2″ x 44″ strips (for inner border)
4 – 5″ x 44″ strips (for outer border)
From Charm Pack Prints:
Choose 24 Charm Squares:

Cut in half diagonally
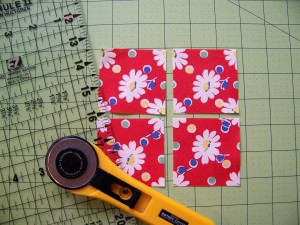
Cut remaining Charm Square Prints into 2 1/2″ squares (for prairie points)
Sew White triangles to Print triangles, long sides together.
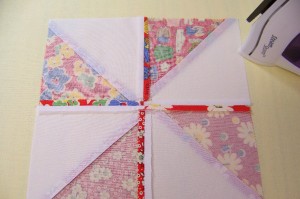
Press towards print.
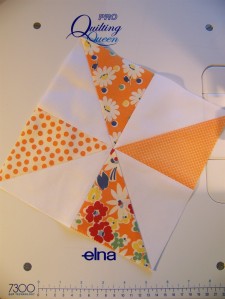
Sew 4 of these squares to make one Pinwheel block.
I pressed seams open when joining squares to eliminate bulk.

Make 12 Blocks and Square to 8 1/2″
Sew Pinwheel blocks 3 to a row
Sew 4 rows
Sew 2″ inner border strip to top and bottom, then sides

Make Prairie Points:

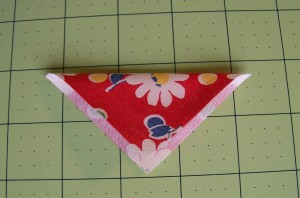
Fold a 2 1/2″ square in half diagonally

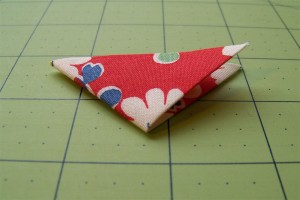
Fold diagonally again and press
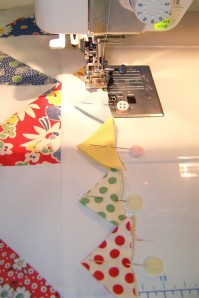
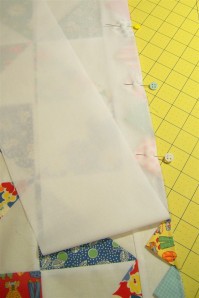
Pin points to inner border on quilt, as shown. Overlap just a tad bit.

(Hint: pin all points to quilt top. There should be exactly the right amount of points. Should you run short, use a little of your binding or backing fabric to cut a few)

Baste points close to the edge as shown
Sew 5″ outer border strip to top and bottom,
trim excess, sew sides, trim excess

Iron outer border towards outer edge of quilt.
Back, Quilt and Bind!

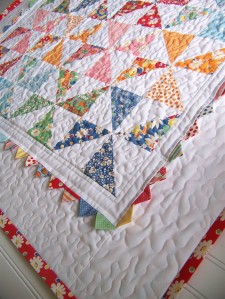
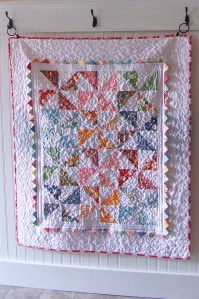
A really cute, nice sized { finished size 36″ x 44″ } baby quilt
made with 1 Charm pack and a bit of fabric!
Can’t beat that.


Happy Quilting! ooxx`jodi @{pleasant-home.com}

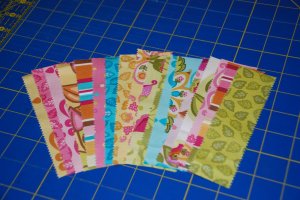
Charming Twin Pincushions


Charm Pack — (7) 5-inch charms

Upholstery Thread
YLI silk thread
Scrap of thin batting at least 5 inches X 10 inches
pins
poly stuffing or walnut shells
Clover yo-yo maker (optional)

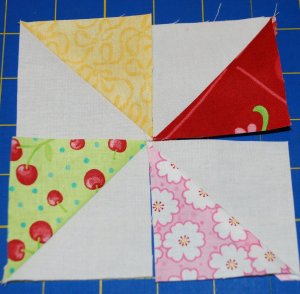
Choose 4 charms for the half square triangles and trim to 3 inches square.


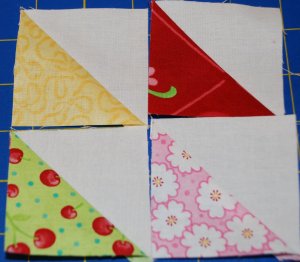
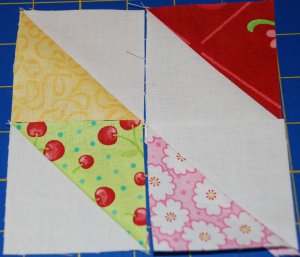
Take background fabric and cut 3 inch squares and layer Right sides together. Draw a line in the center of the background fabric and sew 1/4 inch on each side as shown. Repeat for 3 other squares.

Cut the squares in half on the solid line and press your half square triangles

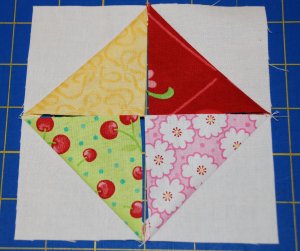
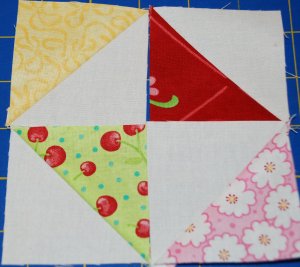
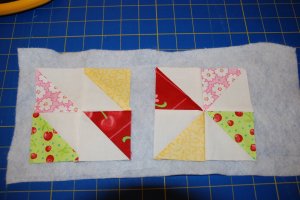
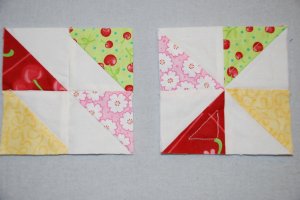
Once pressing is complete, arrange them in a ‘4-patch’….There are several possible layouts, such the PINWHEEL….

Square on a Square…..

And others……

I chose 2 layouts as shown and sewed the half square triangles together. Layered the blocks with a thin batting scrap and stitched in the ditch or 1/4 around the patch pieces. **NOTE** I didn’t use backing fabric.

Trim the blocks to size 4 3/4 inches.

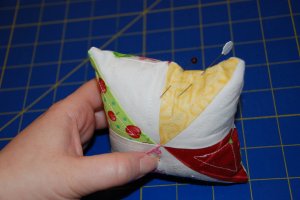
Using your favorite method, layer the pieced/quilted block right sides together with another charm cut to 4 3/4 inches. Sew the perimeter and leave an opening for stuffing. Stuff cushion and whip stitch with silk thread to hide the seam.

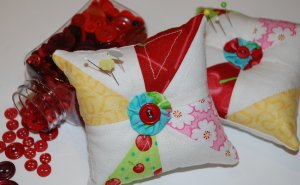
Embellish with coordinating buttons and yo-yo’s.

Coordinating buttons and yo-yo’s *Note* at least 2 small yo-yo’s can be made from a single charm.
Button

2 Pincushions..keep one for yourself and give the other away. If you are using an entire charm pack…you could make at least 8-10 pincushions.

New MBS Feature – Printer Friendly Version

You spoke and we listened! We had several requests for a printer friendly version of our Moda Recipes. You will now notice at the bottom of all our tutorials, there is a new feature!

Simply click on this image at the end of each tutorial to open a new window with an Adobe PDF of the tutorial you selected.

Please note: You must have Adobe Reader in order to open these files. If you have an older version of Adobe Reader, you may need to upgrade.

We strive to provide you with the tools you need to make your Moda experience enjoyable.

If you have a comment or suggestion about our Moda Bake Shop, please let us know. We are always open to hearing your ideas and suggestions.

Thanks!

Petits Fours


Petit four (plural: petits fours):  a tiny, bite-sized cake with delicate layers of moist cake filled with smooth butter cream and jam fillings. Each cake measures approximately 1.5 ” x 1″. The miniature cake is often dipped in fondant and decorated with piped icing flowers. The name is from the French petit four, meaning “small oven”.

1 Charm Pack (40 – 5″ squares) I used Wildflower Serenade 2 by Kansas Troubles
1/8th yard for inner border
1/8th yard for binding
Backing and batting at least 15″ x 47″

All seams are 1/4″.

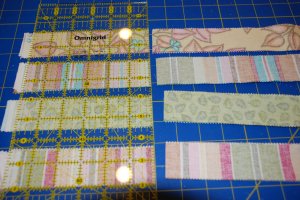
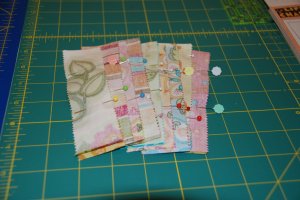
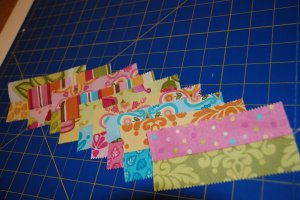
Select 27 (I used the top 27 from Wildflower Serenade) of the 5″ squares and cut each into 3-1.5″ strips. This will give you 81 strips that are 1.5 x 5″. You need 80. Have a nice sharp blade and you can stack and cut several charms at once.

Reserve the remaining 13 charms for the outside border.
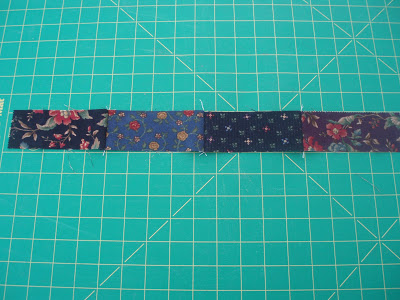
Sew into 40 pairs of 2.

Sew 2 pairs together. Repeat until you have 20 sets of 4 strips.

Press all seams one direction.


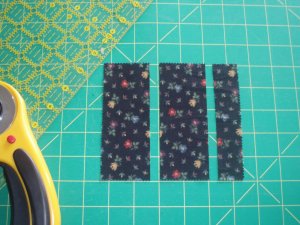
Trim length to 4.5″. I stacked 4 blocks; trimmed 1/4″ off one end…


then trimmed the other end to equal 4.5″.

Sew two 4-strip units together as shown below. Repeat to make 10 units.


Press as shown below.

Sew these units together…


to make 5 blocks like this.
Cut the inner border fabric into 3-1″ strips. Attach the inner border to the long sides of the runner first, then to the short ends.
Take the last 13 charms and cut at 2″. You will get 2 pieces that are 2″ x 5″ per charm.

Sew 2 sets of 3 together and 2 sets of 10 together. .


Attach to long sides of the runner first, matching center seam of runner with center seam of border. Trim off the extra

Put a pin in the center of the 3-charm strips and match to the middle seams on the short ends of the runner. Stitch. Trim off the extra.

Quilt, bind and make another one.

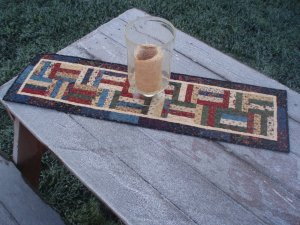
I think it’s sew fun getting a tablerunner from 1 charm pack!!

One tablerunner 12″ x 43.5″

Happy Quilting from Angela Davy at All Washed Up

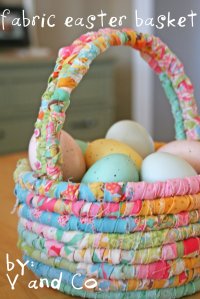
Fabric Easter basket


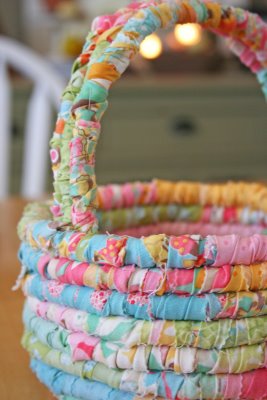
This cute basket is all about spring and would be so cute for an egg hunt or just for display!

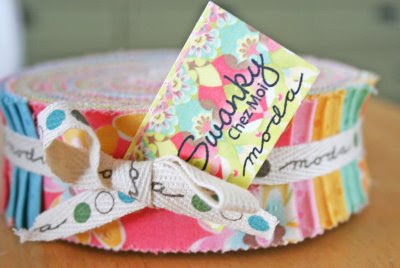
1 honey bun of your choice (featured is “Swanky” but another cute softer option would be aviary by 3 sisters)
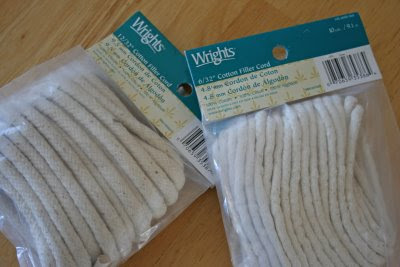
*1 package of piping (6yards) I used Wrights 12/32″ cotton filler cord

*and 39 inches of smaller piping (for handle) I used Writes 6/32″ cotton filler cord (comes in a package of 10 yards)
*my needle was a regular ‘ol needle (but make sure you have a THIMBLE, it’s murder on the finger without!)
*and I used “Mettler” cotton silk finished thread (it’s sturdy) if you don’t that have just use quilting thread or sturdy thread.

when you unravel your honey bun separate colors.

start by sewing together 4 strips alternating colors randomly (I cut mine in half ,at the fold, because I wanted a more scrappy look but you can keep your strips full length).
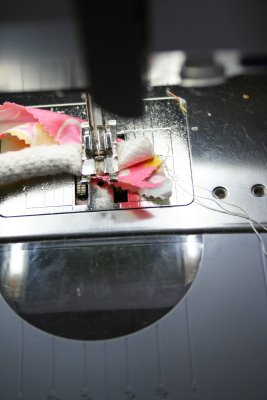
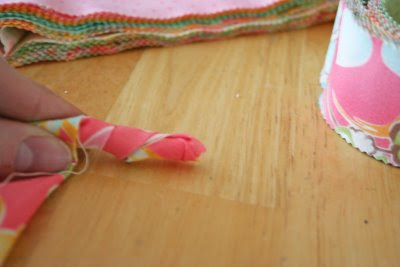
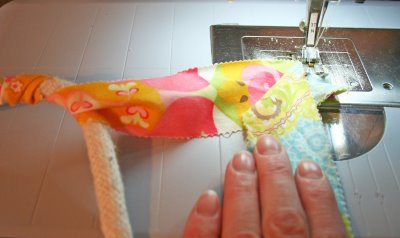
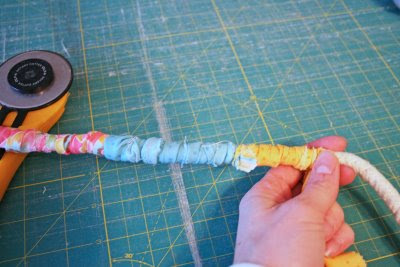
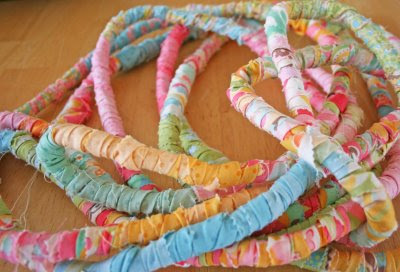
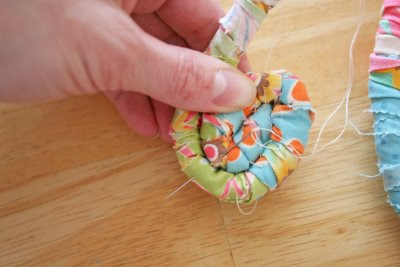
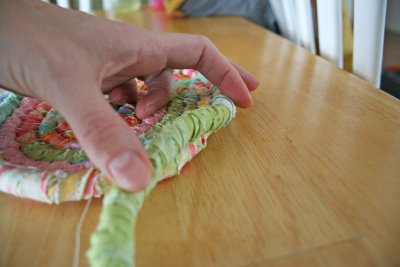
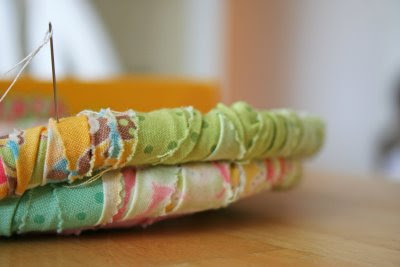
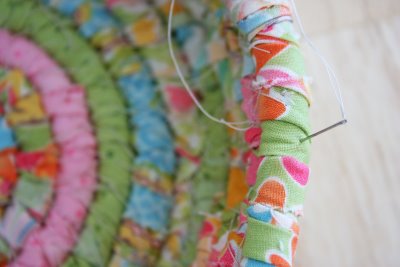
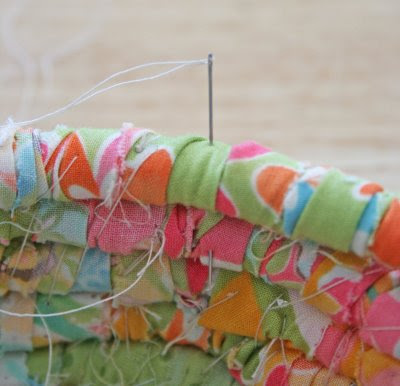
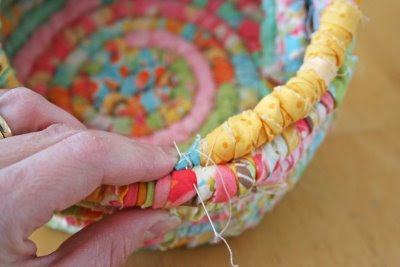
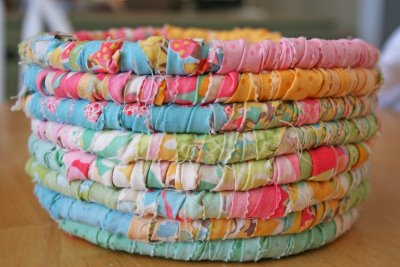
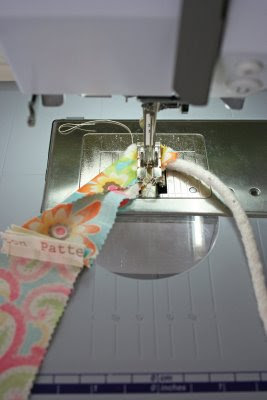
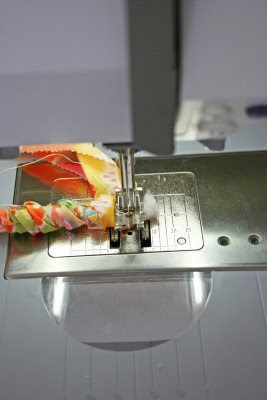
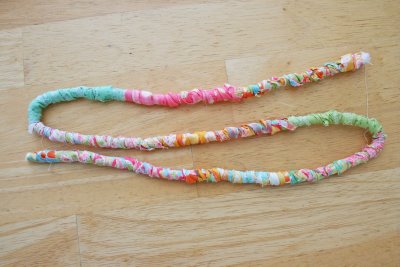
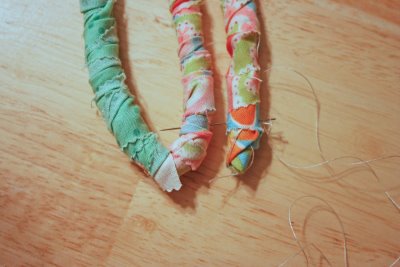
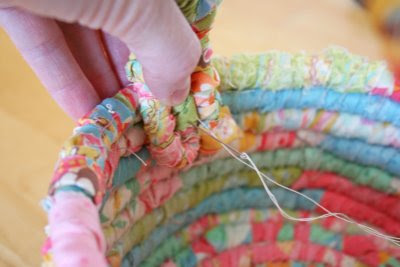
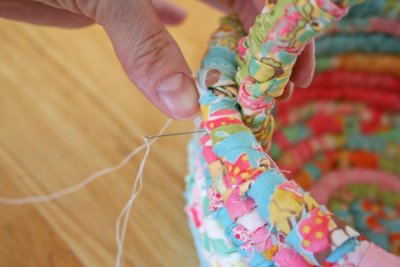
once you have 4 strips together fold in half and sew onto your thick piping.i then started to ravel around my piping with the fabric. once I got close to the end of my strips, I sewed 4 more strips onto the existing end (4 seemed to be the magic number. Any more on there and it became a tangled mess, and less and you were having to stop and sew too quickly in between)keep going through the full 6 yards of piping that comes in the package.when you get to your end of the piping, sew just like you did when you started through the piping and the fabric. this will not let the fabric unravel.start your coil and hand sew together from the center out by sewing the outer coil to the inner coil when you get to the 7th row out you will then start to “stack” your coil.just like when it was laying flat but now you sew it together from the top coil to the “stacked on top of” coilhere’s the best angle I could get of the stacked coil with the needle going in on the top and out of the “stacked on top of” coil do this for the whole basket till you get close to the end. where your “stacking” started (on the bottom),you will want to end your basket top. this way it won’t be lopsided (counting from the bottom up i have 8 rows all around).make sure you sew right before you are going to cut on the piping so the fabric wont unravel. cut off extra (should be a small tail NOT enough to go around one more time). and then tuck in a little so the raw end doesn’t show from the top. you now have the base of your basket.
now on to the handle:just how you started your basket you are going to start your handle. I used the smaller piping for this and i cut it to 39 inches. fold fabric in half length wise and sew your fabric onto your piping at the end of the piping.
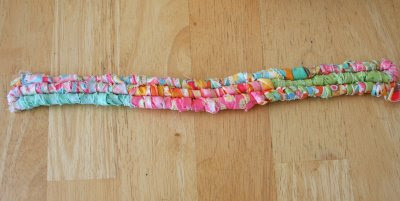
ravel around the 39 incheswhen done raveling, sew the end so it doesn’t unravel. fold your 39 inches of piping three even ways like so.you are going to sew through all three piping and sew the whole thing togetheryou will end up with this to attach your handle start from the inside and back through the outside. do this quite a few times to make the handle super sturdy. do the same to the other side of the handle. instructions by Vanessa from V and Co.

one super cute springy Easter basket. (with base of aprox 6 1/2 inches in width)
(if you are interested in buying honey buns to make this project in Aviary by three sisters, visit her etsy store)

Basket of Turnovers


by Daniela Stout of Cozy Quilts Designs

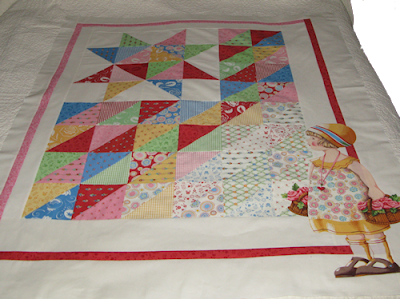
When I first saw this panel I knew just what I was going to do with it. …. Then when it came in, I went to work designing! Now I am so thrilled that a little piecework and a peaceful little girl panel came together to make such a wonderful wall-hanging! To get a FREE PDF copy of this complete pattern, just click here: Download Basket of Turnovers -Pattern


80 TurnoverTM Triangles of Baskets of Flowers
1 Baskets of Flowers Panel (any color as the girl is the same)
1 ½ yards of Background and Outer Border (cream)
⅛ yard of Inner Border Color 1 (red)
⅛ yard of Inner Border Color 2 (pink)
3 yards for Backing½ yards of binding (cut into 6—2 ½” strips)


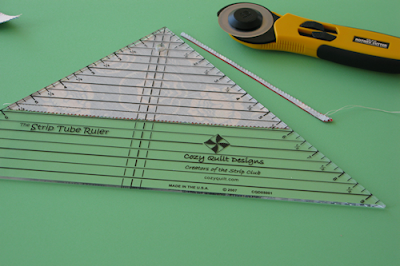
The Strip Tube RulerTM by Cozy Quilt Designs
Shape CutTM by June Tailor
The new Olfa Quick-Change Rotary Cutter
(45mm) Light Steam a Seam fusible


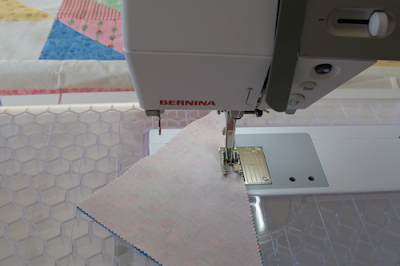
Place two turnovers right sides together and sew a ¼” seam along the long side. (Tip: I put all of the light turnovers together and arranged them in the bottom right of the patchwork so they would create a subtle transition.)
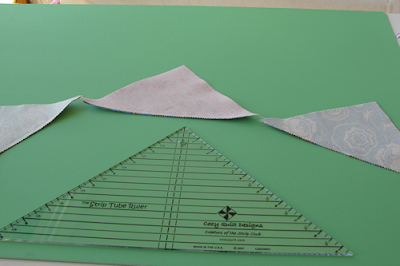
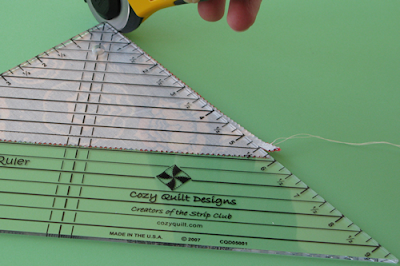
Square up to 5 ½” before opening. Here’s a great way to do that. Bring your sets of turnovers to your cutting mat.
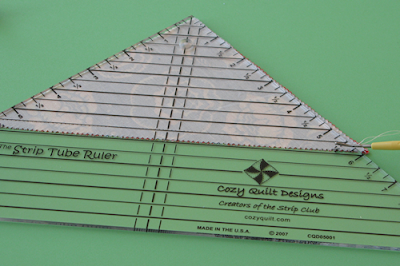
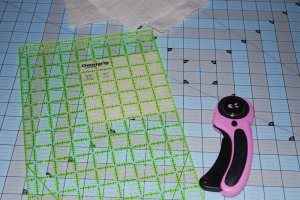
With the turnovers still right sides together, place the 5 ½” line of The Strip Tube RulerTM on your stitching line. Place the left side of the ruler along the left edge of the triangles.

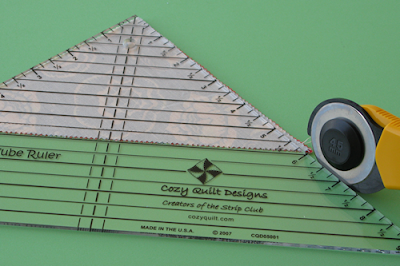
Trim the right side. (Note if you are left-handed, place the right side of the ruler along the right side of the fabric and trim the left side.)


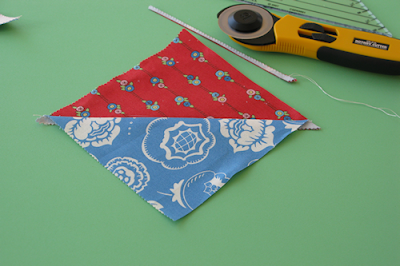
If you’d like to trim away both sides, place the 5 ½” line on your stitching line and center the ruler on your triangles. Trim the right and left side, keeping the ruler in place.
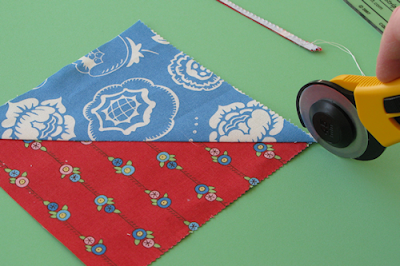
Open to reveal your perfect 5 ½” half square triangle!


Trim your dog ears.

Repeat to make 36—5 ½” half square triangles from turnovers.
From your Background Fabric, cut 1—5 ½” strip. From that, cut 4—5 ½” squares.

Again from your Background Fabric, cut 1—6” strip and from that cut 4—6” squares. Cut those in half diagonally. Partner these background triangles with the remaining turnovers triangles and make 36 —half square triangles measuring 5 ½” square.

Now put the blocks together as arranged in the picture at the top or bottom of this post.

Add Borders as follows:
Border 1
Top (2 ½” of background)
Left (2 ½” of background)
Bottom (4 ½” of background)
Right (4 ½” of background)
Border 2
Top (1 ½” of Color 1)
Left (1 ½” of Color 1)
Bottom (1 ½” of Color 2)
Right (1 ½” of Color 2)

Border 3
Top (2 ½” of background)
Left (2 ½” of background)
Bottom (4 ½” of background)
Right (4 ½” of background)
Fussy cut the girl from the panel and appliqué onto the quilt!

This is how I did the appliqué:
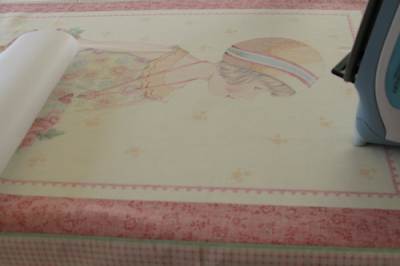
I used two long pieces of Lite Steam a Seam. First I removed the loose paper backing, Then I put the nubby fusible side on the back of the girl in the panel, butting the sheets up against each other. Leaving the top paper in place, I ironed the fusible down. If I had one really wide piece, I would have used that, but this worked just fine.

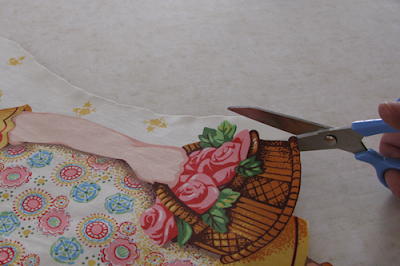
With the paper still on the fusible, I carefully fussy cut the girl out of the panel. (This was my favorite part because I left like a little girl playing with paper dolls.)


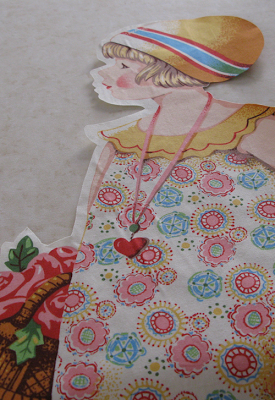
I didn’t want her to completely blend into the piecework, so I left a ¼” margin of background fabric on the left side of the girl.


I removed the paper backing and positioned the girl on the quilt top. Pinned her into place. Took her to the ironing board, removed the pins and pressed her down.

I love her! I hope you do to… now go make one! For a kit of our Turnover girl, click here.

To read more from Daniella, visit her new blog, Cozy Quilt Chatter.

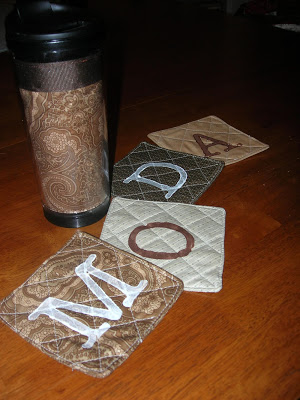
Charming Coasters


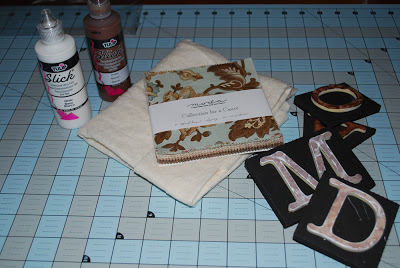
1 Charm Pack (8 – 5″ x 5″ squares) – featured here is Collections for a Cause – Legacy by Howard Marcus

Batting – 4 – 5″ x 5″ squares (great to use up your scrap batting left over from another project)
Coordinating Thread

Fabric Paint
Alphabet Stamps

Step One:
Gather all your ingredients.
Step Two:

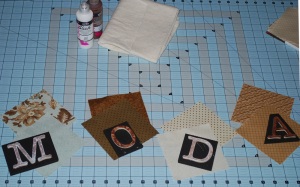
Pick out two coordinating charm squares for each coaster.


Step Three:
From your scrap batting, cut one 5″ x 5″ square for each coaster.


Step Four:
Put two fabric squares right sides together and then align on top of a piece of batting.


Step Five:
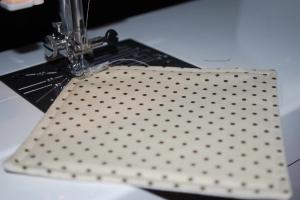
Sew a 1/4″ seam around the coaster, leaving about 2-3″ opening so you can turn the coaster right side out.

Step Six:
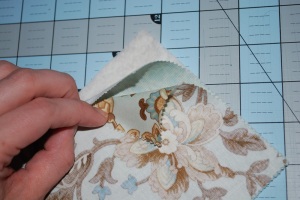
Clip the corners of the coaster before turning right side out so there is no bunching in the corners.


Step Seven:

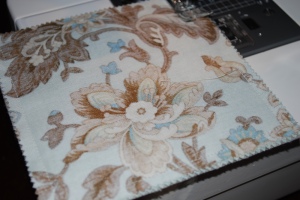
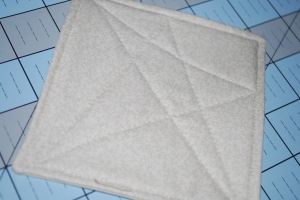
Turn the coaster right side out and press. Stitch a 1/8″ seam around all four edges of the coaster. This will close off the opening… no need to whip stitch closed.
Quilt the coaster as desired.


Step Eight:
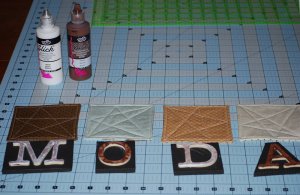
This next step is optional. Determine what letters you want to place on each of the coasters. If you want to spell out a word that is shorter or longer than shown, then simply make the number of coasters needed to spell your word.

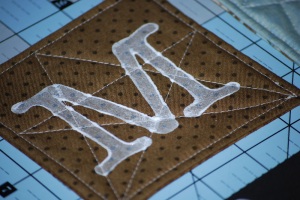
Place a little bit of the fabric paint on a paper plate and stamp into paint until covered. Gently stamp the letter onto the coaster and remove. Set aside to let dry.

Coasters make great personalized gifts and pair up perfectly with the Travel Mug.
Enjoy!
Angela Yosten

Doll Quilt


Doll Quilt

13″ X 19″


Soiree Honey Bun
1 Fat Quarter backing fabric
Batting at least 20 inches X 15 inches


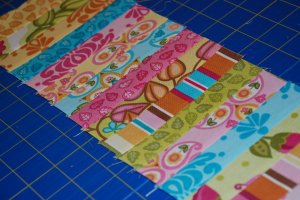
Layout your honey bun strips and choose 18.

Cross cut the strips at 6 inches. Flip the strip and trim to 5 1/2 inches X 1 1/2 inches.

I pin everything….I have better block construction this way. So I recommend pinning your strips as shown.


Sew and Iron….check your layout if necessary.

Next, match up the pairs and sew down one side.

Continue joining pairs until you a strip.

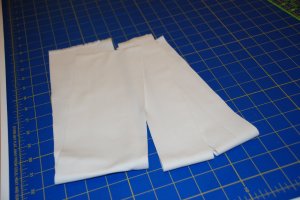
It may be necessary to trim your “block”. Next take the Bella solid and cut a strip 4 1/2 inches the width of fabric.

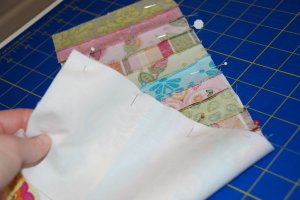
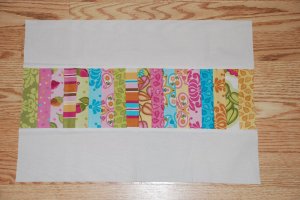
Trim to 19 inches. Sew a strip to each side of the block.

The doll quilt top is ready to be quilted.

Once you layer and quilt…it may look like this:

I chose a simple built in stitch on my machine and just sewed rows. It’s very simple but effective and breaks the monotony of stippling.

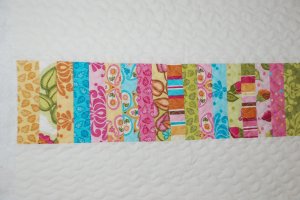
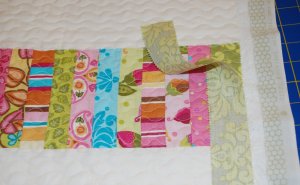
Here is my binding…I used 2 honey bun strips for single fold binding. I mitered the strips as shown.


Start near the bottom middle…just because…and I leave a “tail” of about 3-4 inches.


When I reach a corner I stop sewing and flip the ‘loose’ end of the binding strip straight up and then fold it back down on itself.

Continue to sew a 1/4 inch seam.


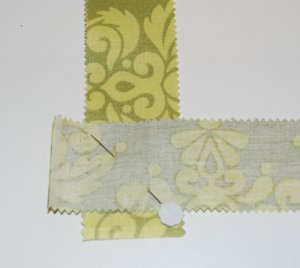
Joining the binding is a bit tricky. I also miter this junction. Here’s how:

Overlap the 2 loose binding strips and trim so that it overlaps the width of your binding. My overlap is 1 1/2 inches.

Trim the excess fabric.


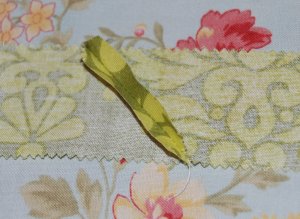
Now the tricky part. You must pin the loose portion of the binding strip correctly. I pick the strips up and hold them at a 90 degree angle to each other and pin.

Sew on the diagonal and if you feel it is necessary you could actually draw the sewing line to be more accurate. You can see my fabric slid to the side but I had to let go of the fabric to snap the picture…normally I am controlling both sides as it passes through the needle. After that is sewn, trim to 1/4 seam allowance. and press open the seam.

Sew the ‘loose’ binding down. Once the binding is sewn on, then I trip the excess batting and border.

Turn binding to back of quilt and hand slip stitch the perimeter. I use binding clips ALL the time.

Again, that is my method of binding. I know there are several different ways that this could be done. I have just mentioned one in this recipe.

One doll quilt… I sincerely hope that this will inspire all of you to quilt today! Vickie @ Mid-ohio knitter.