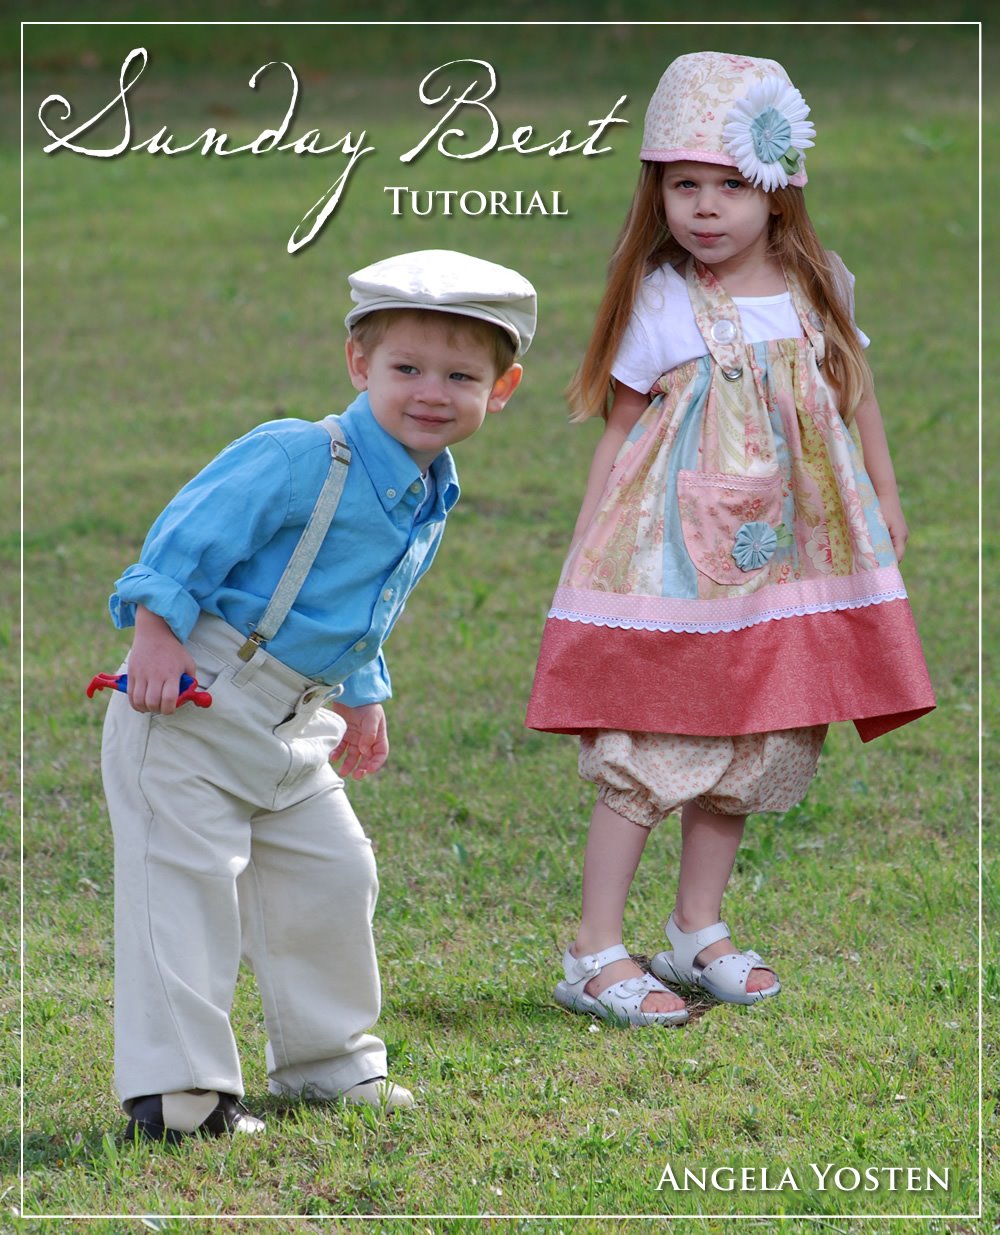
Get dressed up for Easter or any other occasion with these adorable outfits for toddlers, 12 months to 5T. Both are made from one Moda Jelly Roll. The boy outfit features a pair of timeless suspenders made from Jelly Roll strips which are fully adjustable. The girl outfit features pattern designer, Bananafana Designs, with her adorable new pattern “Lollipop”.

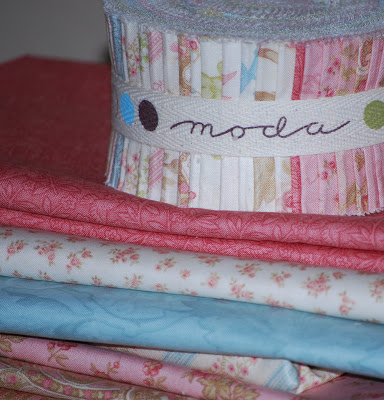 1 Jelly Roll – featured here is Aviary by 3 Sisters
Coordinating Thread
plus…
Boy Suspenders:
1 yard Lightweight Fusible Interfacing (because of the length of the suspenders)
4 – 1″ Suspender Clips (featured Dritz #10)
2 – 3/4″ Vest Buckles (featured Dritz #2-65)
Girl Lollipop Dress:
1 – Lollipop pattern #BB209 by Bananafana Designs
2 – 7/16″ Grommets plus tool
2 large buttons
2 yards 7/8″ ribbon for dress
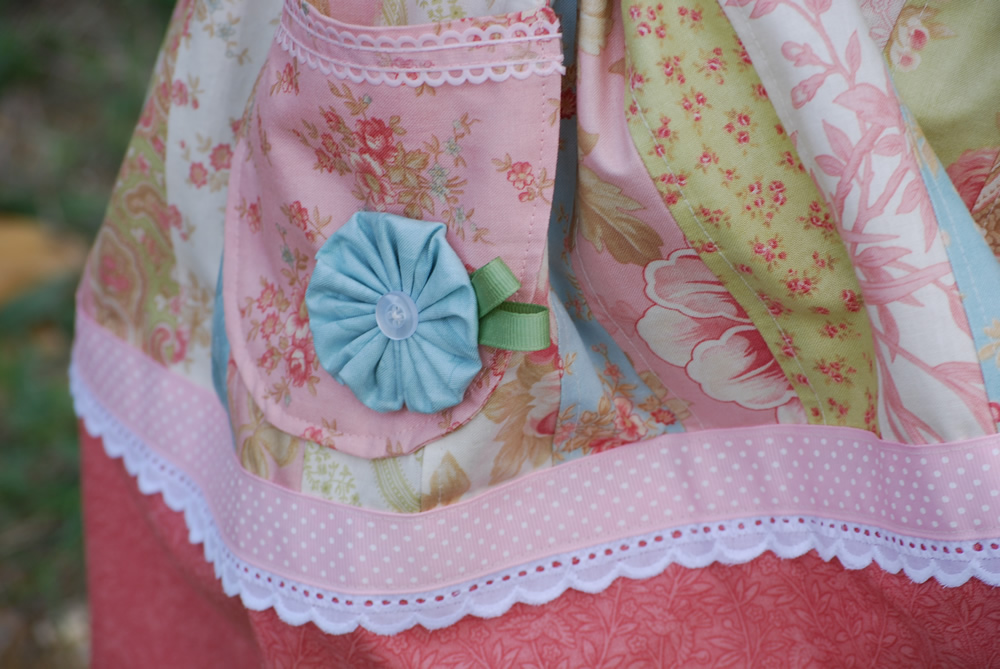
2 yards 1″ scalloped trim for dress (featured Moda Faded Memories scalloped trim #2113-22)
6 inches of 5/8″ ribbon for the pocket
1 pkg of 1/2″ elastic
1 pkg of 1/2″ double sided fusible tape
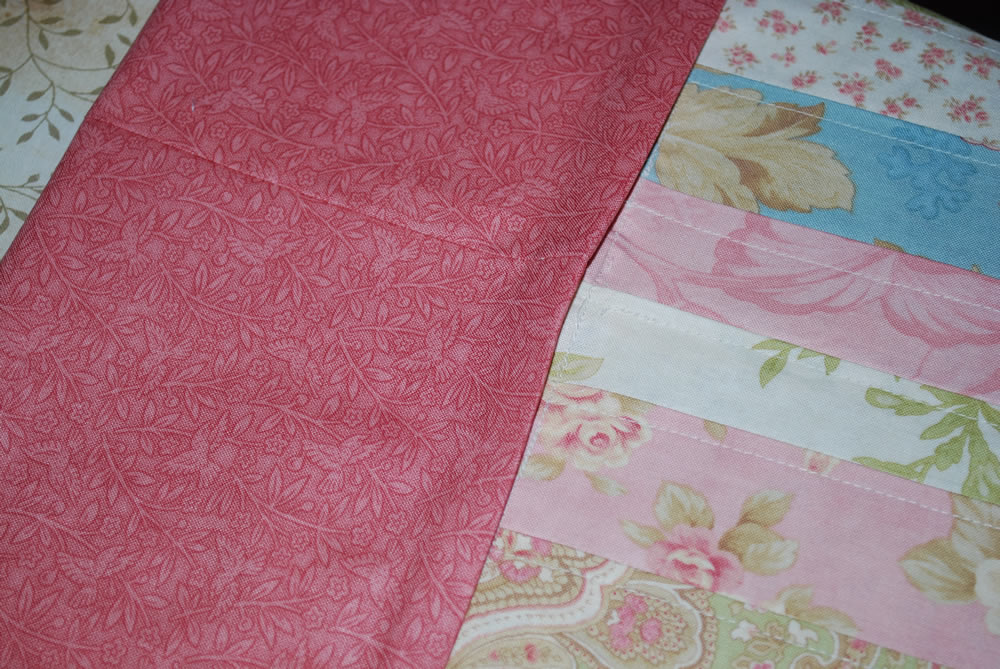
Additional Fabric yardage needed to complete the dress shown
2/3 yard for trim
**Please note these materials listed are to make the dress like it is shown here. The pattern may call for different yardages to make it the way it is on the pattern.

Buttons
fabric for appliques, yoyo’s, etc. – layer cakes work great for this as you get a great sampling of all the fabrics in the collection.
Supplies to make the hat and short bloomers included in the Lollipop pattern.

Boy Suspenders:
Step One…
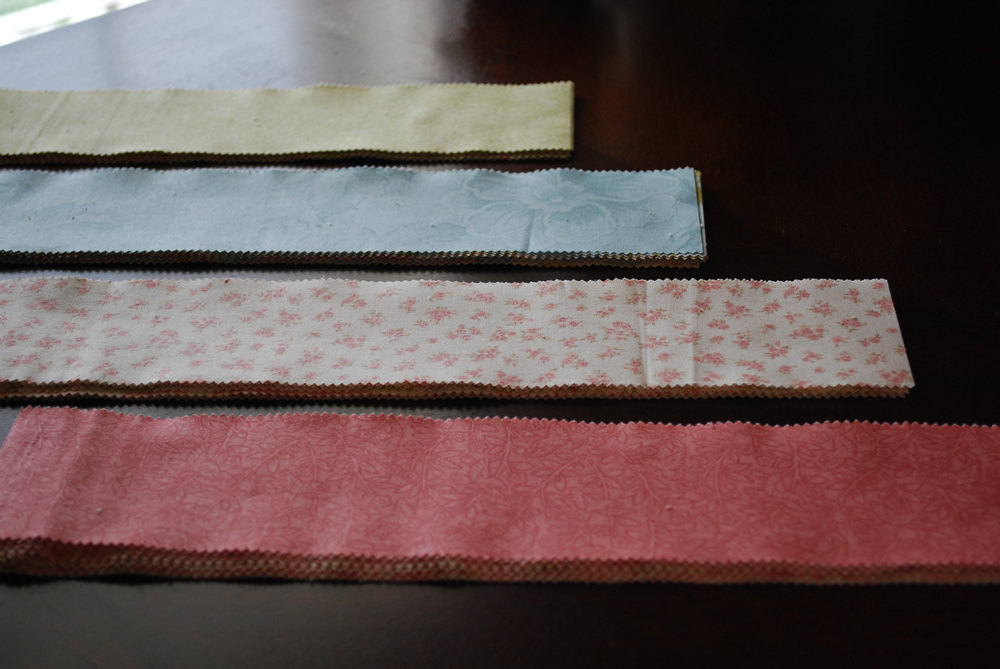
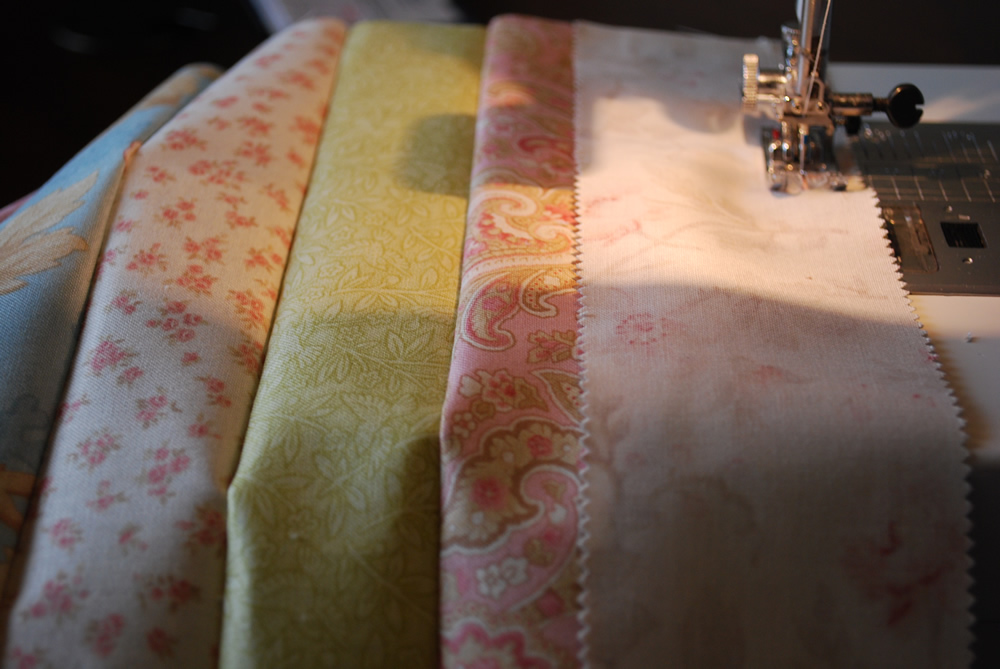
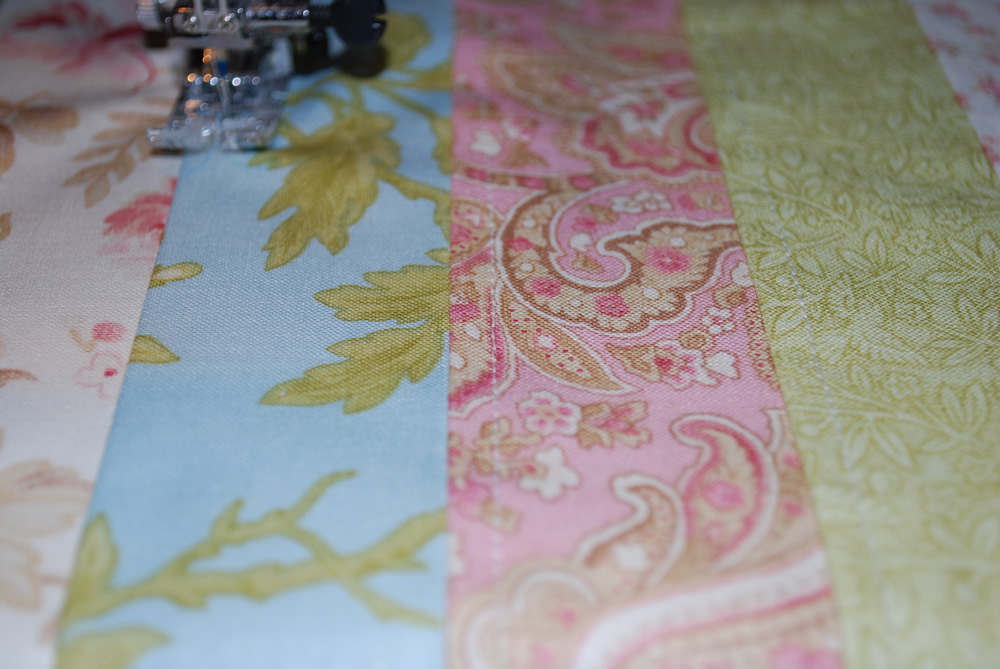
Choose two strips from your Jelly Roll to use for the front and back of the suspenders.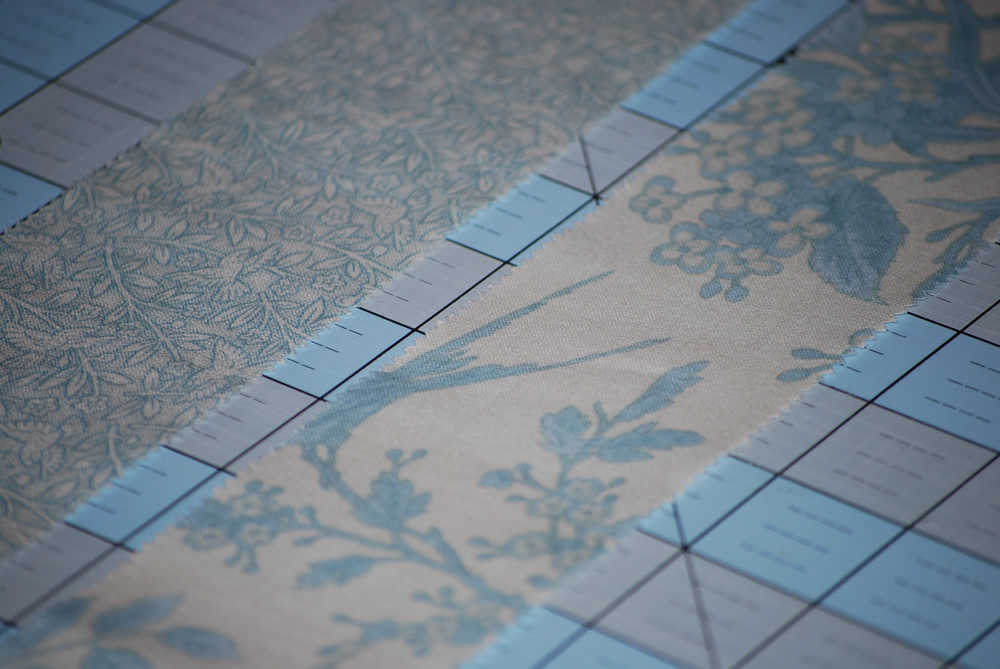
Step Two…
Cut the two Jelly Roll strips so they are both 29″ in length.
{For a smaller or larger size, simply measure the child from the front of the waist on one side, over the shoulder, and then cross the back to the opposite side on the back side of the waist. Take this number and add 5″. This is the length that you would need to cut your two strips.}
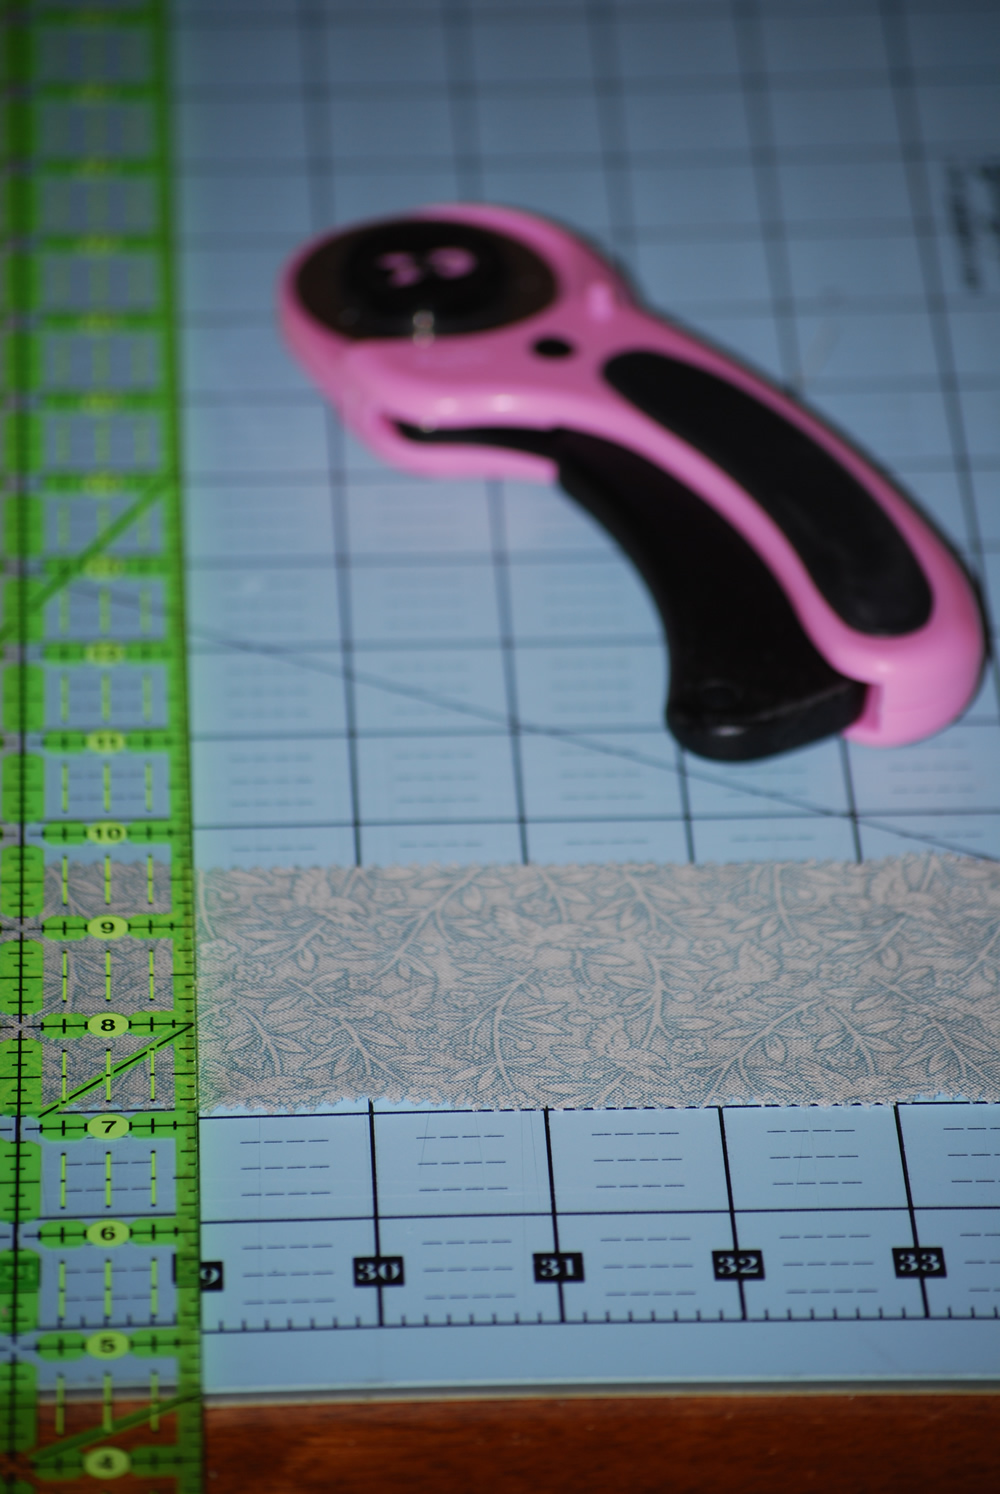
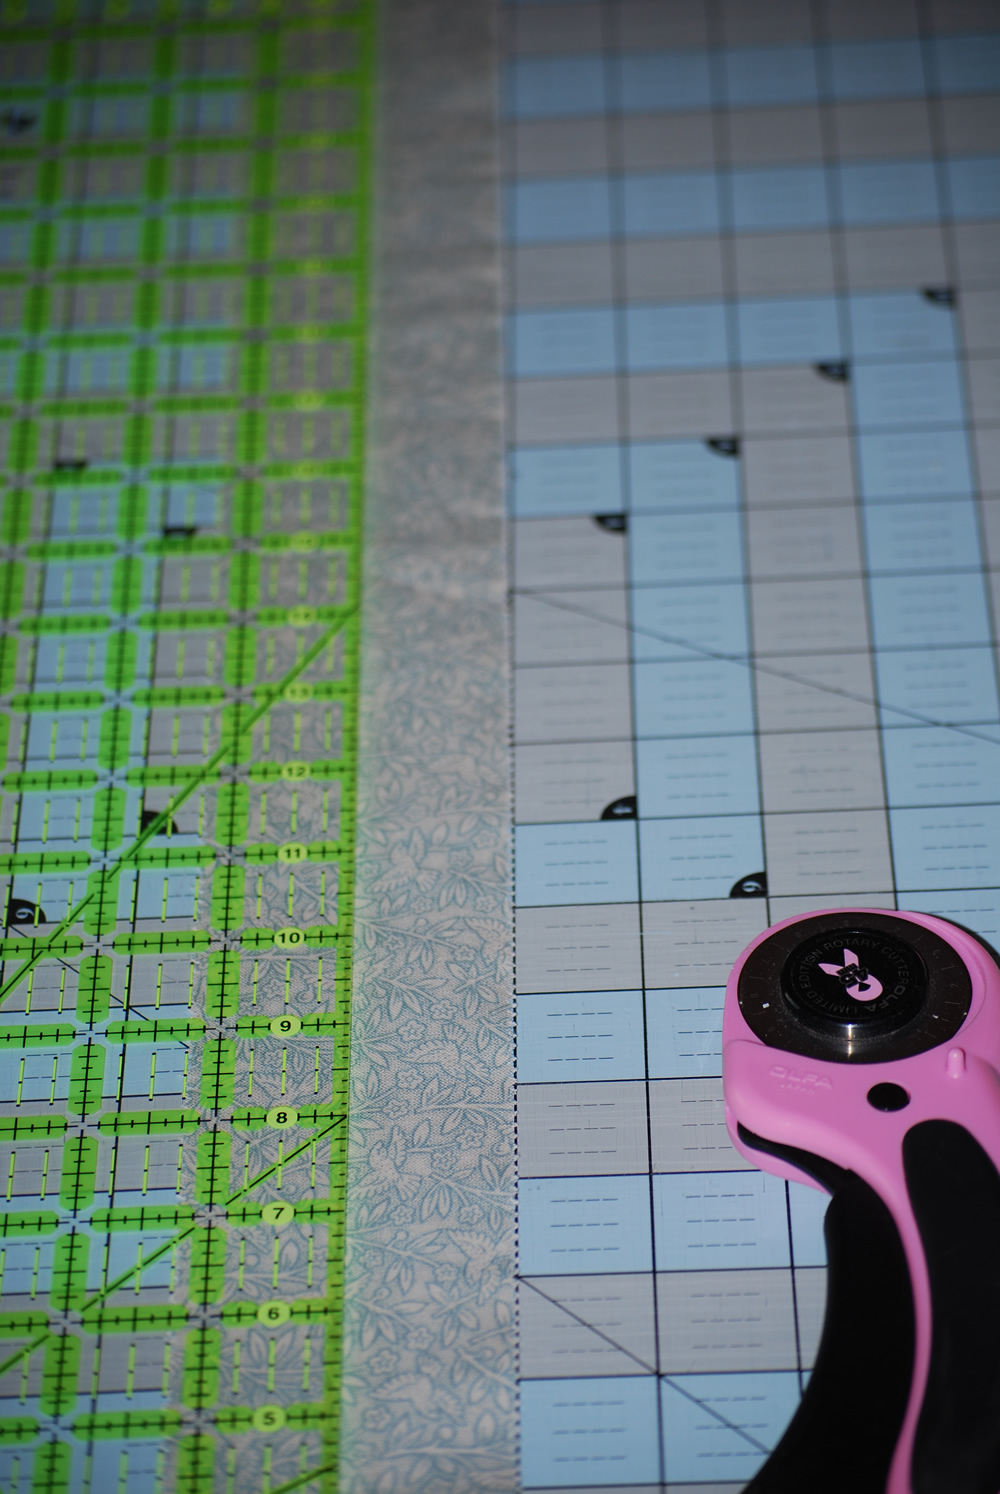
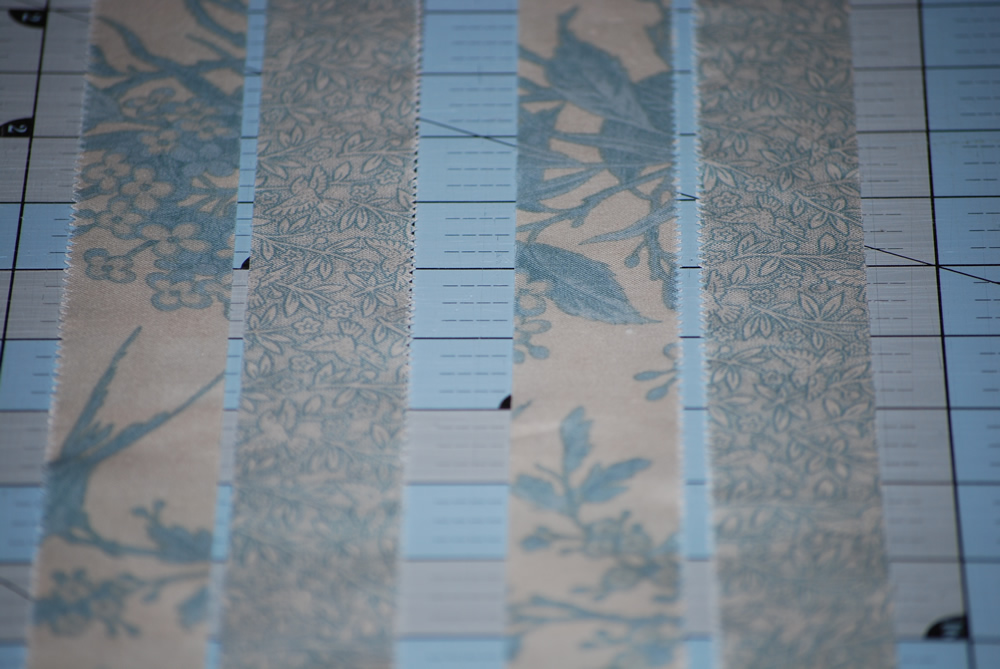
You should now have 4 strips that measure 1 1/4″ x 29″. Determine which fabric you want for the visible side and which one you want for the back side of the suspender strap.
Step Five…
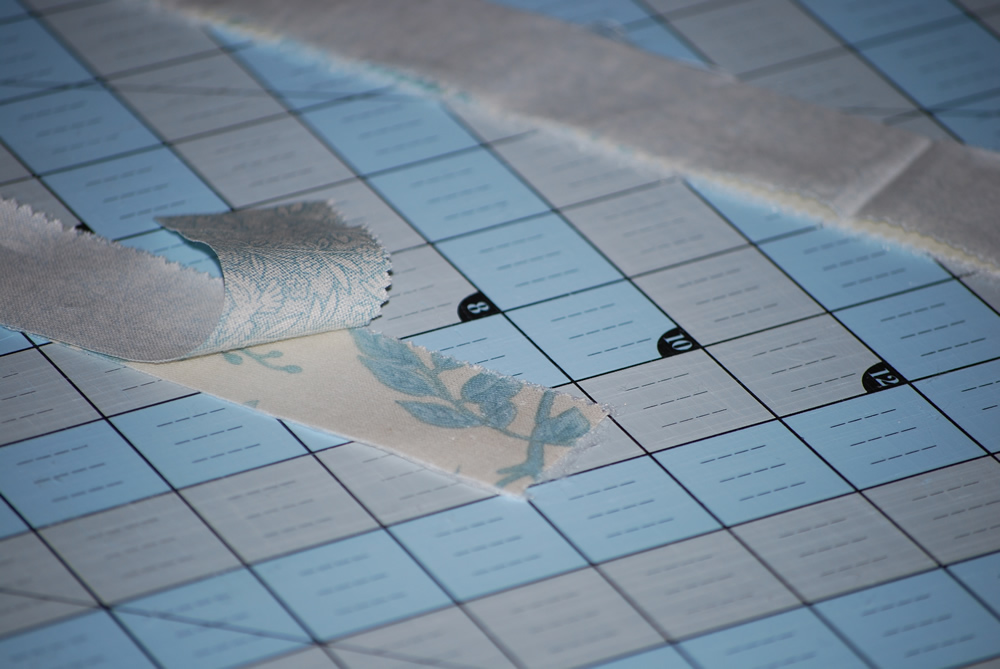 Sew with 1/4″ seam allowance all around the strap leaving a 3″ opening to turn the strap right side out.
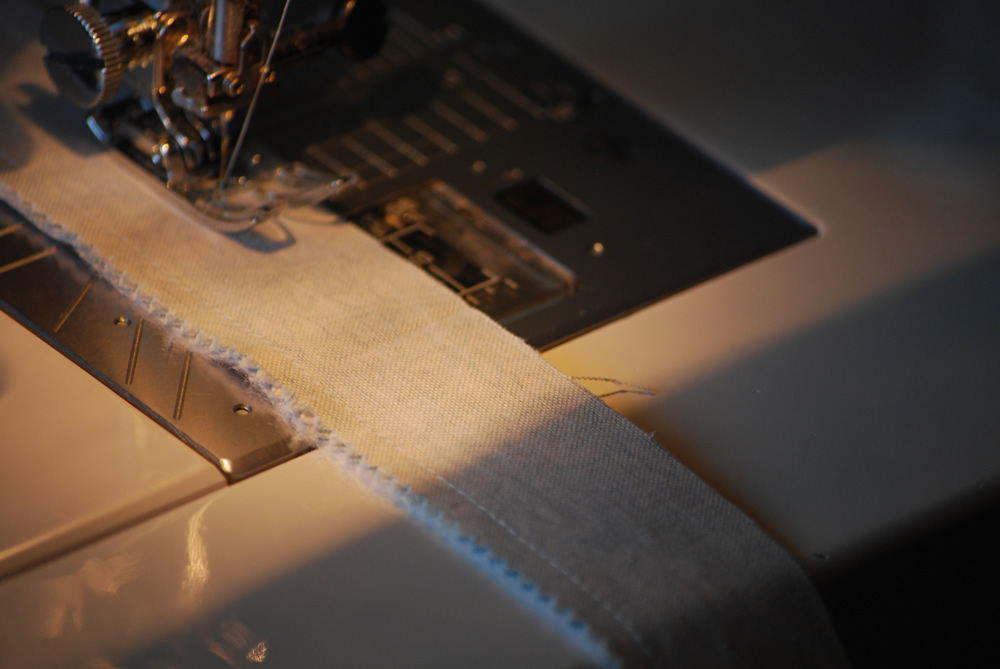
Step Six…
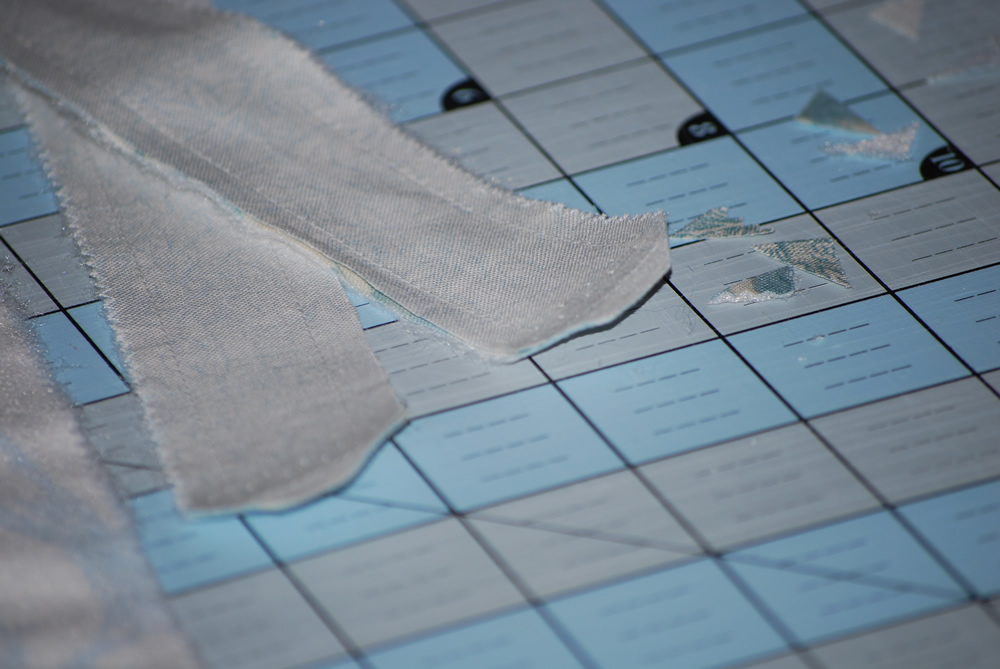 Using your favorite turning tool, turn the straps right side out. I like the Crystal Point Turner by Lee. Fits perfect in small openings like this and makes a nice clean point without punching through the fabric. Please be patient with this step. The straps are about 3/4″ wide now and turning may take a little time.
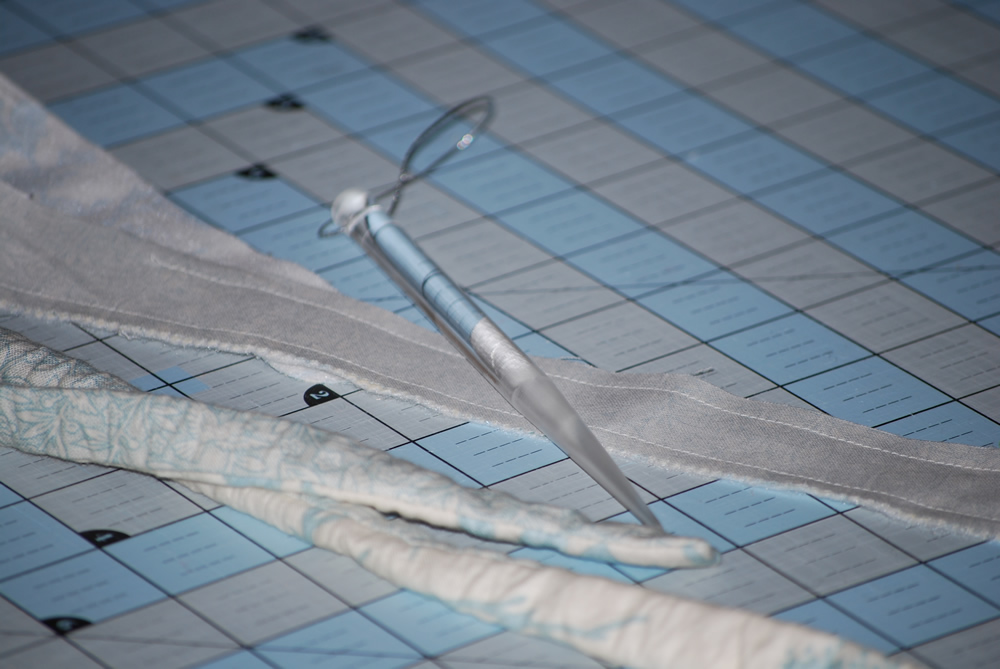
Step Seven…
Step Eight…
Step Nine…

Step Ten…
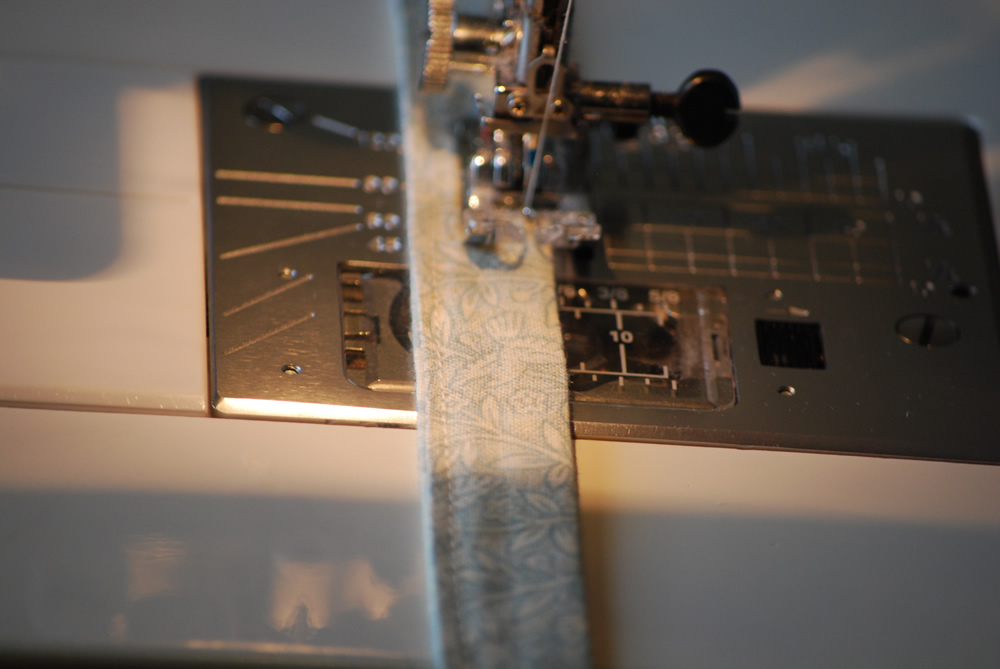
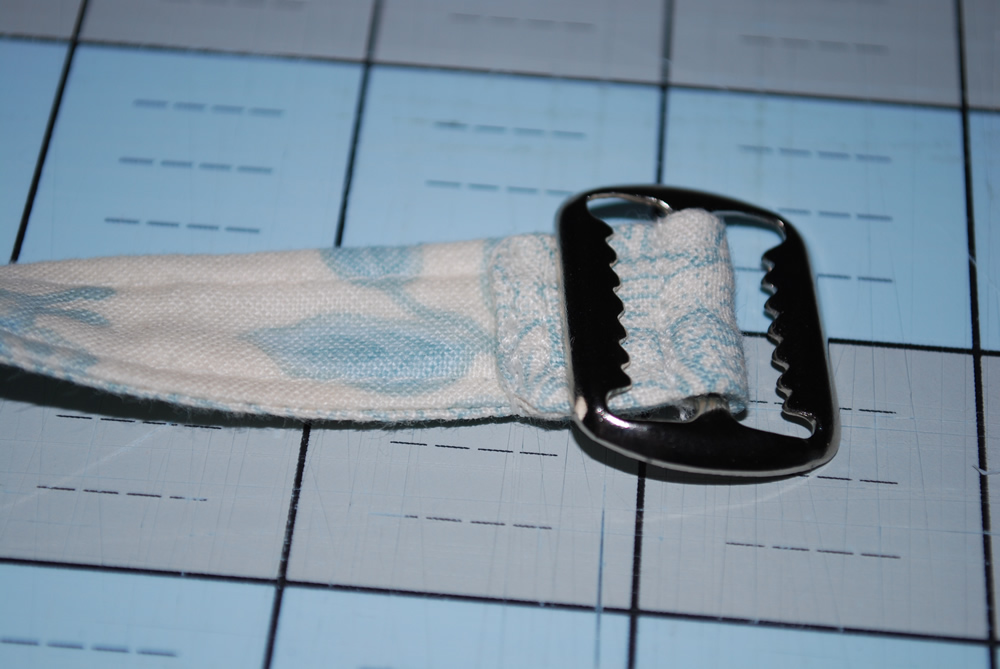
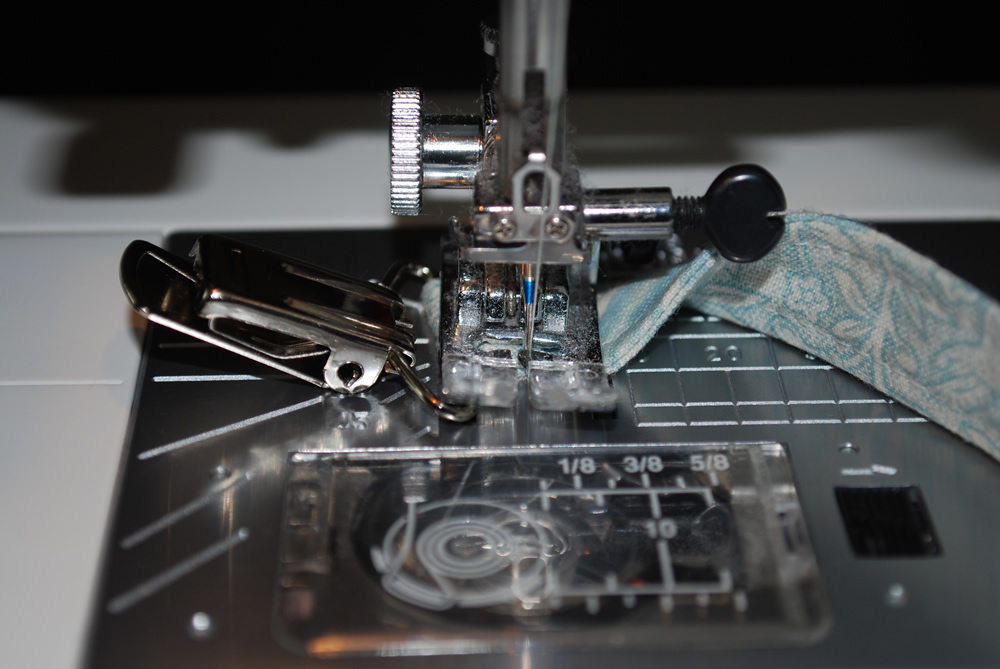
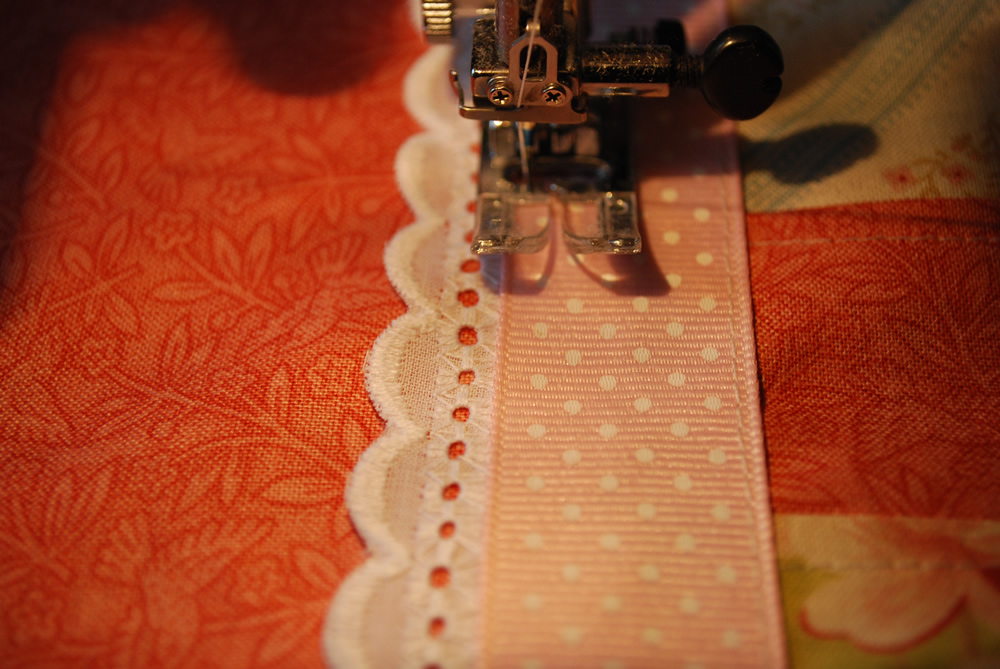
 Place the buckle under the sewing machine foot as shown. Making sure that when sewing, the needle comes between the center of the buckle and the left side of the buckle. Stitch slowly and back stitch a couple times to reinforce the stitch. You may need to start it off by manually turning the needle up and down to be sure you are not going to hit the buckle with the needle.
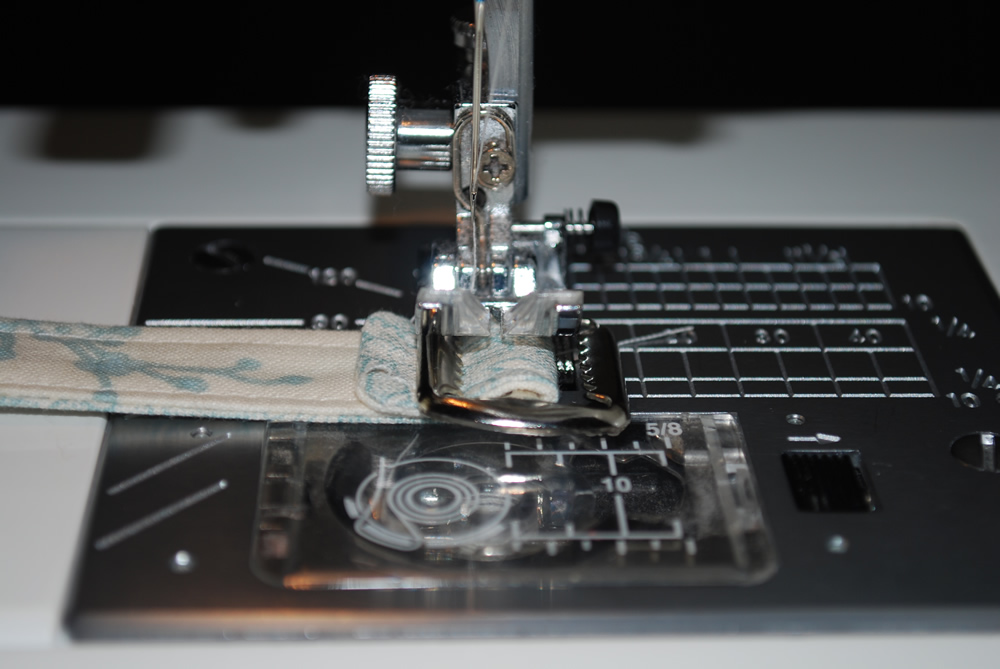
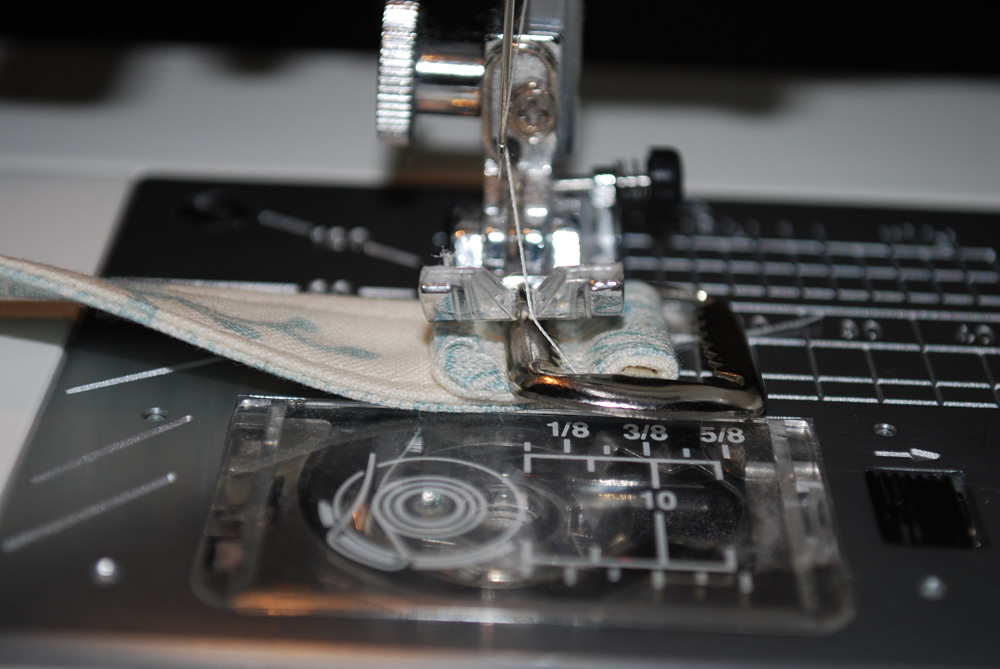 You should now have your strap sewn in two places to hold the buckle in.
Step Eleven…
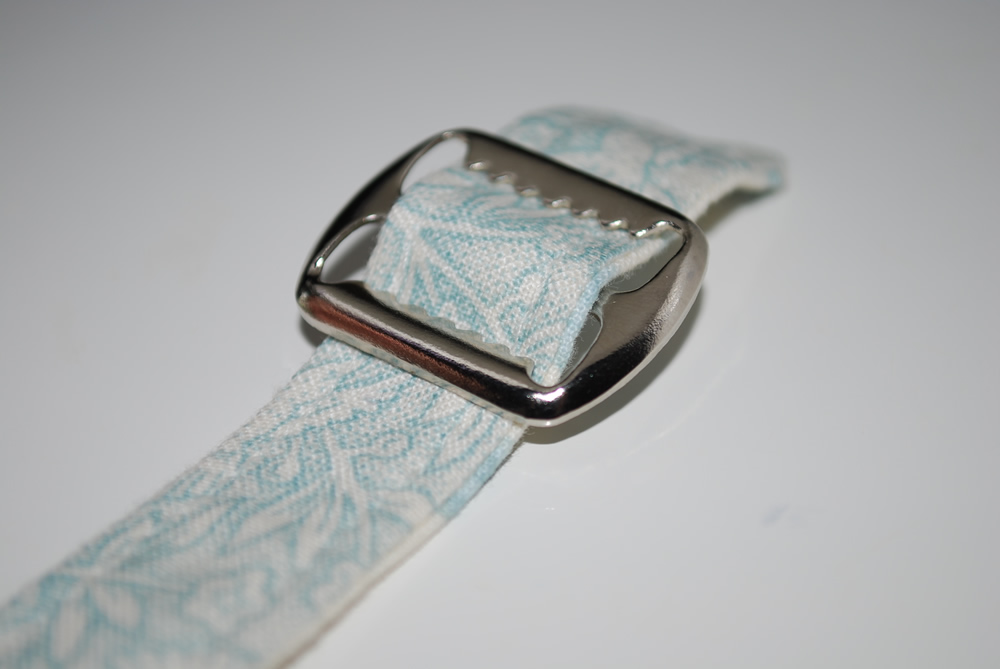
 Weave the end of the strap through the buckle as shown.
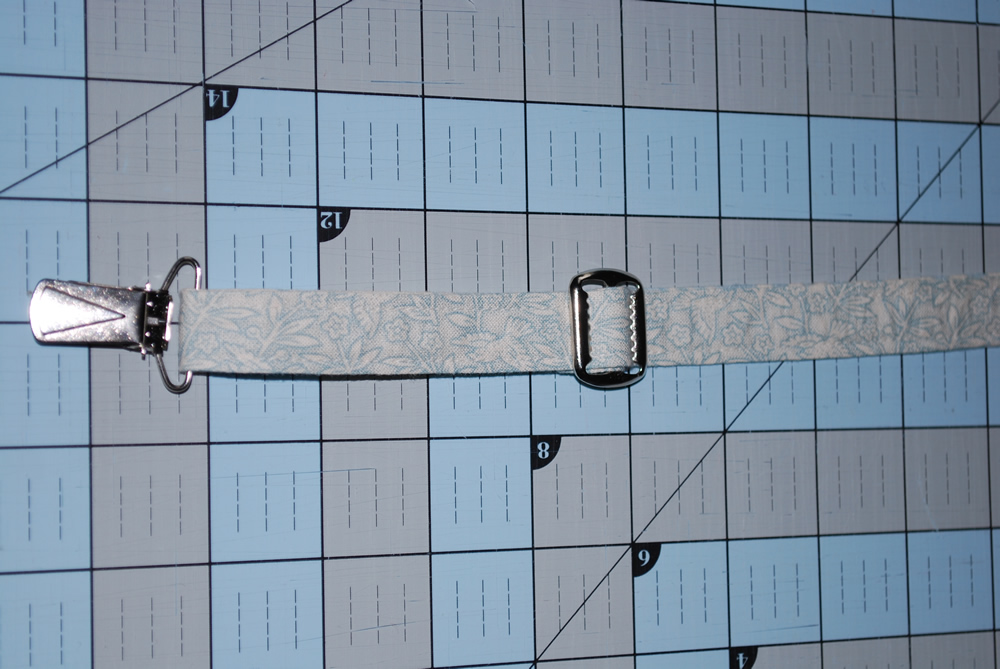
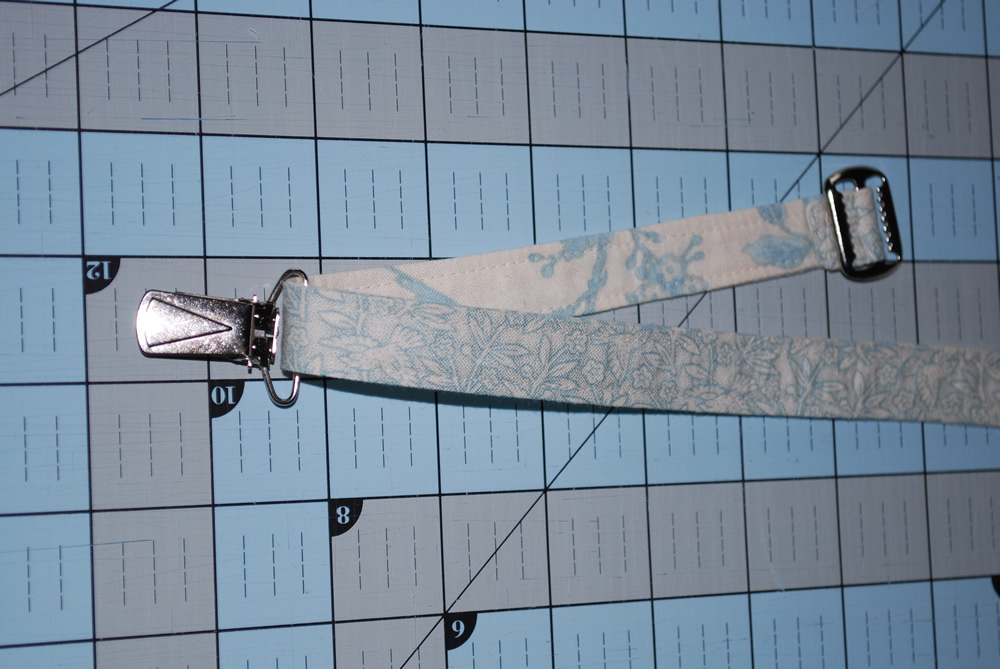
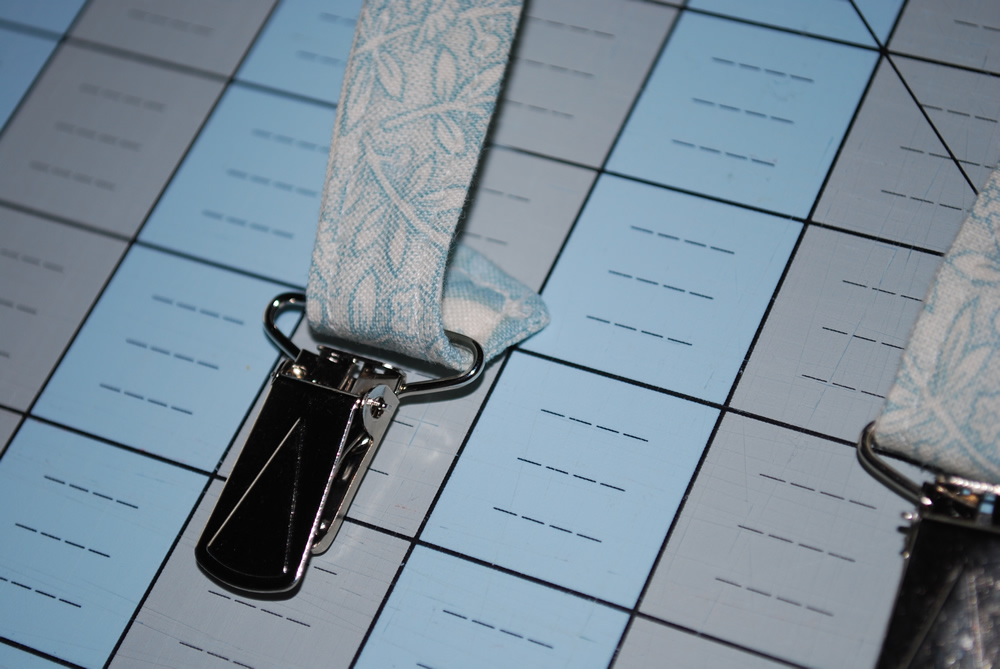
Your strap should now look like this.
Step Twelve…
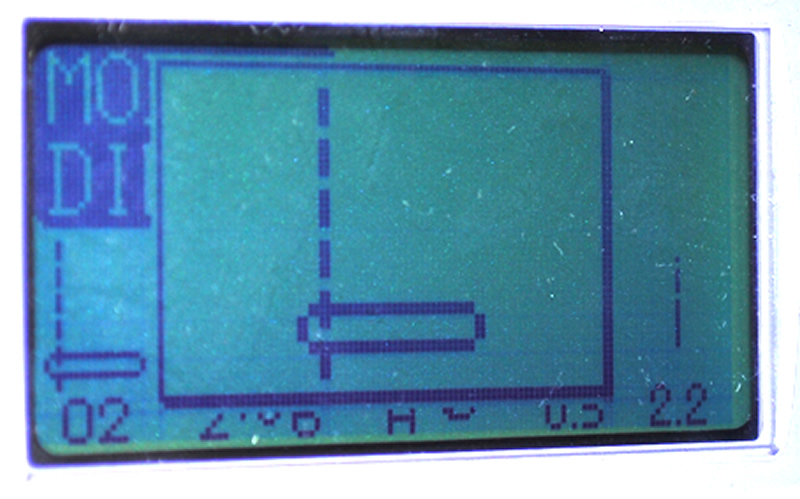
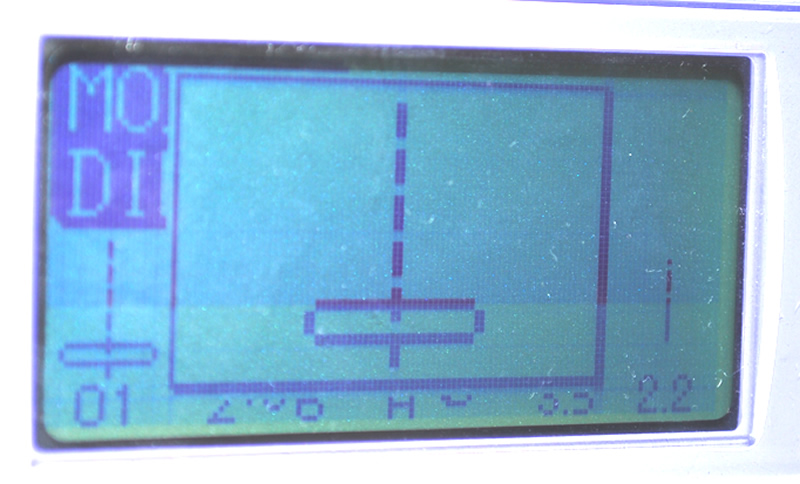
Set your sewing machine needle to the regular position, centered.
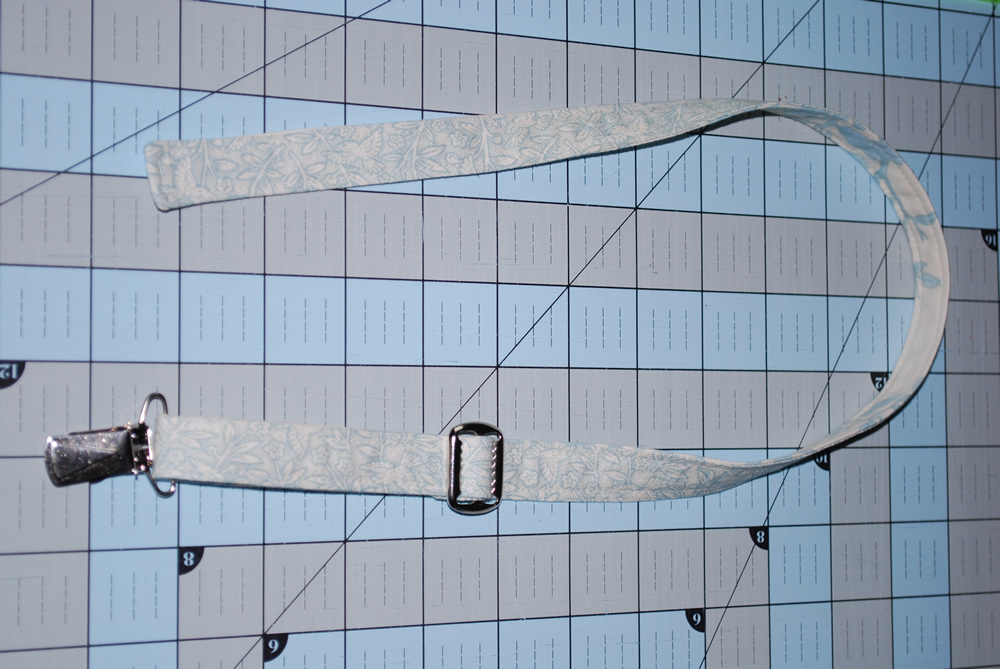
You now have one complete strap. Repeat steps Eight through Twelve for the other strap.
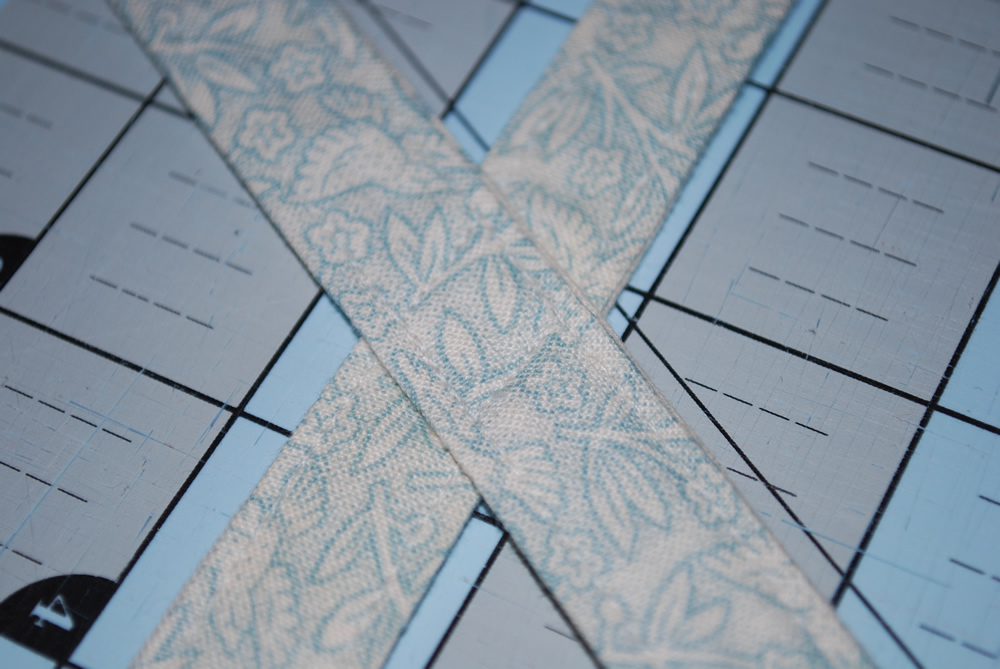
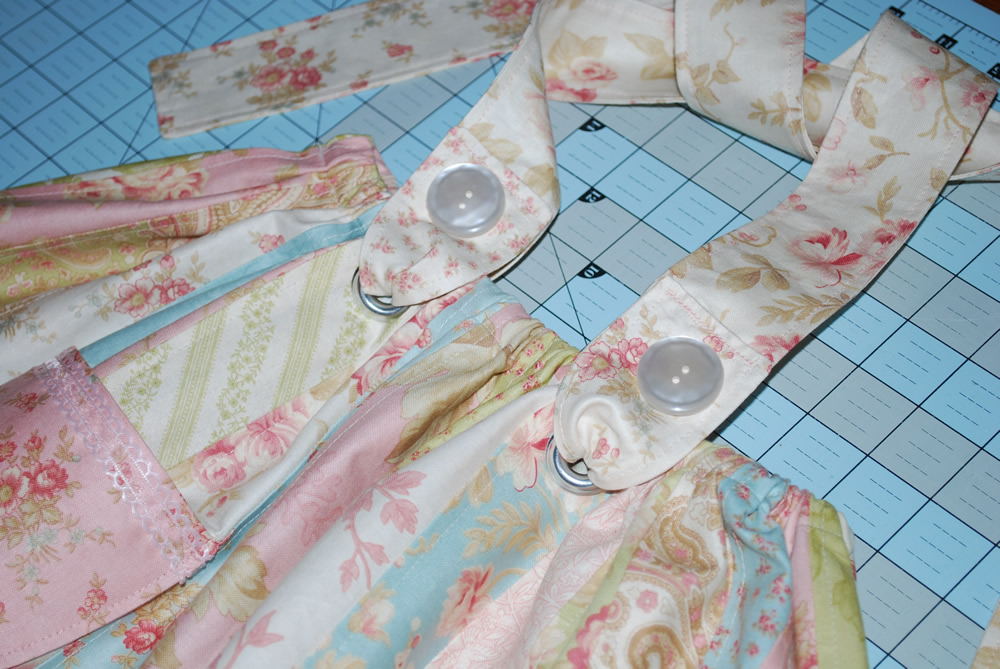
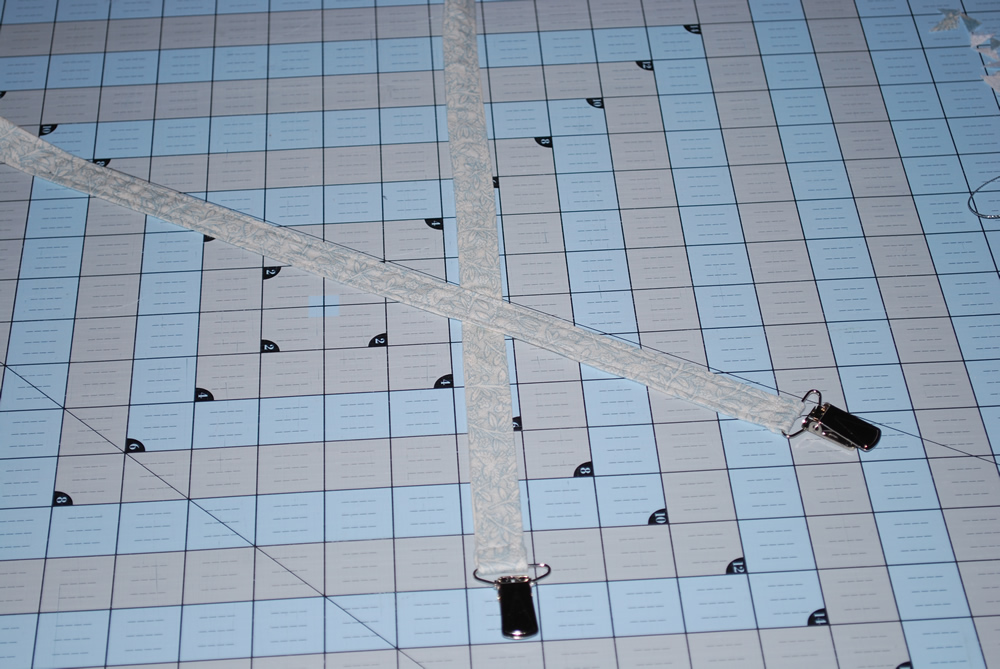 Sew a diamond shape where the two straps cross to hold in place.
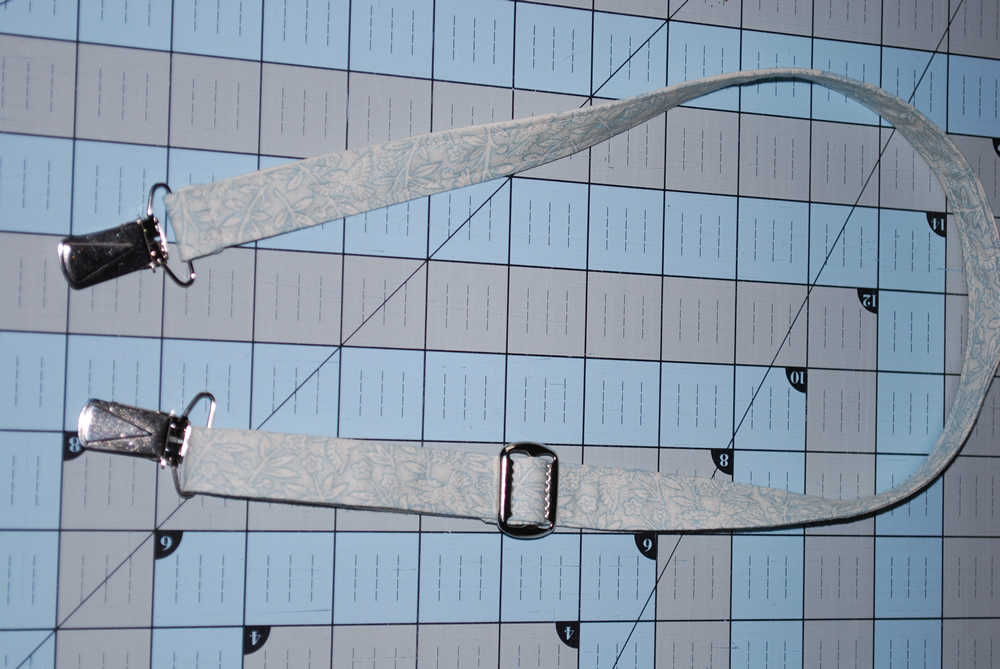
 Back View….
 Pair up the suspenders with some linen trousers, shirt and newsboy hat for a very timeless look.
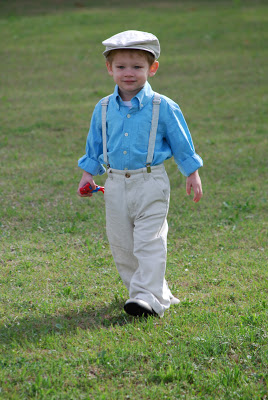
Girl Lollipop Dress:
Step Two…
Step Three…
Step Four…
Step Five…
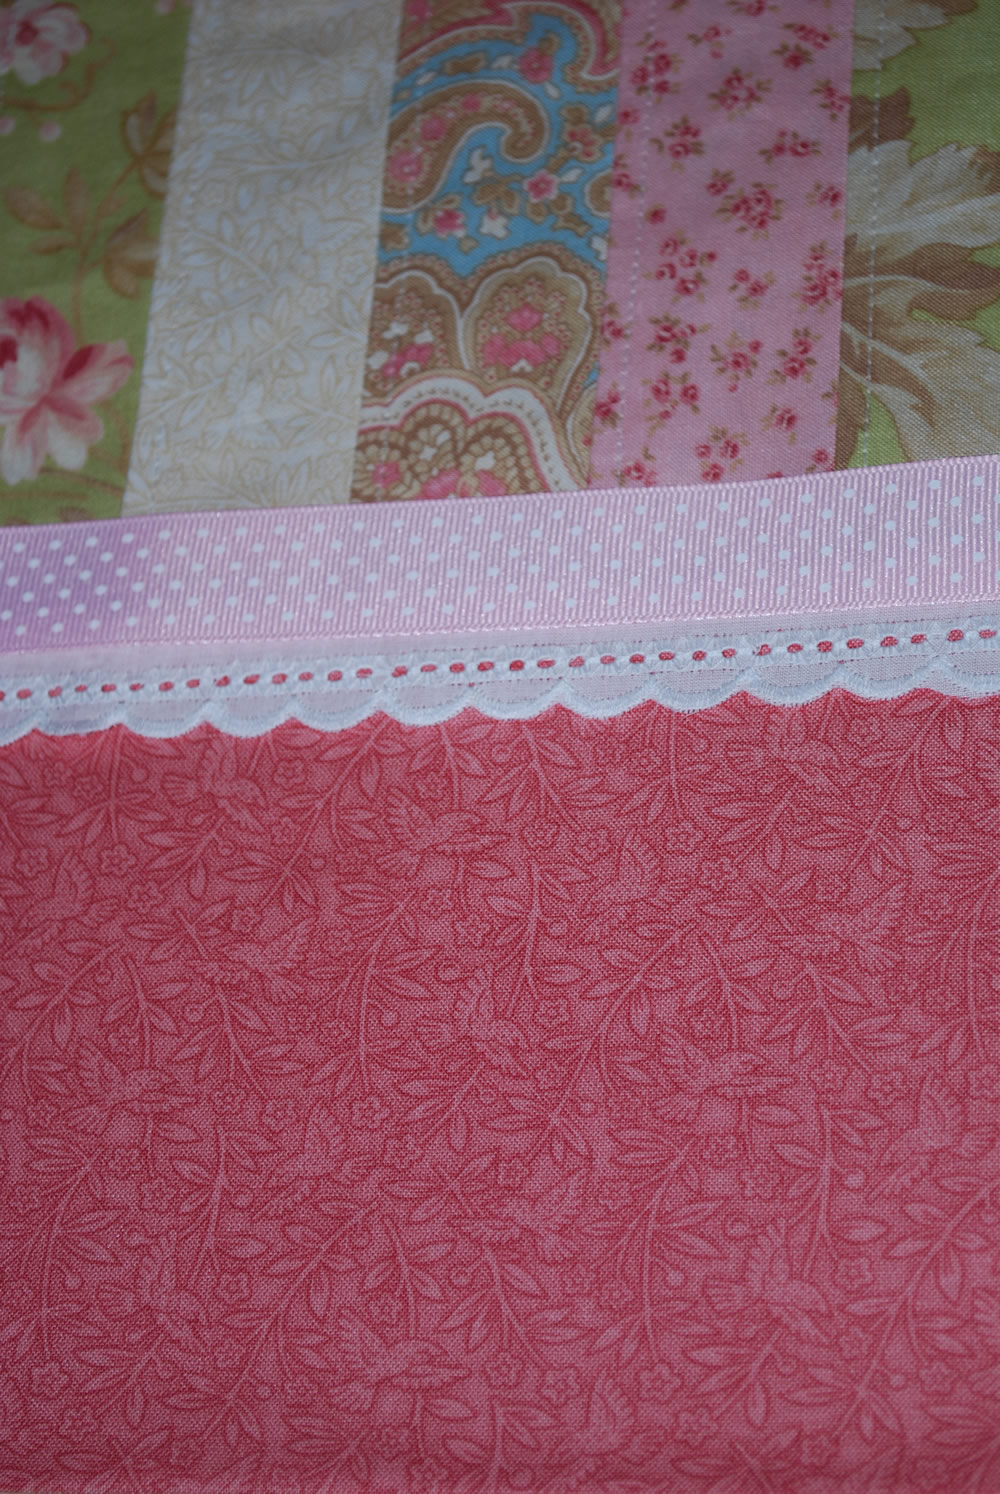
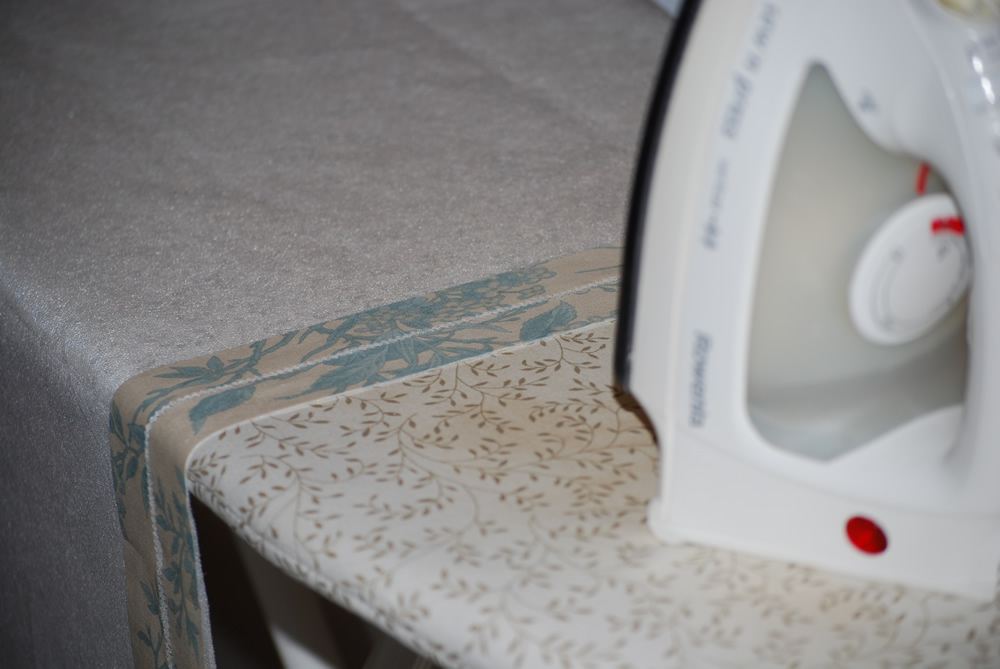
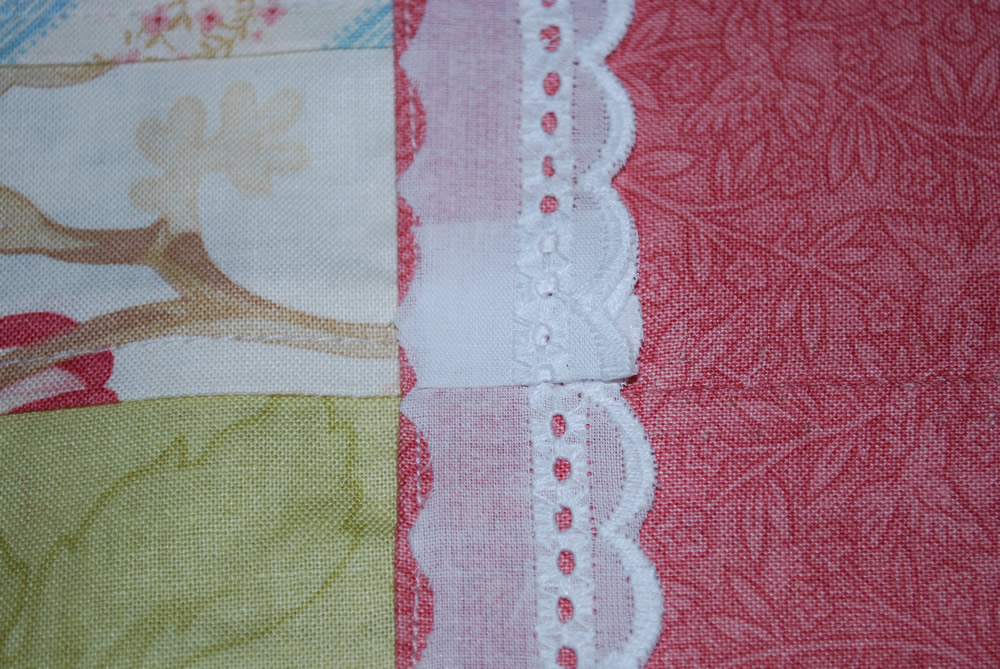
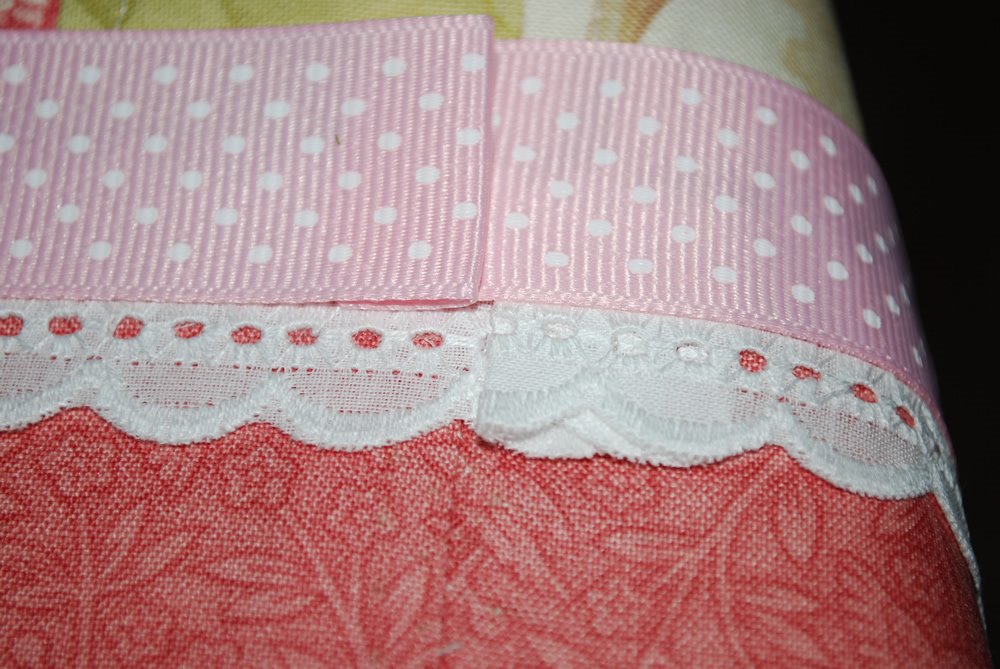
 Position the scallop trim with the fusible tape right along the seam of the trim. Fold over the end to conceal the raw edge. Iron in place to fuse the trim to the trim.
Step Six…
Step Seven…

Step Eight…
Instructions for a matching hat and short bloomers are also included in the pattern to complete the look of your Sunday dress.
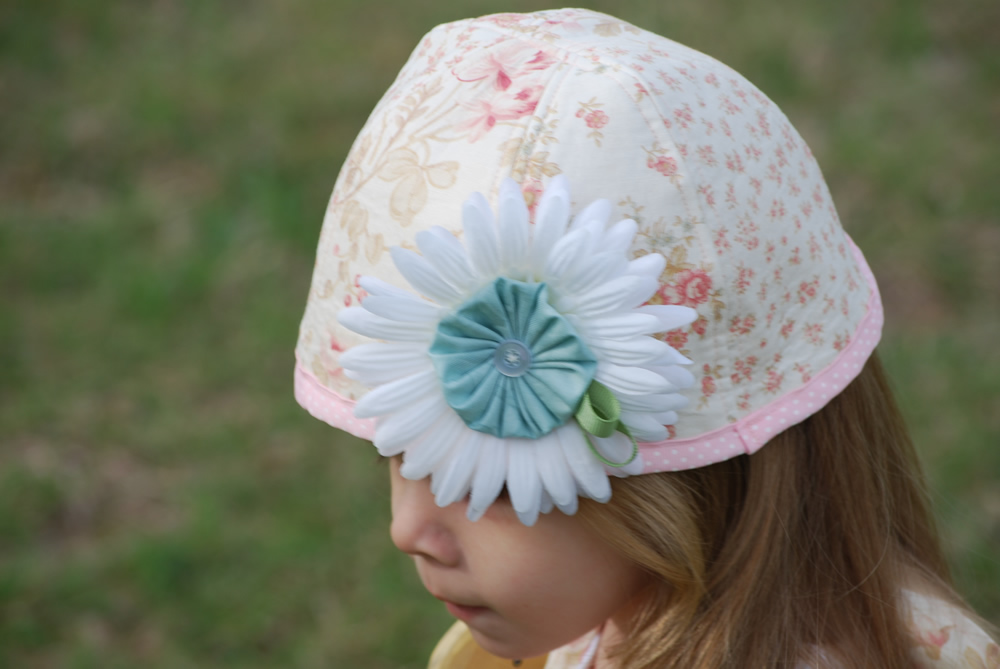
Dress is complete! Now you have one adorable Easter dress or any other occasion dress you wish to make. Great for any season, simply add a long sleeve shirt and replace the bloomers with tights for colder seasons. ADORABLE!


Oh so cute! Makes me anxious for spring. And what cute little models too. ;o) ooxx`jodi
They will be the best dressed children at the Easter Parade!Laurie
These are just adorable. Brings back memeories when I sewed dresses for my 2 girls. Maybe I can convince them to use Moda for their junior and senior proms!!!Thanks for the great tutorial,~Karen~
omg…how cute!!!very 1920’s-ish.LOVE it.
Olá amiga,boa tarde.Estou encantada com os seus belíssimos trabalhos.O seu pap está formidável.Te adicionei no meu blogool,assim fica mais facil para eu poder te visitar.bjtos.Nile.
WOW. i mean it. WOW!
So cute…those suspender straps are the best! And the dress is absolutely darling!
I would have never thought to use a jelly roll strip for the suspenders..this is a great tutorial!