Pink Ombre Patchwork Quilt


Hi Everyone!  I’m so pleased to be back here with a fun and easy project that is absolutely perfect for the beginner quilter (or for those who need to whip up a quick-yet-pretty gift).  The layout of this quilt is very simple and works with many pre-cuts – fat quarters, layer cakes, or charm packs. The trick is blending the fabrics from two different lines. I made this one with my daughter and it makes a great kids’ sewing project.

5 to 6 charm packs (choose lines that have lots of pink in different shades) – I used Posy by Aneela Hoey & 2wenty Thr3e by Eric and Julie Comstock.
3/8 yard Bella Solids for binding
3 2/3 yards Bella Solids for backing

From your charm packs, select fabrics with pink or white hues. Try mixing warms and cools too, as I did.  I even used a bit of orange. The results are actually very pretty.  Because you will be creating a quilt from dark to light, ensure that you have a nice even mix of both, along with a good amount of mid-range pink (or whichever colour you have chosen.  Say a mixture of five or six darker pinks/reds/oranges, five or six whites (with a touch of pink), and the rest in mid-range pinks.

Lay the charm squares on the floor and work out your desired design, ensuring that you gently blend the colours from dark to light.  Take a photo of this design to help ensure you get it right later on.

Starting in the bottom right hand corner, work backwards along the quilt, right to left, collecting your squares into a pile.  This will make it much easier when you come to sewing the quilt top.  Plus it looks pretty too…

Begin assembling your quilt in rows of eight, with a 1/4″ seam allowance for each seam.

Attach the strips together, either as you go or all at the end, your preference.

I gave my quilt top a good iron before sandwiching and quilting the top (very basic quilting – I am still very much a beginner quilter!).  Bind and quilt as desired. I used a white binding, but soft pink would look lovely too…  Didn’t I tell you it was easy?!

One small 40′ by 60′ single quilt for a pink-mad girl.  This would be a fun (and even easier) project using charm squares if you have enough pinks and whites – no cutting required!  Use fat quarters or layer cakes to make a larger version, and you can easily recreate this project using any colour you wish!

Stella Rutherford
{verydarkhorse.blogspot.co.nz}

Scallop Bunting Cot Quilt


Hi guys!  I’m so pleased to be back here with another project!  I loooooved putting this quilt together. Super quick and easy, perfect for a beginner quilter such as myself.  I have an obsession with scallop bunting at the moment, and have been making quite a bit of it for my own home and those of friends and family.  This quilt combines that love, with my need to make some baby gifts for friends who are expecting babies.  I can see myself making quite a few more of these, so sweet and soft…

4 x fat quarters in the fabric of your choice
2 yards white (or light) fabric for your background
2 yards white fabric for your backing
1 yard white fabric for binding
2 yards batting
Fabric glue

1. To begin with you will need to cut out your scallops.  My scallops measure 5″ wide and 5″ long, including the seam allowance.  To get perfectly rounded edges, I used an appropriately sized dining plate as a guide.
2. Cut your first piece of white fabric into five strips measuring 10″ (which includes 2 x 1/4″ seam allowances) by 30″, and one strip of 5″ by 30″.
3.  Attach four scallops to each strip, using fabric glue (alternatively, attach scallops to interfacing and skip this step – pinning them to the strips instead).  Make sure each scallop sits right up against the top edge of the strip and snug against each other – but not overlapping. You will want to make sure that you have rotated the colours for each one (though a random mix would also look lovely).  You will need to leave approximately  5″ on each end of the strip, which will be covered with binding.
4. For those of you with fancy machines (or anything made in the last few decades ;-)) you will now applique your scallops using a tight & wide zigzag stitch, or whatever your fancy machine does.  For me and my antique machine (which has no zigzag option – I make do), I did two single seams about a 1/4″ apart, with one as close to the edge of each scallop as I could safely get.  There will still be some fraying (for me), but the fabric glue will help keep that to a minimum.  
5.  Next place two strips (ensuring you have them in the right order) right side to right side, with the top piece facing upside down.  See image below for clarification.

Attach the two strips using a 1/4″ seam allowance, and then repeat with each of the rest of the strips.
6. Take the 5″ by 30″ strip and attach it to the top of your quilt top (see image of final quilt).
7. Sandwhich, pin or baste, and then quilt your… erm… quilt!
8. Attach binding, and you’re done!

Like I said, this is a super easy quilt to make, and would be a perfect wee quilt to gift to an expectant mom (or just keep for yourself – something I was tempted to do!).  I think you could have a lot of fun playing with the colour scheme and pattern.  I’m eager to have another go with some different fabric and see what I can come up with!

Stella Rutherford
{verydarkhorse.blogspot.co.nz}

2012 in Review

Happy New Year quilters and sewers! 2012 was a busy year at the Moda Bake Shop. 199 posts published! Click through to see the top ten projects from 2012.


The Moda Bake Shop’s Top Ten Projects of 2012:

1. Sunbathing Companion by Stella Rutherford | {The Golden Adventures of a Very Dark Horse}


2. Sophie Car Seat Quilt by Jennie Pickett | {Clover & Violet}

3. Cathedral Window Pincushion by Kim Niedzwiecki | {gogokim.blogspot.com}

4. Patchwork Chevron Quilt by Jeni Baker | {In Color Order}

5. Renaissance Waves Quilt by Karin Vail | {cascadequilts.com}

6. Owl Tag Along Toddler Backpack by Angela Pingel |{cuttopieces.blogspot.com}


7. Lucky Layers Tiered Dress by Anshu Jain | {Blooms And Bugs}

8. So Soft Washcloths by AnneMarie Chany |{Gen X Quilters}

9. Isosceles Picnic Quilt by Penny Layman | {sewtakeahike}

10. Four Squared Quilt by Polly Monica | {auntpollysporch.blogspot.com}

Wishing you a happy, safe, and sew-ful New Year,

60-Minute Gift: Fold and Go Play Mat

1 x fat quarter in colour of your choice for backing.
1 x fat quarter for your binding
1 x 1/4 yard pale green fabric for grass
1 x 1/4 yard green/blue fabric for the ocean
1 x 1/4 yard pale blue for ocean/seashore
4 x Scraps of green/floral fabric measuring approximately 5 1/2″ by 6″ (I used four pieces in two designs) for paddocks
1 x 1/4 yard of your choice of fabric for bag flap
1 x 1/4 yard of your choice of fabric for bag straps
1 x piece of your choice of fabric, measuring approximately 7″ by 10″ for pocket.
4 x Basic snaps
1 x button
1 x Ribbon/elastic (just a small piece)
Some scraps of felt

Firstly you will piece together the play mat.  For this I used a soft green from the collection, and two shades of blue to create the ocean.   The measurements don’t need to be exact, but your entire mat will eventually measure that of a fat quarter (20″ x 22″) so let that be your guide.  For my version, I measured off the pieces as follows:
Green – 20″ x 10″
Pale blue – 20″ x 4″
Darker blue – 20″ x 6″
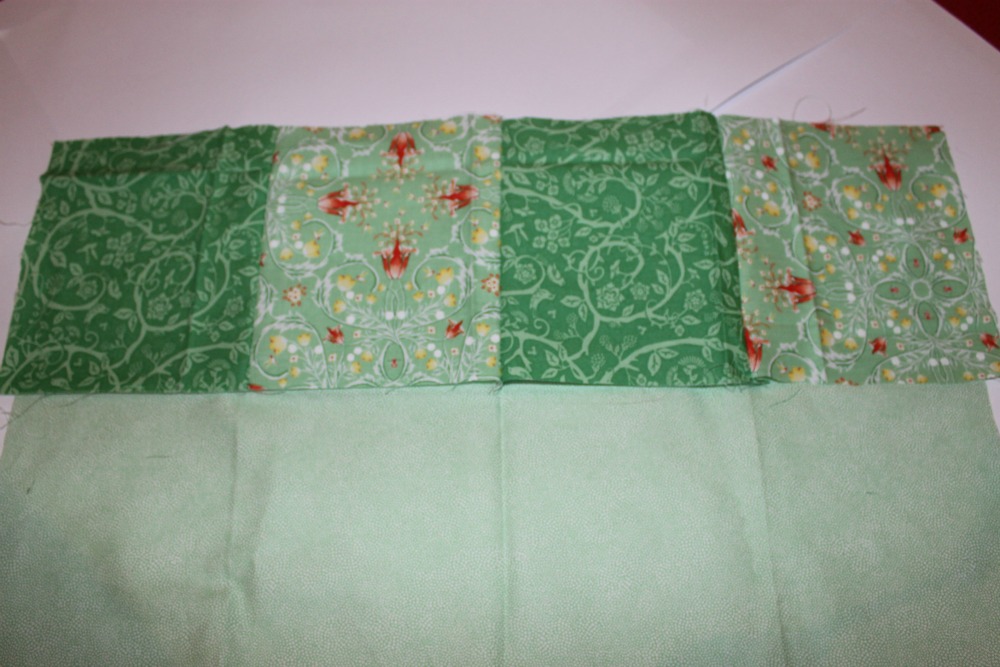
With a 1cm seam allowance, I stitched the three pieces together in the colour order pictured below.

At the top of the play mat I wanted to create some little fields, so I took two different fat quarters and cut two pieces measuring 5 1/2″ x 6″ from each.
I pieced them together with right sides facing, and stitched them together – alternating the fabrics, with 1cm seam allowances.
It will look a little something like this, although perhaps a little less wonky if, unlike me, you are smart enough to use a cutting mat… (I’m an ‘imperfect is beautiful’ kinda girl).  Trim any excess fabric so that you have a fat quarter(ish) piece.  You can match it against another fat quarter to get a perfect sizing.
The next step is down to your own creative impulses.  I added two ponds, one with a stream, but left the play mat mostly bare, because I love leaving space for a child’s imagination.  You might want to make a mud pit for a pig, or a larger river with a bridge crossing it, or a road weaving across the park.  Different coloured felt would work perfectly for any of these options.  Simply cut out the shape you want, pin it on your mat, and topstitch it.
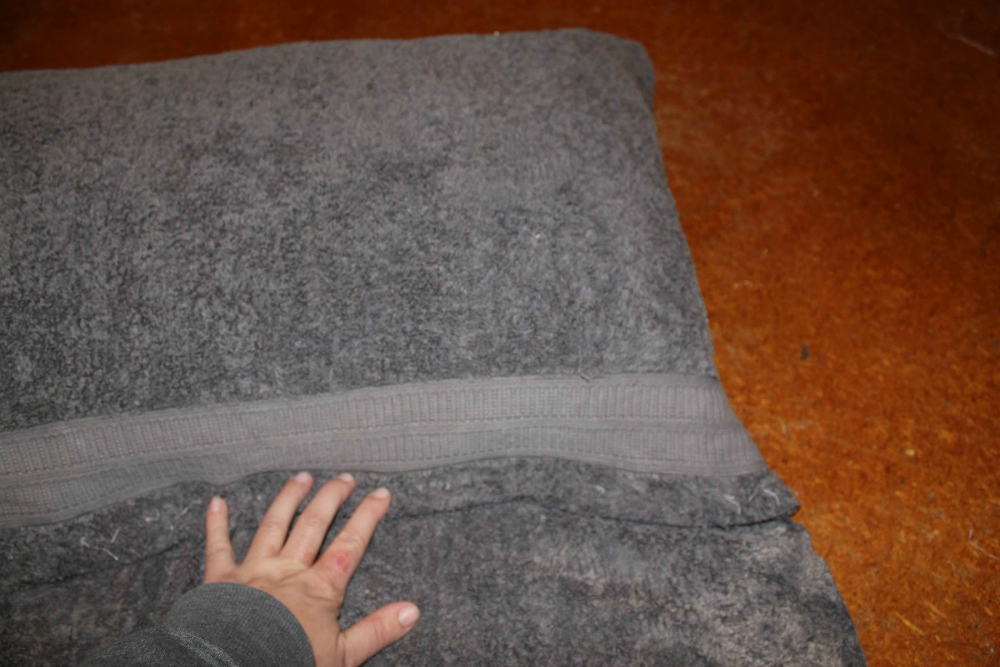
Next I took a purple fat quarter to use as backing.  It’s not necessary to use batting for this project, as a thinner mat will be easier for the animals to stand on.  I folded the FQ in half and ironed the crease, and then folded it in half again and did the same, dividing my piece into four equal parts (see picture).  Then I placed the mat to the side to make the handles.
My bag straps measured 4 1/2″ x 13″, which I folded in half longways – right sides facing, and stitched using a 1/2cm allowance, along the length and across one end, leaving the other end open (to turn the straps).  I then made small incisions about 1/2cm apart (closer if you like) around the corner of the sewed end.  These small incisions will make your fabric sit nicely when you turn it it right way out.  
Once you have turn your straps right side out (they should turn easily, but using a knitting needle if you’re having trouble), pin them to the top right-hand quarter of your backing piece.  You can leave the top edges raw at this stage, and be sure to leave an allowance of about 1/2 an inch on either side of the straps for the binding.

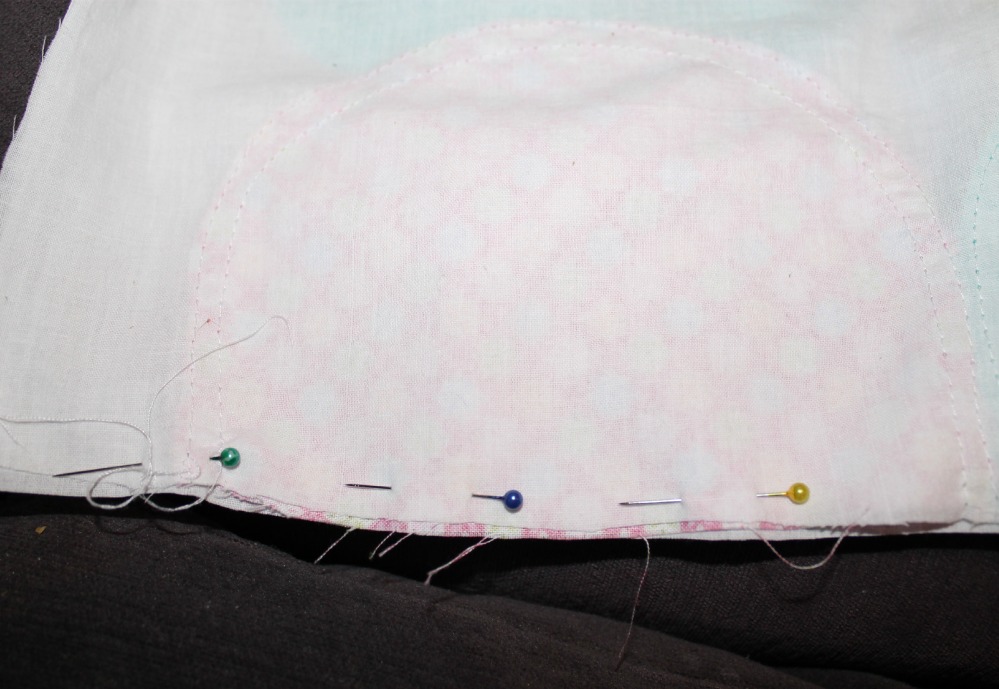
Now it’s time to cut out the bag flap.  Take a larger piece of fabric – I used a piece that measured 9″ x 10″ – and cut it in half so that you have two pieces that measure around 9″ x 5″.  Round the corners as pictured below.

Place the two pieces together, right sides facing, and sew them with a 1/2cm seam allowance, leaving the top open.  Make the same incisions around the corners that you did on your bag straps – as pictured below.

Pin the flap onto your backing so that it covers both straps.  Sew along the edge with a 1/2cm allowance, leaving the edges raw.

Place this to the side, as you will now be making your binding.  I cut four 2″ strips from a fat quarter, so they were around 2″ x 22″.  If you have never made binding before (this is not bias binding, which is cut on a diagonal across your fabric), it takes just a few simple steps.  Firstly, iron your pieces in half, longways.  Then open your fabric out, pull the edges back in so that they meet the middle (as pictured below), and iron again.

Now fold the two sides together, and iron it again. 

I was recently shown a neat trick for using binding, which help me immensely (I’m notoriously untidy when using binding).  It does make for a little extra sewing, but well worth it (and saves you from unpicking later).  Open out your binding again, and place the right side edge to edge against your backing.  You will be pinning three pieces of fabric together now.  The front of your playmat will be placed wrong side to wrong side against your backing.

Pin your binding, opened out, all the way down along the edge of your two pieces, as pictured below.  Sew close to the edge, ensuring that you are collecting all three pieces of fabric in your seam.

Now flip your mat over and fold your binding so that it encloses the edges of your mat (there’s a little yellow arrow showing you where to fold, in case this is not completely obvious already).  Now you can topstitch your binding, resting assured that you have collected all your pieces together!

When it comes to corners, I’m no expert, but this is what I do.  I tuck one corner of the first piece of binding (already sewn on) into the second piece of binding before I have sewn that piece.  When I sew the second piece of binding on, I make sure I only sew as far as the seam on the first side – around about where that blue pin is in the photo below.

I then fold the corners of the binding, tucking excess fabric underneath the binding, and creating a diagonal line reaching from the outside corner to the inside corner of the quilt.

Pin into place, and then topstitch.

When it comes to the pocket, it’s really up to you how large you want it.  My piece of pocket fabric measured 10″ x 7″.  First do a single fold hem on the top edge of the pocket.

Next pin your pocket to the top left hand quarter of your mat (as pictured below), making sure to leave room for the top flap and the button. Top stitch the sides and the base.

On the underside of the bag flap (where it won’t be visible from the outside), pin a looped piece of ribbon.  Tuck the edges under and stitch it where you’ve pinned it (a couple of times, so it’s nice and strong).

Add a matching button.

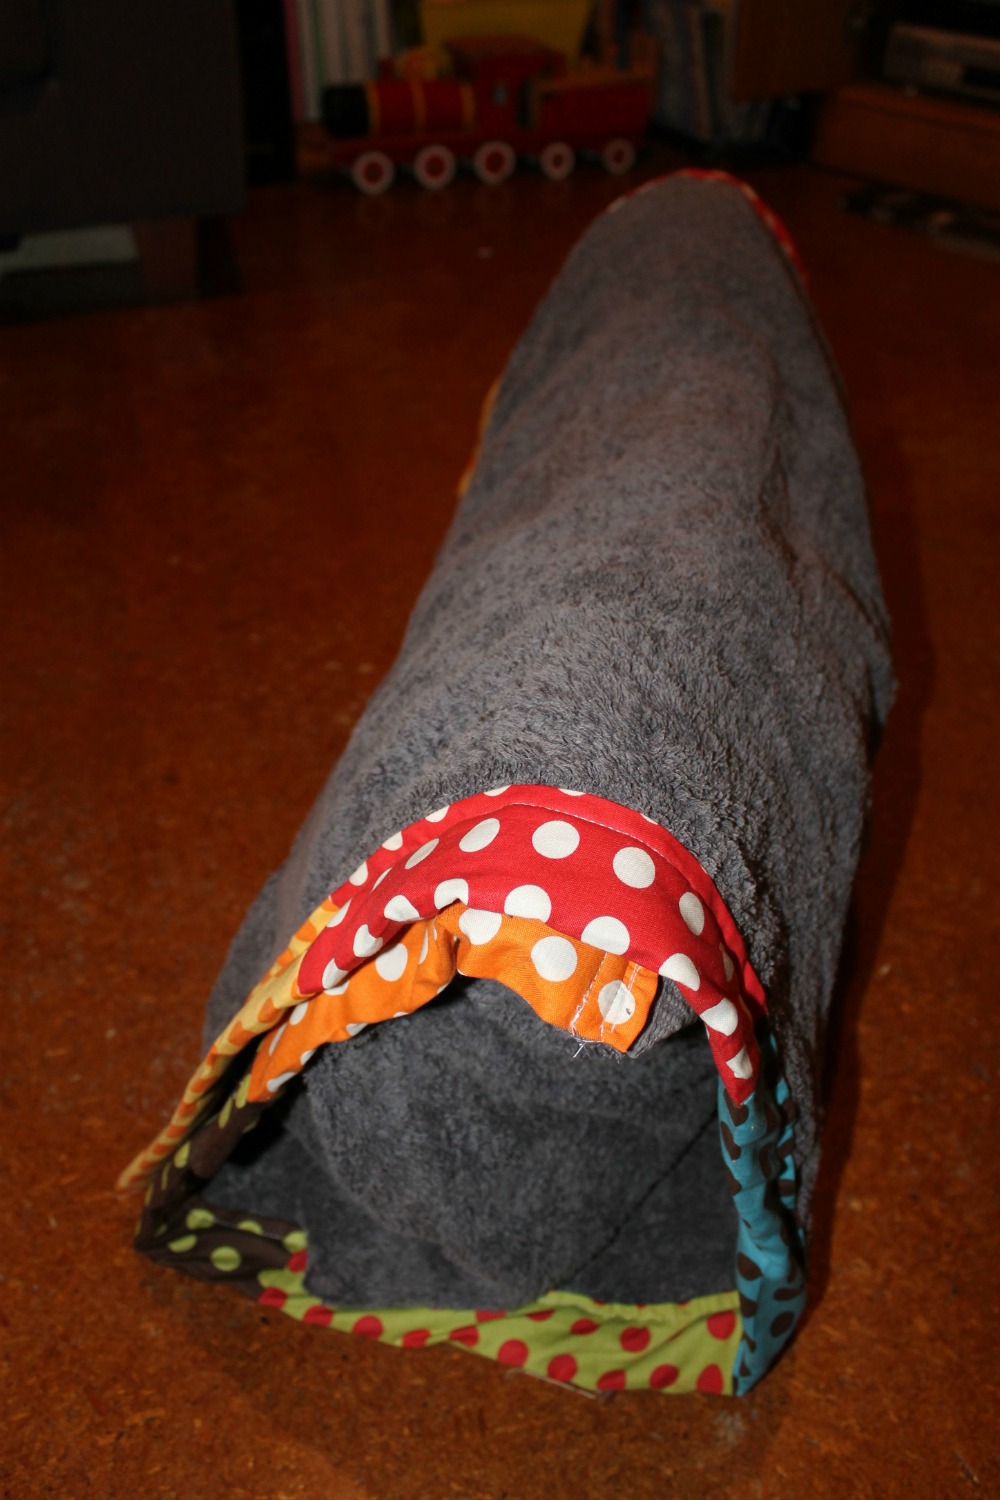
For the next (and final stage) you will need to fold your bag in half and in half again – so that it looks like this:

Making sure the button is undone, you will then take the top left hand corner, and add basic snaps to attach all four corners.  You will use three sets of snaps to attach the four corners of fabric.

The final set of snaps will be used to attach the bottom left hand corners, as pictured.

And then you’re done!

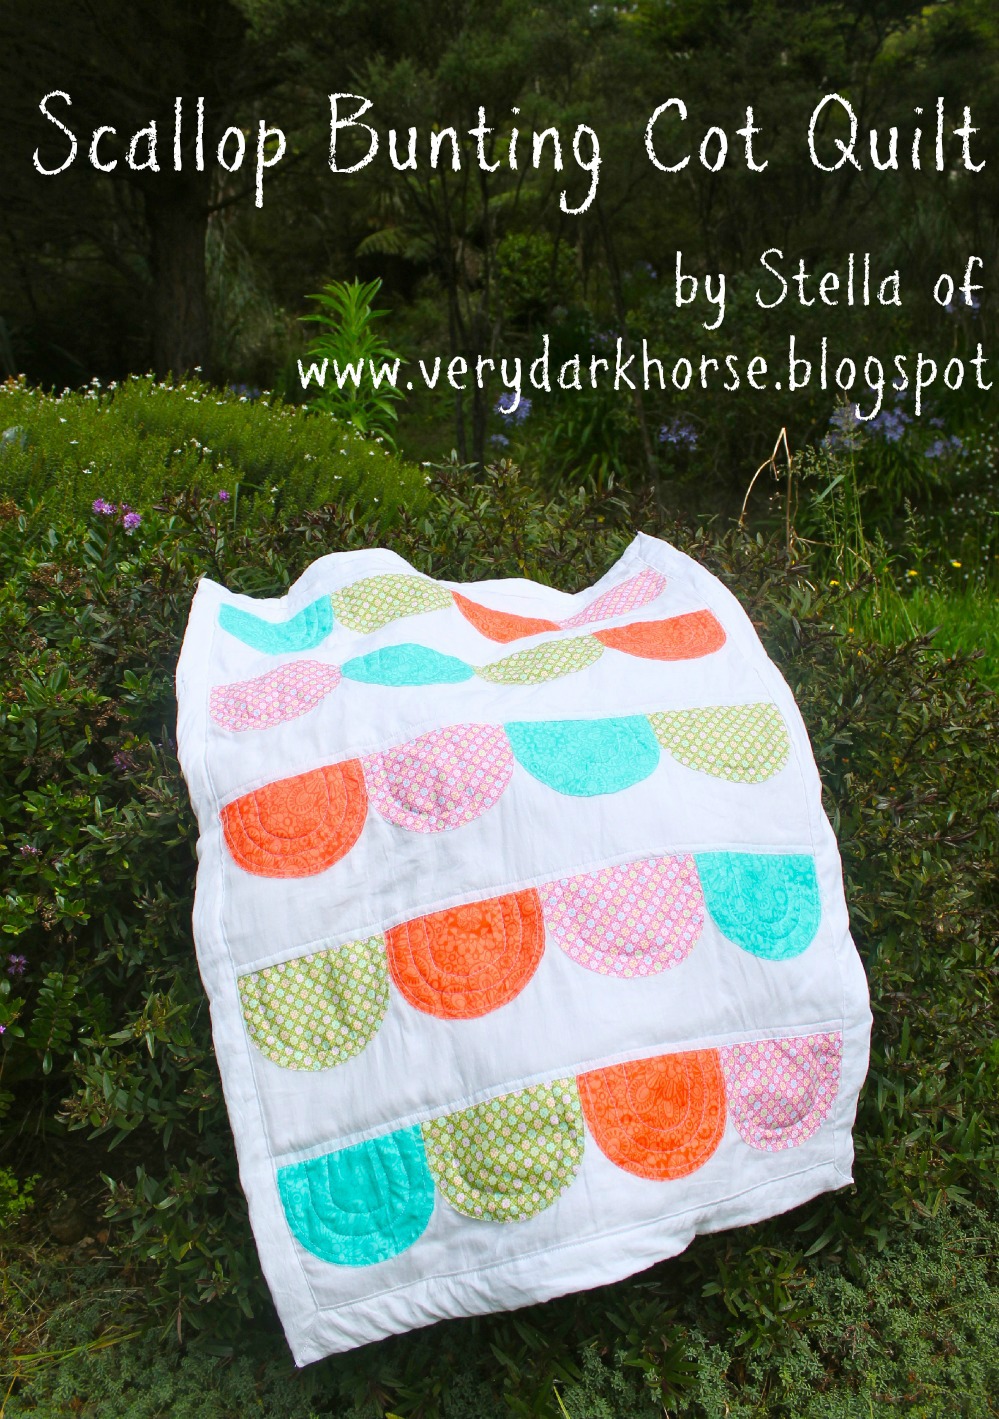
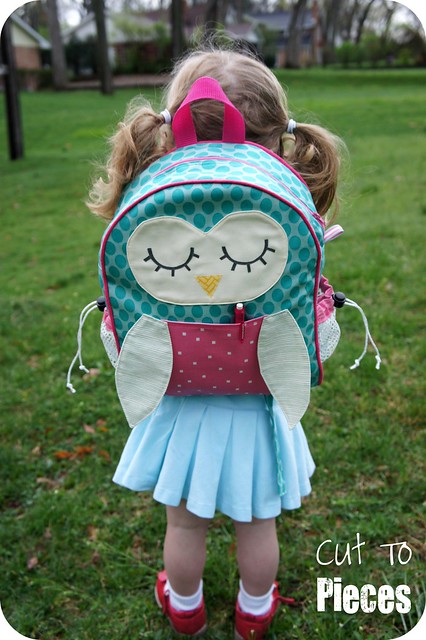
One fold and go child’s play mat.  Perfect for playing with farm or zoo animals, or you could create roads and parking lots for playing with toy cars.  This sweet little mat can then be folded into a backpack, with the toys stored in their own little pocket, and your little one can carry their own entertainment system to your next destination.  These would make perfect Christmas or birthday gifts for a little one.

Stella Rutherford
{verydarkhorse.blogspot.com}

The Sunbathing Companion


Hi Everybody!  I’m Stella from The Golden Adventures of a Very Dark Horse and this is my very first time sharing a recipe here at the Moda Bake Shop. Today I am sharing a project I created last Summer (it is midwinter here in New Zealand), for all those lazy days sunbathing down at the beach.  I am forever dragging all sorts of ‘essentials’ with me when I set out to sunbathe, which is how and why this project was borne (much easier to carry it all in one go).

I made a few changes from my original design for this tutorial.  This time I created an envelope sleeve so that you can slide your pillow out after using the towel, which makes it much easier to wash, and pack away when you’re not using it.  I also experimented with the edging just to spice things up.  You’ll see!

This is really quite a simple project, and should suit beginner sewers (such as myself).  I hope you enjoy making it, and please let me know if you have any questions!


1 Oh Deer by MoMo Layer Cake
2 towels in your desired size (old or new – I repurposed two old towels for this project).
1 pillow
Velcro/snaps/domes/buttons.  You may choose whichever of these you prefer.


If using buttons you will need a small amount of braid/ric-rac/cord or something similar to loop around the buttons.

Take your first towel and line it up against your pillow.  Trim the towel so that it is the same width but with a small allowance, 1/2″ or so each side (you can trim it further at a later stage, if needed) – as your pillow, and then put that towel to the side.

Take your second towel and wrap it around your pillow, with the wrong side out.  Pin it down one side, against the pillow, and trim the other side allowing for a 1/4″ hem.  Leave some excess towel along the bottom of the pillow.  You’ll use this fabric to attach the two towels later.  Remove your pillow and stitch down the side that you have pinned.  Hold onto any toweling that you have trimmed off, as you will use these pieces to make the handles for your tote.

Turn your pillow sleeve right side out and place your pillow inside it once again.  Pin along the length of your pillow and also leave a pin where your pillow ends and the hem will be.


Pin marks where pillow ends and hem will be (envelope opening).


Remove your pillow again, and sew where you have pinned – up until your marker.  With the towel wrong side out once again, fold the edges of your pillow sleeve opening and sew a basic hem.  Right side out again, you now have a home for your pillow!
Take both pieces of towel and piece them together, short side to short side.  The pillow sleeve piece will have two layers of towel with adequate room for you to attach it to the other towel.  It is your choice whether you want to slide the other towel between these two pieces before sewing them together, or just bang them together and sew.  The result will look much the same regardless.  This time around I was unable to do a tidy hem as my machine couldn’t get through that much towel, so I left the edges raw.  It looked fine in the end, which made me wonder why I’d bothered trying to make it look tidy last time!
To make this item nice and strong, I made two seams.  One just below where the pillow slides in, with both pieces of Towel 2 backed by Towel 1.  I then stitched another seam just above the edge of Towel 2.  See below to get a better idea of what I mean.  You basically just want both pieces stitched together as strong as possible.

Now for the edging!  I used six pieces of Layer Cake from the ‘Oh Deer’ collection by MoMo.  I chose polkadots because they were bright and colourful and I was sure that the recipient of this towel tote would love the colours.  I stitched all six pieces together with a 1/4″ hem.  Easy peasy.

 Sewing those lovely pieces of layer cake together.


Then I folded the strip in half, width-wise, and cut it straight down the middle, leaving me with two matching pieces of edging.

I folded these in half again and ironed them this time.  I then folded each edge another 1/4″ and ironed those edges down, leaving me with two pieces of binding, perfect!

Depending on the size (length) of your towel, you may need to add another piece (or two) of layer cake, but you should end up with two pieces of binding long enough to add to each side of your towel tote.  This time I chose not to add edging to the pillow itself, as I wanted the opening, but the choice is up to you. All you need to do now is pin your binding to each side of your towel tote and topstitch it.  Woohoo!  Your towel tote is looking fabbity fab now!

So now you slip your pillow in (again!  It does get a bit tedious), and roll up your towel tote so that you can decide where want the pockets and handles to go.  Mark out those spots with pins, and leave the towel tote where it is.  Time to make those pockets and handles!
Choose another two or more (depending on how many pockets you would like) pieces of layer cake, and hem along the top of each piece that you are going to use.  Fold (and iron if you desire) the edges in and top stitch the sides and the bottom of each pocket to your tote, in the spaces you have marked with pins.

Now take some of those pieces of towel that you trimmed off the second towel to make the pillow case.  The size you make the handles will depend on how much towel you have, and what size you want them.  The two pieces I cut to make handles with were 78cm long and 15cm wide. Stitch them together with a 1/4″ allowance, and turn them right side out.  Then pin them where you would like them on your tote, and make sure that they are aligned.

Because you are sewing through so much towel at once, you will have to work slowly to attach those handles.  You will also want to make sure they are as sturdy as possible.  Good luck wrangling with your machine!

Once your handles are on (almost there!) just choose your method for closing your bag.  This time I chose buttons, picking two brightly coloured ones from my collection, and a piece of cord that matched my towels to make loops.

Hopefully it looks something like this:


As well as being super handy for personal use, the Sunbathing Companion makes a perfect gift as well.  I made this one for my sister-in-law who has hankered for one since I made the original.  It would be fun to fill the pockets with sweet sunbathing essentials too (magazines and chocolate?  Surely essential!)!

Stella Rutherford
{The Golden Adventures of a Very Dark Horse}