
![]()
Hey, there! I’m so glad you’ve popped in to see what’s cookin’ at the Moda Bake Shop today! This is my first time here, so let me introduce myself. My name is Julie Cefalu and I share my quilting and crafting ideas at my blog, The Crafty Quilter. I have been quilting for 14 years, plus I get to work and teach at my favorite local quilt shop, The Granary, in Northern California.
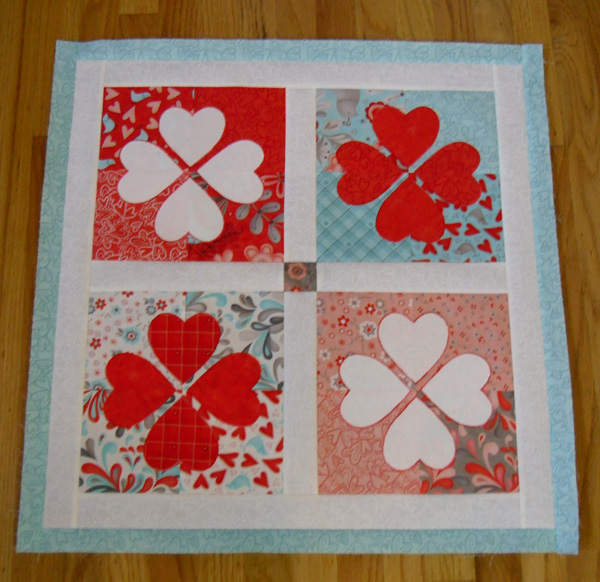
I love working with Moda pre-cuts and today I am going to share a tutorial for an adorable table topper and pincushions that will be perfect for the month of February! You might decide that you want to hang your quilt on the wall instead, but it’s small enough to place on a table (with a vase of flowers on top)! And the pincushions are actually what started this project for me. They were so cute, I thought why not make a table topper to go with them? And so it goes…
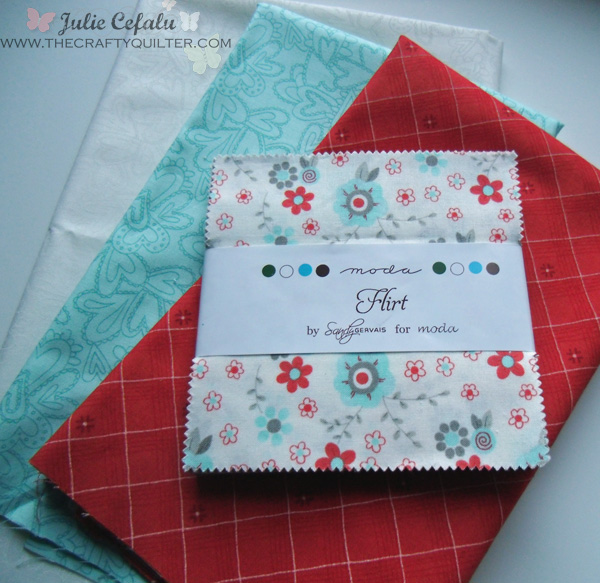
One Charm Pack of Flirt by Sandy Gervais for Moda
1/2 yard of Flirt 17705-23 White Tonal Lacy Hearts
1/8 yard of Flirt 17705-14 Blue Bird Lacy Hearts
1/4 yard of Flirt 17707-12 Red Wavy Plaid
1 yard backing fabric
34″ x 34″ batting

Paper backed fusible web (I used Heat ‘n Bond Lite)
Lightweight fusible interfacing
Craft felt in pink and/or red (for pincushions)
Polyester stuffing and/or crushed walnut shells (for pincushions)
Buttons (for pincushions)

Table Topper Instructions:
First, you will want to separate the charm pack into color families. Set aside four of each color family for the four-patch blocks used in the table topper.
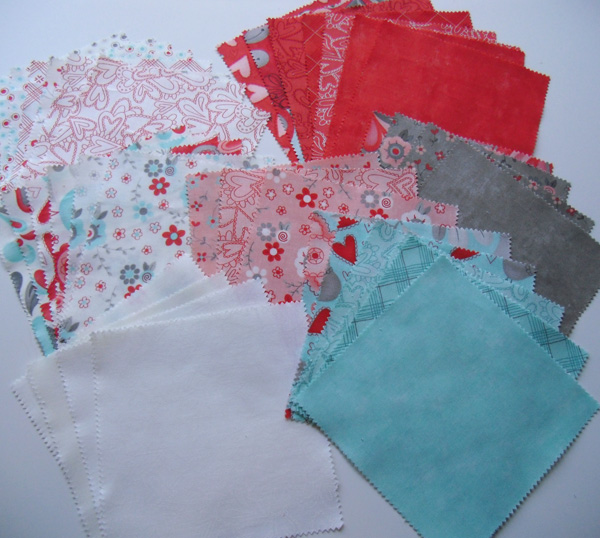
Next, pick out 4 squares of white and 4 squares of red to use for the heart appliques.

The rest of the charm squares can be used for the pincushions.
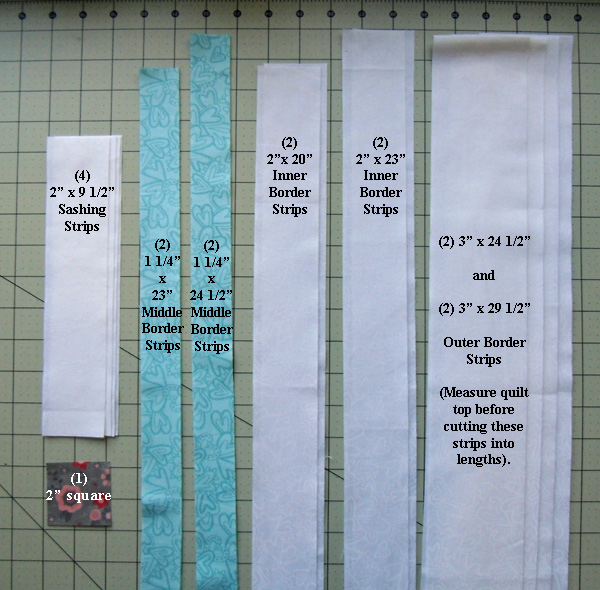
Cutting Instructions for the Table Topper:
White Tonal:
Cut (4) 2″ strips and sub cut into:
- (4) 2″ x 9 1/2″ rectangles for sashing
- (2) 2″ x 20″ rectangles for first inner border
- (2) 2″ x 23″ rectangles for first inner border
Cut (4) 3″ strips for outside border. I prefer to measure my quilt top first before sub-cutting these into the correct length. But here is what they should measure for your reference:
- (2) 3″ x 24 1/2″
- (2) 3″ x 29 1/2″
Blue Bird:
Cut (4) 1 1/4″ strips and subcut into:
- (2) 1 1/4″ x 23″ rectangles for middle border
- (2) 1 1/4″ x 24 1/2″ rectangles for middle border
Contrasting charm square:
Cut (1) 2″ square for sashing corner stone
Red Plaid:
Cut (3) 2 1/4″ strips for binding
Assembly Instructions for Table Topper: (All seams are 1/4″ wide)
A. Make 4-patch blocks: Sew together the four charm squares of each color family into a 4-patch unit as shown. The block should measure 9 1/2″ square (unfinished). Press seams so that they oppose and the final row seam can be pressed as shown:

Make a total of (four) 4-patch blocks.
B. Prepare Appliques
1. Fuse a 4 3/4″ square of lightweight interfacing to each of the white 5″ charm squares to prevent the background fabric of the four-patches from shadowing through.
2. Print out the heart shape (available in the printer friendly version at the end of this post) and trace 16 of the large hearts onto the paper side of the fusible webbing. Cut out shapes roughly about 1/4″ around each heart.
3. Press fusible heart shapes onto wrong side of each white and red charm square. You will be able to fit 2 hearts per square if you’re careful.

4. Cut out hearts on drawn line carefully. Remove paper layer from fused hearts. I use a pin to score the paper and then it’s easier to tear away.

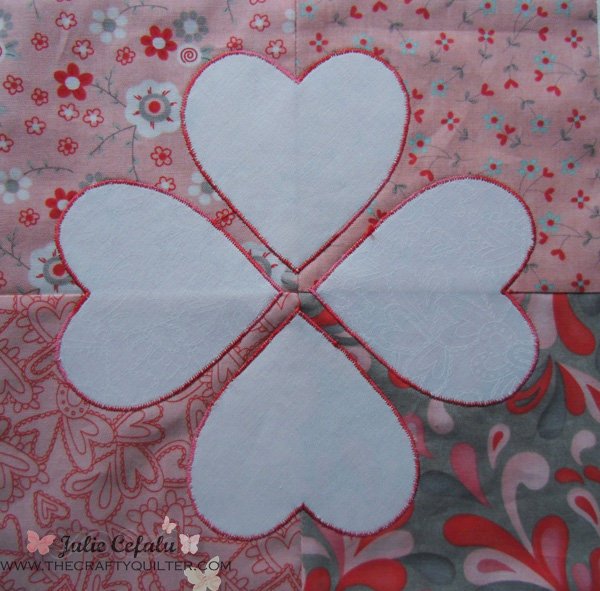
5. Arrange four hearts on each 4-patch block with center of hearts on the 4-patch seams as shown. Fuse into place following manufacturer’s instructions.

6. Stitch around raw edges of hearts using a blanket stitch or zig zag stitch. I used a small zig zag stitch and a red/coral variegated thread.
C. Assembly:
1. Lay out the 4-patch applique blocks, sashing strips and 2″ square as shown below. Sew together into rows, pressing toward the sashing strip.

2. Sew rows together. Press toward sashing row. This should now measure 20″ square.
3. Add first border. Sew a 2″ x 20″ rectangle to top and bottom of quilt top. Press towards border. Sew a 2″ x 23″ rectangle to both sides. Press towards border.

4. Add middle border. Sew a 1 1/4″ x 23″ rectangle of blue bird fabric to the top and bottom of the quilt top as described above, pressing towards the blue bird border strips. Repeat for both sides using the 1 1/4″ x 24 1/2″ strips.

You’re almost done! You get to baste, quilt and bind your table topper next. I stitched in the ditch along the main seam lines (blocks and borders) and then had some fun with free motion quilting.


One table topper measuring 29” x 29″.

Pincushion Instructions:

Use the left over charm squares from the table topper and the “garnishes” listed at the beginning of this post.

Cutting Instructions for two pincushions:
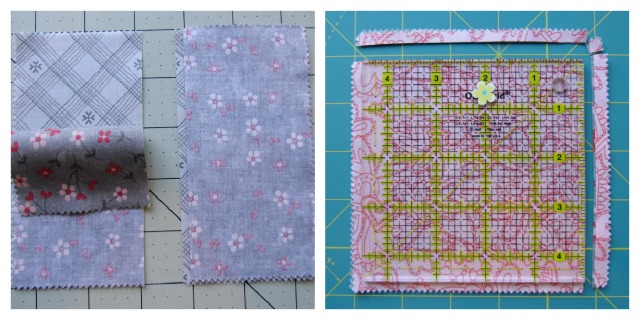
- Using two charm squares for the top, cut them in half to make 4 rectangles, 2 1/2″ x 5″.
- Using two charm squares for the bottom, cut them into 4 1/2″ squares.
- Cut fusible interfacing into (4) 4 1/4″ squares.
Make 4-patch units.
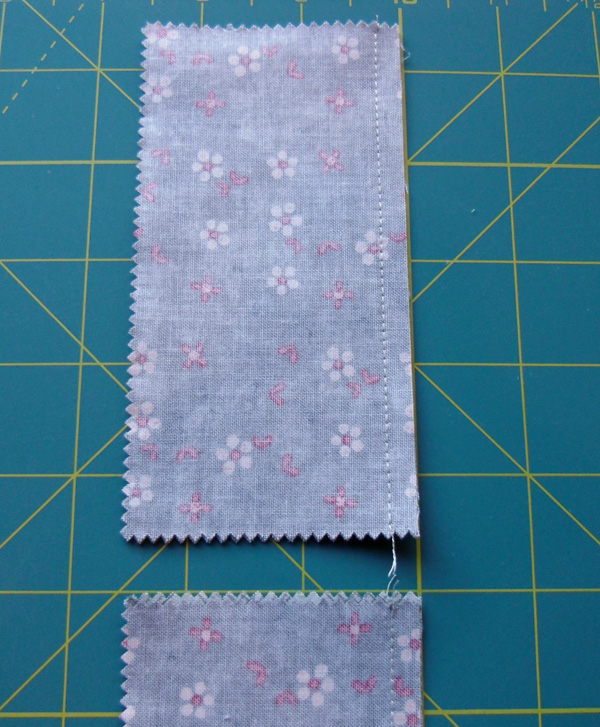
1. Sew together (2) 2 1/2″ x 5″ rectangles, and press towards the darker piece. Repeat to make two sets.

3. Sew the units together to form a 4-patch. Press. Unit should measure 4 1/2″ square.

Fuse Interfacing:
I like to add a lightweight interfacing to my pincushion at this point. Using the 4 1/4″ squares of interfacing, fuse one to the wrong side of each of the 4-patch units and to each of the 4 1/2″ square bottoms.

Prepare hearts from craft felt:
Print out the pdf file (available in the printer friendly version) for the heart templates. Using the small hearts, you can create a template out of freezer paper or template plastic and trace shape onto felt. Cut out 4 hearts for each pincushion.
Place hearts on the four-patch units so that they are centered on the seam lines. Stitch in place. I used “Sliver” thread which is an iridescent thread by Sulky and stitched down the center only of each heart.

Sew together the four-patch top and the 4 1/2″ square bottom using a shorter stitch length (1.5 – 2.0) and leaving a 1 1/2″ opening on one side for turning. Trim corners. Turn right side out.

Stuff the pincushion with either walnut shells, polyester stuffing or a combination of both.

Hand or machine stitch opening closed.
Add button to the center of the hearts by using two strands of embroidery floss and starting at the bottom of the pincushion, bring your needle up to the center top and through the button. Bring back down to the bottom and repeat. Cinch it down on the bottom and knot thread. Finished!

Two pincushions measuring 4 1/2″ square.

And if you have left over fabric, make a bow for your favorite vase!
Thanks for joining me today and I hope you visit my blog, The Crafty Quilter, for more tips, techniques and inspiration for your creative side!
Julie Cefalu
{thecraftyquilter.com}
![]()
