
Hi! My name is Tamarynn Bennett a.k.a. Tam from Sew Dang Cute. Come check it out! I’m having a giveaway right now, so make sure to stop by and enter. My loves in life are my wonderful husband and three beautiful children. They take up the majority of my time, however, I try to sneak in time for sewing, leisurely cooking, and triathlons. I am so excited to be part of the Moda Bake Shop crew, and introduce you to my first project – The Valentine’s Bubble Skirt with Heart-Shaped Pockets. Hope you enjoy it!!!
– 1 L’Amour Jelly Roll by Sandy Gervais
-1/2 yd coordinating fabric (for waistband, hem, and pockets)
-3/8 yd jersey knit fabric (optional for underskirt)
-coordinating thread
-1 yd 1″ elastic
-1 yd 1/4″ elastic

–Heart Pattern Pocket Piece (click to download)

*All seams are 1/4″ unless otherwise noted.
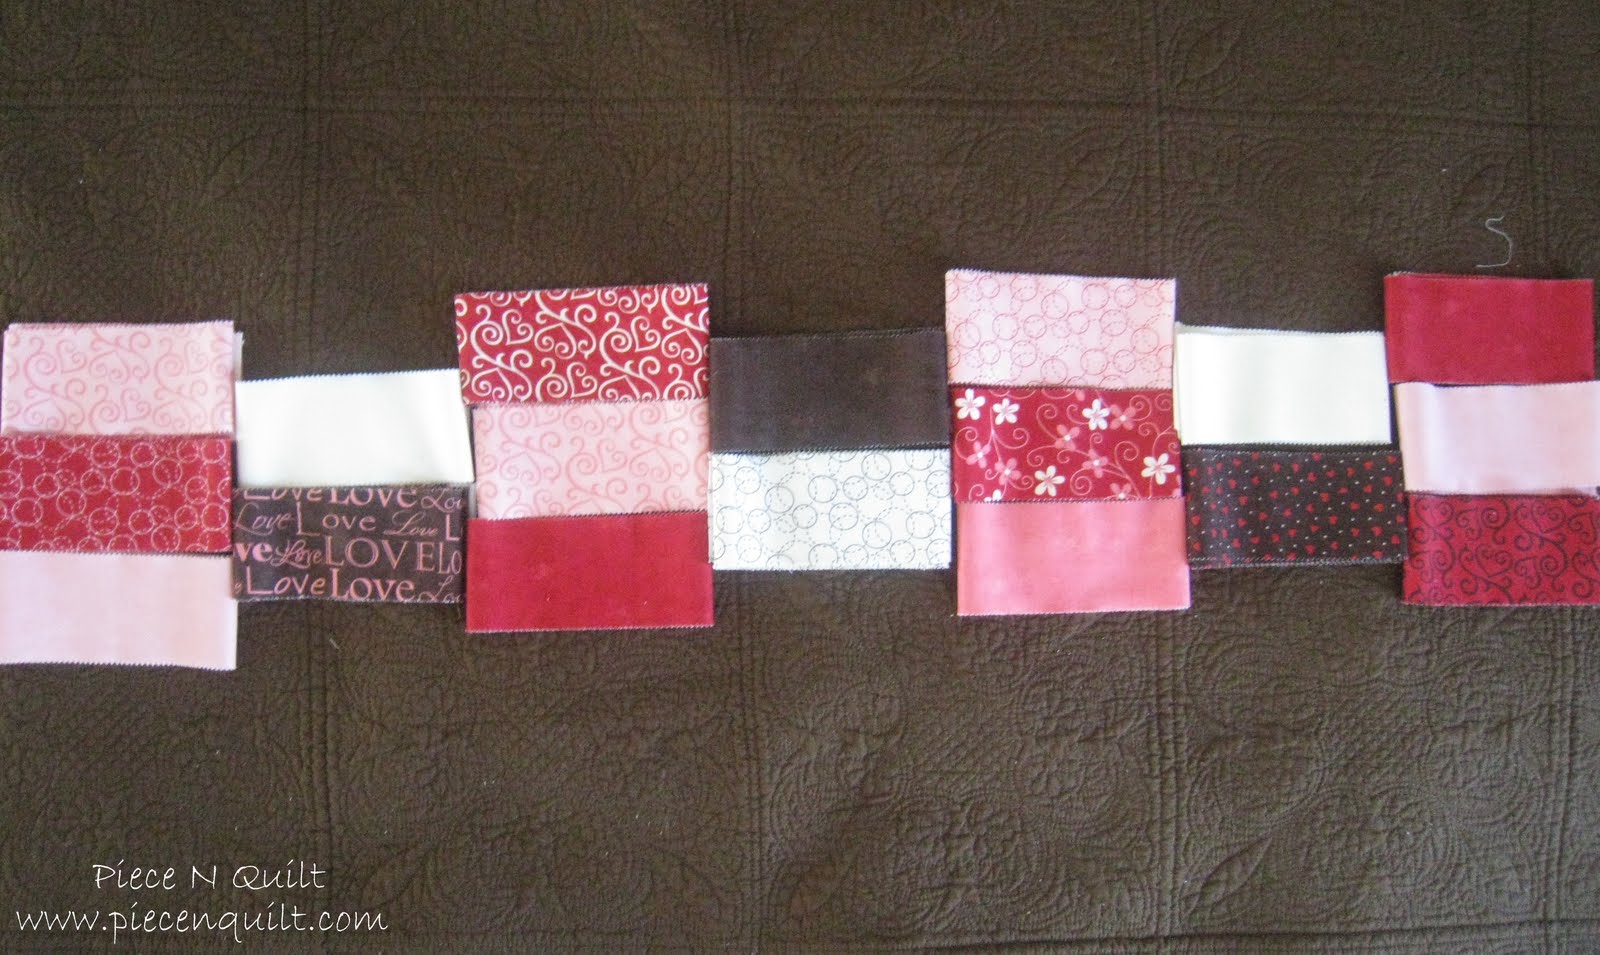
1. Measure child’s waist.For every inch, you will need 1 strip of fabric from your jelly roll.  Ex: my daughter’s waist is 20″, so I will need 20 strips. Narrowing it down was really difficult. I couldn’t decide so I ended up using 11 pieces, two times each, to get 22 strips. It’s okay because this will just be gathered so one or two extra strips won’t hurt. Lay out your design.
  Cut your strips to length. I’m making a 4T, so I cut mine 9 1/2″. Add or subtract 1/2″ per size. Ex: 3T – 9″, 5 – 10″.
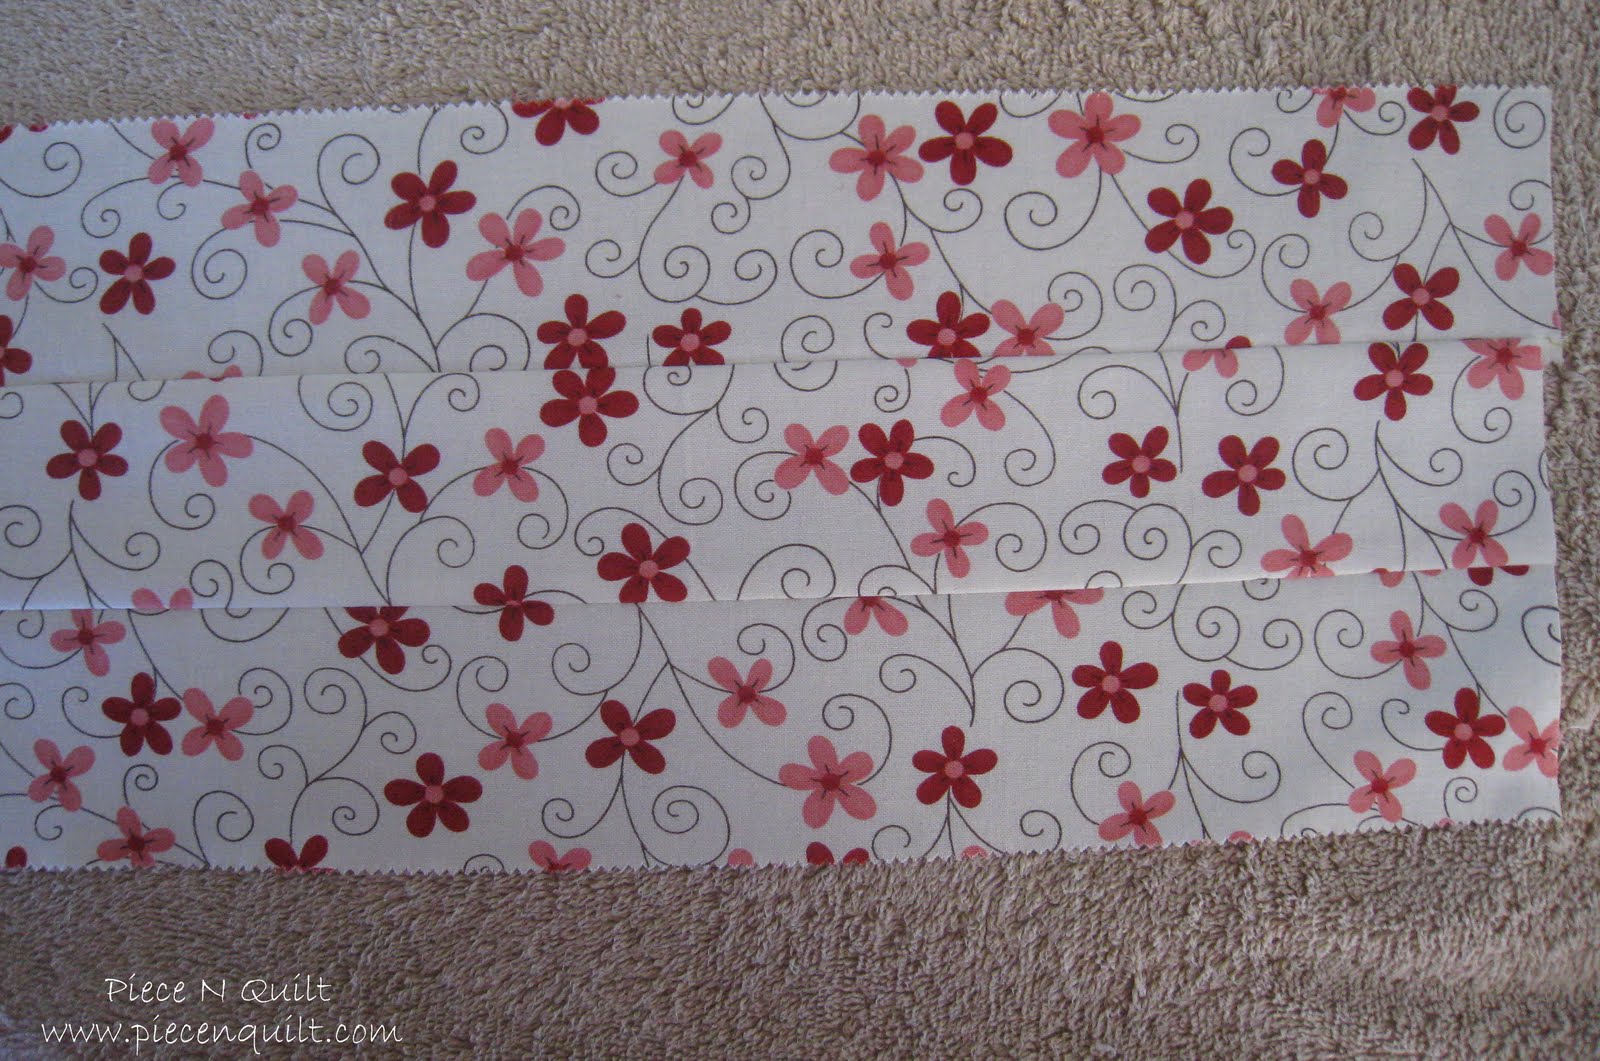
2. Sew strips together RST (right sides together) along long edge. Finish seam by serging or using a zig–zag stitch. Press open seams. If serged, make sure your seams are all laying the same direction. Topstitch. 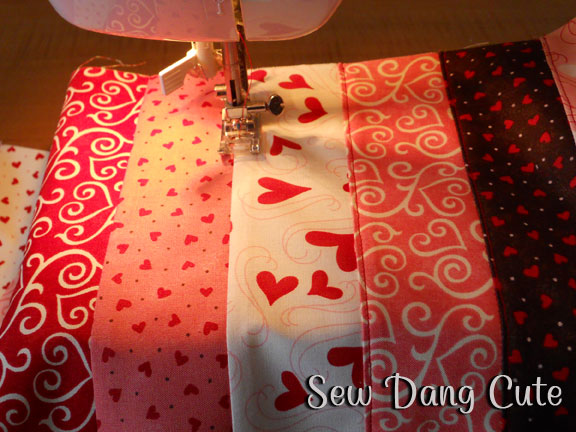 You should have one long piece now.
 3. Measure the long piece. Mine measures 41″ x 9 1/2″. Cut a piece of jersey knit this measurement. This will be the underskirt and is optional. I like it so all those seams aren’t rubbing up against my child’s legs. We are also going to cut a hem piece at this time out of our coordinating fabric. For sizes 6m-2T, cut the length of strip piece x 6″. For sizes 3T-10, cut the length of the strip piece x 8″. Remember I’m making size 4T, so I cut 41″ x 8″.
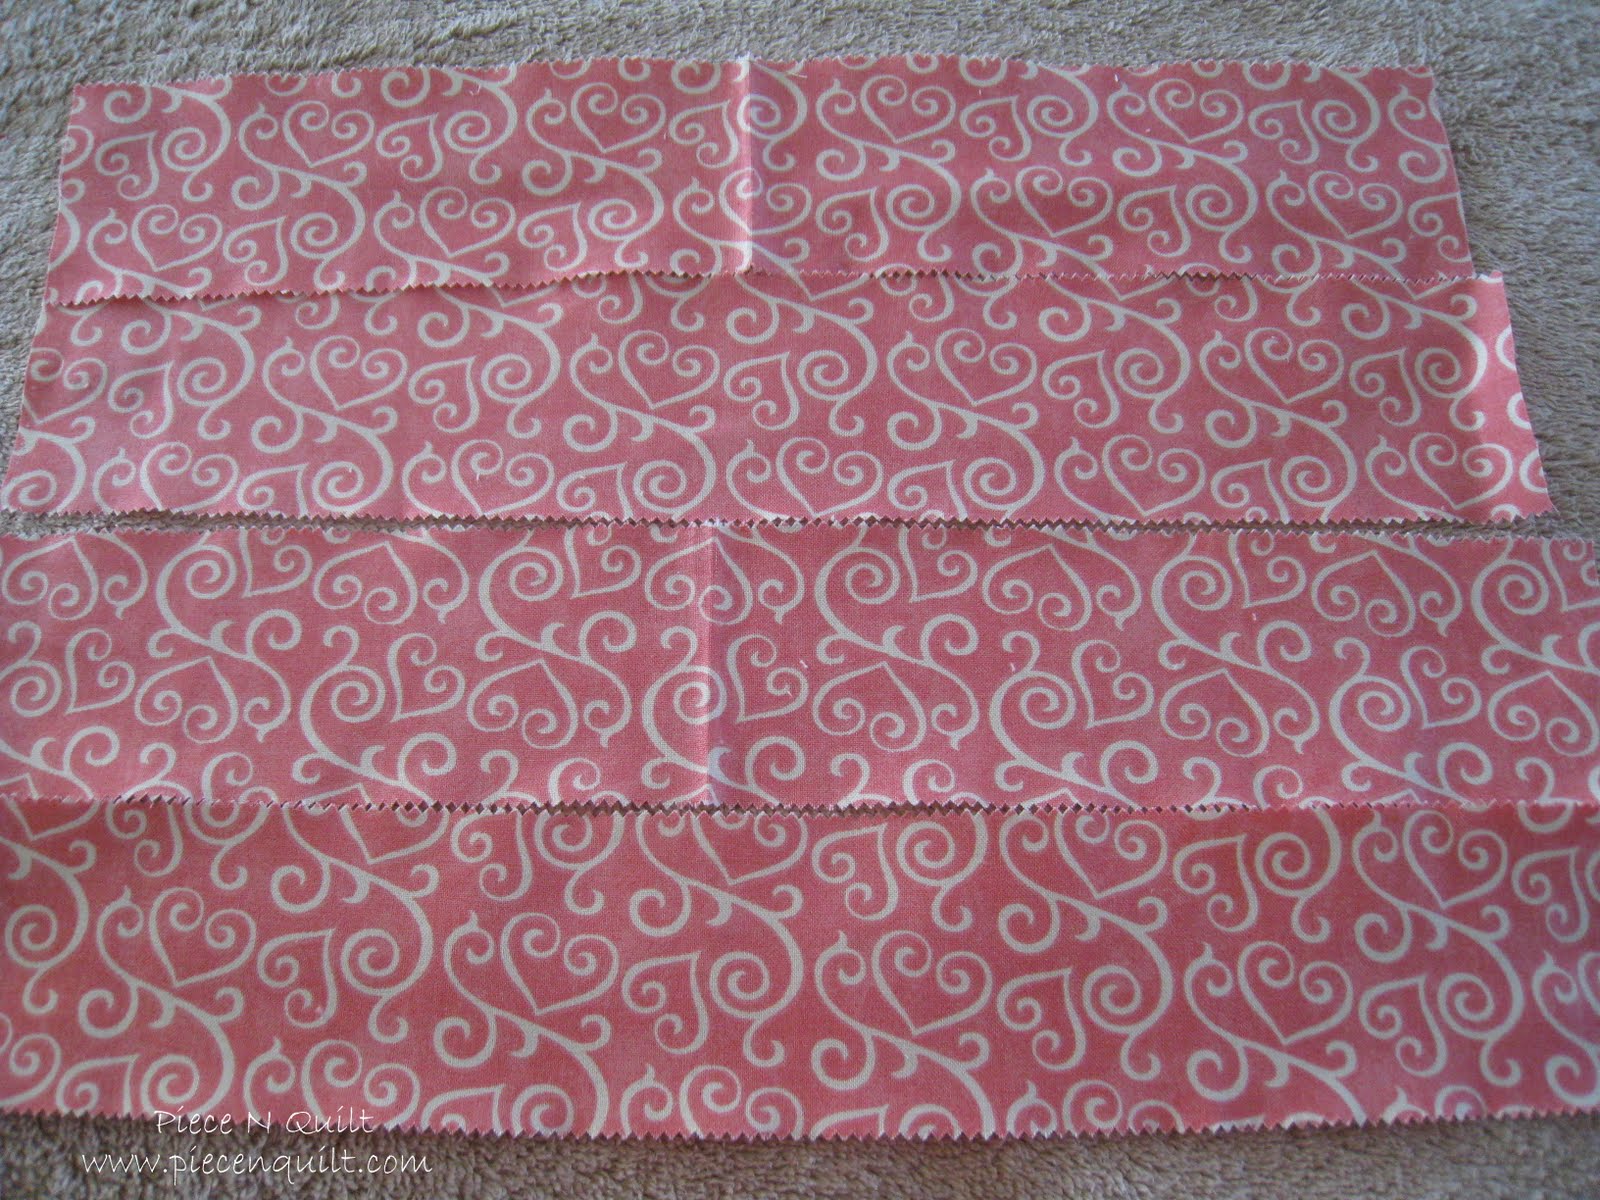
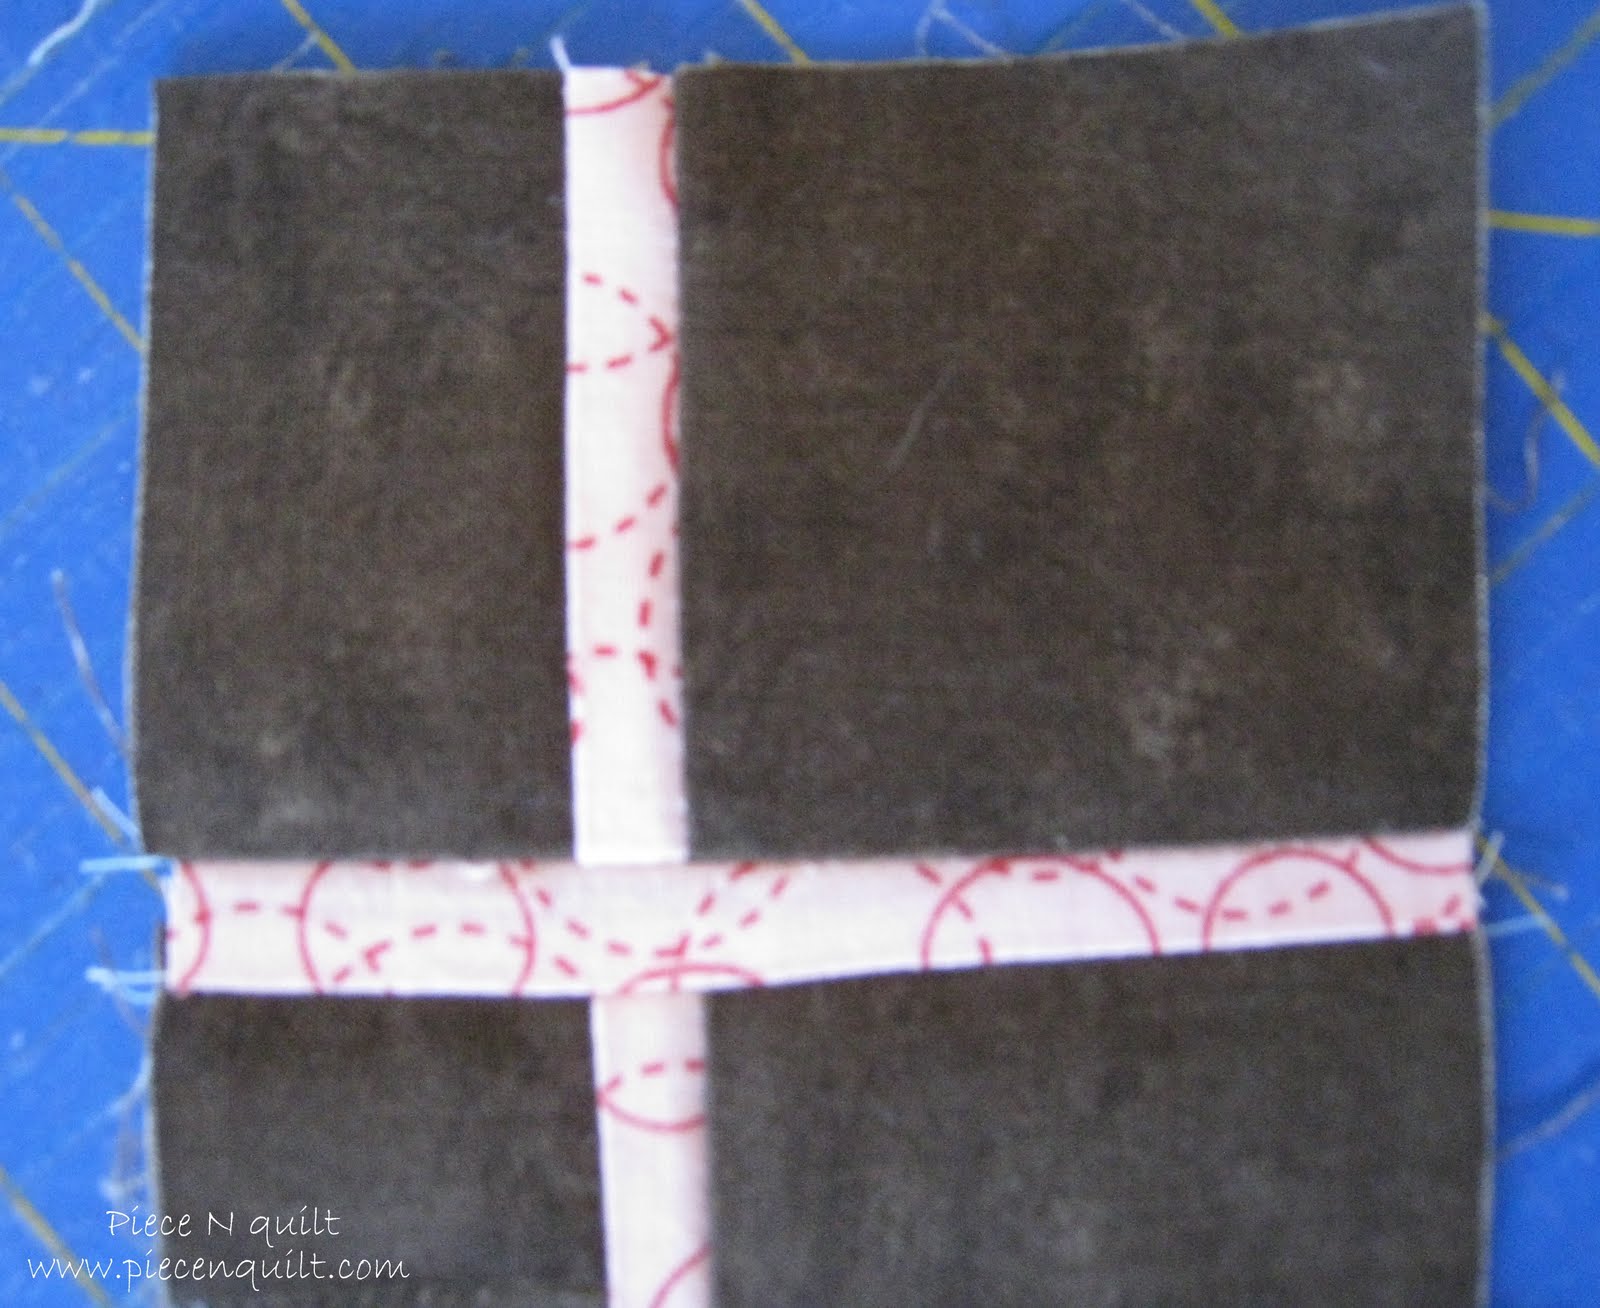
4. Layer hem piece right side up, then strip piece right side down, and lastly, knit piece on top, with all three pieces’ long edges lining up along the top. I recommend pinning all three together along this top edge to hold the jersey knit in place while we are sewing. *Note: my hem piece (red), is actually shorter than the strip piece and underskirt, so with the top edges all lined up you wouldn’t be able to see it. It is showing in the picture just to help show the layering order.
Stitch along pinned edge. Serge or zig–zag stitch to finish seam. Press seam towards underskirt. 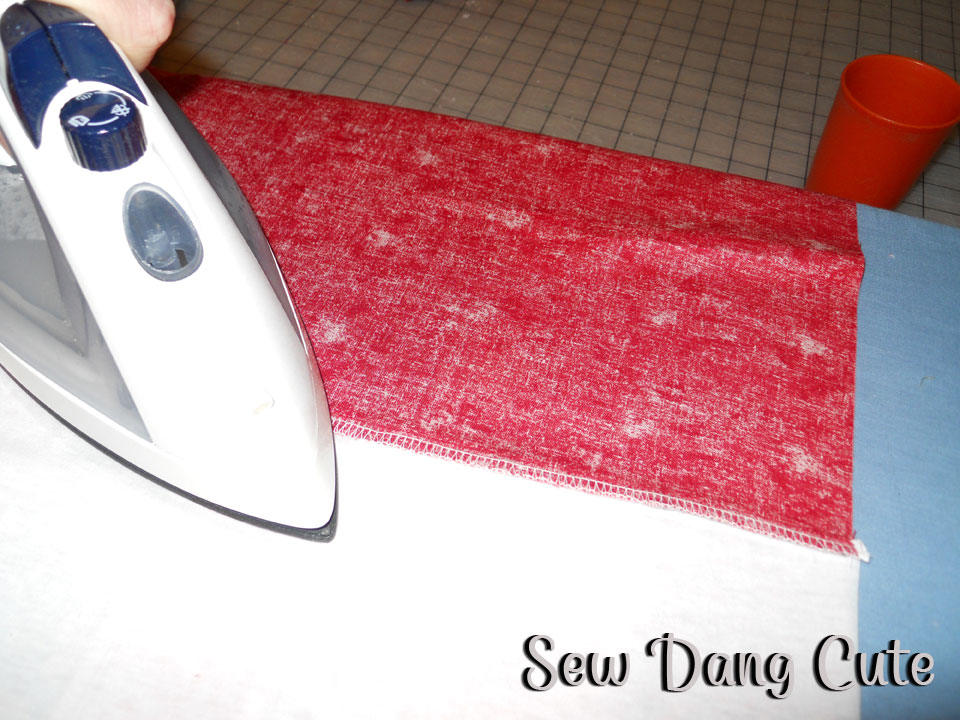 Topstitch. (You should be stitching along the strip piece).
5. We are going to get our lower casing of the hem piece ready now to create the bubble part of the skirt. I think it is easier to press now before we sew the sides up. So go ahead and fold the long raw edge of the hem piece 1/4″ down towards the wrong side of the fabric. Press. Fold another 1/2″ and press. Fold entire skirt in half RST, ling up short sides.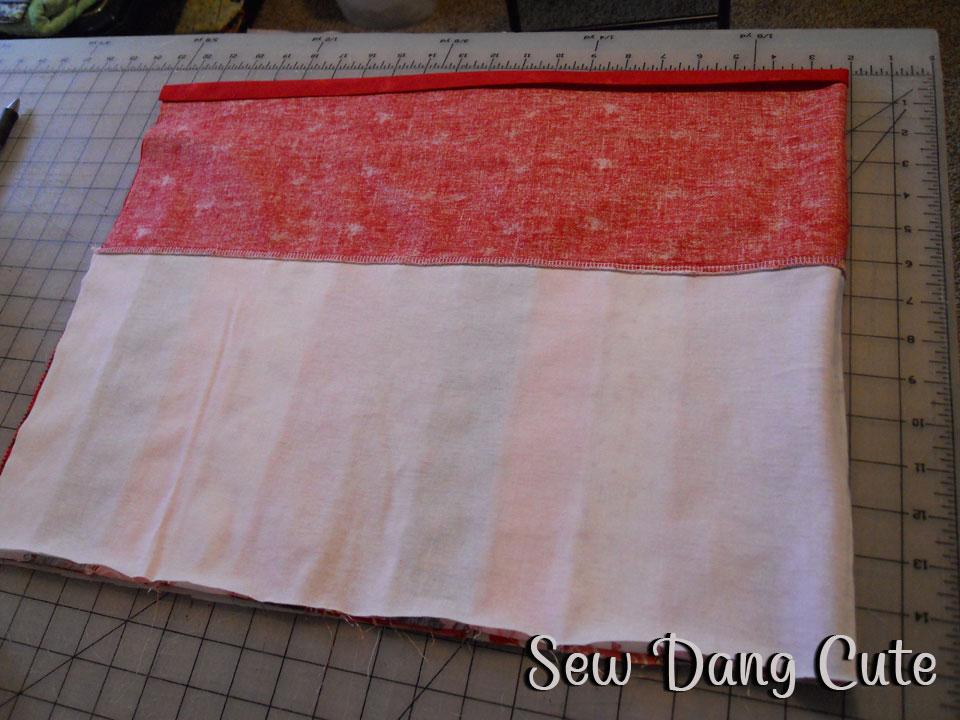 Be sure to unfold the pressings near the seam before stitching or you won’t be able to get your elastic through later. Also, I like to pin where the seams meet to ensure they line up when sewn. Stitch short sides together. Serge or zig–zag stitch to finish seam. Press seam so it’s going in the same direction as the seams on the strip piece. Topstitch. (Notice by pressing as directed above, I am able to topstitch on the same side of the seam as the topstitching on all the strip pieces).
 6. Repress unfolded part if necessary. Stitch around casing leaving a 1″ gap. Measure around child’s legs just above the knee. Add 2″, then cut a 1/4″ piece of elastic that length. Ex: my daughter’s measurement was 15″, so I’m going to cut a 17″ piece of 1/4″ elastic. Attach a safety pin to one end of the piece of elastic, then feed through gap.
  Once all the way through, overlap both ends of the elastic and securely stitch together. Release the elastic into the casing and stitch that 1″ gap closed.
7. Sew a gathering stitch along top, raw edge of the strip/underskirt piece. Set aside.
8. Grab your coordinating fabric again and let’s cut a waistband piece. Your piece will be your child’s waist measurement + 5″ x (6m-24m: 5″, 2T-5: 5 1/2″, 6-7: 6″, 8-10: 6 1/2″). Ex: my daughter’s waist measurement is 20″ and I’m making a 4T, so I will cut a piece that is 25″ x 5 1/2″. Fold RST, lining up short sides. Stitch.  Serge or zig–zag. Press. Topstitch.
9. Divide waistband into fourth’s and pin, using seam as one pin location.  Do the same with the skirt.
  Match pins up (making sure seams line up and the topstitching is on the same side). Pin RST. I like to have my waistband on the inside, and the skirt on the outside. Gather evenly between pins and pin frequently to hold gathers in place.
 Stitch together. Serge or zig–zag. Press seam towards waistband. Topstitch. (Stitching on waistband).
10. Let’s make the casing on the waistband. Fold raw edge towards wrong side of fabric 1/4″ and press. Fold another 1 1/2″ and press. Stitch casing leaving a 2″ gap. Cut 1″ elastic 1″ smaller than child’s waist measurement. Ex: 20″ waist =19″ piece of 1″ elastic. Feed elastic through with safety pin the same way as in step 6 above. Overlap elastic ends and securely stitch together. Release elastic into casing. Stitch the 2″ gap closed. You now have your skirt and should be to this point. 11. Time for pockets! If you haven’t already, download and print off heart pattern piece. Pin piece to fabric and cut out 2 hearts. Mark on the top of your hearts with pins the opening for the pockets.
  Stitch between pins along the top. I used a simple straight stitch.
  If my sewing machine had a blanket stitch, I would have used that. A tight zig–zag would also look really good. Place pockets on skirt where desired and pin in place. Stitch to skirt ONLY where not already stitched. LEAVE THE TOP OF THE POCKETS OPEN!!! Guess what?! You are all done!
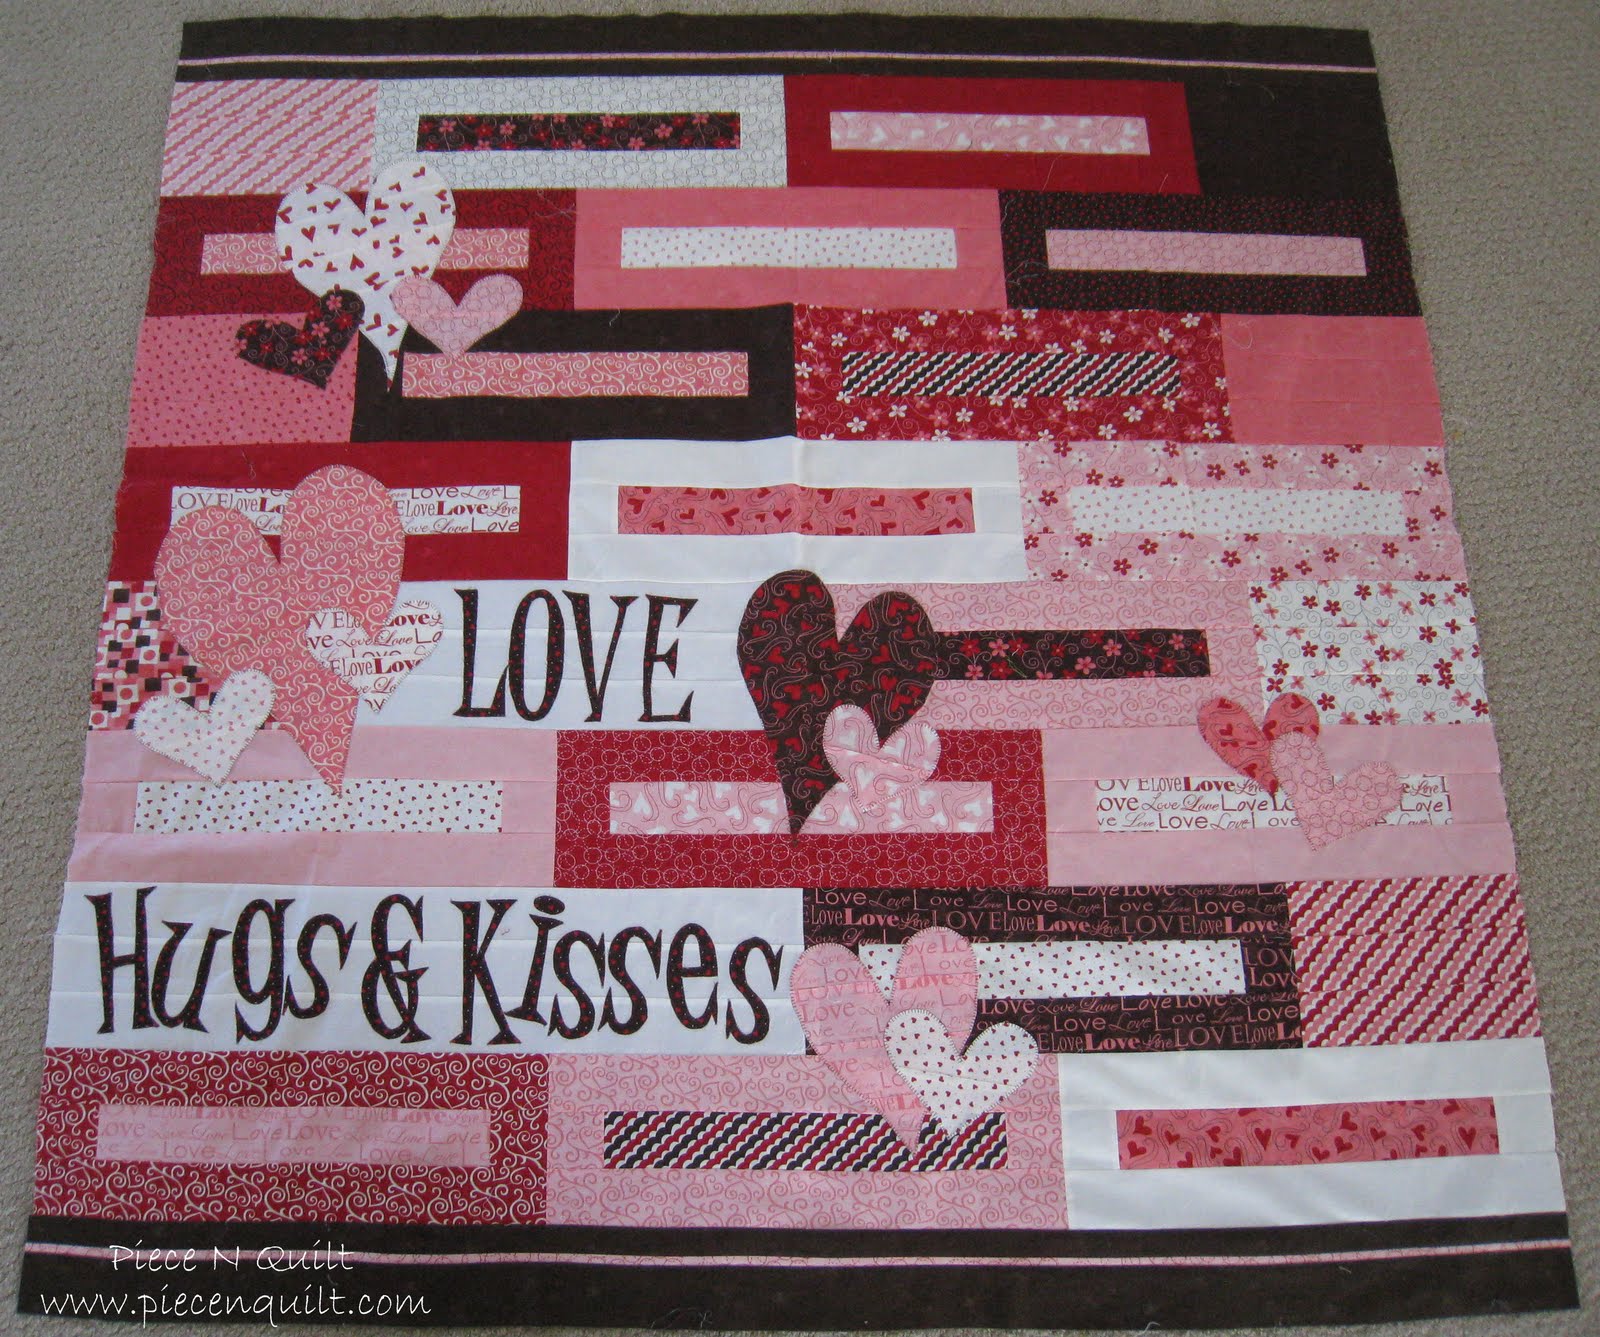
  You now have one adorable Valentine’s Day bubble skirt and one happy little girl!
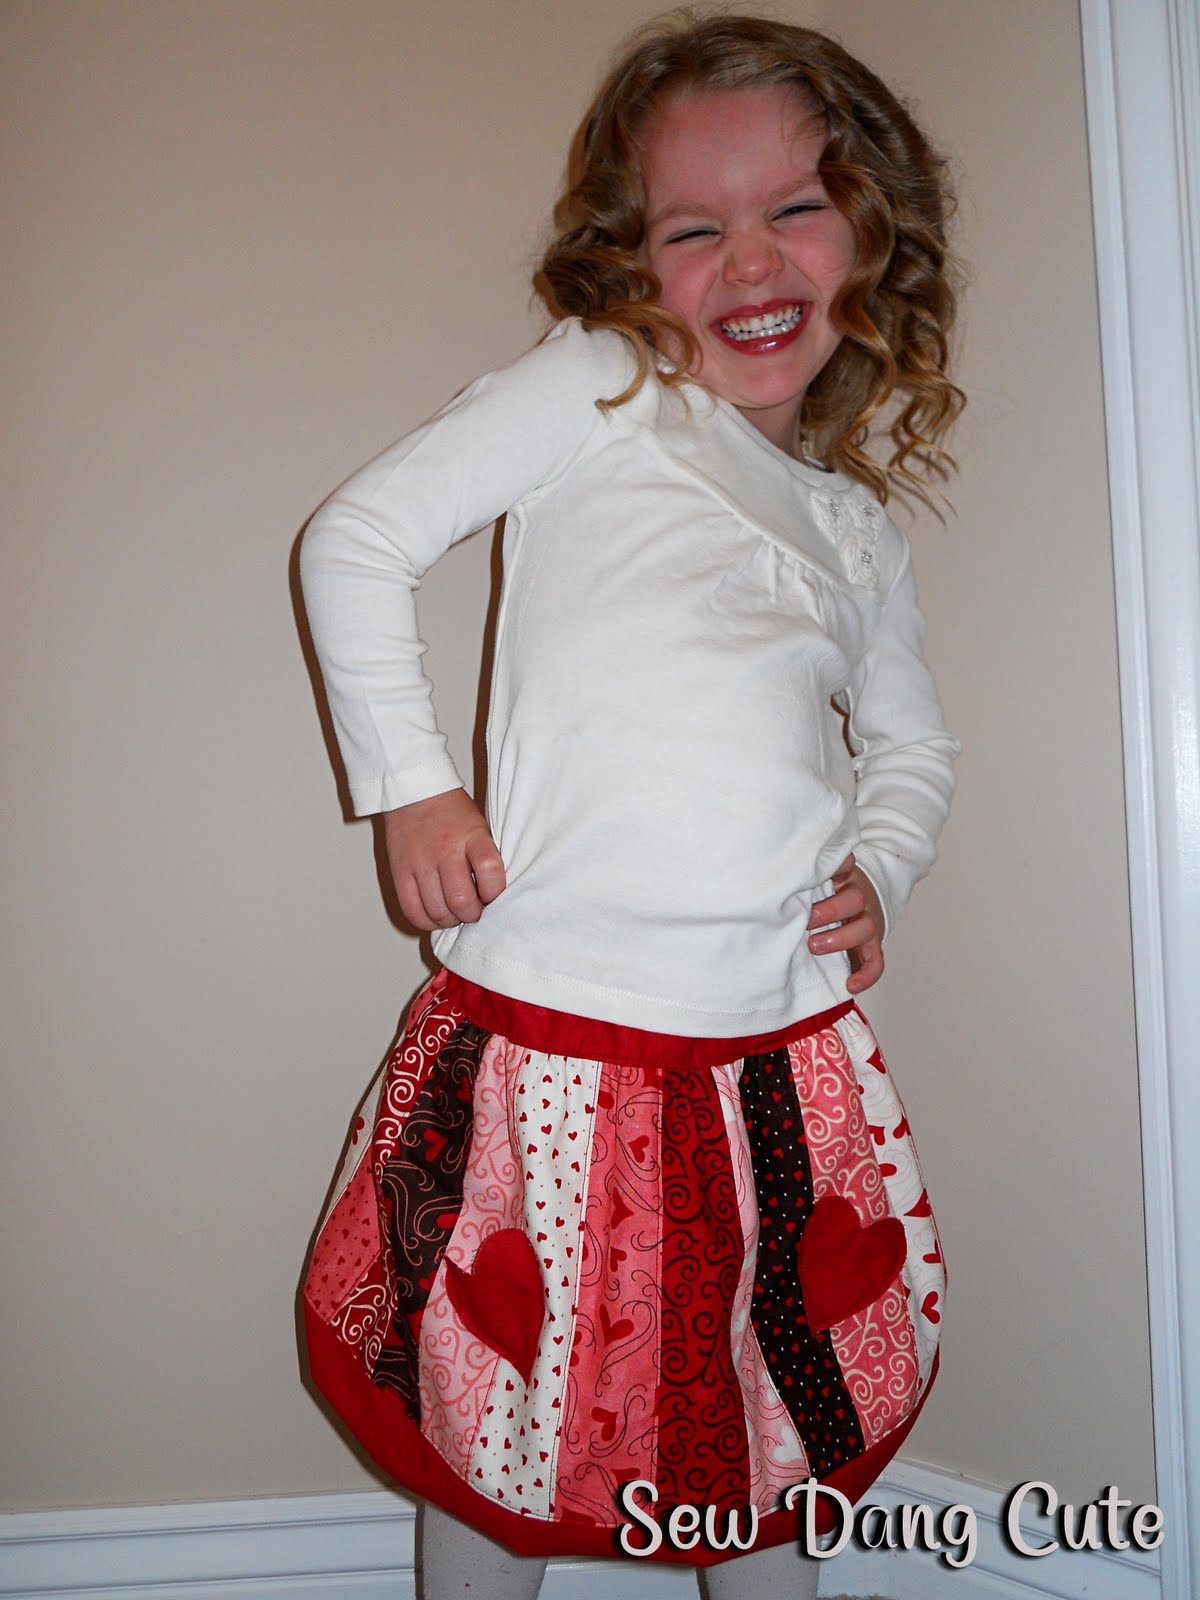 Any questions, please don’t hesitate to ask! Remember to stop by my blog to enter the giveaway and to check out other sewing/craft/cooking projects!!!
-1 Jelly Roll can make several skirts. Other materials listed make 1 skirt, sizes 6m-10.![]()


