Lucy’s Beach {Poetry} Quilt


“school is out, let’s give a cheer”
Hello again, this is Kimberly from My Brown Bag Studio and am I ever happy that it’s summer! Thanks for stopping by for a visit… put your feet up by the pool and stay awhile!
“for summer holidays are here”
I’m really excited to be able to share two of my favorite things with you today… 
“it’s time for flip flops on our toes”
…poetry and quilting!
“and purple sunscreen on our nose”
Oh, and it’s also a project that’s just perfect for a summer’s day spent at the beach… so gather your supplies and let’s get started!

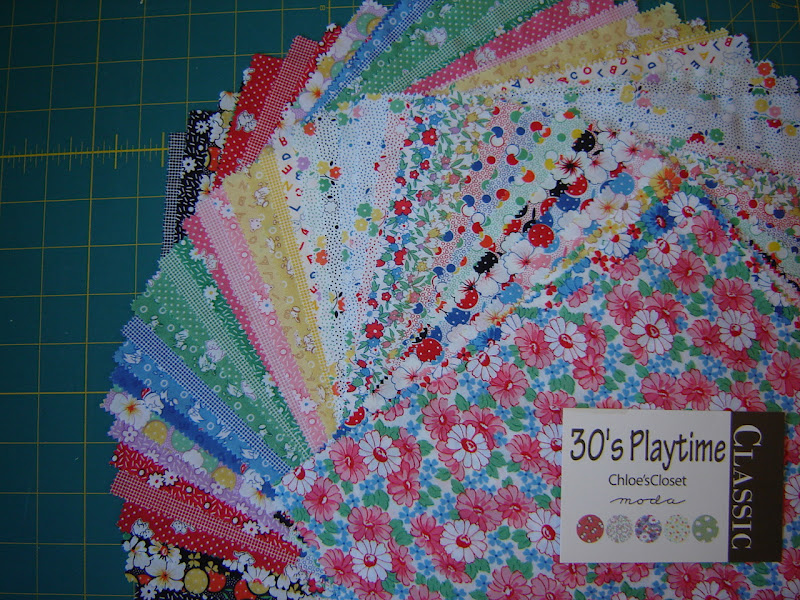
1 Lucy’s Crab Shack layer cake
1 Bella Solids layer cake in Snow
3 1/2 yards Lucy’s Crab Shack Cream Trunks and Tops for backing
3/4 yard Lucy’s Crab Shack Deep Sea Flip Flop for binding
DMC thread for stitching poem in…
                       #3766 (light teal)
                       # 3750 (dark blue)
                       # 721 (orange)
                       #907 (green)
                       # 335 (pink)
63 inches square of batting (I used Warm and Natural)
Basic quilting supplies


1. Choose 18 prints from your Lucy’s layer cake and set aside. These will be the whole color blocks in your quilt.

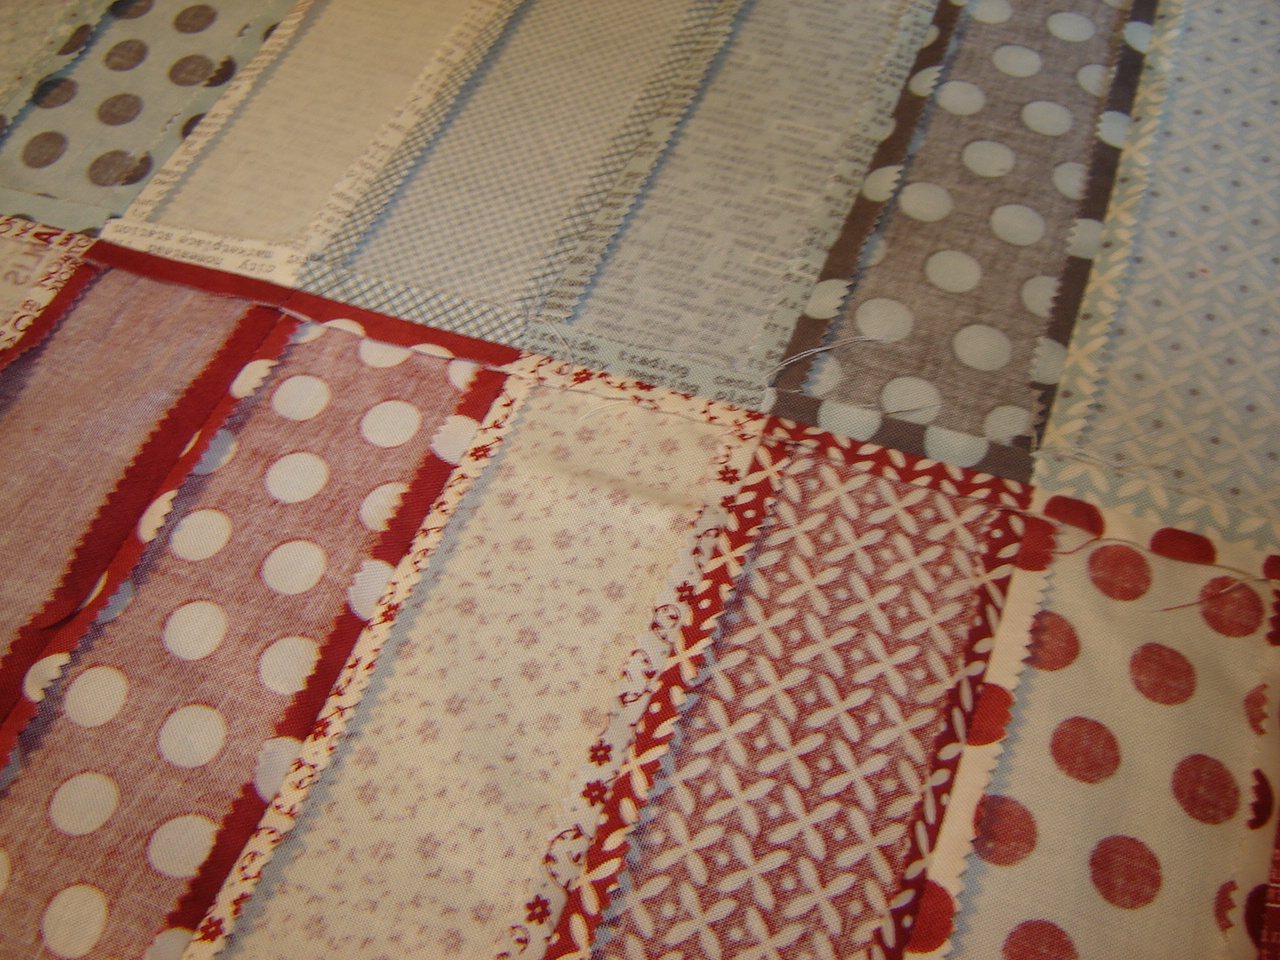
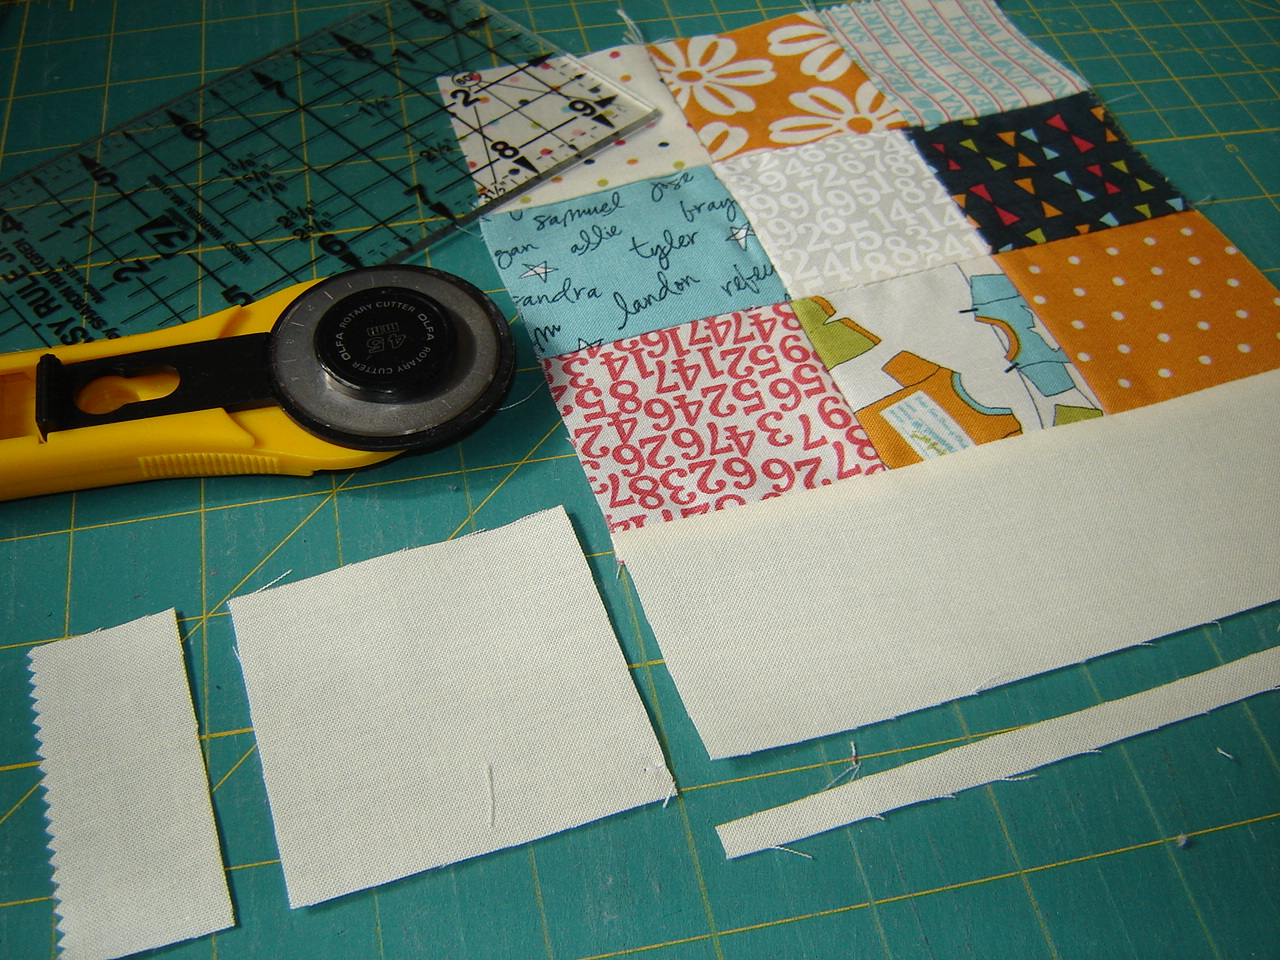
2. From the remaining layer cake pieces, cut 96 – 2 1/2 inch squares for your  nine-patch blocks.

For the middle of my nine-patch blocks, I placed a square of the cream-on-cream number print.

3. Decide how your scrappy nine-patch blocks will look, and sew 12 blocks.

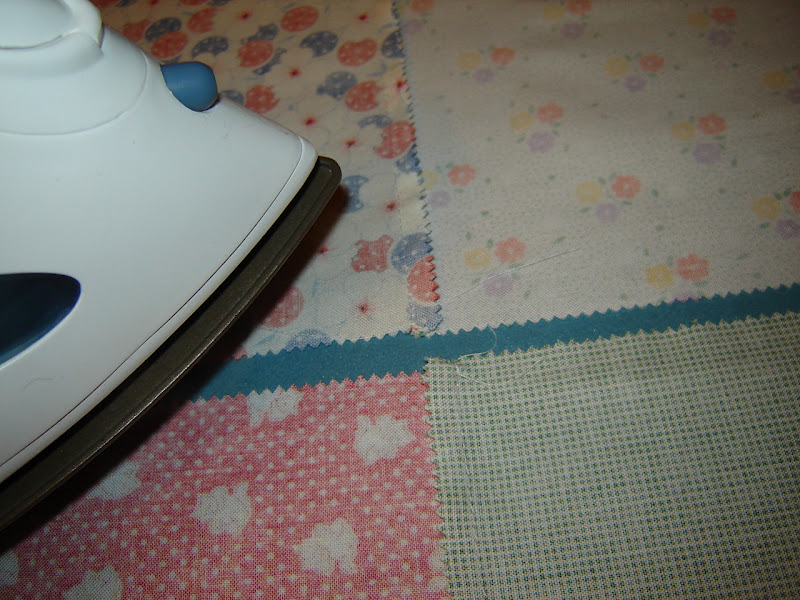
4. Take 12 of your solid layer cake squares and cut each into four 2 1/2 inch strips. Sew strips to top and bottom of each nine-patch block, then trim off the extra. {Trim these pieces to 2 1/2 inch squares to save for another project… I don’t know about you, but I can never have enough 2 1/2 inch squares!} Then trim 1/4 inch off either side of your block borders. Sew strips to the other two sides and trim 1/4 inch again. Blocks should now measure 10 inches square.

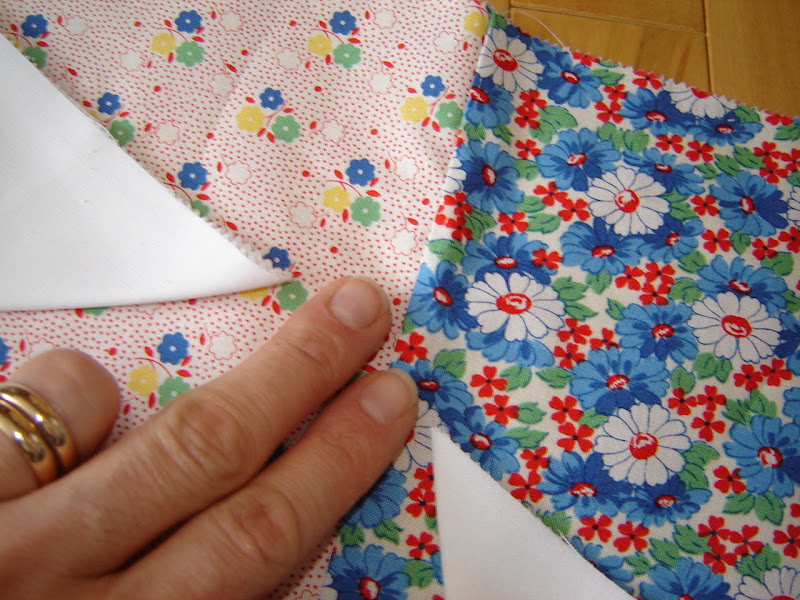
5. Arrange your 18 colored layer cake squares as you like them…

…then fill in the gaps with your nine-patch blocks, and 6 of the solid layer cake squares like so… Placement of the solid cream blocks matters, as you will be stitching the poem in them, so be sure to follow my layout!

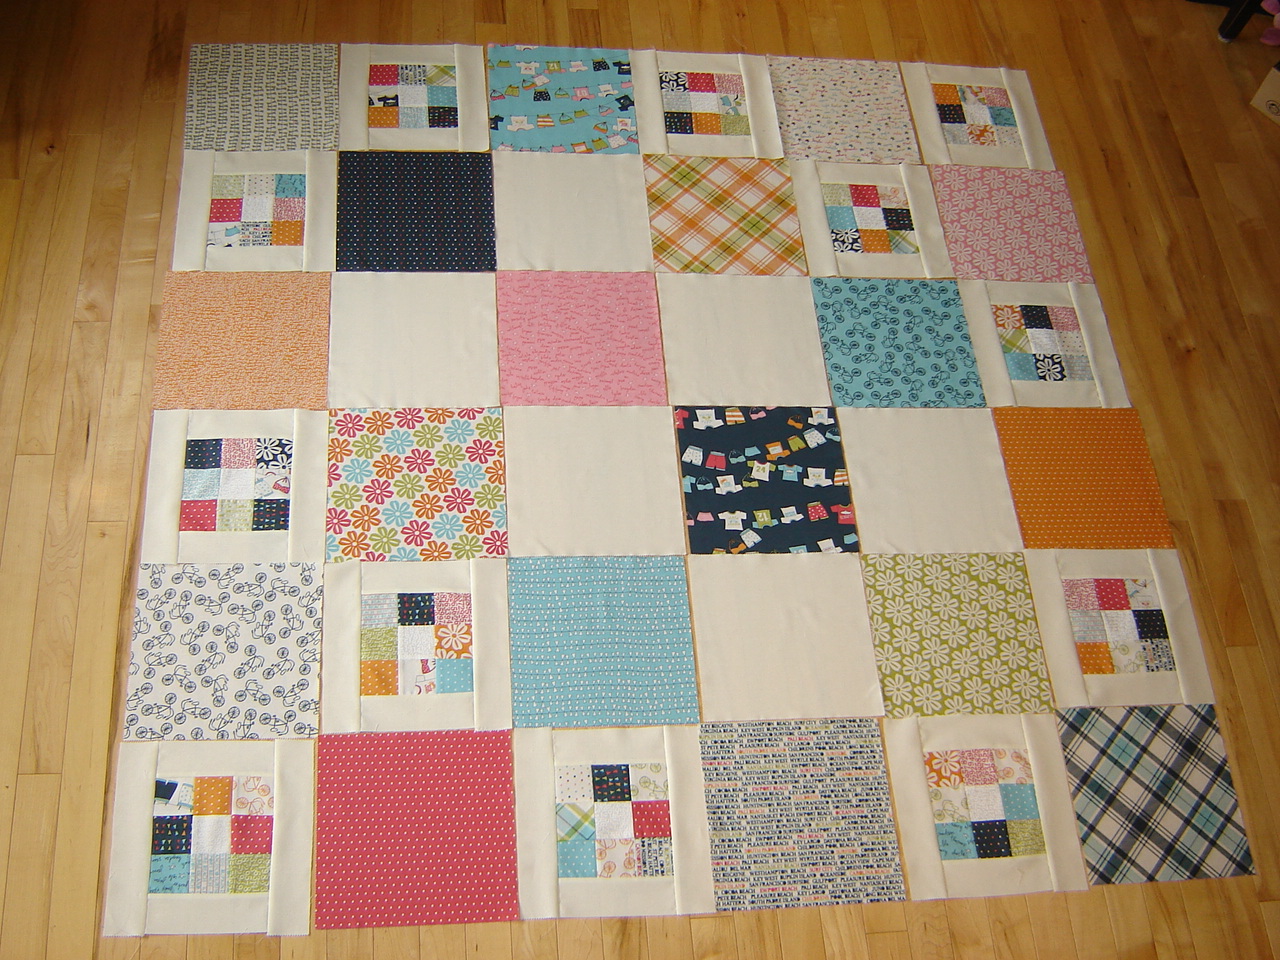
 {And no, your eyes aren’t playing tricks… the first picture is the fabric laid out on my friend’s floor and the second is on mine… I love hardwood… any color!}

6. Sew it all together… row by row… to make your quilt top.

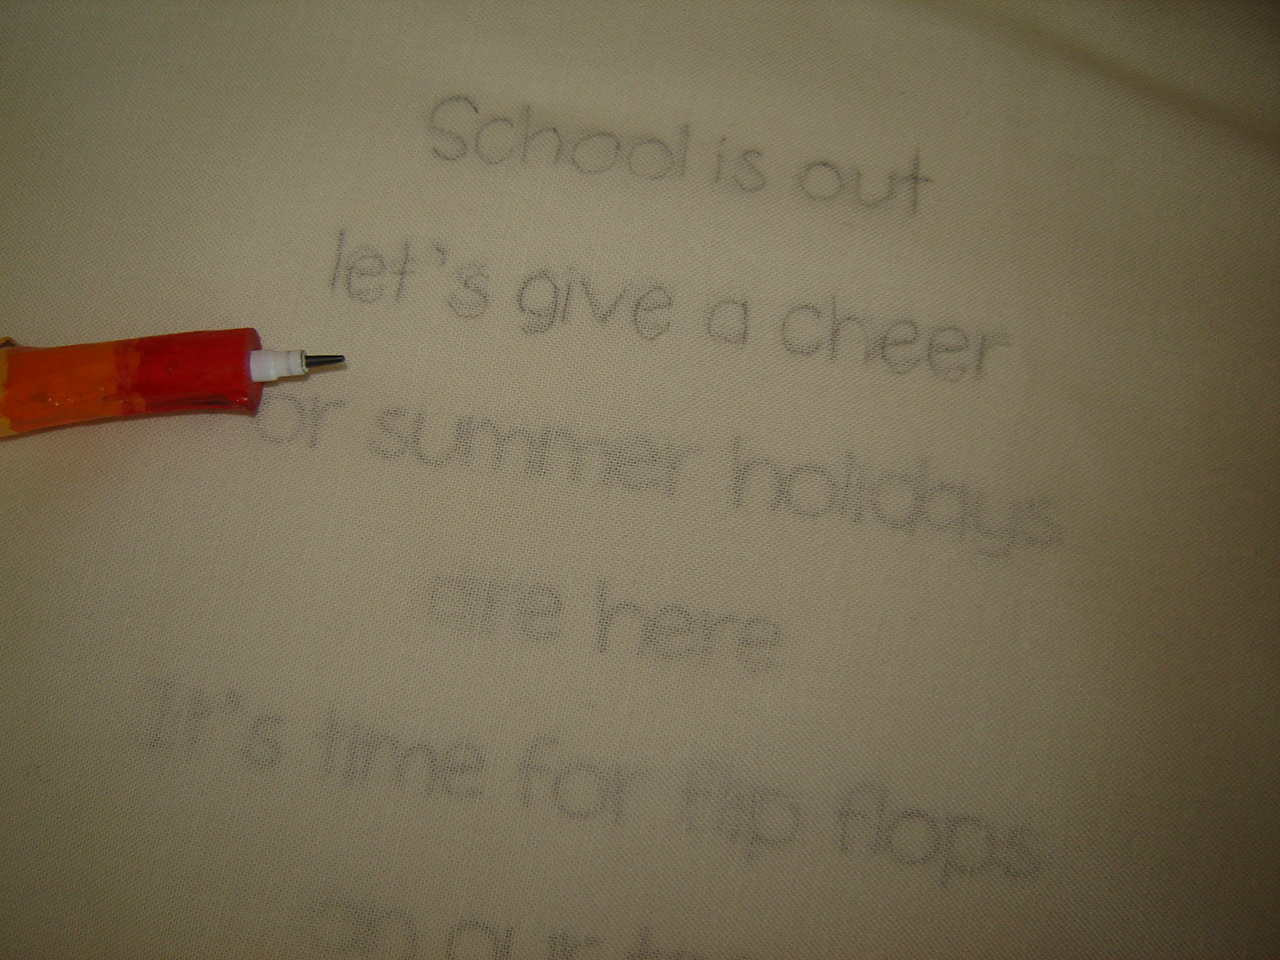
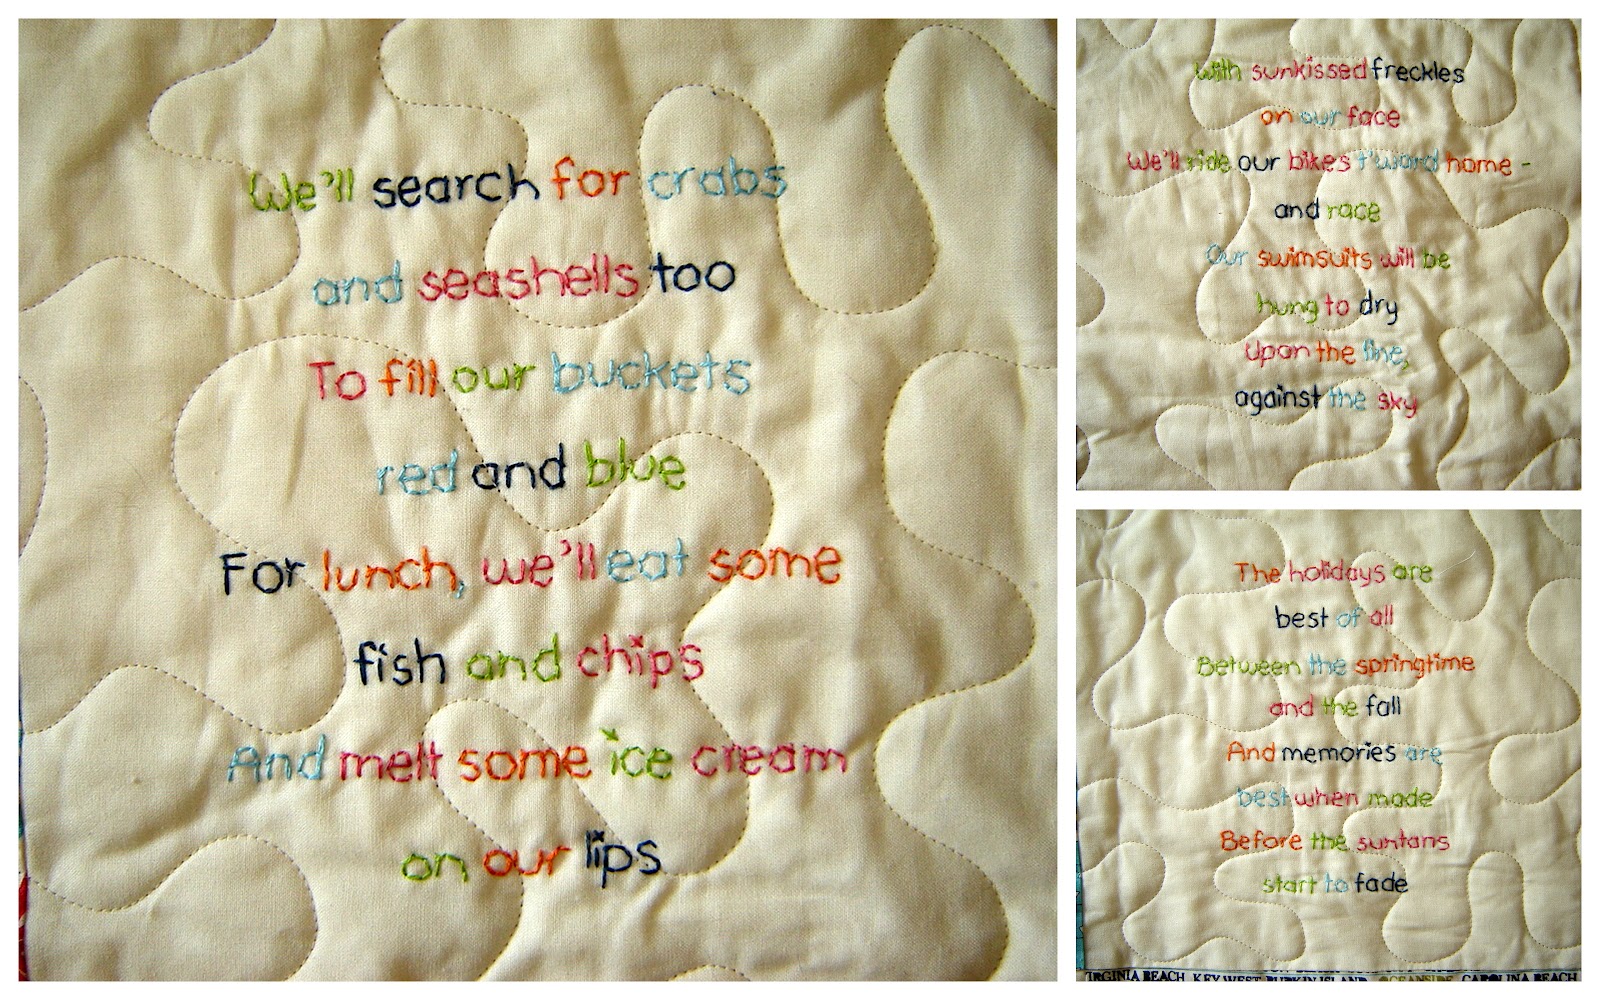
7. Click HERE to print out the poem and then find the center of each verse, so you can center it in your block.
 *Edited to add… I’m so sorry for the glitch with printing the poem! I believe I’ve fixed the problem (despite my limited computer skills!) Thanks to everyone who let me know there was an issue with it! I was informed through an email that it works to view through Internet Explorer.

8. Transfer to your quilt top (yes, I’m a pencil transfer-er) Use whichever method works best for you. Center one verse into each of the 6 neutral blocks.

9. When I make a stitchery project, I always stitch through to the batting layer. That’s just how I roll, you can stitch just through the quilt top if you prefer. Lay out your batting, smooth your quilt top on top… you want it a couple of inches larger than the quilt top all the way around…

…hoop a section, and back stitch your lettering. I stitched my quilt with 3 strands of DMC and tried to be random with the colors of the words, just for fun.

These are the 6 verses of the poem, after quilting…
verses 1, 2, and 3…
…and verses 4, 5, and 6…

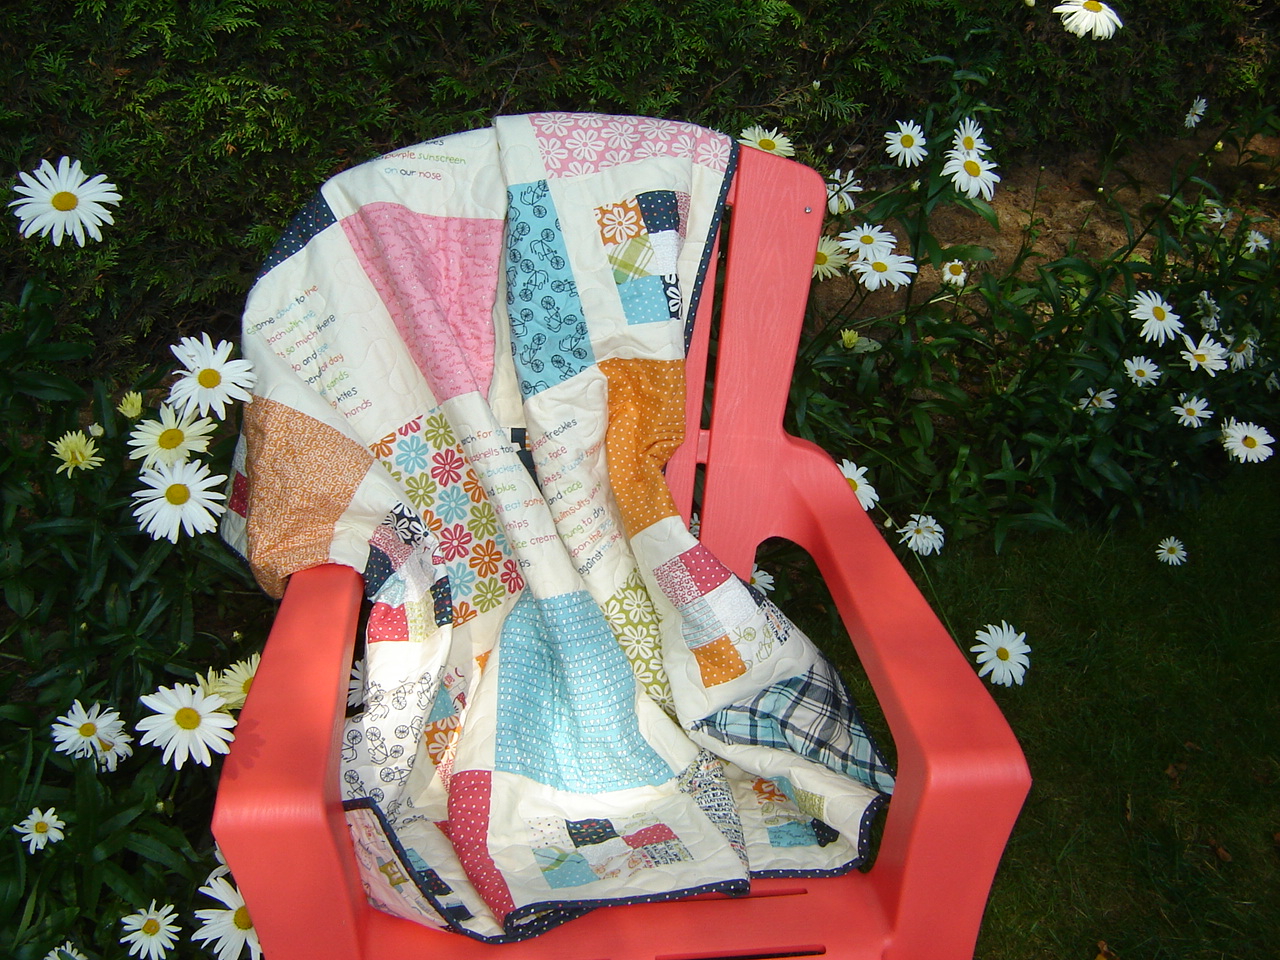
10. Quilt as desired! I had my Lucy’s Beach {Poetry} Quilt professionally quilted by my friend Rhonda of Quilted Cats Hideaway… thanks a bunch, Rhonda! I love it!

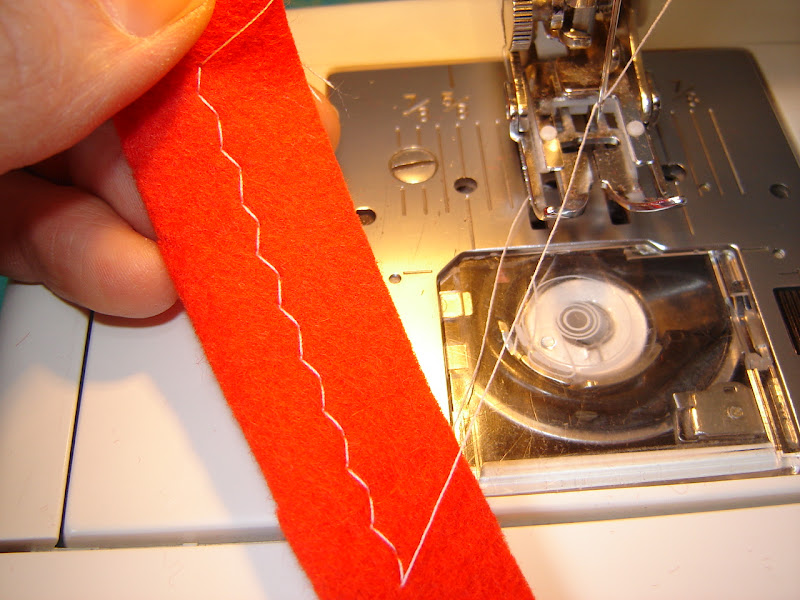
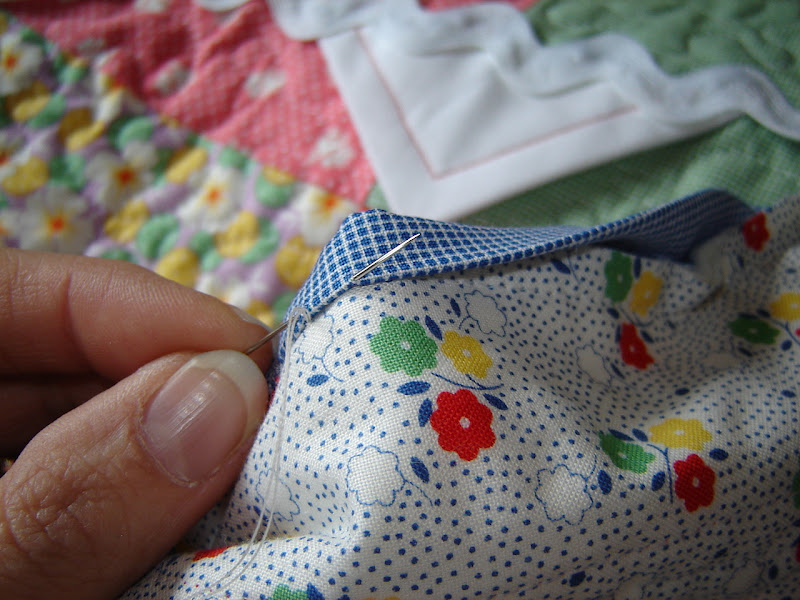
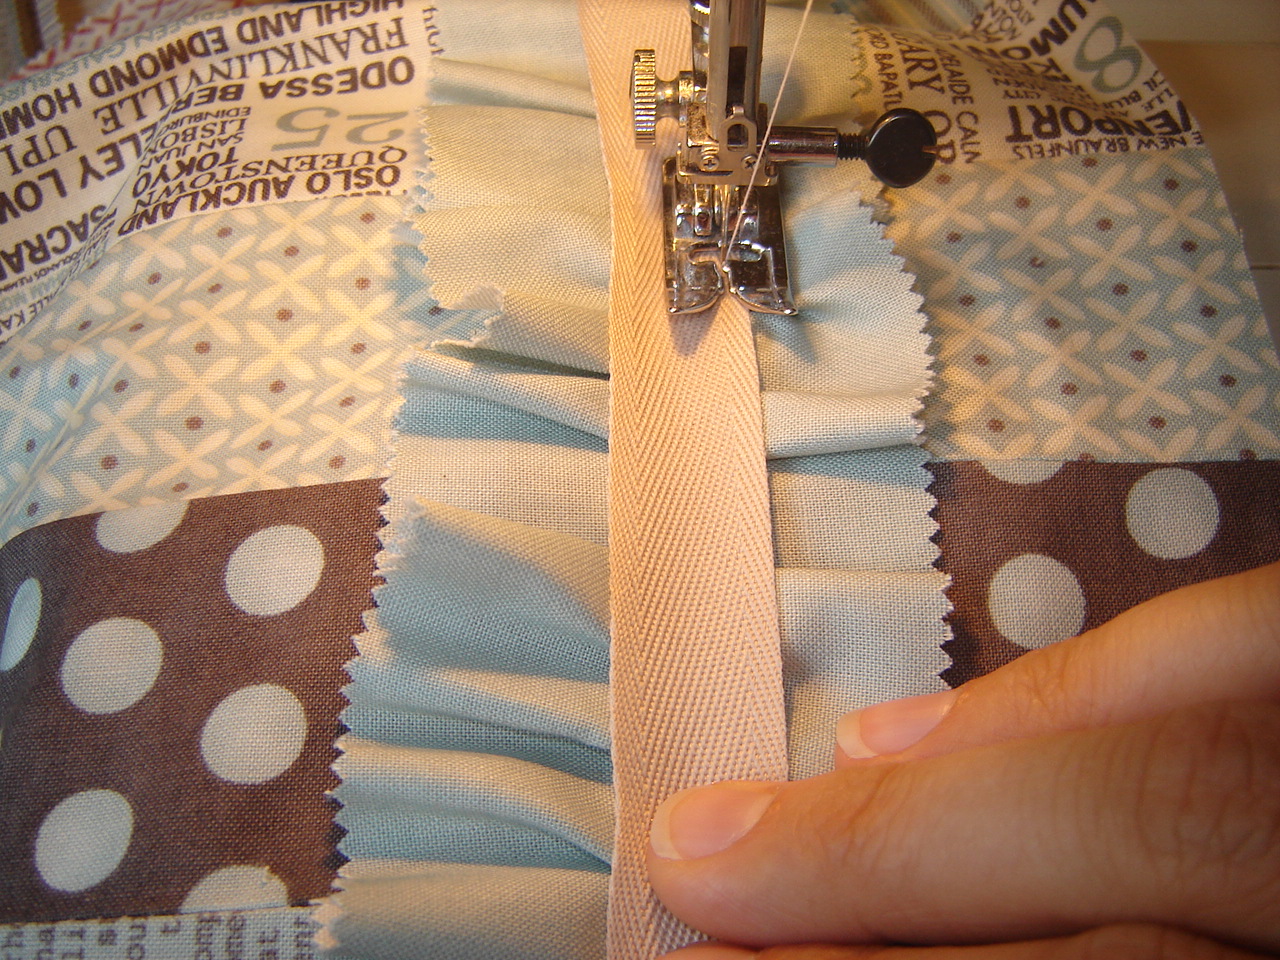
11. Bind with 2 1/2″ strips of the navy dot fabric… and you’re ready for a day at Lucy’s {or your very own} Beach!


Lucy’s Beach {Poetry} Quilt measures approximately 57″ square.

Kimberley Friesen
{My Brown Bag Studio}

Ruffled {Pocket} Potholder


Hi, Kimberly here from My Brown Bag Studio and I’m happy to be sharing my recipe for a really sweet, ruffled pocket potholder. Let’s get started so it’s ready in time for dinner! 


I’m using a Trade Winds layer cake for my potholders… aren’t the fabrics delicious?

1 Trade Winds layer cake 
2 – 10″ squares of insulbrite batting
8″ of bias tape or binding
15″ of ric rac
Basic quilting supplies
Wash out marker
Walking foot for your sewing machine… there are a lot of layers to sew through and I don’t think I could have done it without my walking foot!


Open your layer cake and choose 6 layer cake squares, or 5 and an additional 10″ square in a neutral color (for inside the pocket) Have fun choosing!

From your layer cake squares, decide which two will make the back of the potholder, which two will make the front (pocket) of the potholder, which one will become the ruffle, and which one will become the binding. These are my four body pieces… the floral will be the back, the light teal will be the inside, the neutral will be unseen inside the pocket, and the large print will be the front.

The ruffle will be made from the blue lattice print, the binding from the coral print, and also shown here are my two insulbrite squares, my bias tape, and my ric rac.

1. Make two quilt sandwiches… with the wrong sides of your cotton prints facing in, layer the 10″ square of cotton, batting, and cotton… This photo shows the squares offset, but you want them stacked neatly. Pin together or use your favorite spray baste method.

2. Draw a line diagonally from one corner to the other as a guide for your quilting. I’m demonstrating on the neutral side of my potholder front… much easier to see what I’m doing than on a busy print!

3. Stitch directly on that line, then repeat 1/4 inch to the left of the line. Flip your quilt sandwich around and repeat on the other side of the first line.

4. Measure 2 inches from your line of stitching and draw another line.

5. Stitch on your line, and then twice more, leaving 1/4 inch between lines. Repeat again…

6. Flip around and repeat for the other quilting lines… you’re only halfway there! When you’re finished, there will be 5 groups of stitching with 3 lines in each.


then do the same for your other quilt sandwich, starting with a diagonal line through the middle…


7. Trim your two quilt sandwiches down to 9 inches square.

8. Take the piece that will be the top of your potholder, and make a diagonal cut that is 5 inches up from one corner, and 5 inches over from the same corner…

It will look like this… you can toss the little cut off piece…

9. Sew your bias tape or binding over the angled section.

Trim off any extra.

10. Cut the piece you chose for the ruffle into 2 1/2 inch strips and sew together 3 of them at the short end. Trim to 22 inches. Sew wrong sides together down the length…

… then press flat with the seam to the bottom.

11. Create your ruffle by machine or hand basting a long running stitch and gathering. Pin well to the angled piece and sew in place.
12. Reserve 6 inches of your ric rac for the hanging loop. Sew ric rac on top of the ruffle, then trim any extra.

13. On the back side of the potholder’s back piece, stitch a 6 inch loop of ric rac for the hanger.

14. Cut your remaining layer cake square into four 2 1/2 inch strips for your binding and sew strips together.  When you bind your potholder, I’d recommend pinning lots and sewing slowly… there are a lot of layers to sew through!

A fast and fun to make potholder that would be perfect gifts for anyone… for any occasion!

I hope you’ve enjoyed my project and feel free to stop My Brown Bag Studio for a visit any time! In fact, why don’t you stop by right now… I’m having a giveaway! See you there!

Kimberly Friesen
{My Brown Bag Studio}

Grandma’s {Playtime} Buntings Quilt


Hi! I’m Kimberly from My Brown Bag Studio and I’m really happy to be back again with my second project for the Bake Shop kitchen. Working with this line of fabric was literally like a walk down memory lane… it seemed that each print reminded me of my Grandma more than the last. And creating a quilt with bunting just brought vintage and modern together perfectly!

1 – 30’s Playtime Layer Cake
1- Bella Solids Charm Pack in Snow
1/2 yard Bella Solids in Snow for border
3 1/2 yards Blue Bonnet 3258614 for backing
3/4 yard Blue Bonnet 32585 14 for binding
6 3/4 yards of jumbo white ricrac
basic quilting supplies
red thread if desired for contrast stitching.


1. Open your layer cake and choose 36 squares for your quilt. Make sure that the kitten you got for Christmas is sound asleep at this point.

2. Layout the squares in 6×6 rows the way you like them.

3. Sew together with 1/4″ seams

4. Press to one side, each row opposite.

5. Matching seams, sew rows together.

6. Press quilt flat and set aside.

Now we’ll make the prairie points… My quilt used 35 prairie points for the bunting flags, but you may choose to use more or less. I also had white layer cake squares available to me, so I cut them down to charm square size. The simple process was like this… cutting 5″ squares…

1. Press a charm square in half.

2. Press the two corners down to make a point.

3. Voila! The prairie point!

4. My 35 prairie points.

Check on that kitten again before moving on… because to a kitten, a quilt out on the floor is just way too tempting… believe me, I know!

1. Layout your quilt and position the prairie points in bunting-ish swoops.

2. When placing my prairie points, I loosely measured two fingers between each to keep them evenly spaced.

3. When you come to the edge of your quilt, be sure to leave a generous seam allowance (more than 1/4″) so you don’t sew into the prairie point when you attach the border.

4. Pin. Pin, pin, pin. Pin all the prairie points in place, making sure not to disturb the lines of the bunting-ish swoops.

5. Using a scant 1/4″ seam, stitch the prairie points in place using white thread, just to hold them in place.

6. Using either white or red thread and a generous seam allowance, sew the two folded edges to the quilt. A generous seam allowance will make for a quilt with interesting texture once it’s quilted and washed. On my girlfriend’s advice, I used a red thread and I really love the contrast it gave. Thanks for the idea, Andrea!

Adding the Ricrac…

I thought long and hard about how to sew the ricrac to my quilt. I didn’t just want a seam down the middle, because then the raw edges at the top of the prairie points would be exposed. So I came up with a zigzag stipple and it worked just fine.

1. I set my machine to a long zigzag stitch…

2. I practiced a little with a back and forth stipple…

3. …and jumped in. I took my ricrac, let it hang over the edge of the quilt a little to ensure that it would be caught in my borders, and then stipple quilted it on. I really took my time to try to unsure that the stippling covered the ricrac well. I didn’t pin, but curved the ricrac as I went to follow the top of the prairie point flags.

4. Trim overhanging ricrac after it’s all sewn on.

Cut your border fabric into 2 1/2″ strips and sew on with 1/4″ seams, pressing towards the body of the quilt so your seams don’t show through the white.

Layer your quilt top with batting and backing. I used Warm and Natural batting, and pieced a center seam to make the backing fabric the correct size.

Quilt as you like. I stipple quilted on all the squares, avoiding the prairie points and ricrac. I also did two lines of straight line quilting… one in the border ditch with white thread, and another outside that one in red thread to match the detail on the prairie points.

Add the binding{my favorite part of quilting}…

At this point my quilt is unwashed but I’m looking forward to enjoying the vintage-ish crinkle when it comes out of the dryer.

Now where did that kitten get to? It’s time for a cuddle…


Grandma’s {Playtime} Buntings Quilt measures about 60″ square.

Kimberly Friesen
{mybrownbagstudio.com}

About Town {Hometown} Ruffle Scarf


Hello! My name is Kimberly from My Brown Bag Studio and I’m so excited to be here! This is my first time in the Bake Shop kitchen and I really hope you enjoy this recipe for my About Town {Hometown} Ruffle Scarf! It makes me think of all my blogging friends from near and far… and if you make a scarf of your own, please be sure to let me know!

1 Hometown Jelly Roll
2 packages twill tape to coordinate (mine were ‘camel’ color)
Basic sewing/quilting supplies


1. Unroll your Jelly Roll, iron all the strips out, and gasp in delight as you discover your hometown in Hometown. I found mine {Abbotsford} right between Calgary and Hamburg.

2. Divide strips into four-color combinations – I did yellow/cream, blue, gray, and red. You’ll need 40 strips in total, divided into sets of 10.

3. Reserve 1 strip from each color grouping for ruffle pieces. I set aside 4 solid color strips in cream, blue, grey, and red.

4. Cut off the selvedge edge and cut strips to 37″. I did this in stacks of 5 strips to save time.

5. Arrange 9 strips per colorway the way you like them and sew each set together lengthwise with 1/4″ seam allowance. Press your seams open.

You’ll have 4 striped sections when you’re finished, and a coordinating strip set aside.

6. Create ruffles: I make my ruffles by hand. Stitch a long running stitch down the centre length of your jelly roll strip leaving a tail of thread on either end. Yes, I’m a lefty!

Pin your strip 2″ up from the end of your scarf section. Pin pin pin! Pin both ends in place the same way.

Gently pull the thread tails from either end to create your ruffle. Adjust to your liking and pin all along to hold it in place. Pin pin pin!

Machine stitch from one end to the other, down the centre of your ruffle. Remove your pins as you go… oops, I forgot!

Centre the twill tape on your ruffle and machine stitch along each side of its length.

Repeat for other 3 scarf sections.

7. Sew 2 of your color sets together end-to-end (not the ends with ruffles). Repeat for the other 2 sets. Press seams open. I paired the yellow and gray, and the blue and red together.

8. With right sides together, match the centre seams and twill tape sections and pin well.

9. Sew all the way around, leaving a 6″ opening near the centre seam to turn right side out – as shown by the purple pins.

10. Carefully snip the tips of the 4 corners off to reduce bulk, being careful not to snip into your stitches.

11. Turn scarf right side out through opening and press well. See how great it looks from the side?

12. Slip stitch opening closed by hand.

13. Put on your new scarf and enjoy a day in your hometown… or even in your own backyard… just enjoy!

I really love my Hometown scarf and with the cooler weather upon us, I think I’ll get a lot of use out of it! It would even be a fantastic gift for a friend or family member who lives across the miles… make sure both hometowns are visible and you’ll feel close despite the distance!

Feel free to stop by My Brown Bag Studio anytime for a visit… I’ll be there, and the coffee will be on!

Kimberly Friesen