It’s Cindy from Tops to Treasure with you on the Moda Bake Shop today. When I was a little girl, my great great aunt lived with us. She wore baggy dresses with big pockets, dresses that buttoned down the front. She kept tissues in those pockets (candy would have impressed me more.) As I put this quilt together I thought about her dresses. My mom made them all and it seems they were all made of little floral prints. I think Aunt Mame would have liked this fabric line – American Jane’s “ABC 123”.
Mame was born, and died, in September, the month when thoughts turn back to school, reading, writing, and arithmetic. Half of the people I know can’t wait for school to start… little children, ready for a new adventure; and moms ready for their older kids to get out from under foot. The other half….not so much. Whichever camp you fall in this quilt is perfect for the adventures waiting around the bend. It is easy, I promise, and goes together fairly quickly. I got my fabric Friday, starting cutting on Sunday and Tuesday afternoon the top is finished and ready for the quilter. (During that time I also washed, folded, and put away 7 loads of laundry, and had a doctors appointment that started at least 30 minutes later than scheduled…and there was no one else in the office.)
I hope you enjoy my pattern as much as I enjoyed making it.

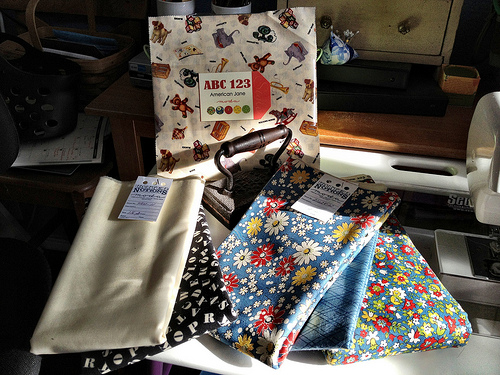
3 charm packs American Jane “ABC 123”
1 1/4 yds dark fabric (includes inner border) – I chose the cream letters on black # 21623-18
1 yd light fabric – I used Bella Solid #9900-11
1 1/4 yds for outer border – I chose the large blue floral #21624-12
½ yd for binding (cut 2 ½” wide) – I used the solid blue plaid #21625-20
3 1/4 yds for backing
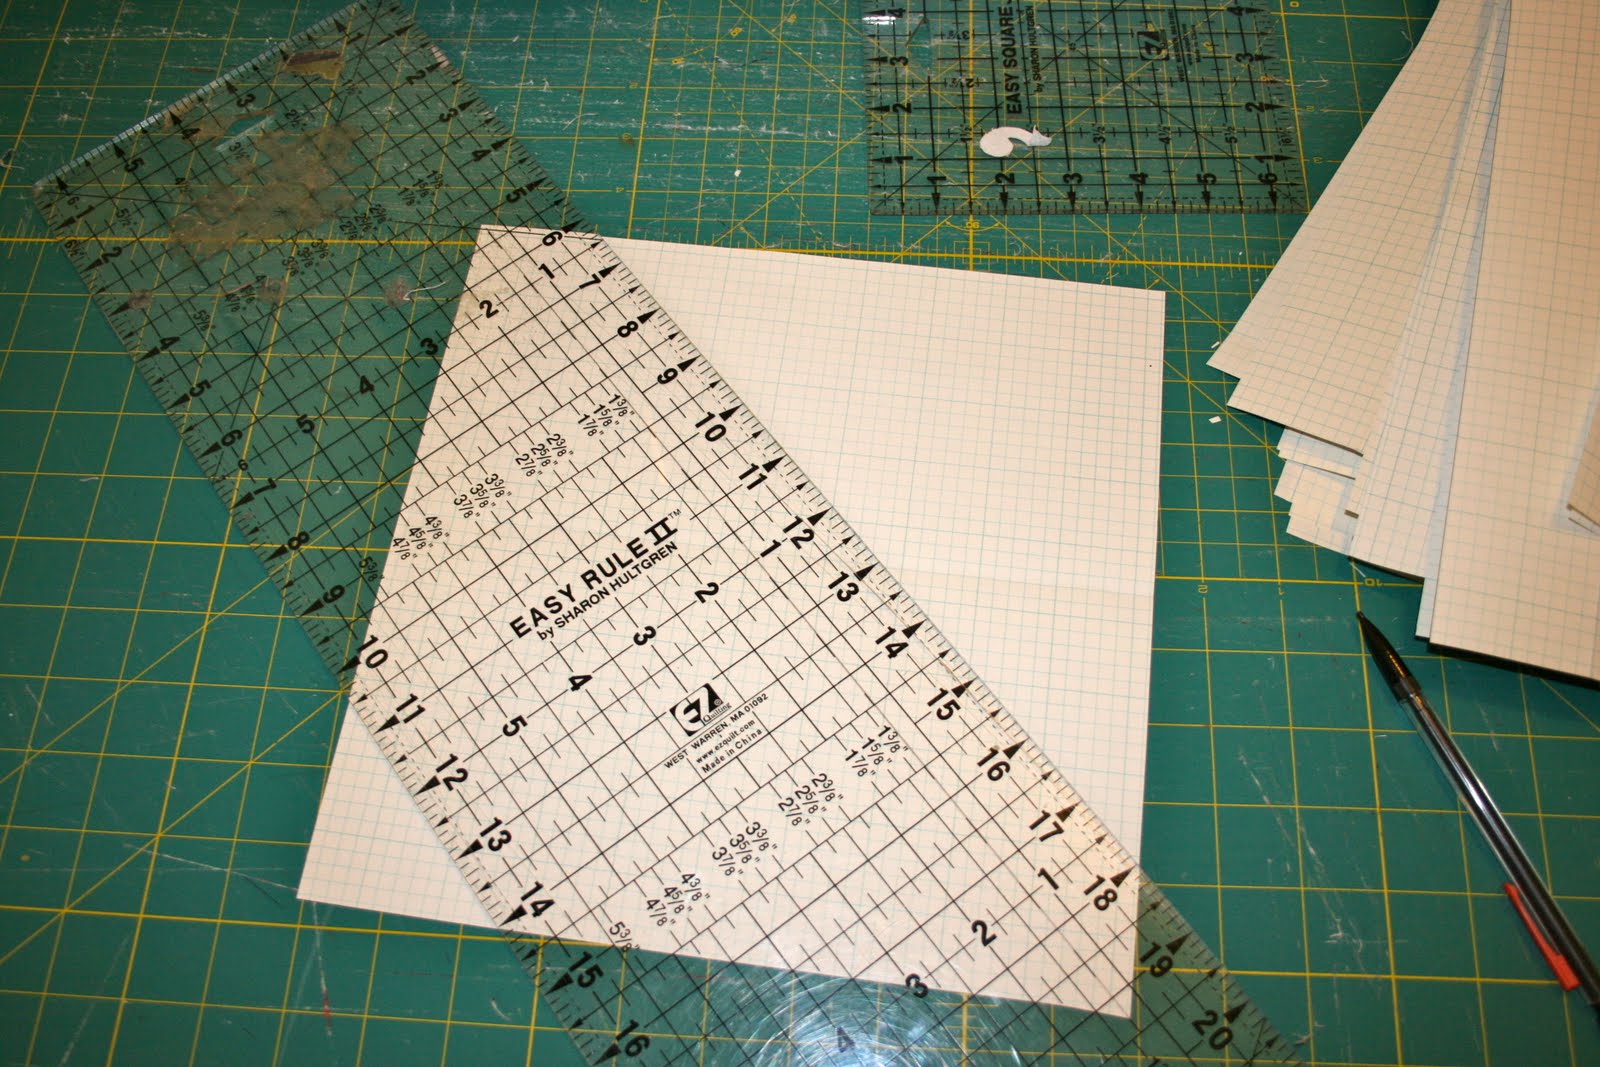
4 1/2 square ruler – it doesn’t matter whose ruler…I like one that has lines making an “x” from corner to corner. The lines help me straighten up my blocks as I trim them.

You are going to make 12, 12″ finished blocks set squarely in a 3 x 4 grid. Then you will add three borders. The first, most inner border is pieced and blends into the block section of the quilt finishing off the secondary pattern of pinwheels.
The instructions are presented in four parts – cutting, block construction, center construction, and border construction. The cutting instructions will tell you which part you are cutting for. This way you can either cut them and then set them aside (When I do this I put the sections in Ziploc baggies and label them. It keeps them all nice and neat and I know what they were for when I come back later and can’t remember what I was doing.) Or you can cut them as you are ready to use them.
Cutting Instructions:
Block Cutting Directions: (17 pieces per block for a total of 204 pieces)
From dark fabric – cut 12, 5 1/4 inch squares. Sub-cut each square twice diagonally into 4 small triangles for a total of 48 small triangles.
From light fabric – cut 12, 5 1/4 inch squares. Sub-cut each square twice diagonally into 4 small triangles for a total of 48 small triangles.
From Charms select 24 squares and sub-cut them each once diagonally into 2 large triangles for a total of 48 large triangles for corner blocks. If possible choose charms that do not read the same color as the dark and light that you have chosen.
From your Charms select 60 squares and trim them to 4 1/2″ square for center and edge blocks
Border Cutting directions:
Inner most border:
(32 corner patches of 3 pieces each + 14 charm patches = a total of 110 pieces)
from dark fabric – cut 8, 5 1/4 inch squares. Sub-cut each square twice diagonally into 4 small triangles for a total of 32 small triangles.
from light fabric – cut 8, 5 1/4 inch squares. Sub-cut each square twice diagonally into 4 small triangles for a total of 32 small triangles.
from Charms select 16 squares and sub-cut them each once diagonally into 2 large triangles for a total of 32 large triangles for corner blocks.
from Charms select 14 squares and trim them to 4 1/2″ square for center and edge blocks
Skinny border:cut 7 strips, 1 ½” x width of fabric (WOF)
Outer most border:cut 7 strips, 4 ½” x WOF
The Blocks This is a 9-patch block made of whole patches in the center and edges. The corners are pieced with a identical bi-colored triangles which create a secondary pinwheel pattern when several blocks are set together. I designed it and presented it first to my best friend as one of a block of the month series and later to my local quilt guild. For the guild, we were all very tired, and so I named it “Brain Dead”. You can find patterns for more blocks like this on my blog Quilty Friends.
Block Piecing:
Corner Patch:
Sew one dark and one light small triangle together to make a large triangle.
Being careful not to warp the triangles, iron seams open.
BE CAREFUL TO MAKE THEM ALL THE SAME – it is very easy to get these going in the wrong directions. If you are careful to always sew in the same direction with the pieces in the same place you should be alright. I suggest chain piecing these. If you do them all at once it is easier to do them all the same.
Make 48
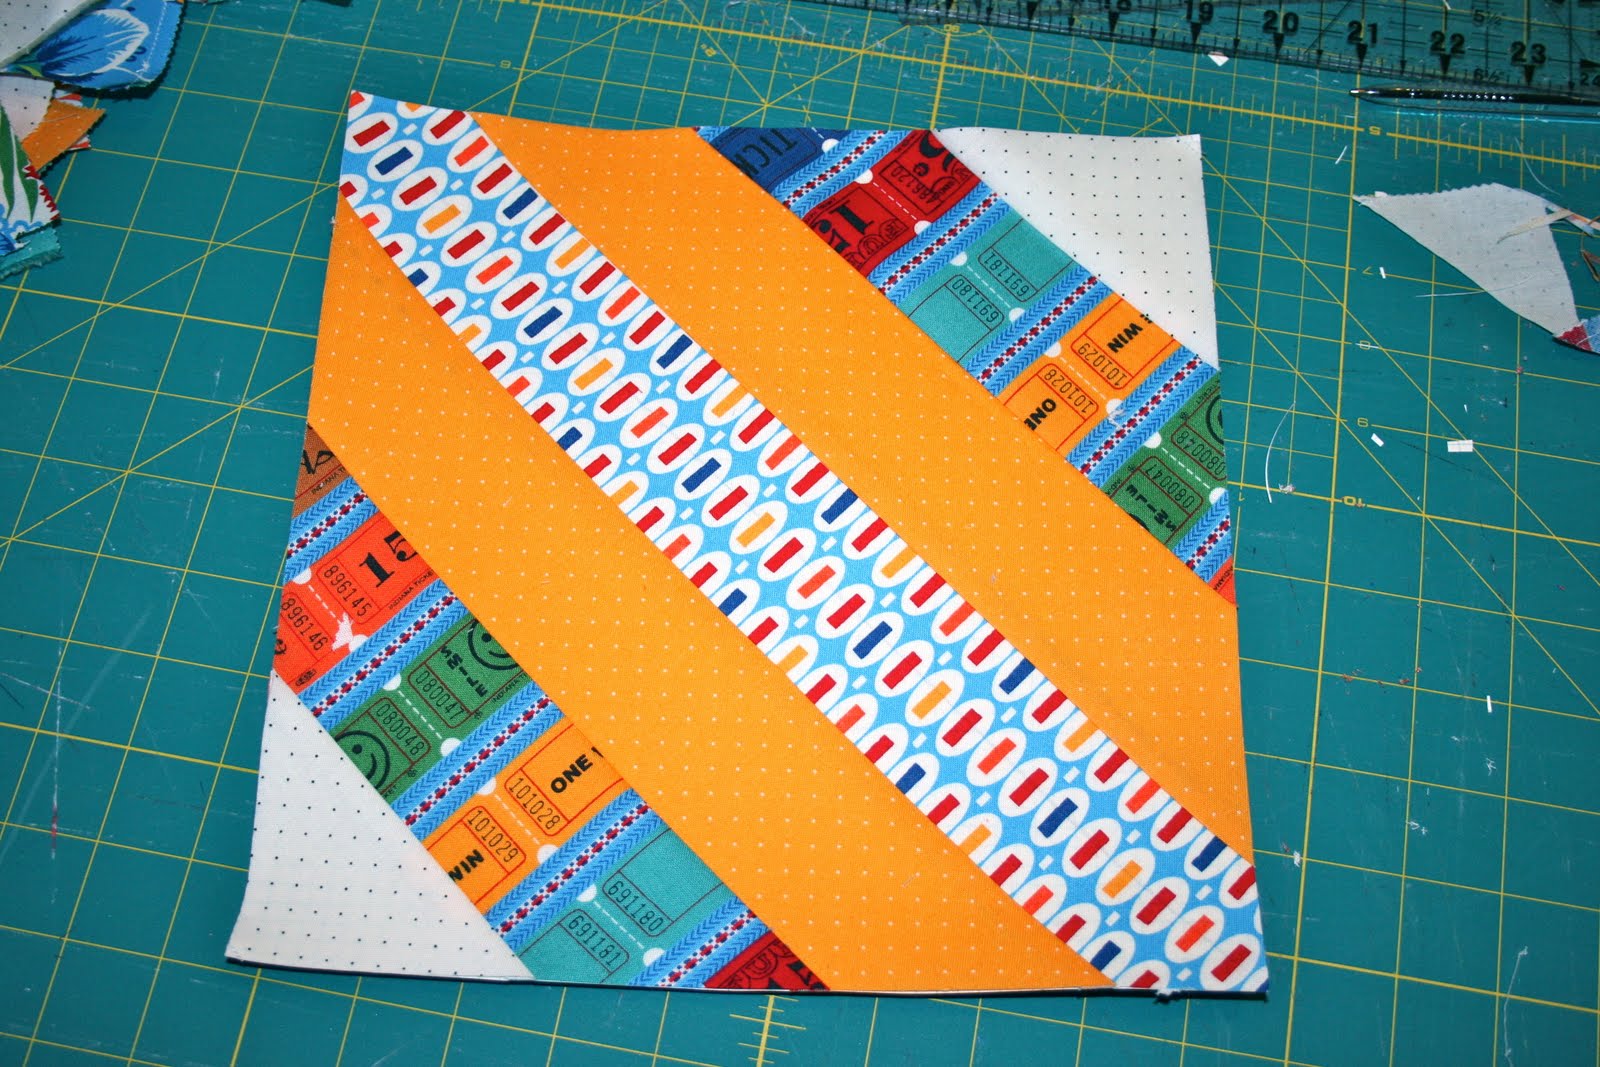
Using the right angle to align the pieces, sew each two colored triangle to a large triangle cut from charms.
Trim the excess seam allowance (This should be all from the large, single fabric, triangle.)
Being careful not to warp the triangles, iron seams toward the large triangle.
Trim to 4 1/2 inches square. Really, i am totally serious. Do this step! It doesn’t look like much, but every little bit adds up. I use my ruler that has a big “x” on it. Aline the seams with the lines of the “x” to make sure that the block is squared correctly. It will help your pinwheel points meet in the center when you finally put all of the blocks together.
 |
| This is what I trimmed off of my blocks. |
I really hate this step. It is tedious and boring. BUT I love the results. I think you will too.
Make 48.
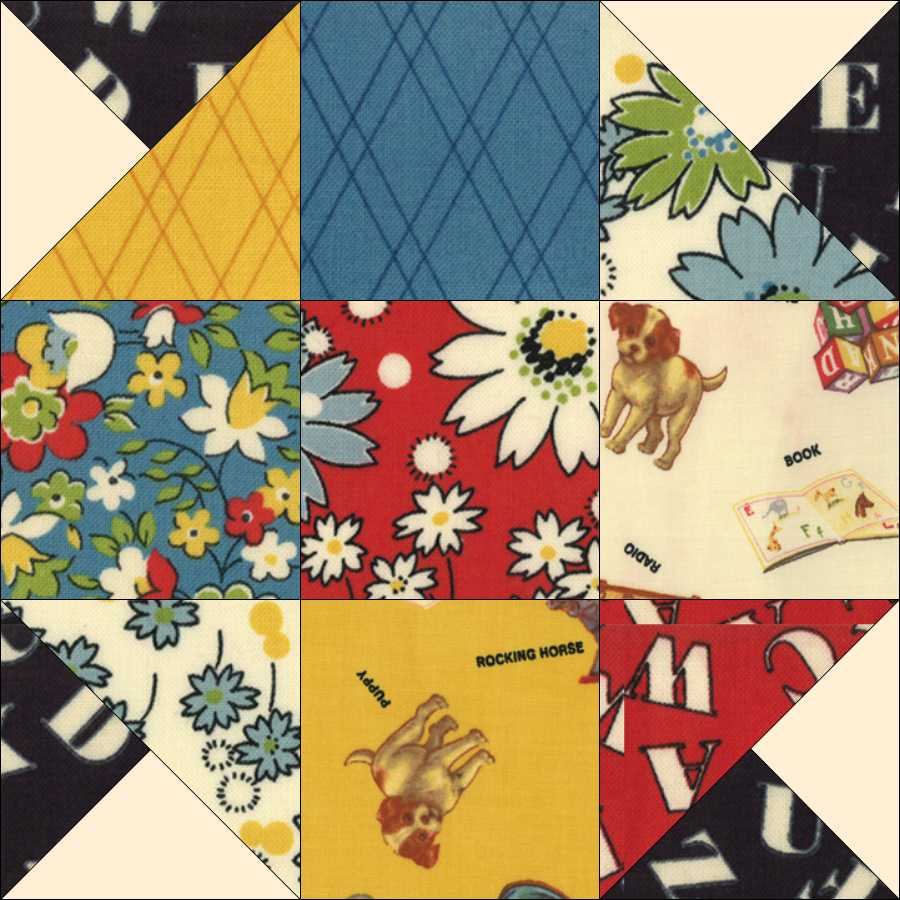
Block:
Take 4 corner patches and 5 trimmed charm squares and arrange them like the picture above.
Sew them in rows of three.
Rows 1 & 3 can be made with the same orientation. (You just turn one of the rows up side down when you put the block together.) Be careful here. Yes it is simple – so simple that it is easy to turn a corner the wrong direction. Unstitching is no fun….so take your time the first time.
Row 2 is just 3 random charms sewn together in a row of 3. (This row is so simple that when I introduced the block to my guild I named it “Brain Dead”.)
Make 12 blocks.
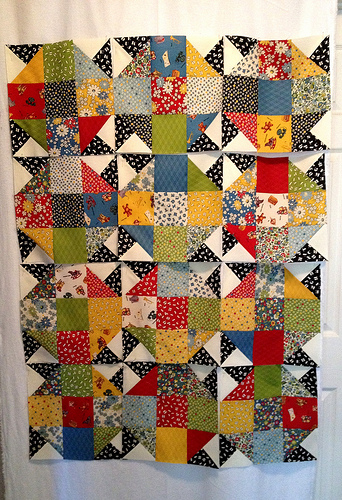
Center:
I like to lay all of my blocks out before I start sewing the rows together. It helps me get things balanced.
This is where I started….
It would be perfectly fine to leave them this way. I wanted my center colors distributed more evenly. I don’t like the two black centers together on the left hand column, or the two reds on the bottom row.
Change the blocks around to suit you.
Sew blocks together in 3 rows of 4.
Sew rows together.
The Borders:
There are 3 borders.
Border Piecing Directions:
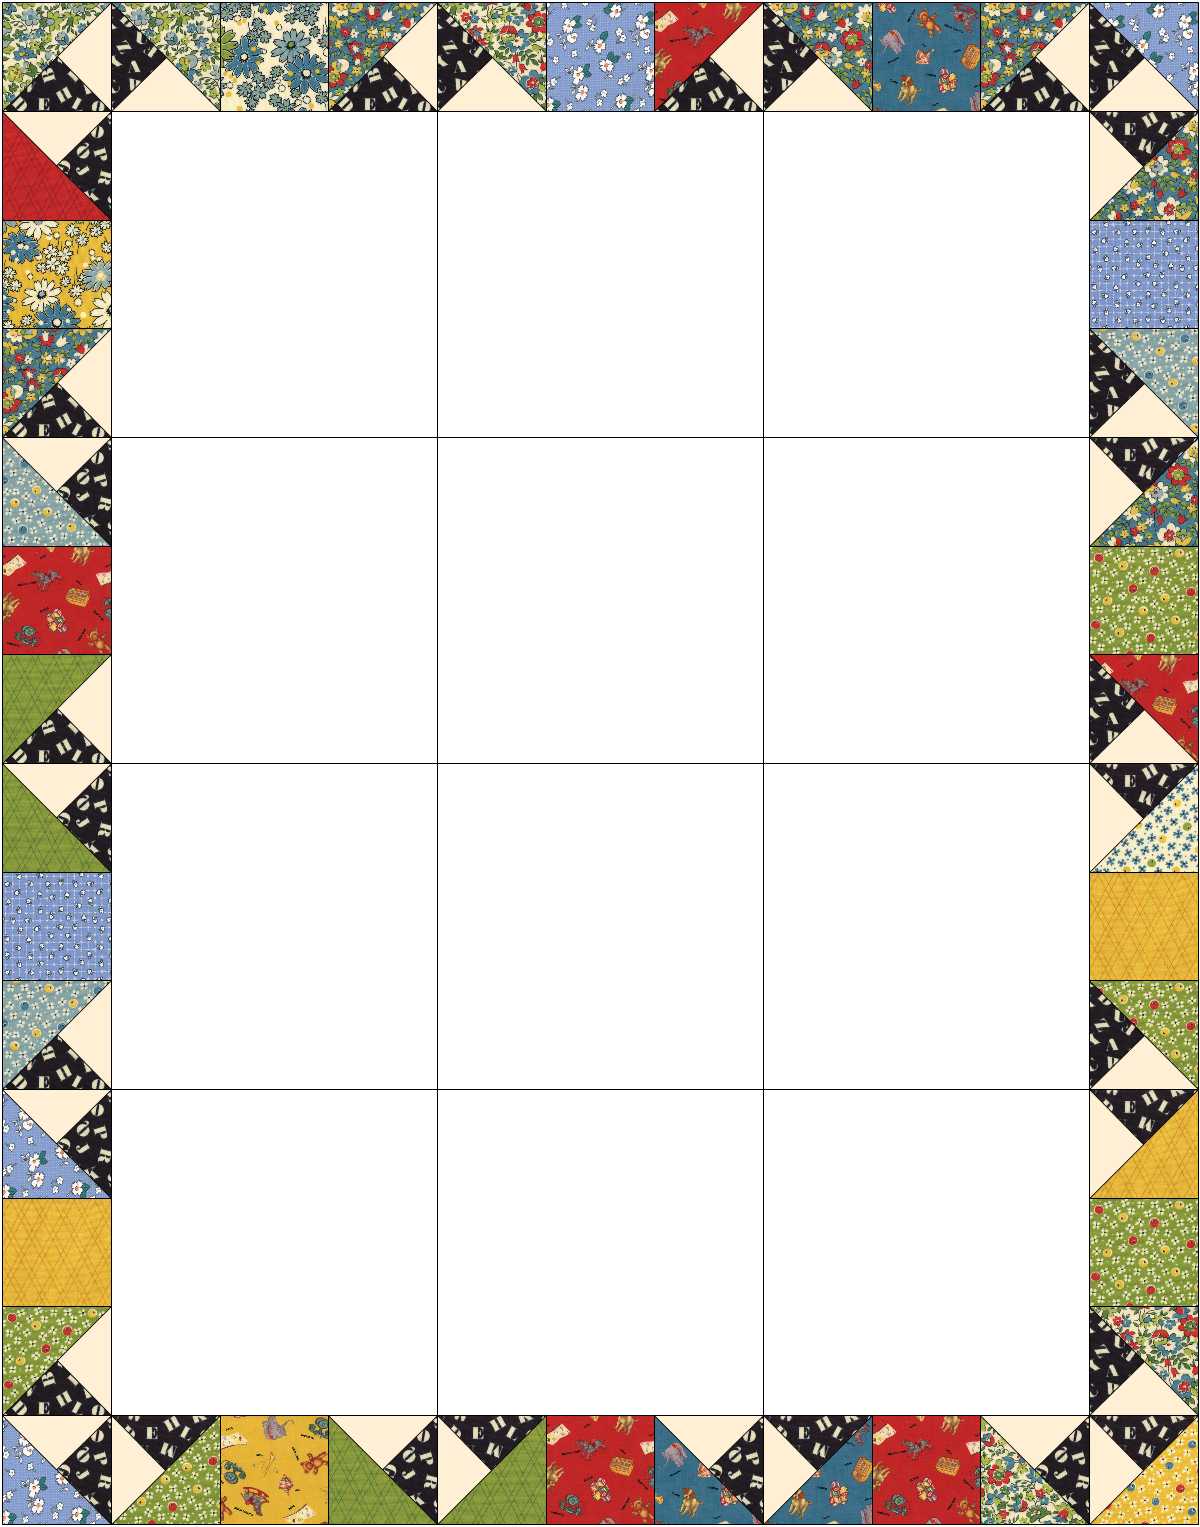
Inner most border piecing:
Following the directions already given for the piecing of the block’s corner patch, make 32 corner patches.
Now, you are going to take the corner patches and trimmed charms to make 4 strips of blocks. 2 that are 11 patches long and 2 that are 12 patches long. Use the border diagram to determine how to orient the blocks.
Attach the 12 patch strips to the long edges of the center. The corner patches should like up with the corner patches of the center blocks and create three new pinwheels on each side.
Attach the 11 patch strips to the short edges of the center. The corner patches should, again line up with the corner patches of your center. This time you should have 4 new pinwheels on each end.
Skinny border piecing:
I know that this is not the “approved” method, and the Quilt Police will probably hunt me down and shoot me, but this is how I do it. If you are gentle with your handling of the pieces it will work just fine without pinning anything or cutting the pieces precisely. If you are a man handler of fabric measure and cut your borders to the size you need, then pin them and sew as usual.
Sew 2 sets of 2 WOF strips together to make long sides of skinny border.
Cut 1 WOF strip in half, making 2 1 1/2″x 21″ (give or take) strips.
Sew 2 sets of 1 WOF + 1/2 WOF strips together to make short sides of skinny border.
Attach skinny borders to quilt, then trim excess.
Outer most border piecing:
Repeat process from skinny borders using 4 1/2″ wof strips everywhere you used 1 1/2 before.

One awesome, super scrappy quilt measuring 54 x 66 inches.
It would be great for a couch or child’s bed. You can also make it larger, say for a twin sized bed, by adding more blocks (See the note at the end of this post for yardage requirements)
For Your Information
Just in case you want to make it bigger…or smaller…here are some helpful facts.
This pattern required one 5 1/4″ square of dark, one 5 1/4″ square of light, and two 5″ charms to complete one secondary pinwheel pattern. For this project there are 20 pinwheels – so you need 20 dark, 20 light, and 40 charms to complete the corner blocks.
Each completed block requires an additional 5 charms. This project has 12 blocks, so you needed 60 charms for the block piecing.
The pieced border requires one charm for each edge of a block that it touches. For a 3 x 4 grid you have two edges of three and two edges of four….so 6 + 8 or 14 charms.
Soooooo, if you want to make this pattern bigger….say 4×6 blocks (which would finish at something like 66″x90″ or a skinny twin.) you would need….
40 pinwheels – requiring 40 dark, 40 light, and 80 charms
24 blocks – requiring 120 charms
and 20 charms for the border.
That is 220 charms (6 packs of 42 would do it.)
Cindy Sharp
{Tops to Treasure}