Layer Cake: American Banner Rose by Minick and Simpson
Layer Cake: Prairie Paisley II by Minick and Simpson
General sewing supplies

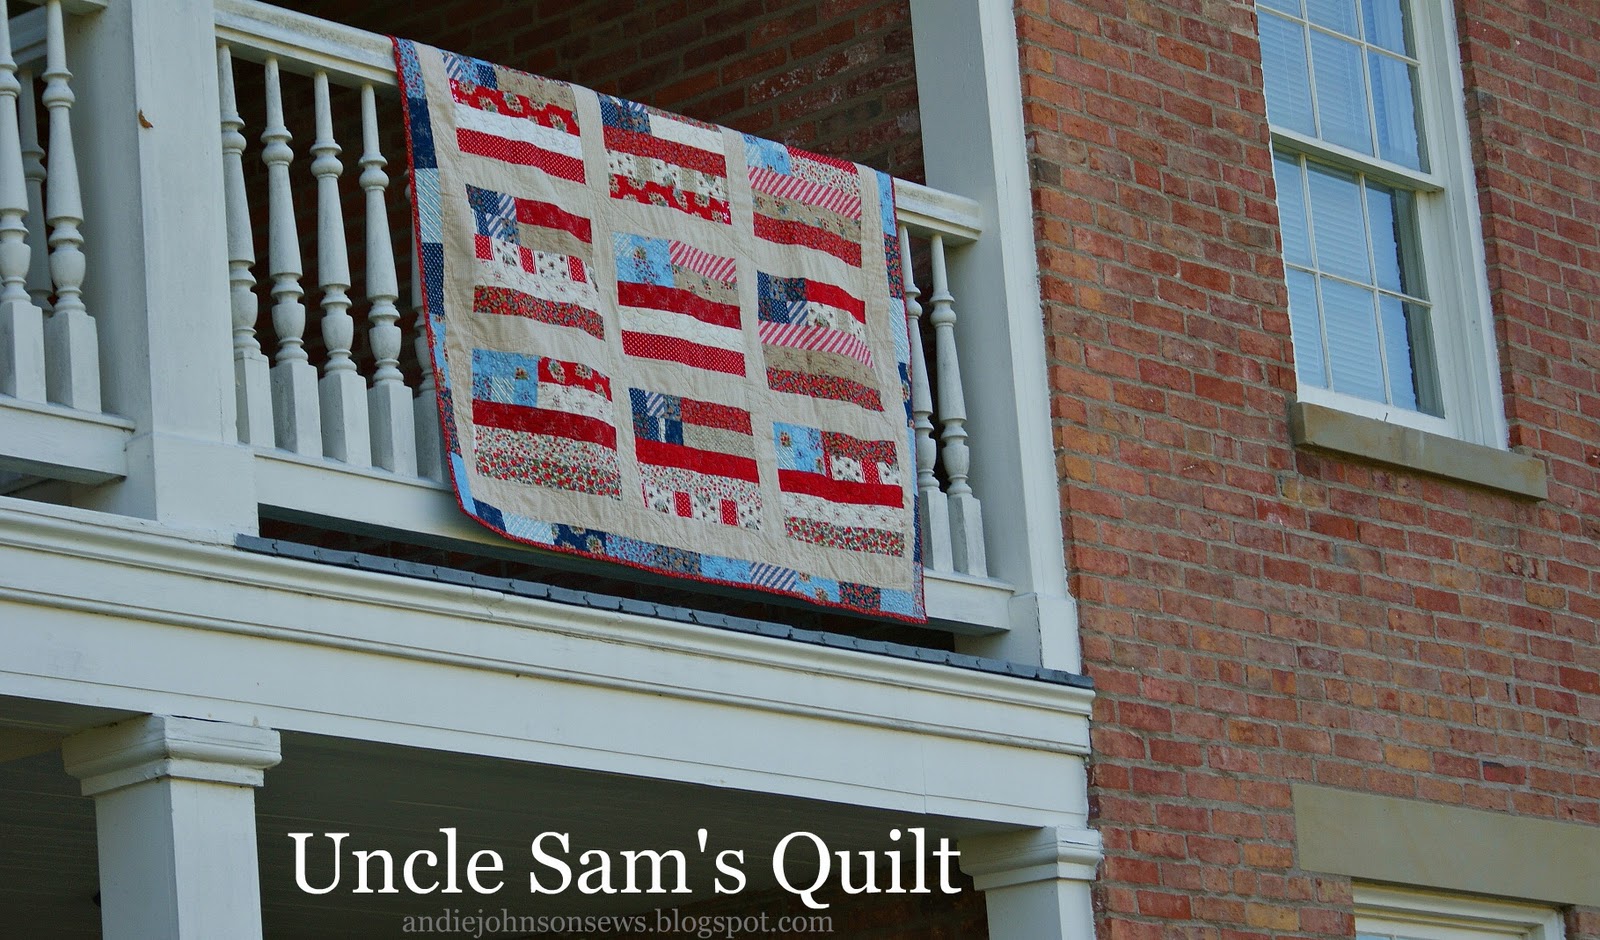
Using 1 Layer Cake each of Minick and Simpson’s newest lines, American Banner Rose and Prairie Paisley II, you can create a scrappy quilt in no time. The best part is that you’ll be working with the original Layer Cake size (no additional cutting) and the nice people at Moda have already done the color sorting for you!

- Open up each of the Layer Cakes and look to see where the color division from darks to lights accrues. It’s right there in the middle. Divide each of the 2 sets into darks and lights for a total of 4 piles.

Relax, this is going to be fun!
- Select one dark and one light swatch. I selected a dark from American Banner Rose and a light from Prairie Paisley II. The beauty of this project is that it allows you to tap into your creativity. Pick any two that you like together. Ideally, you’ll want to pick one that is darker then the other. You’ll see why soon.
- With the right side facing up on both fabrics, place the two together. Right sides up and stacked on top of each other. Sounds odd already, right? Trust me it will work. It doesn’t matter which color value is on top as long as they are both facing up.

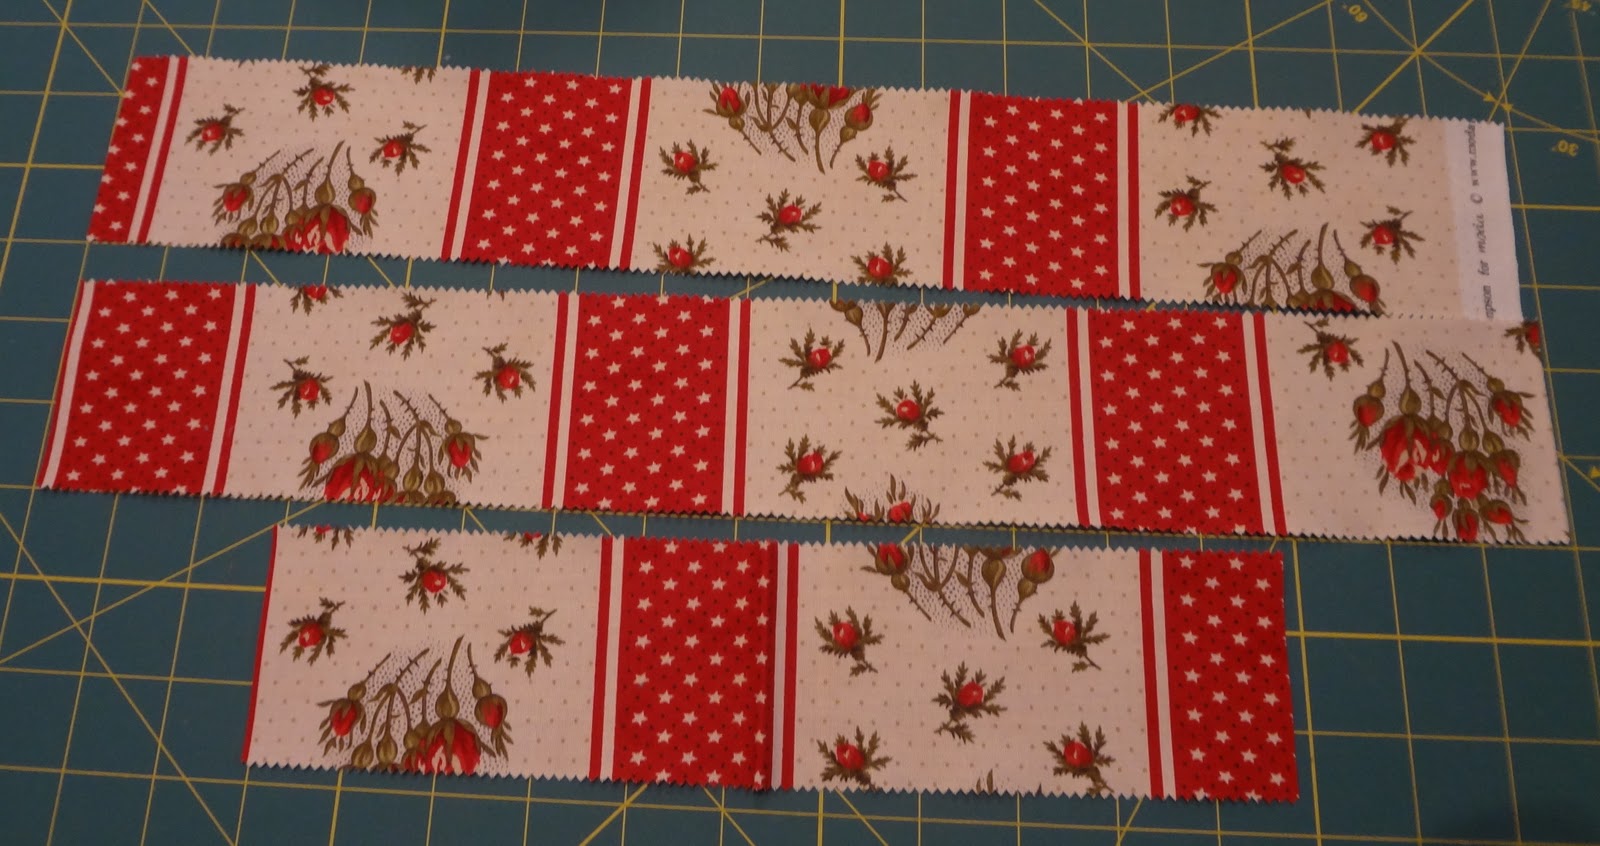
- Now we’re going to “wacky” cut a grid in the shape of a “tic-tac-toe” board. By wacky, I mean in any size and angle you’d like. The only rule you should consider is not to make the pieces too small or narrow. Below is a picture of my first set of horizontal cuts. I simply placed the rule down on an angle horizontally and gave it a chop. I didn’t have to worry about the perfect little cuts, as so many quilts require. For purposes of illustration, I separated the cuts just a bit. You won’t need to do this when you get rolling.

- I did the same thing in the vertical direction. You’ll note that there isn’t any pattern to the cut. It’s just “chop, chop” and you’re done.

- Next, reverse the order of the middle swatches on the outside rows only. It’s very important that you don’t mix-up the positioning of the cuts. Simply “deal” the top card to the bottom of the deck without twisting or turning the swatches. The middle swatch isn’t touched.

- You’ll now see the positive/negative block you’ve created with 4 easy cuts! Don’t peek yet, underneath is another block waiting to be sewn in the opposite configuration. 4 cuts yielding 2 blocks. Can’t beat that!
Onto sewing:
- Normally, we’re very concerned with getting our “points” lined up perfectly to create a block. This block throws that idea out the window. Try your best to suspend that hard and fast rule from your quilt brain.
- First, sew the pieces together horizontally in rows (keeping the order of swatches as they appear). Start at the top left hand corner and work across. With right sides together, sew the swatches together other using a ¼” seam allowance. Remember to make sure each swatch is sewn in the correct order.
Tip: Before sewing the pieces together, line up the top and bottom point to point (sew where my scissors indicate in the photo below). Don’t be concerned with the angle it creates. Just sew that seam with a ¼” allowance straight down vertically.

- I flipped the top left hand swatch onto the middle one and sewed them together. I know, your gut is telling you that the bottoms are off! Only worry about the sides lining up. Don’t look at the bottom because it will make your quilter’s stomach turn.

- Now flip the right hand corner over and sew it to the segment you just completed. By lining up just the sides, it appears that you’re sewing the piece at an odd angle. One of the hardest parts of this block is to forge ahead and not worry about the blocks appearance as you’re putting it together. Remember to sew each row across from left to right first. If you try to get fancy and skip ahead, you might be in for big trouble.
- Pictured below is row 1 sewn together. Yes, the keen-eyed quilter noticed that the right hand bottom shows a small space where swatches 2 and 3 are sewn together. Remember that it’s on an angle, and as a result, these spaces will creep up. When the block is constructed the little space will disappear!

- Following the same rules as above and sew rows 2 and 3 together horizontally.

- To complete the block, sew the 3 rows together. Start by sewing the top row to the middle. Then the bottom row to the newly sewed piece.
Tip: Again, ensure the points match on the top and the bottom of the rows. The block seams will not line up and that’s fine. It will only enhance the look when it’s done. In the picture below, you’ll see the rows lined up from point to point. Simply sew a ¼” seam to join them.

When you’re done with block 1, block 2 is right there waiting for you to sew.

The 2 blocks completed:

- When the block was done, I trimmed it to 8.50”. Of course, you can trim it to any size given the random appearance. An 8.50” block will yield an 8.00” block when sewn together into a quilt, which makes the math much easier.
Each Layer Cake has 42 swatches, which will make a total of 84 blocks. A quilt measuring 72” x 72” can be made with 81 blocks. 9 vertically by 9 horizontally. The possibilities are endless. A solid border can be added to increase the size and so on.

![]()