
Hey it’s Crystal from Hendrixville again with another awesome quilt if I do say so myself! I had a LOT of fun making this quilt, and my little boy already LOVES it!
I know that this line of fabric has been out for a bit, but you could substitute Moda Basics and it will look just as fabulous!

1 Fat Quarter Bundle of Robotics by Ingrid Slyder
1 Layer Cake Basic White
2 Charm Packs Marble Citrus
Binding: 5/8 yard of your choice
Backing: 5/15 yard of your choice (if you will be using your scraps, this will be smaller)
Binding: 5/8 yard of your choice
Backing: 5/15 yard of your choice (if you will be using your scraps, this will be smaller)

Cutting:
(Cut this first- any leftover pieces can be used for the robot parts)
1. Cut 36- 5”x10”of the Robotics fat quarter pieces in a variety of the robot imaged fat quarters.


2. Cut the white “robot rockets” fat quarter piece and into 8-5” squares.

Use the template included in the Printer Friendly Version at the bottom of the post and cut out the requirements of each robot in a variety of colors and patterns from the remaining fat quarters and from the charm packs. You will be making a total of 9 Robot blocks.


I did not use any particular pattern for the color combination, so feel free to be as creative as you like. I did use 1 charm square for the middle of the Robot.


Assembling the Robot block:
1. Take 4 pieces of your basic white layer cake and sew together to make 1 large square. Make sure you press your seams (there won’t be another chance to do this later).


2. I found the easiest way to keep the different blocks organized is to lay all the pieces for the robot on each square and pin them all down (so you don’t lose any). Then when you finish one Robot you have everything ready to start the next. (You could also do an assembly type of system if you desire; do whatever you feel comfortable with).


3. I ended up sewing and pinning each block in layers. I first took the middle section of the robot and the head – pinned them down and then sewed each piece on – then used them as a single piece for assembling the Robot.


4. I sewed on the eyes with a “+” sign since the pupil of the eye is so small. This is an easy and fun way to attach the eyes.


5. When sewing the robot pieces on, I used a ¼” seam from the edge of each piece.


6. Before you start sewing on the Robot pieces, layout each piece to set up the correct alignment. Make sure that you leave at least ½” around the border of the background block. Once you have everything laid out, pin down the bottom layer of Robot.


7. Then take off the top layer of the Robot and sew the bottom layer on. After you’re done, trim off your thread pieces.


8. Now pin down the top layer of the Robot (you should use all of the remaining pieces of the Robot now) and then sew and trim again.


9. Now you have a finished Robot block! Isn’t he cute? Repeat to make 8 more blocks.
Assembling the quilt top:
1. Sew together your 5”x10” pieces together now (keep them random). Only sew together 2 pieces at a time and on the 5” side. You will then end up with 18 – 5”x9.5”


2. Make 3 of the following:
1. Robot piece (5”x9.5”) + White Rocket square (5”x5”) + Robot piece (5”x9.5”) + White Rocket square (5”x5”) + Robot piece (5”x9.5”)


2. 3. Robot block + Robot piece (5”x9.5”) sideways + Robot block + Robot piece (5”x9.5”) sideways + Robot block


4. Continue to assemble quilt top.
5. Baste, quilt and bind as desired. A fun way to use your remaining scraps is to create a fun pieced back like the following.


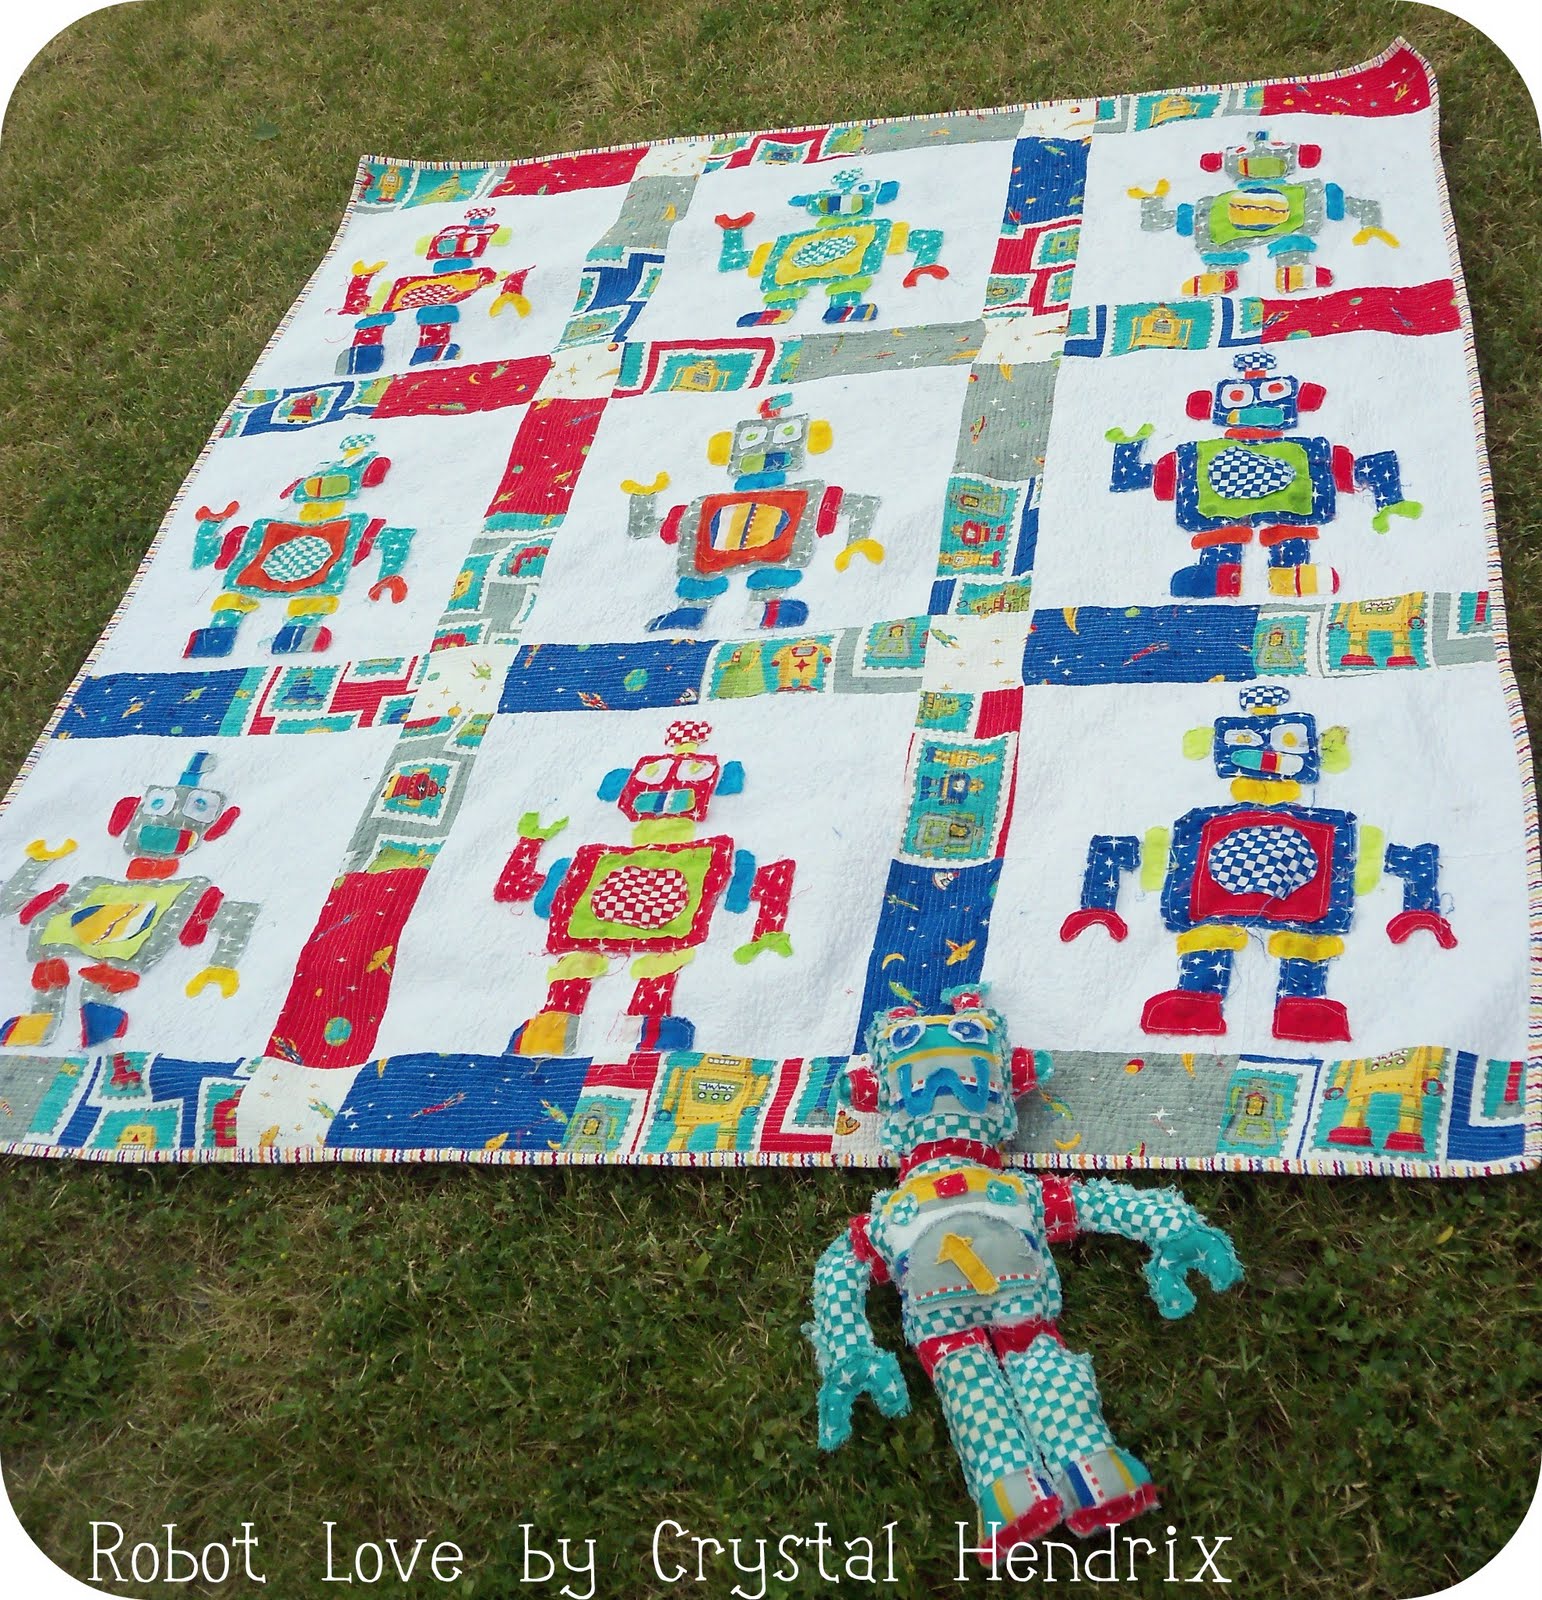
A 65×73” little boy Robot quilt!


After I had already designed this quilt, I found a cute stuffed Robot at my local quilt store, Material Girls. He is a perfect addition to this quilt! Almost as if he was planned to go with it! Now you have a chance to win your very own pattern for this little guy! Just come visit my blog for a chance to win this little guy!

Crystal Hendrix
![]()
