
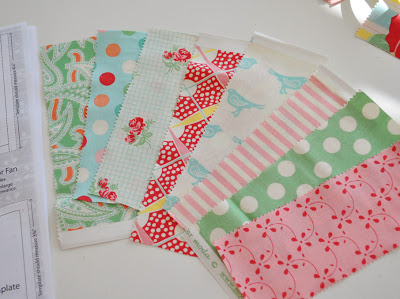
1- Martinque by 3 sisters charm pack
1- bella solids charm pack
(yes you heard it here- Moda is doing a variety of bella solids in charm packs, jelly rolls, layer cakes and fat quarter bundles) IN STORES APRIL 2010
1/2 yd Prairie Point
1 1/2 yd Backing (you will also cut 1-5″ square from this fabric)

Your choice of buttons or floss to tie quilt top


STEP 1: Set aside 4 solid charms and 5 print charms.
STEP 2: Alternate print and solid charm packs sewing sets of two. Press towards the prints so the seam allowance does not show through. Continue combining the sets until you have 9 sets of 8 squares.

STEP 3: Using the charm squares set aside in step 1, add 1 charm to each of the rows. Arrange the rows in whatever order you want. My niece Kennedy was up bright and earlier so this is where the project became “hers.” This will give you 9 rows x 9 rows. Imagine the possibilites of adding the solid charm packs to your favorite print collection. Can you tell I am super duper excited about mixing Bella solids with the moda prints?

And yes i did let my niece have a Dr. Pepper for breakfast.
PRAIRIE POINTS (or as my niece calls them, shark fins)
Cut 4 strips 4″ wide. I decided to do this size prairie point when I was playing around with my pillowcase tutorial. Follow the directions listed on my blog for the prairie points except the size is smaller. I have listed the sizes here.
Fold the strip in half length wise and press to determine the middle. Start on one end of the strip and cut every 2″ stopping at the middle fold. From the other side of the strip make your first cut at 1″ then start cutting every 2″ being sure to stop at the middle fold.
4″ strip cut every 2″ alternating on each side so it it staggered
Lay the strip on your ironing board and press all the squares in the same direction. Leave the 1″ strip
loose. You will get rid of it later.
Then continue pressing all the triangles back onto themsleves in the opposite direction.
The strip of “Points” will fold together to create your strip of prairie points.
By pressing the points in the same direction you can “nest” each of the points into each other.
The points all line up nicely and rest inside each other. This step if reminds me of a caterpillar. To hold the “caterpillar” in place you can now top stitch this down to hold them in place.

NOTES:
If you want a strip longer than approx 41″ of points just make another strip and nest it into the last point on your strip. This is the perfect size for making prairie point border on a baby quilt or throw.
The length of the prairie point strip will always be the length of the fabric. The only thing that varies is how many points and how far apart they are.
For example, cut an 8″ strip for 4″ prairie points and you will have fewer but bigger points. The strip will still be approx 41″/42″ long.
Cut a smaller strip 6″ for 3″ points. The strip will still be approx 41″/42″ long.
Machine Baste the praire points to all 4 sides of your quilt top.

BASTING QUILT TOP
Lay quilt top on the floor right sides up.
Next lay quilt backing right side facing quilt top.
Lay batting on top. Pin the 3 layers together. Sew 1/4″ on four sides leaving a 12″ opening to turn the quilt right side out. Be sure and use the 1/4 seam allowance so you do not chop off the small prairie points.
Clip away any excess batting and backing. Trim the corners nicely and turn right side out.
Sew the opening closed. I topstitched around the edges of the entire quilt.
TIE QUILT TOP
Use your favorite choice to secure the layers together. Kennedy choose to tie the squares in the middle of the print blocks with a pink thread.

I was serious about Kennedy making the quilt “Hers”. The quilt is off to Austin for a neighbor who is expecting a new baby.(Kennedy said 70% chance it is a girl)
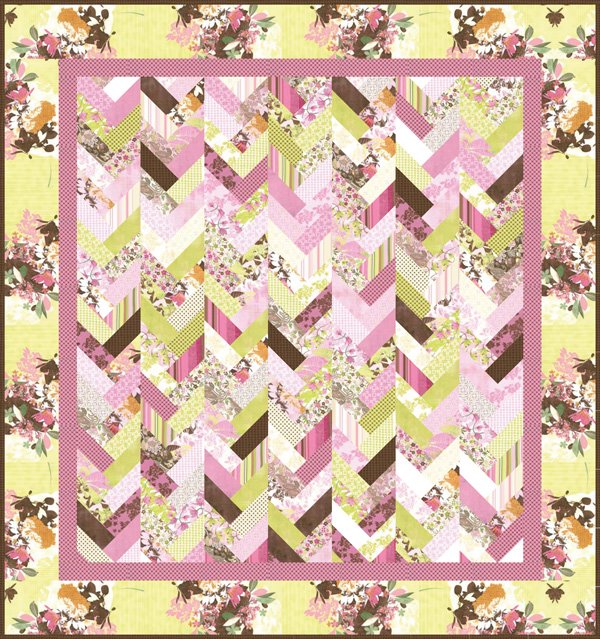
1 Print Charm Pack & 1 Bella Solid charm pack yields a 9×9 quilt measuring approx. 40.5″ x 40.5″
2 Charm Packs & 2 Bella Solids charm packs yield a 10 x 15 quilt measuring 40.5″ x 67.5″
3 Charm Packs & 3 Bella Solids charm packs yield a 15 x 16 quilt measuring 67.5″ x 72″
Lots of fun doing this project with my niece. She nows wants a sewing machine for her birthday!
Project Runway, here we come!


 Follow the pattern from the website to make the entire quilt.
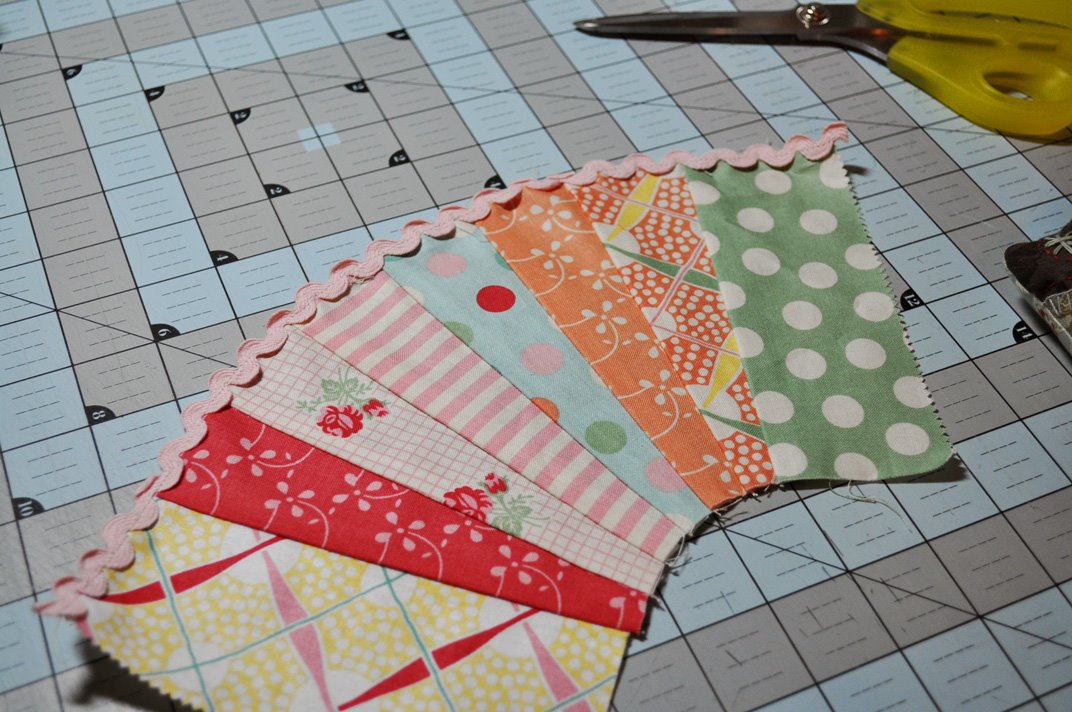


 Let me do some preaching here: Before you start to sew this. Stop and change the needle on your machine. How long has it been? Well that is too long.
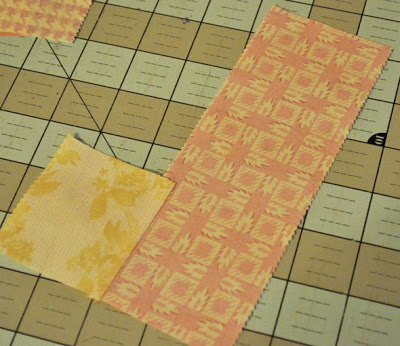 Add another strip to the other side of the square as shown below.
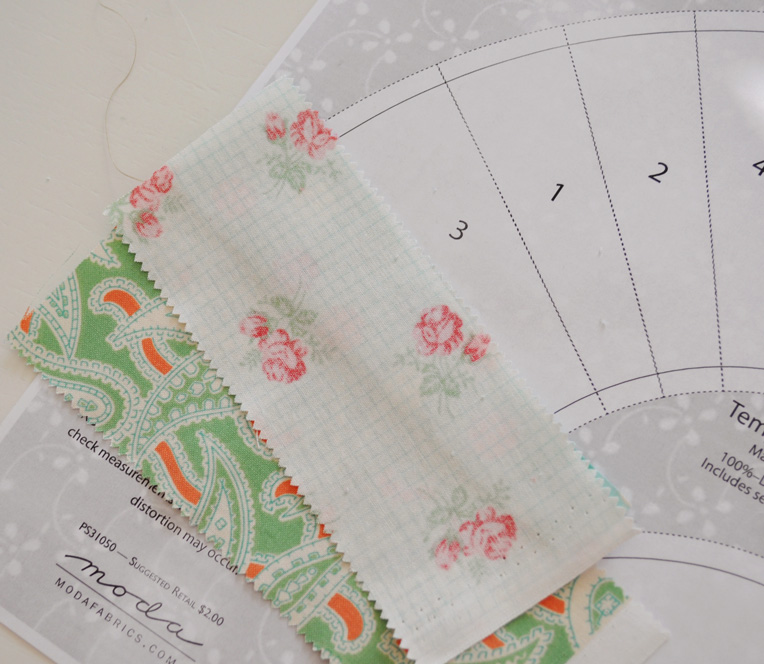
 Once the rows are the desired length, you will need to straighten the top edge. I line my 45 degree lines on my ruler along the strip seams to make sure I have a parallel cut across the top. (my pics are pretty yellow so you can’t see the yellow lines on the ruler, but they are there)
 This is one thing I did different from the project sheet. The project sheet gives instructions to trim the rows before sewing. This area is all bias edges, Yikes! which is code word for “Will Stretch.” Optional technique shown here: Lay 2 of the rows right side together lining up the side edges. Using a straight edge draw a sewing line down the length of the row. Pin the rows
 Continue sewing your rows together always lining up from the top and matching the sides. Once the top is complete you can straighten the bottom edge. Add borders.
 This is a wonderful quilt to make for a baby quilt also. Sew 5 strips into rows about 45″ long.
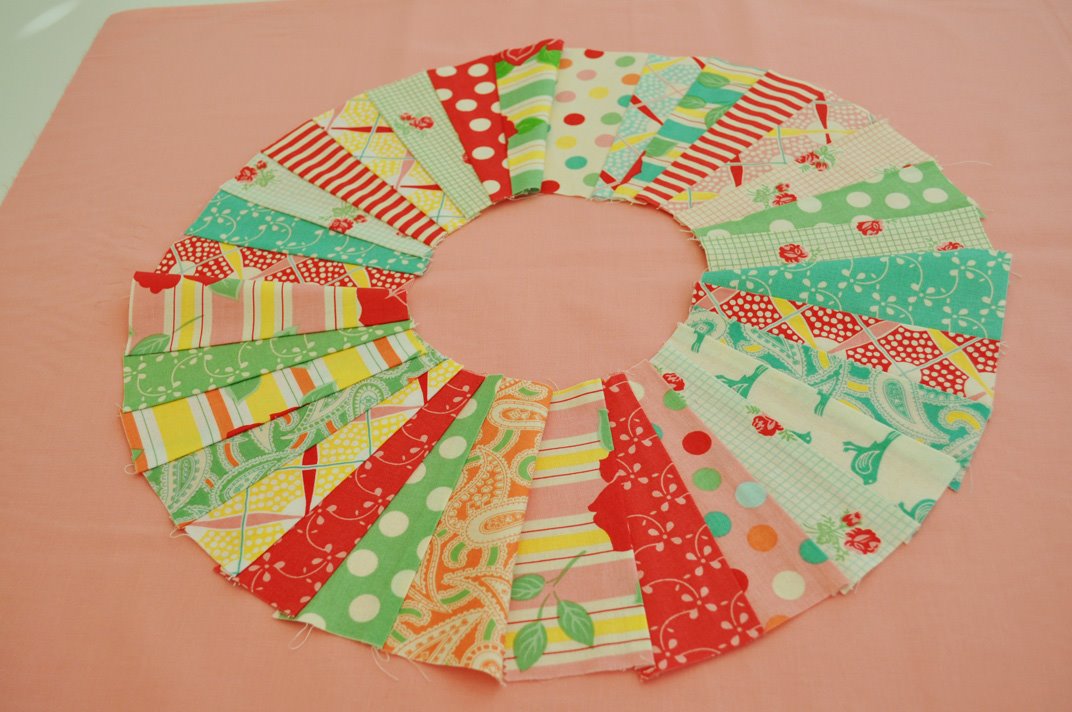
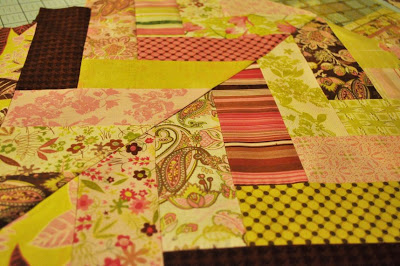
 Set 4 sections of aside. Sew the remaining 4 sections into a ring end to end as shown below. Choose a fabric anywhere on the ring and cut it in half. This is what will give you a staggered strip. If there is a fabric that is not your favorite, choose that one to cut in half so it appears in smaller pieces in your quilt.
 Sew the 8 rows into sets in a pleasing order. Press the seams all in one direction. Join all the rows together. Press and square up any extra along the bottom.
 Make a quilt sandwich by laying the batting (I used multiple layers of poly-fill batting), backing and quilt top. Make sure quilt top and backing are right sides together. Pin all the sections together. Sew around all four sides of the quilt top leaving approx a 12″ opening to turn the quilt right side out. Trim the excess batting and backing away. If you will hold your scissors at a 45 degree angle while trimming the excess it will help “plane” the bulk of the batting and make it lay flat.
 TIP from Carolyn St. Clair: To get a nice sharp corners, sew the corners like the picture shown below. Trim.
 Once you have the quilt turned right side out, sew the opening closed. I originally was just going to tie this quilt but I started sewing a running stitch along the edges and I really liked how it turned out.
 So I added more running stitches throughout. I use a thread called Cordonnet by
 I am thinking about possibly even sewing a piece of ribbon or twill on it to be able to roll it up and tie it.