
![]()
Hi there! I’m Emily and I blog at Sew E.T. I’ve been a long time follower of the Moda Bake Shop and many of my quilts are from tutorials found here! I even have a binder chock-full of my favorite tutorials that I’ve printed out over the years.
Ever since Honeycombs came out, I’ve been looking for ways to use the cuties. I came up with this project when I needed a last minute gift for my office Christmas party. These are great for a hostess gift! Ok, enough chit chat. Let’s make something! 
1 Moda Honeycomb (I used Color Me Happy by V & Co.) – Note: you only need 4 per coaster

7″ x 17″ Iron-on vinyl such as Heat N Bond, enough for 4 coasters


Use a 1/4 inch seam throughout
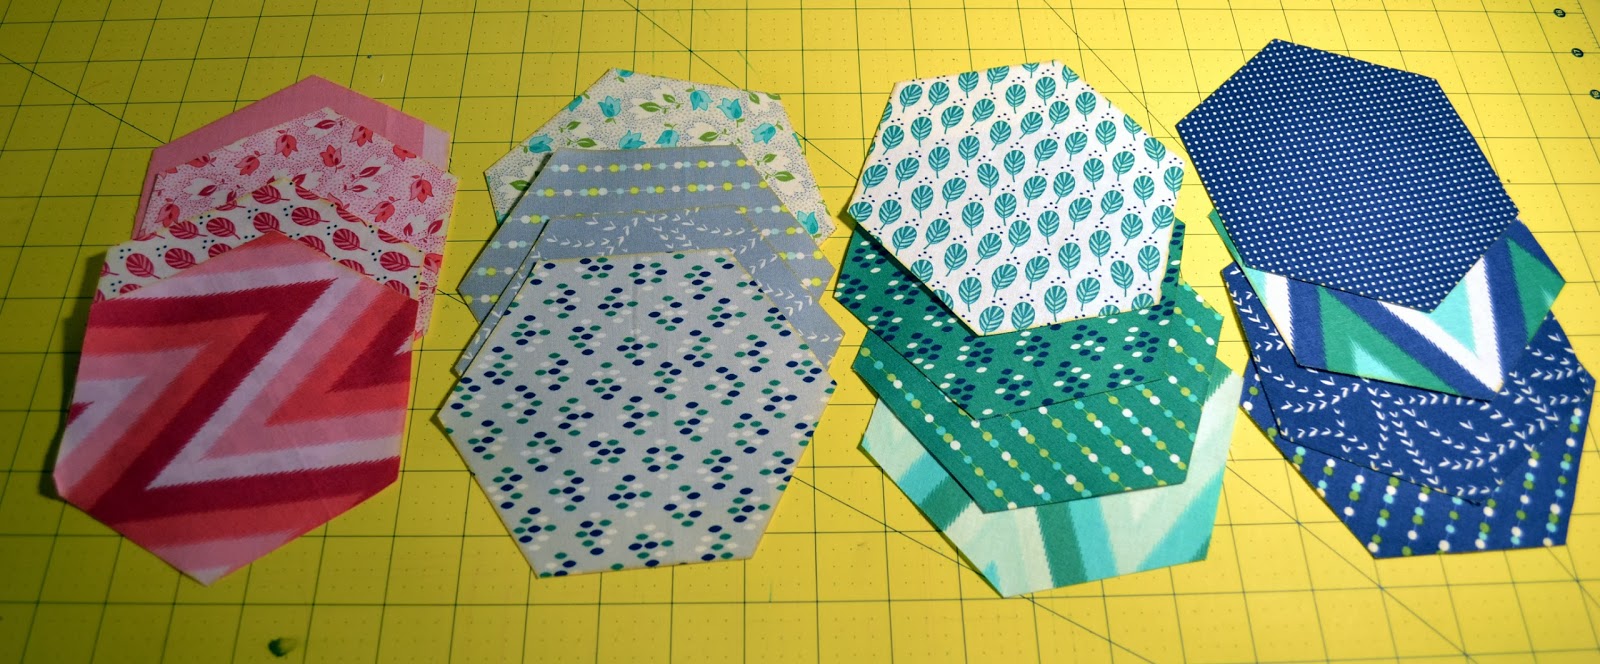
1. Choose 4 honeycombs for each coaster. One piece will be the bottom and the others will be showing on top when it’s all finished. I chose all 4 from the same color group, so that way a person can remember what color they have and they’re not just pretty coasters!
2. Optional step: I decided to apply iron-on vinyl to just the bottom of my coasters to provide some additional protection on the tabletop. Follow the instructions on your particular brand of iron-on vinyl. I was able to get all 4 honeycombs side to side under the 7″ x 17″ piece of vinyl. I put a piece of tissue paper or scrap paper under the honeycombs that are to be the bottoms, laid them out in a row face up on top, and then ironed the vinyl onto the paper and fabric, so that there wasn’t any overlap of the vinyl onto my ironing board. Once it’s all ironed down, simply cut out along the edge of the fabric and the paper underneath comes right off the back!
 |
| Lay the bottoms down side by side over tissue paper or something to protect your ironing board. Following directions for your vinyl, lay the vinyl over the bottoms. Be sure to cover all the fabric! |
 |
| Following directions for your vinyl, iron the vinyl down. Mine said to have my iron at medium heat and to place the paper backing over the vinyl while pressing. |
 |
| After pressing, peel away the paper from the vinyl and cut out close to the fabric edge. |
 |
| The tissue paper isn’t attached and just peels right away! |
 |
| Now all the bottoms are ready! |
3. Let’s go back to the remaining honeycombs that will be on the top of the coaster. You’re going to iron them in half, wrong sides together, so the print is facing out. Let’s call this a half honeycomb. You’ll need 3 for each coaster.

4. Ok, let’s build a coaster. Place the piece that will be the bottom right side up on your table. Place the first half honeycomb on the bottom piece, lining up the edges. The second half honeycomb stacks on top, slightly overlapping the first one. See the photo for placement. The last half honeycomb stacks on top of both the first and second. You’ll slip one edge of the third half honeycomb underneath the edge of the first one so they are all interlocked. Be sure the edges are all lined up with the bottom piece! Pin these in place.

5. I bet you saw that Moda put a fancy plastic template in your honeycomb bundle. Do you see the little holes in each corner? Those clever people placed those holes 1/4″ from the edge so you know when to stop sewing and pivot your needle. They’re so nice 🙂 Place this template on top of the whole pinned up coaster, lining up the edges as best you can. Use a marker to dot each corner through the template.

6. Let’s sew it together! Now at your sewing machine, you’ll start along one edge, sewing 1/4″ seam on the top side of this little bundle. Stop at the dot you made and pivot your needle so you can continue on each side until you meet your starting point and secure your threads. Now you have a coaster – almost.


7. I iron lightly before I turn it all right side out. You’ll need something pointy to crisp up your corners. Once you have it all turned right side out, you can press again, but don’t iron directly onto the vinyl if you did that part! You should see a hole in the center of the top if you wiggle the fabric around. That’s where your wine glass stem will come out, with the half honeycombs all snuggled around the base.


8. Pour yourself some red, white, or pink and snuggle your coaster over the bottom of your glass. Ta-da! Make one or twenty, but people will think you’re pretty clever. Did I hear somebody say mimosas? 😀


4 or more awesome wine glass coasters!
Thanks for checking out my tutorial. I’d love to see pictures of any that you make at the Moda Bake Shop Flickr group. Happy sewing!
Emily Thompson
Sew E.T.
![]()
