
Hello again! I’m Polly from Aunt Polly’s Porch blog and I’m so happy to be sharing my designs again on the Moda Bake Shop! I know many of us are looking forward to school being over soon and going on a fun summer vacation. So, I thought you might need a travel set to take with you. Let’s Go Trippin’!!!
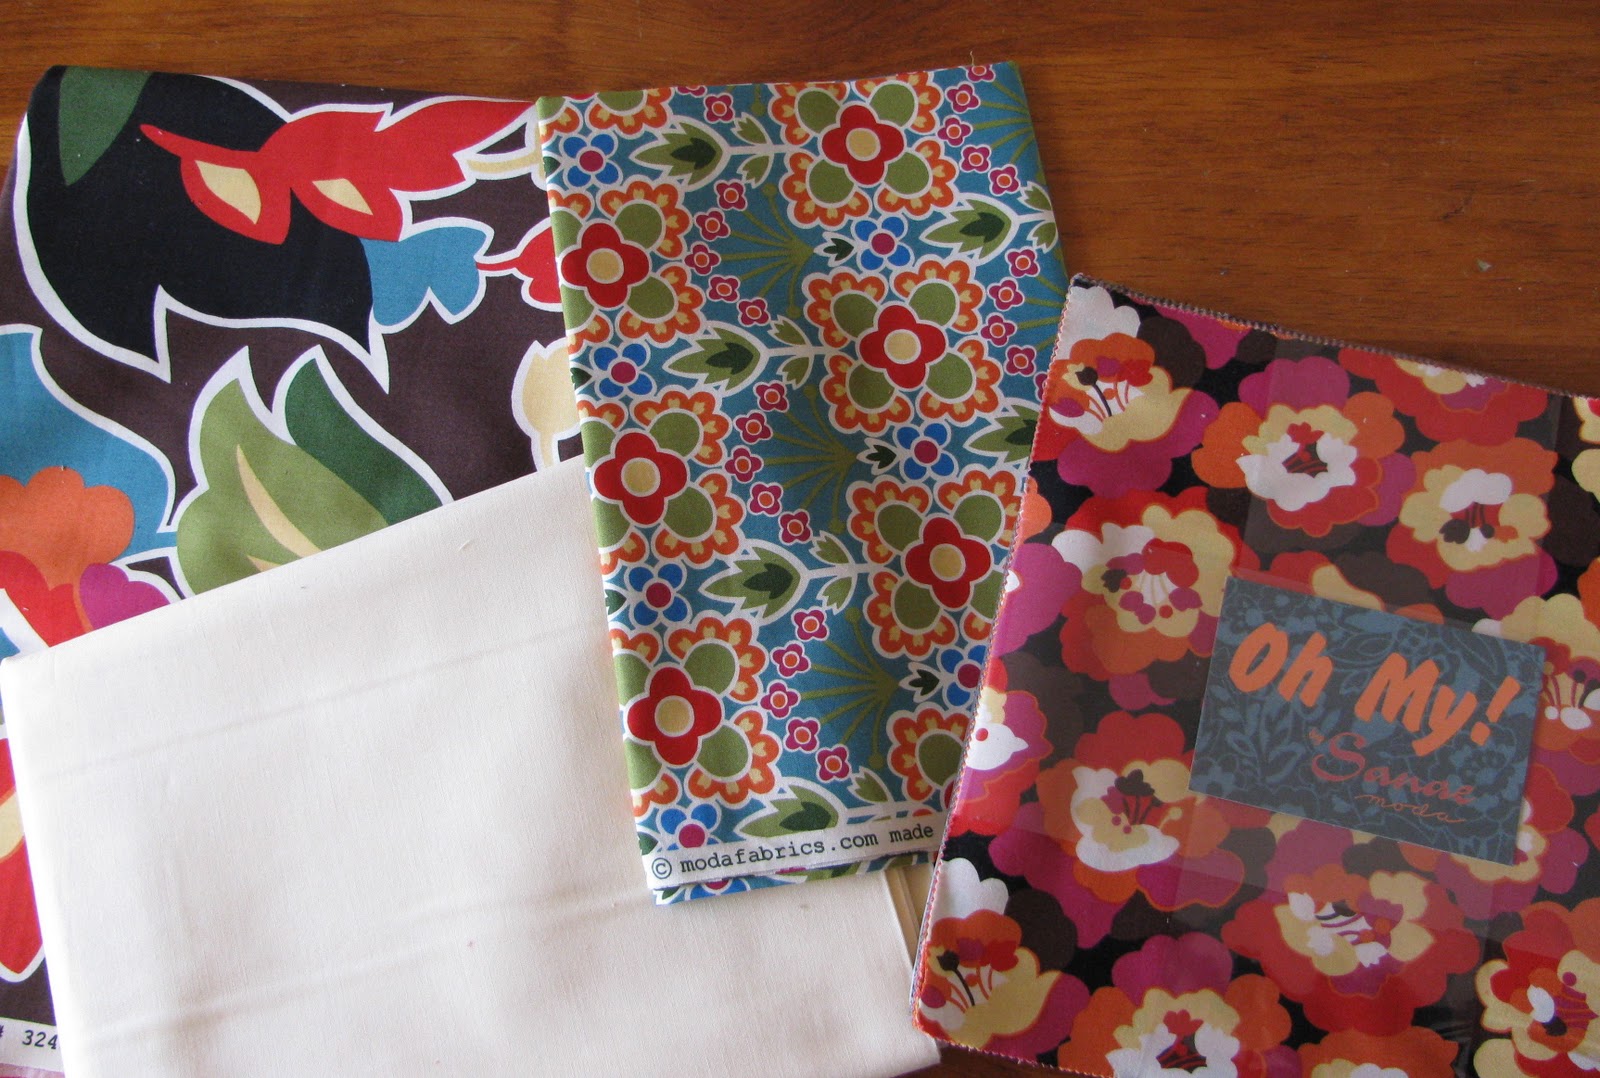
My five piece trippin’ travel set includes a hanging bag, a large weekend tote bag, a laptop bag, a cosmetic case and a day-tripper bag. My set was made with amazing fabric from Moda’s “Oh, My!” collection by Sanae.

a layer cake
a jelly roll
2 yards for straps
3 yards for linings
fusible fleece
fusible interfacing
48” plastic zipper for hanging bag
14” plastic zipper for cosmetic bag
Velcro

big cool buttons for bag closures
1. The Hanging Bag-
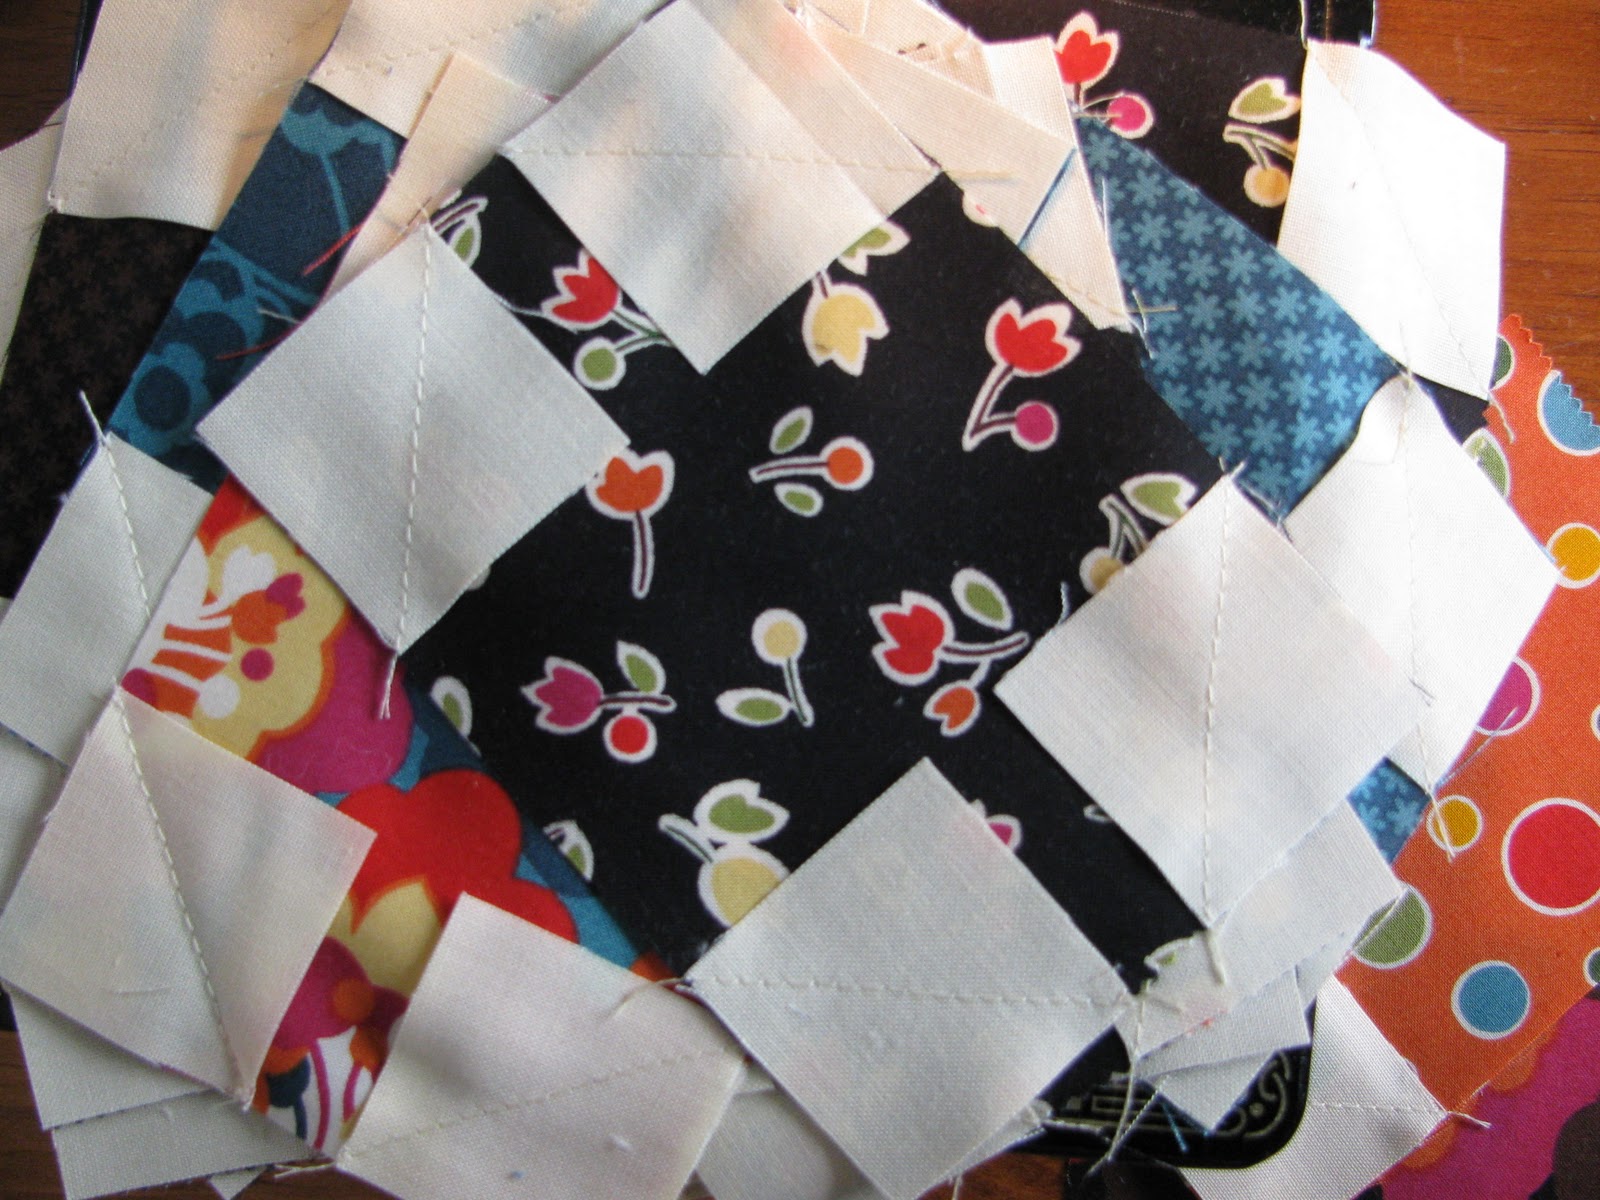
Select twelve layer cake pieces for the front and twelve layer cake pieces for the back. Sew them together with three squares across and four down.
As I’ve had shoulder surgery, I am very conscious of the weight of things I carry, so I chose not to add fleece or batting to the hanging bag and quilt it. Instead, I used interfacing to give the fabric more body without the added weight…but you could also add batting and quilt the bag if you so desired!
Following the manufacturer’s directions for your fusible interfacing, press it to the wrong side of both front and back. Use a marking pen and draw a line right down the center on the right side of the front for zipper placement.
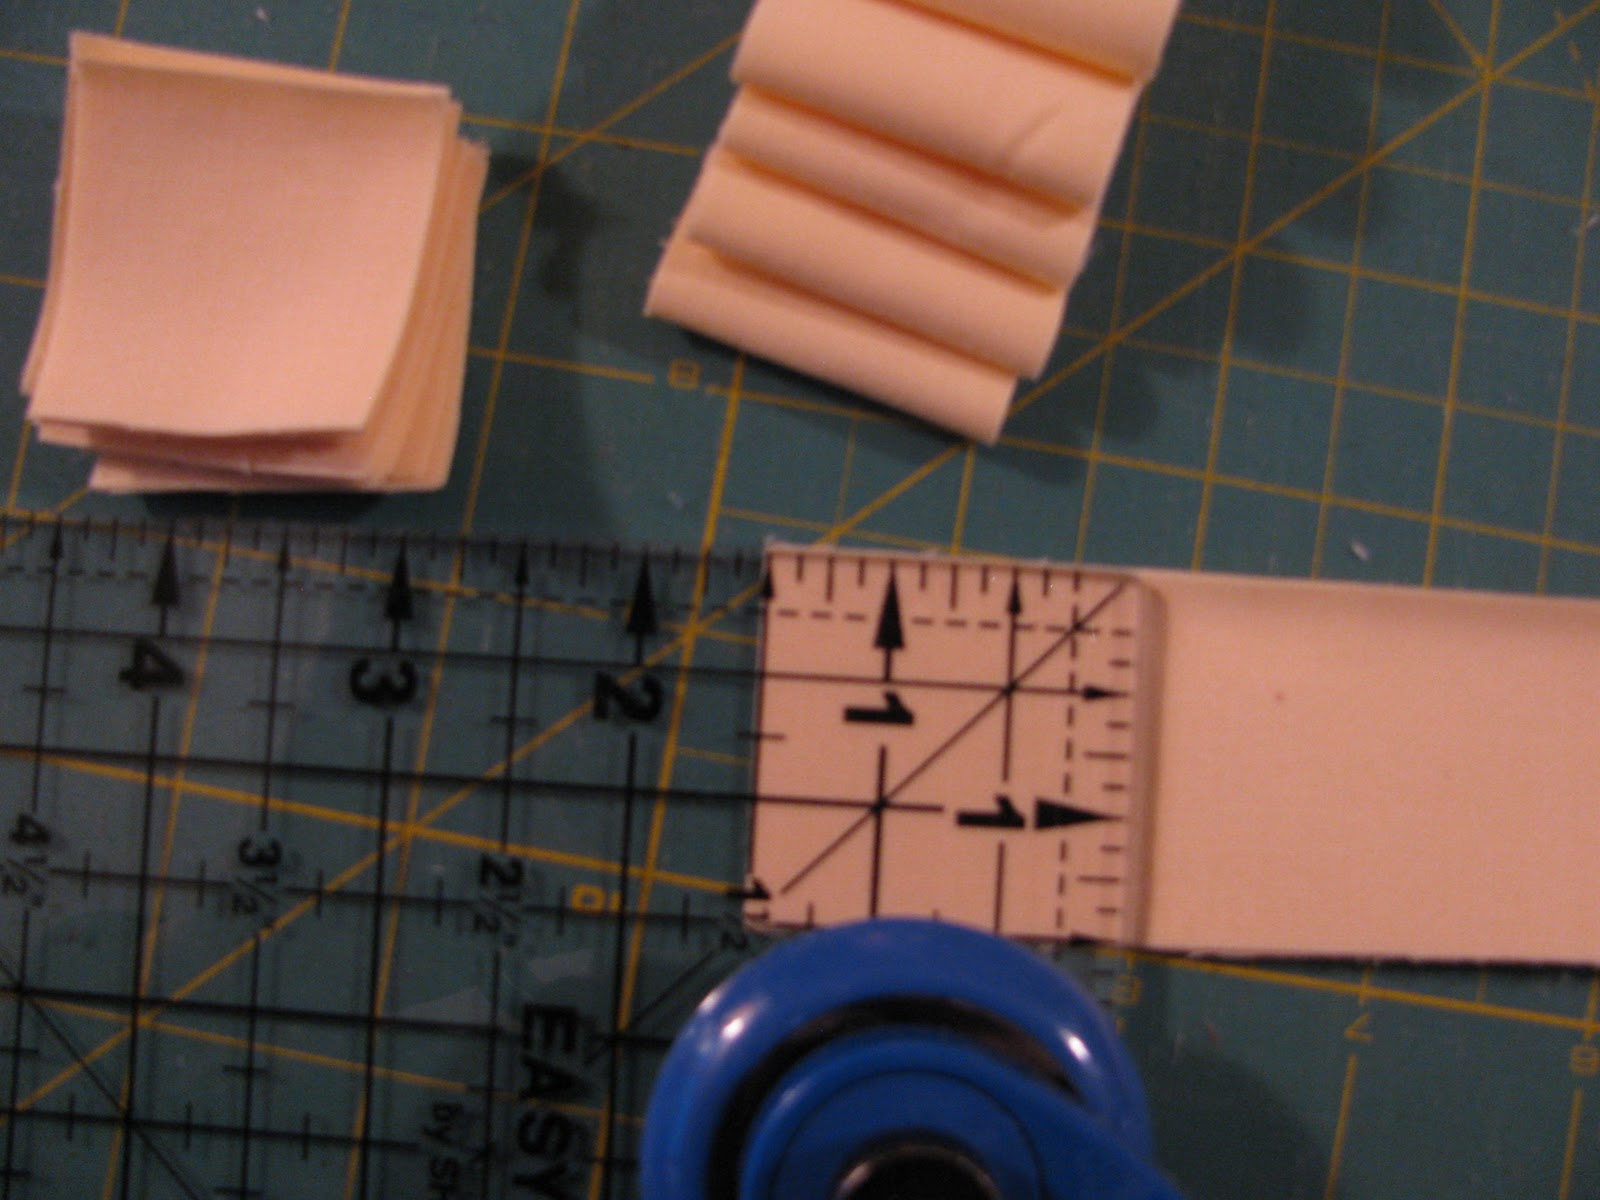
Next, for the hanging loop, cut a strip of lining fabric 2 1/2” X 8”. With wrong sides together, press in half lengthwise. Now open up the strip and bring the long raw edges into the center fold and repress (like bias tape).
Topstitch down both long edges and down the middle.
Place the short ends over each other with a pin and set aside.
For the handles, from the strap fabric, cut four strips 3 1/2” by 21” and cut four strips of fusible fleece 1 1/2” by 21”. Fuse the fleece on the wrong side of the strips.
Press one long edge over the fleece then first press the remaining edge of each strap under 1/4”, then fold that over the first pressed side and top stitch close to that edge…which is close to being right down the middle of the strap.
Press the strap flat then fold the two long edges together and stitch beginning about 3” from the raw ends. Backstitch at the beginning and end of that stitching line and set aside for the moment.
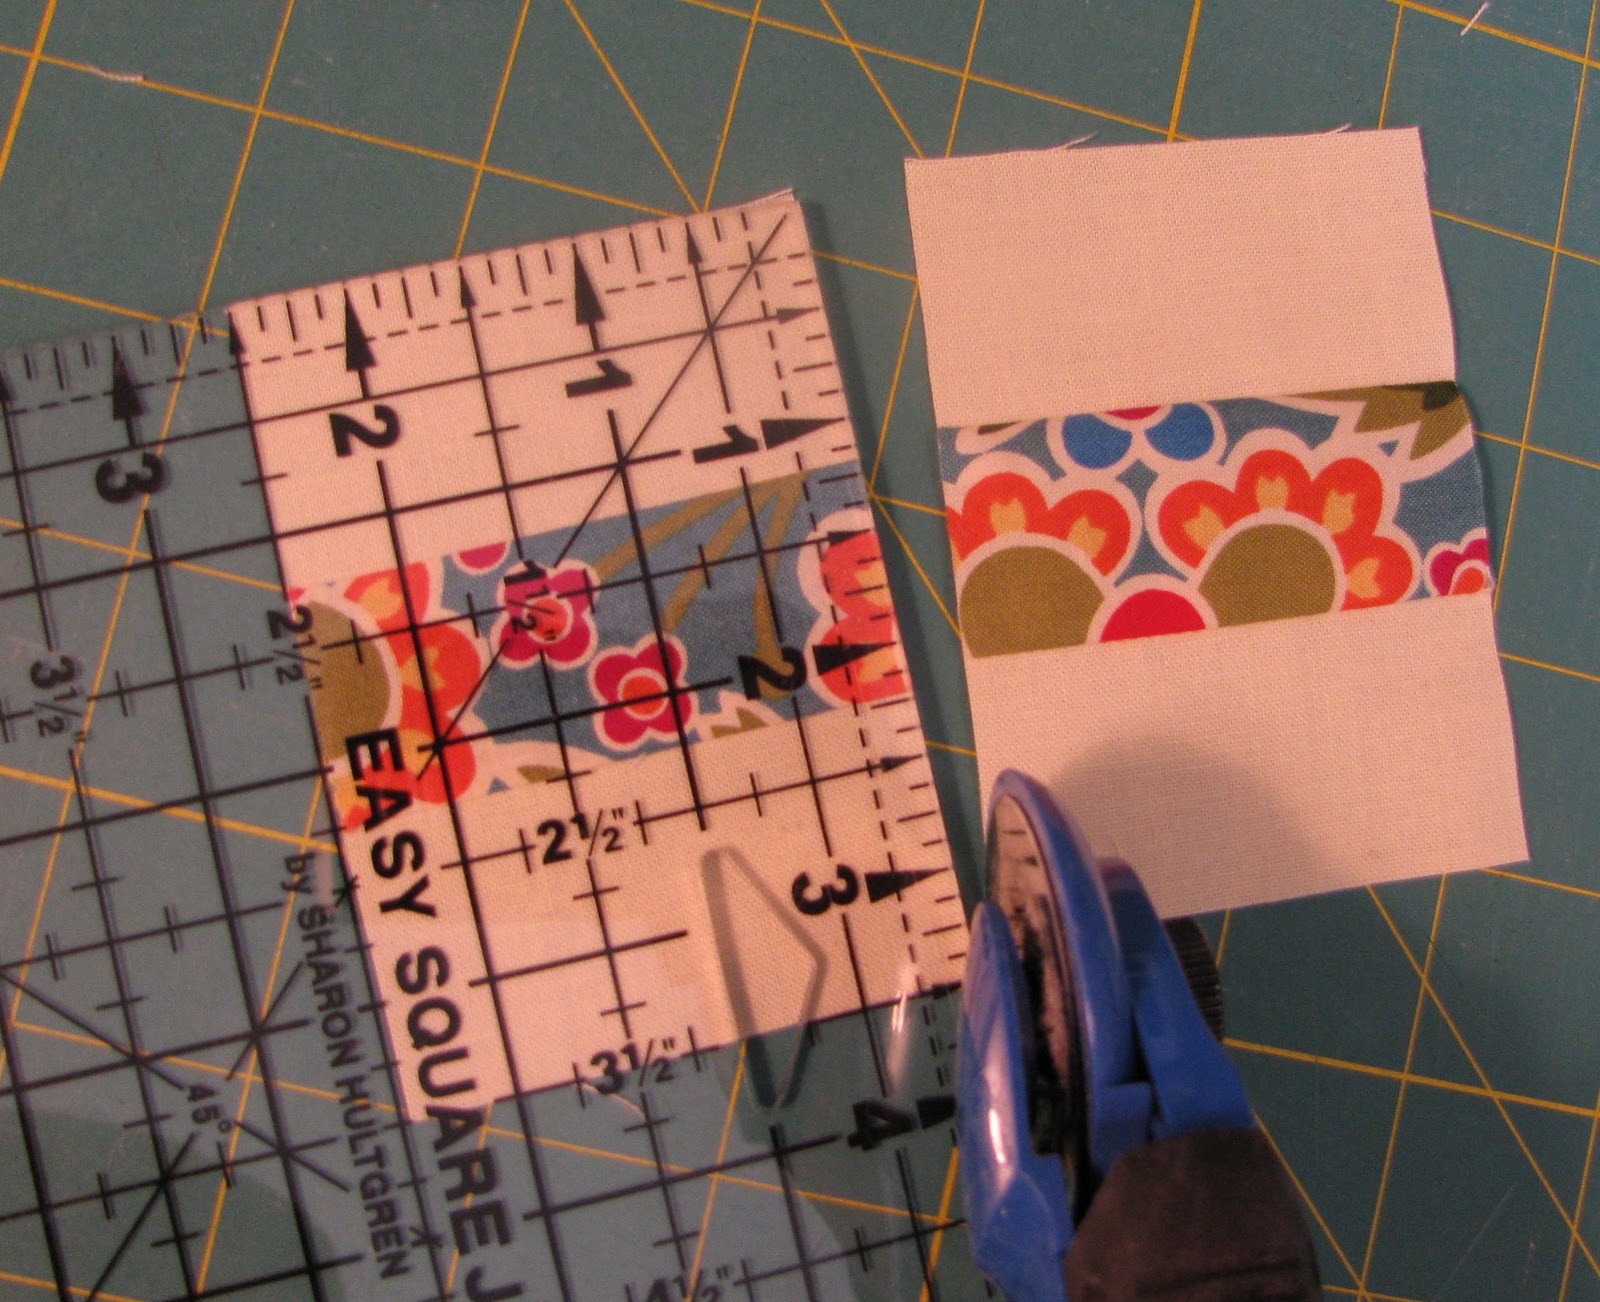
Cut four rectangles 6” X 25” from the strap fabric for the top and bottom yokes for front and back. Fuse interfacing on all four rectangles.
Pin the raw ends of the handles onto the pieced bag front and back at the seams as shown below and baste across the handle ends with a 1/4” seam allowance.
At this time, you can sew on the yoke pieces with a 3/8” seam allowance, onto the top of both the front and bag back, but only on the bag bottom for the time being. Topstitch along the yoke seam and through the handle where it comes out of that seam as shown below. You will wait to sew the last yoke piece onto the bag front until after the zipper is attached.
Lay the closed zipper down centered on the drawn middle line with the wrong side of the zipper against the right side of the bag front. Using a zipper foot, stitch down the zipper 1/4” from the each edge of the zipper tape on both sides.
Next, cut two strips from the strap fabric 2” by width of fabric for the zipper trim. Press one long edge of each strip under about 3/8”. On one side at a time, lay the raw/unfolded edge of one strip right side down on top of the zipper with the raw edge of the strip evenly aligned with the edge of the zipper tape. Stitch down through all layers with a 1/4” seam allowance.
Flip the strip over and now with the wrong side against the right side of the bag front, press and stitch the folded edge down, thus enclosing the edge of the zipper tape. You can also topstitch the edge of the zipper trim that is sewn to the zipper tape closest to the teeth.
Attach the zipper trim strips like this on both sides of the zipper.
The zipper is longer than you need, so at this time you can sew across the closed zipper at the end of the bag then cut off the leftover zipper end and zipper trim strips and discard.
Now carefully sew the remaining front yoke onto the bottom of the bag front and topstitch as you did on the other yokes/handles. Go carefully and slowly as you sew across the cut off zipper end.
Pin and stitch the hanger loop with a 1/4” seam allowance on the bag front bottom in the center with the loop raw edges even with the bag yoke bottom as shown below.
Flip the bag front over and using thin scissors, carefully cut through the fabric and interfacing right down the center- go carefully so as not to cut through the zipper in any way.
Press the raw edges back away from teeth on both sides of the zipper.
Next, I folded the bag front lengthwise down the middle with the side edges pinned together, I trimmed off 2” from both sides. Repeat this with the bag back.
While the bag front and back are folded, trim off the top two corners at the sides in a straight line from the edge of the zipper facing strips to about 1 1/2” above the top yoke seam.
Repeat with the top of the bag back.
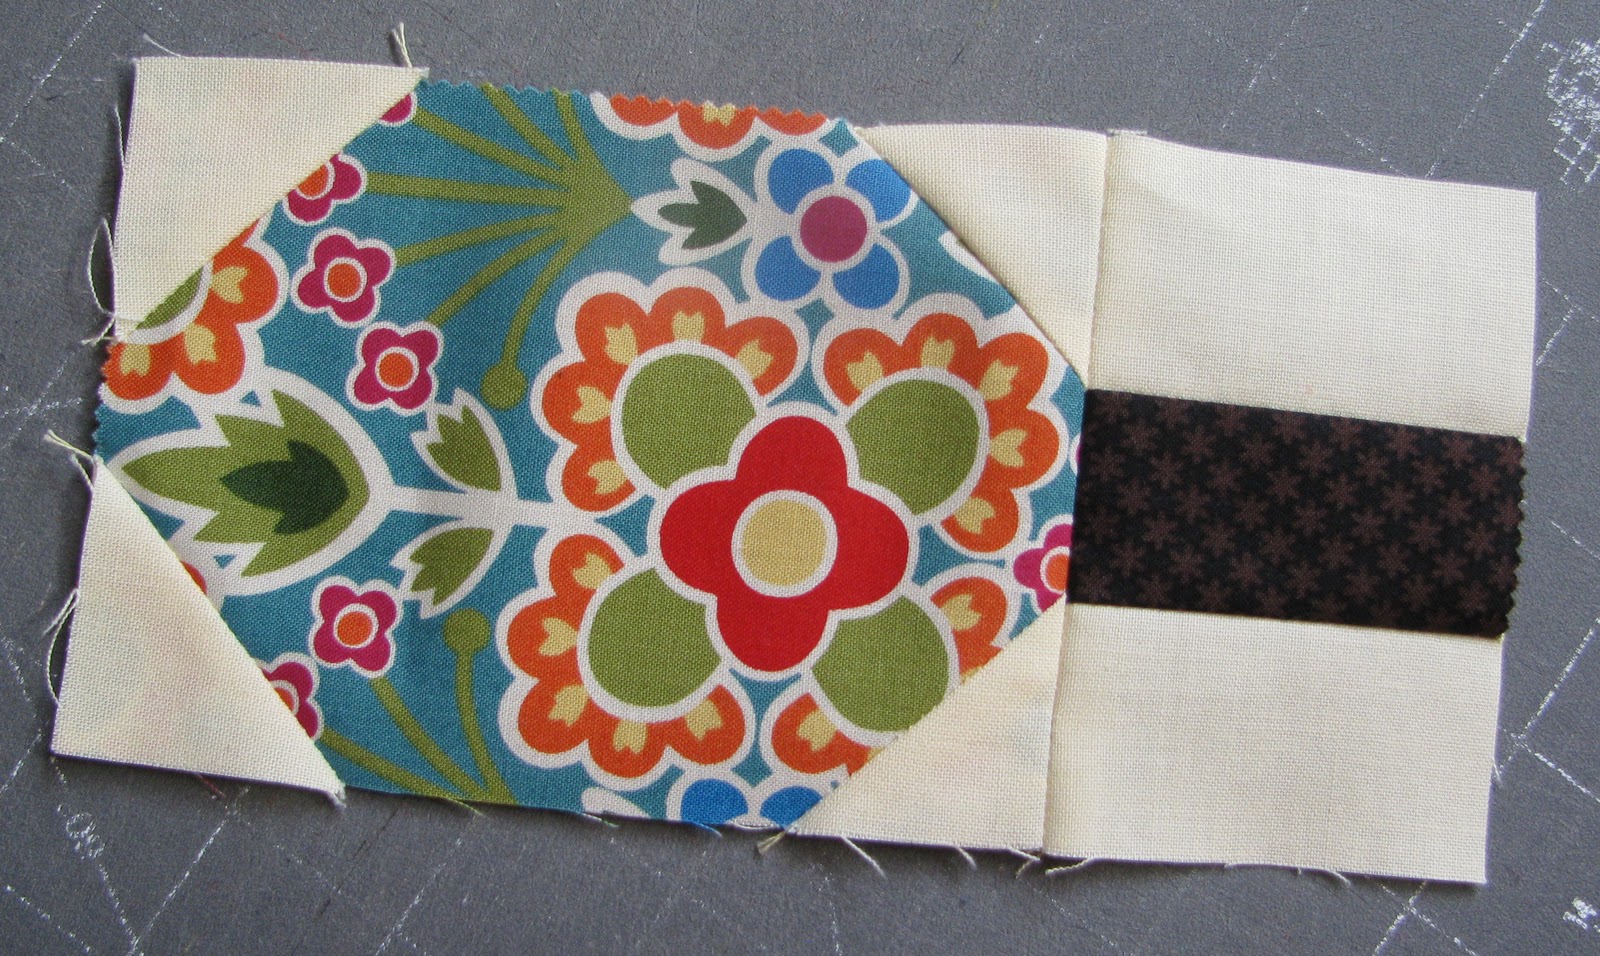
To finish the top center edges of the bag where the clothes hangers will come out, you will need to cut 2 pieces from the strap fabric 2 1/2” by 6”. 
Fold one long edge under on each piece about 1” and press. Cut one strip in half.
Unzip the front about 3” then lay one small piece with right sides together on the top edge of the bag front on each side of the zipper. 
Do the same with the longer piece on the bag back at the top edge.
Stitch them on with a 1/4” seam allowance. Flip the facings to the wrong side and top stitch them down as shown below.
Repeat with the facing strip on the top of the bag back.
Use the bag front as a pattern piece by laying it cross grain on the lining fabric. The bag front and back lining is cut out in two pieces. It is pieced with a bottom yoke band. Cut 2 lining pieces matching the outer bag pieces and two bottom bands that are 6” tall by the width of the finished outer bag pieces. Trim the top corners to match the angled outer bag corners.
Cut one lining piece in half and press the cut center edges under about 1/4”- later, this will be hand sewn on the inside of the zipper tape. You can topstitch this folded edge if you desire. Sew the bottom bands onto the lining bottoms.
Now, were ready to assemble the hanging bag!
Layer the 4 bag pieces together with the outside bag pieces in the middle with their right sides together and the bag linings on the outside with their right sides out and pin all around.

Stitch all around the bag edges with a 1/2” seam allowance. Finish this seam edge with a wide zigzag stitch.
Hand stitch the front lining down on both sides of the zipper and around the “neck” edges. Add a zipper pull if desired.
F.Y.I- the little hanging loop that was stitched into the center of the bottom seam is used by looping it over the hangers coming out of the top to make the hanging bag fold to an easier size to carry! 🙂
OK, the biggest piece is done, 4 more to go!! 🙂
2. The Weekend Tote bag-
Cut the remaining layer cake squares into 5” squares- you will get 4 from each layer cake piece. 
Select 19 squares for the front, 19 for the back, 8 for each side and 10 squares for the tote bottom. Lay them out as shown below, leaving out the center block to form a center “slot” in the top row. I arrange them on my design board right next to each other so I know what fabric squares are next to each other including the sides and bottoms.
Sew all the squares together into 4 pieces- front, back, 2 sides and bottom. Lay the pieces wrong side down on top of the fusible fleece with the fusible side up, cut around the pieces and press with iron. 
Quilt the pieces at this time. I stitched diagonally through the squares with a wiggly stitch.
Select two groups of 4 squares. Sew together to make two 4 patch pieces for 2 large pockets. Lay the two pieced pocket fronts right sides together on the lining fabric. Cut around them and then sew around all sides, leaving an opening to turn it right side out. Press, then topstitch across the top edge and set aside.
Use the quilted bag pieces as patterns to cut out the 5 lining pieces by laying them right sides together on top of the lining fabric and cutting around them. I fused interfacing to the wrong side of all the lining pieces to give the tote a bit more structure. Place the 2 completed pockets on the right side of one lining piece. Pin and stitch around them on three sides.
To make the long closure tie, cut a strip of lining fabric 1 3/4” by 20”. Press the strip in half lengthwise, then open it up and fold the long raw edges into the center.
Refold and press, then topstitch down both long sides.
To make the straps, cut two pieces of lining fabric 5” by 30” and cut 2 pieces of fusible fleece 2” by 30”. Fuse it down the center of the strap fabric, then press one long edge under 3/4”.
Fold the raw edge side over the fusible then fold the pressed edge over it all. 
Topstitch down the folded edge through all thicknesses, then down both sides. Repeat for second strap, then set aside with the closure strip.
Sew the bottom piece on the long side to one bag side.
Sew one long edge of each sidepiece to the front and then to the bottom and then to the back, assembling the outer bag completely. Do the same with the lining pieces, using a 3/8” seam allowance. The lining piece with the 2 pockets is the back and the plain lining piece is the front. Remember to leave an opening in the lining between the bottom and back pieces to be able to turn the purse through later!!
Pin the straps as shown below over the seam lines on the front and back. 
Pin the center fold of the long thin closure strap on the center “slot” and stitch them all down with a 1/4” seam allowance. 
Pin the lining over the outer bag with right sides together, matching all the side seams and center slot edges all around the top. Stitch with a 3/8” seam allowance. Clip the inner corners and trim the outer corners to facilitate sharp points when completed. 
Turn the tote right side out through the opening you left in the lining.
Then stitch that opening closed as shown below.
Push the lining down inside the bag. Pin, press, and topstitch around the top finished edges about 1/4” in down.
If you like a firmer bag bottom, you can cut a piece of heavy cardboard or plastic needlepoint canvas to fit the bottom and cover it with leftover scrap fabric.
Now, the Weekender Tote bag is VERY large, so I wanted a way to make the size adjustable! I added a buttonhole and button on each side to be able to button it up when I want it smaller and unbutton it when I need the bag to hold more! The button and buttonhole are about 1/4” in from the side seam and the same distance from the top edge.
You don’t have to do this if you only want your tote to be full sized.
This is what it looks like when the button is in the buttonhole, making the tote sides smaller.
Sew on the big closure button where you like on the front of the bag in the center. Because I also wanted the bag closure tie to be able to be tighter if the bag is not too full, or looser if the bag is really stuffed, I stitched two ties together in two places for varied tightness.
Voilaaaa! Piece two is also complete! 
YAY! Only three more to go!
3. The Laptop Bag-
For this bag, we will use the jelly roll! Pull the duplicate strips out of the pile of jelly roll strips and set aside then cut all the other strips in half at the center fold.
Using only one half of each strip, sort then sew the strips into groups of three.
Then sub-cut the strip set into 2 1/2” segments.
Using strip sets of three squares makes piecing the bag much quicker than sewing together each square separately. Layout the strip sets in any way you like in order to get one piece made with 10 squares across by 7 squares down. This piece is the front of the bag and both sides. Sew together, press as desired and iron fusible fleece onto the wrong side.
Next, layout the strip sets in order to get one piece made with 8 squares across by 8 squares down. This piece is the bag back and the bottom. Sew together, press as desired, and iron fusible fleece onto the back.
Quilt each piece as desired! I just did a simple meander!
Use the two quilted pieces as patterns for the lining by laying them right sides together on the lining fabric and cut around them. Set aside for now.
Using the leftover strip sets, arrange and sew a piece together with 8 squares across by 3 squares down for the top flap. Press and iron fusible fleece onto the back, then use it to cut a matching piece from the lining fabric. Quilt it as you wish. Trim off the corners as shown below. 
Before we sew the outer flap and flap lining together we have to make a little flap loop. Cut a piece of fabric 2” by 7”. Fold in half lengthwise and press, then open it up and fold the long raw edges into the center, then repress, topstitch both long sides and press as shown below.
Pin the loop in the center of the flap as desired, trim the raw ends even with the flap edge, and baste across with a 1/4” seam allowance.
With right sides together, pin and stitch around three sides of the top flap. Turn right side out, press and topstitch around the seam. Stitch the soft strip of a 9 1/2” long set of coordinating Velcro strips along the flap edge as shown below.
Sew the coordinating rough strip on the quilted outer front about 4” down from the top edge.
Next sew the side seams and bottom seam on both the outer quilted bag and on the lining. Remember to leave an opening in one lining seam to turn the bag through.
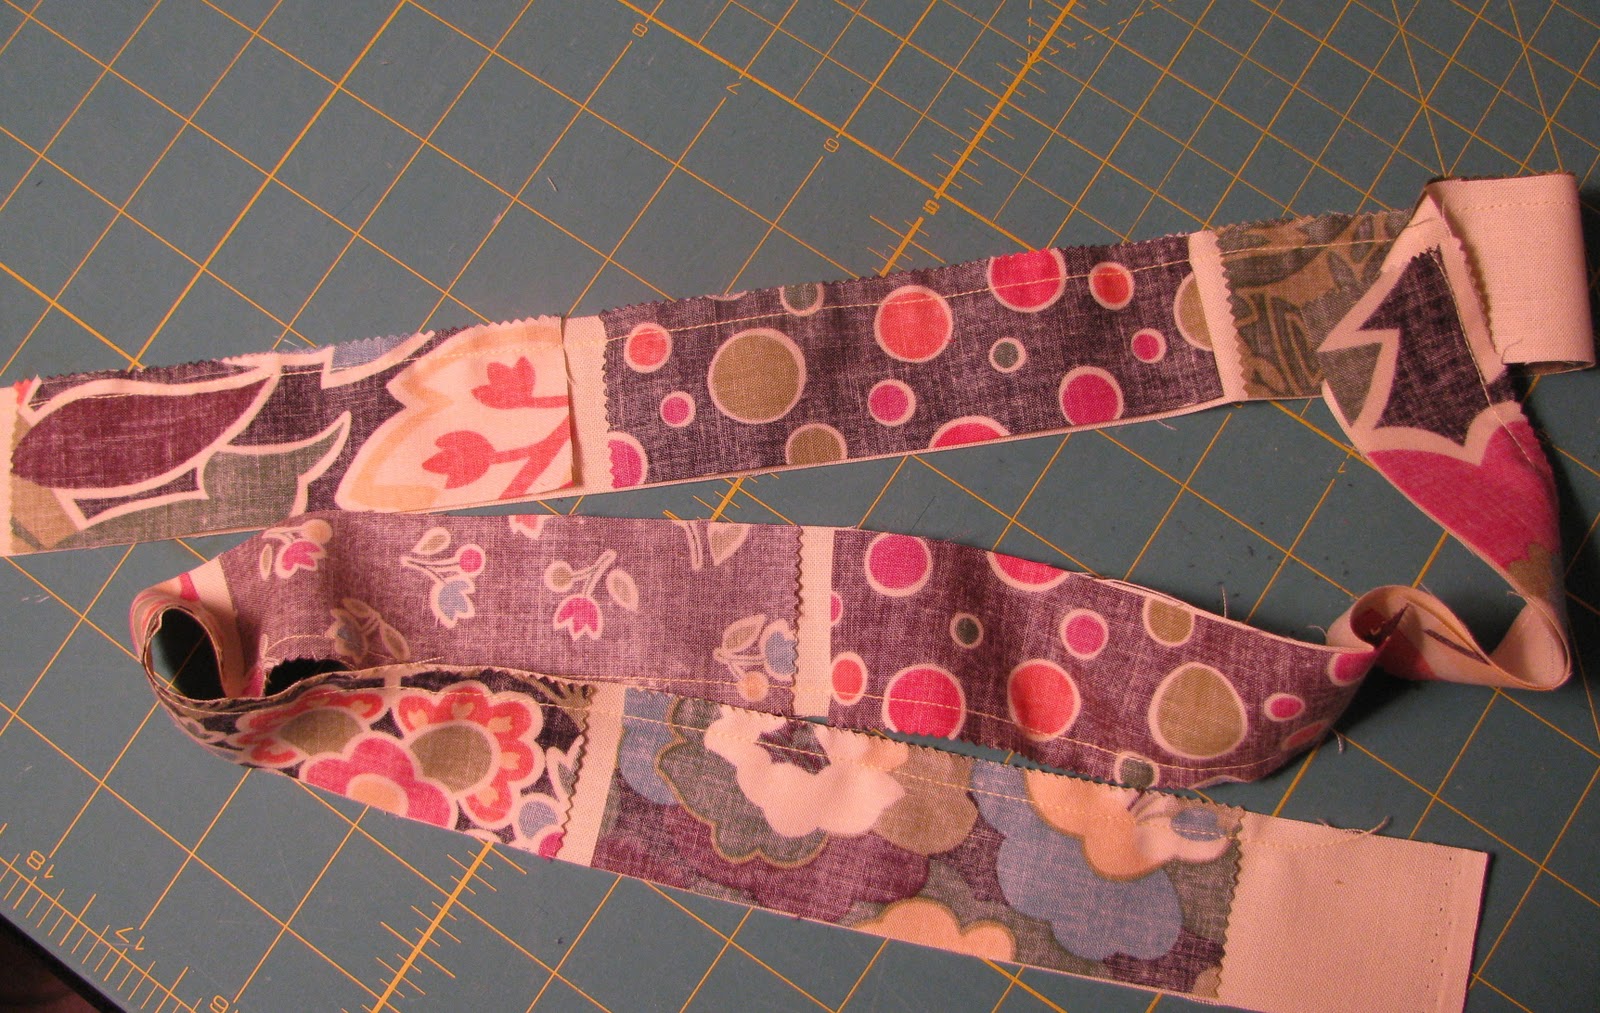
From the strap fabric, cut one 4” by 22” strip for the strap. Cut one 1 1/2” by 22” strip of fusible fleece. Fuse the fleece strip down the center of the wrong side of the strap. 
Press one long edge under 1/4”. Fold the long raw edge over the fused fleece then fold the other side over that. Stitch that folded edge down from end to end, and press. Now fold the two stitched edges together and pin then stitch through those edges, starting and stopping 3” from each end.
Pin the strap ends to the top back edge as shown below and baste them down with a 1/4” seam allowance. Next pin the top flap over that handle and baste with a 1/4” seam allowance.
With right sides together, pin the lining to the outer quilted bag around the top seam and stitch with a 3/8” seam allowance.
Turn the bag right side out through the opening left in the lining seam then stitch that opening closed and push the lining down into the bag.
Pin then topstitch around the top seam! Taaa daaaa!! 🙂
Piece three of the travel set is now complete! Yessss!
Now, three down and only 2 to go!!
4. The Cosmetic Bag-
Using the leftover strip sets, layout two sets of 24 squares using a 6 squares across by 4 squares down layout.
Fuse fleece on the wrong side of both pieces. Using leftover 5” squares and jelly roll strips, piece together to create 2 lining pieces.
Place the lining and outer bag side wrong sides together and quilt as desired.
Cut a piece of fabric 2” by 5”. Fold in half lengthwise and press, then open up and fold the long raw edges into the center fold, and repress. Cut into two equal pieces.
Take the zipper and stitch across the top ends about 1/4” from the top of the teeth as shown below. Then trim off ends to 1/4”.
Next, slide those stitched raw edges into the fold of the prepared strip then topstitch through all thicknesses close to each long edge and down the middle of the prepared strip as shown. Trim the strip edges even with the zipper tape. 
Lay the zipper down on top of the bag side and on the other end of the zipper, place a pin 1” from the end of the bag piece. 
Stitch across the zipper at the pin and then cut the zipper off leaving about 1/4” after the pin. You can do this stitching by hand or by machine using a very wide zigzag that fits over the width of the teeth.
Then finish this end of the zipper the same way as the other end by slipping the cut edges into the fold of the prepared strip and topstitching as desired. Be careful as it is easy to break a needle trying to sew through the zipper teeth. Trim the strip edges even with the zipper sides.
Place zipper face down on one bag side with right sides together, zipper tape side edge even with the quilted side edge and centered from end to end. Stitch through all thicknesses 1/4” from the aligned edges.
Do the same with the other quilted bag piece and the other side of the zipper, but watch that the quilted bag sides line up, as well.
Unzip the zipper at least 3 inches, then pin and stitch around the other three sides of the bag with a 3/8” seam allowance. I finished the raw edges with a tight and wide zigzag after clipping the seam allowances at the 2 corners.
Turn right side out and use a pointed tool to push out the 2 bottom corners. I used a piece of the beige woven ribbon used to wrap up the jelly roll as a zipper pull! Yippeeskippee!! The fourth piece of your new travel set is done! 🙂
Four down only one more to go!! 🙂
5. The Daytripper bag-
Using the remaining jelly roll half-strips for this fun little bag!
Select 5 strips for the bag and two strips for the top flap. Select one of the 5 strips to use as an accent. Cut that strip in half lengthwise.
Stitch two strips together, then the thinner accent strip, then the other two strips as shown below. Fuse fleece onto the wrong side, then quilt as desired.
Use the leftover scraps of strips and squares to piece together a large enough piece for the bag lining. Lay the quilted outer bag and pieced lining right sides together and trim the lining to the size of the quilted outer bag.
Sew the two top flap strips together with the thinner accent strip in between, then trim it to the same length as the bag width, as shown below. Fuse fleece onto the wrong side of the top flap and quilt as desired.
Trim off the flap corners as shown below. Lay it right sides together on top of lining fabric and cut around it.
Cut a strip of fabric 2” by 14” for the button loop. Fold in in half lengthwise and press, then open it up and fold the long raw edges into the fold, press and top stitch down both long sides. Fold in half and baste it down in the center of the flap as shown below.
Lay the quilted flap and lining right sides together, stitch around the 5 sides with a 1/2” seam allowance. 
Turn right side out, press and top stitch around the seam edges. Baste the open raw edges of the top flap with right sides together to the top of the outer quilted bag back.
Use two leftover 5” squares to make an inside pocket. Place them right sides together and sew around all edges leaving a 2” opening.
Clip the corners and turn right side out. press and top stitch across one edge to become the pocket top. Place it on the right side of the lining 2 1/2” below the top and centered side to side, as shown below. Pin in place then stitch around the three sides.
Fold the quilted outer bag in half- the fold will be the bottom of the bag. Stitch both side seams from the fold up to the bag top. Repeat this with the lining, but remember to leave a 4” opening on one side to turn the bag right side out through!
Box the corners at the fold so that they measure 2” across the boxing seam.
I used one uncut jelly roll strip for the bag strap. I prepared it the same way I did the button loop by folding the strip in half lengthwise and press with iron. Then open up the strip and fold the long raw edges into the center fold, press and top stitch down both long edges.
Baste the raw ends of the strap on the right side over the side seams of the quilted bag with a 1/4” seam allowance.
Time to assemble the bag! Put the quilted outer bag and the lining right sides together and pin the top raw edges together. Stitch around the top edges with a 3/8” seam allowance.
Turn the bag right side out through the opening in the side lining then stitch that opening closed. 
Push the lining down into the bag. Pin around the top seam and topstitch 1/4” from that seam edge with the top flap out.
Fold the top down to see where to stitch on the button.
Knot the button loop where desired and trim off the excess.
Yessindeeeedy!! The fifth and final piece of your new travel set is now complete!
This little bag is the perfect size to throw your phone, keys, and money in for a hands free shopping day at the nearest quilt show vendor hall!! 🙂 I hope you enjoy using this handy travel set on your next trip! 

one long hanging bag
one large tote bag
one laptop bag
one cosmetic case
one small handbag

Yogi and I would love to have you as a follower on our blog- Aunt Polly’s Porch!
Come for a visit soon and let me know how you like this set of projects!
Polly Monica
{Aunt Polly’s Porch}
![]()


