Hi all! I know many of you may have the same line of thinking that I do when I see a fabric line that I just adore – I love Jelly Rolls, but they’re too small of a cut for large print fabric. I love charm packs, but sometimes I need more. I LOVE Layer Cakes, but sometimes I just want more (it’s not bad to be greedy over fabric, is it?) And that’s how we come to this, enough love to go around with a Fat Eighth Bundle. You get just enough of the line to LOVE LOVE LOVE!!!
With just one Fat Eighth Bundle, a border print, and a Main Backing fabric, you too can make one twin size quilt. No extra binding, no extras of anything else, you get it all and then some out of the Fat Eighth Bundle! Want to see how? Follow along…
* One Fat Eighth Bundle (I used Sugar Pop by Liz Scott)
* 2 yards for Borders (I used #18060 21)
* 4 yards for backing (I used #18064 12)
That’s it, now moving on…
Choose 35 Fat Eighths to become the blocks, pieced border and binding. Set 5 Fat Eighths aside to be used in the backing of the quilt. (Try to use whatever fabric you’re using for the backing in the quilt top and the border fabric in the back of the quilt)
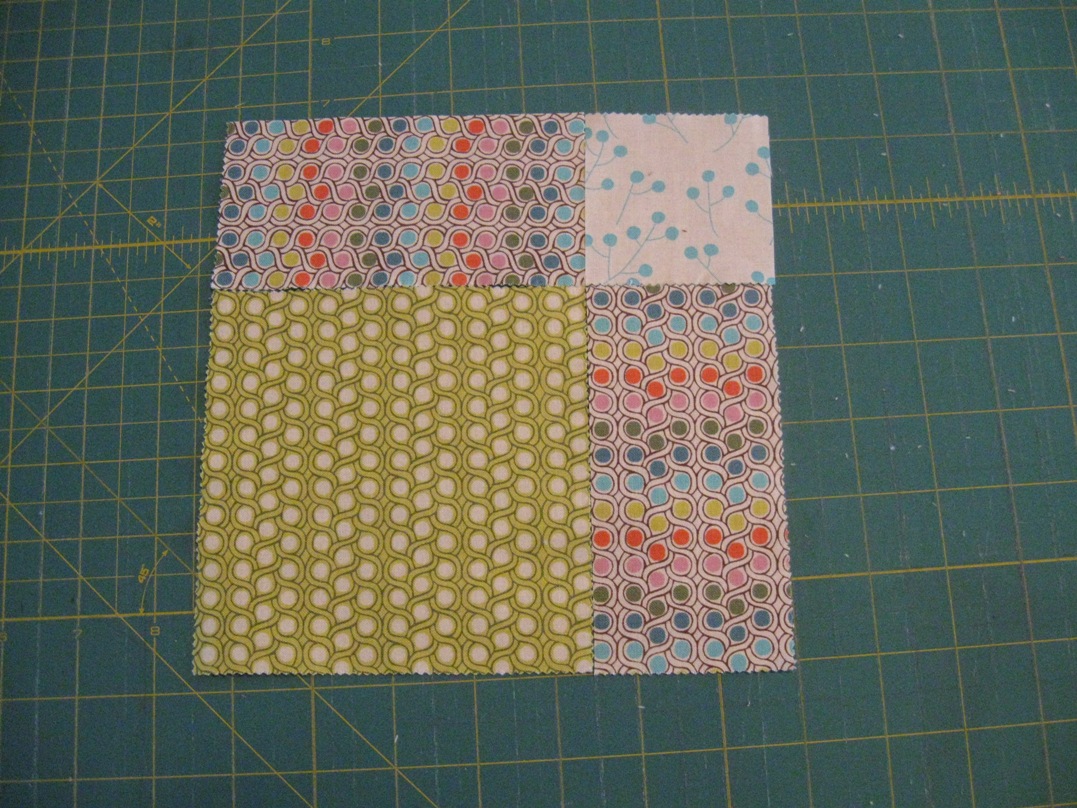
*Important note: the following instructions are for the 35 Fat Eighths to be used in the quilt top. Cut each of these pieces exactly the same following the diagram in the top corner of the pictures. The yellow highlighted piece is the one being demonstrated in each photo.
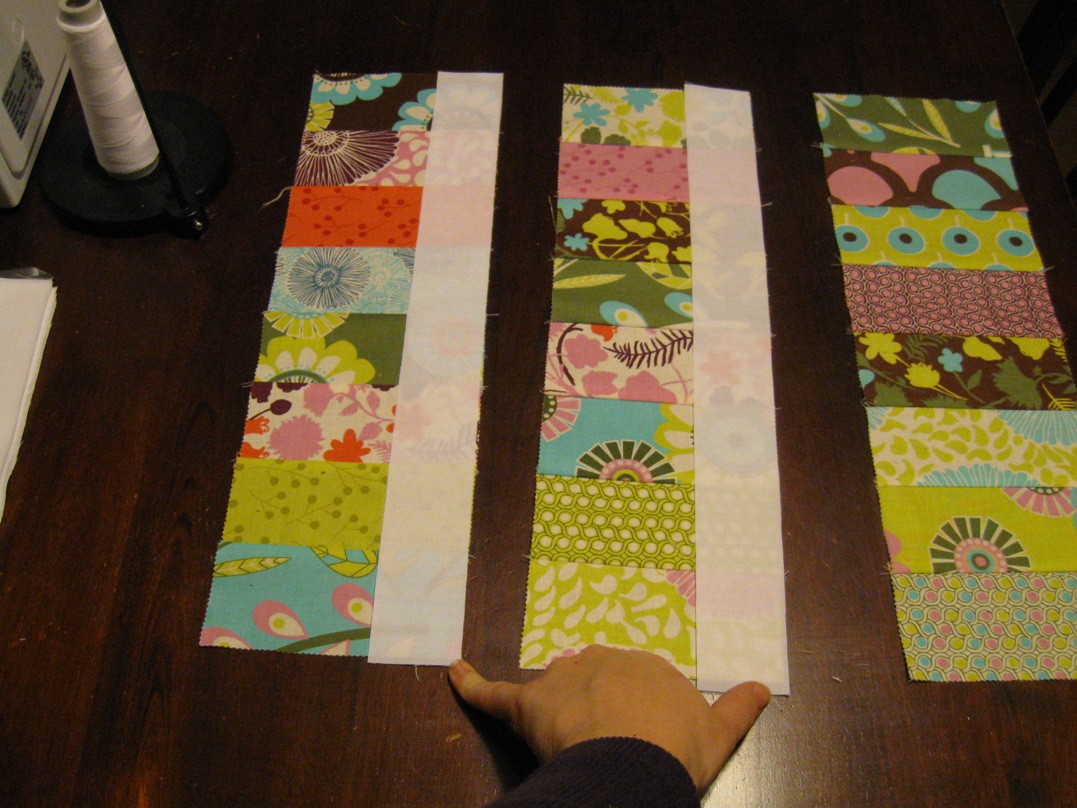
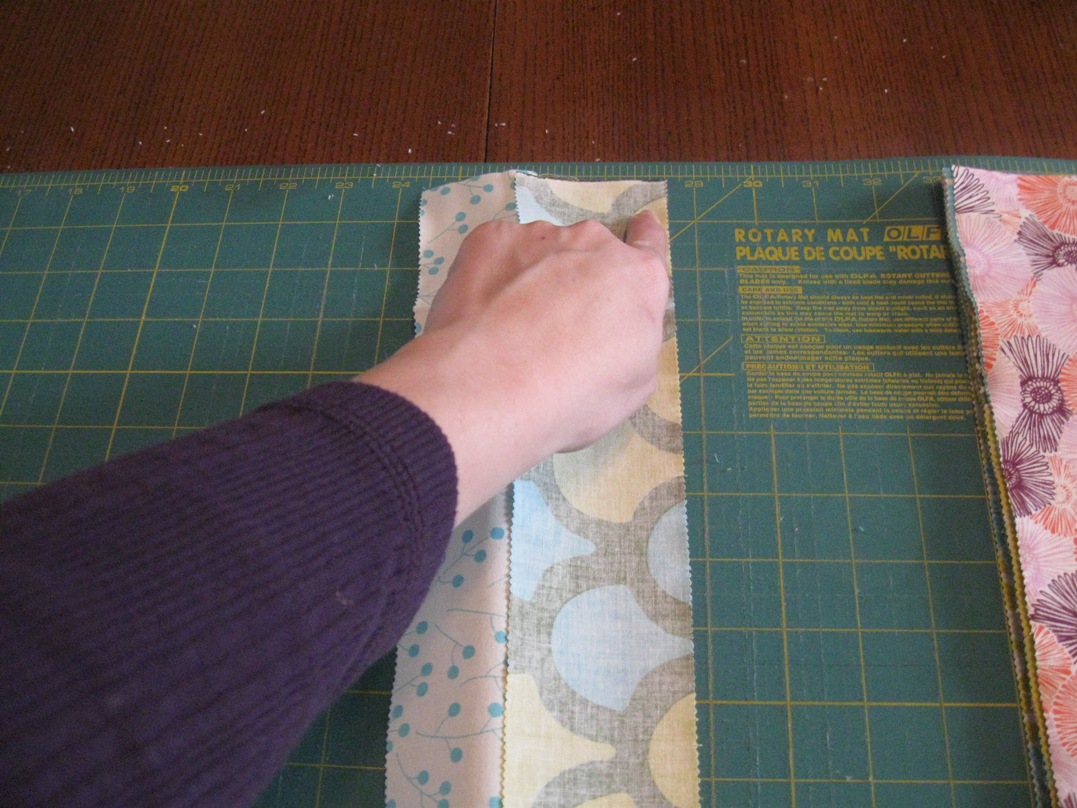
Begin by straightening the edge of the fabric and then cutting a long strip from the side. Cut this piece the length of the fabric and make it as wide as you make your binding strips (usually 2 1/4″-2 1/2″ wide). I’m cutting mine 2 1/4″ wide. Set these aside for now.
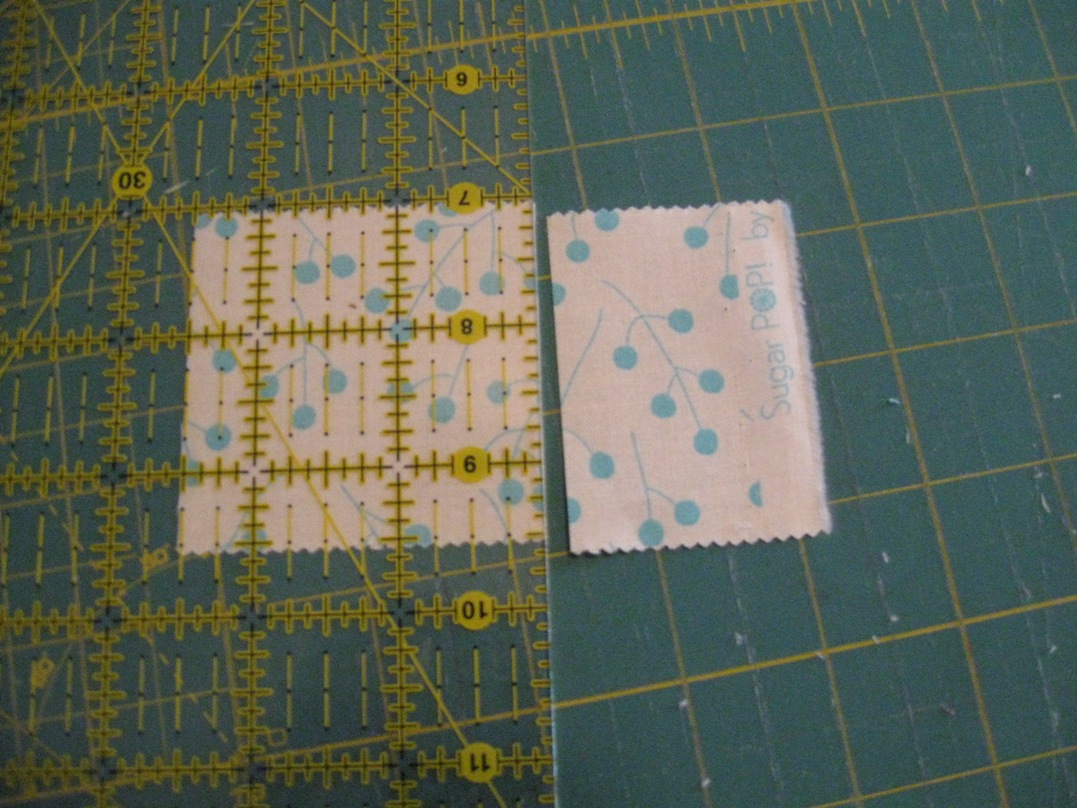
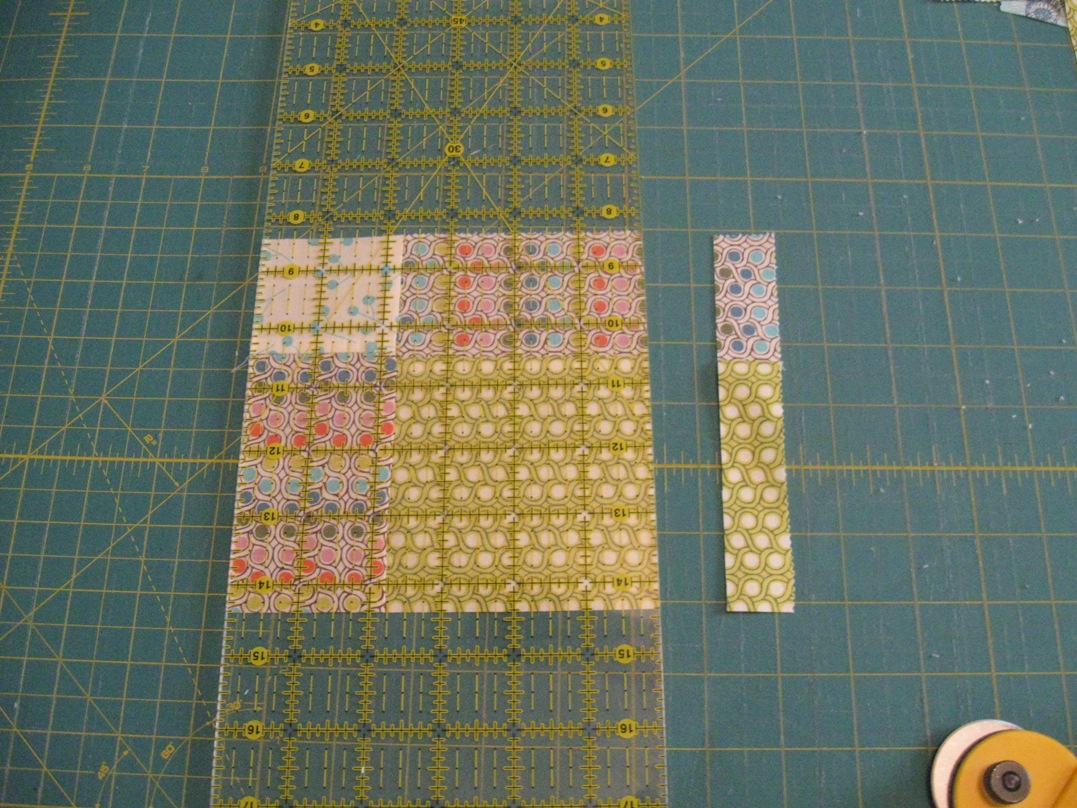
Straighten one shorter edge of the fabric and trim two segments 3″ wide from this end.
Cut each segment into two 3″ squares. Keep these in sets of two matching squares.
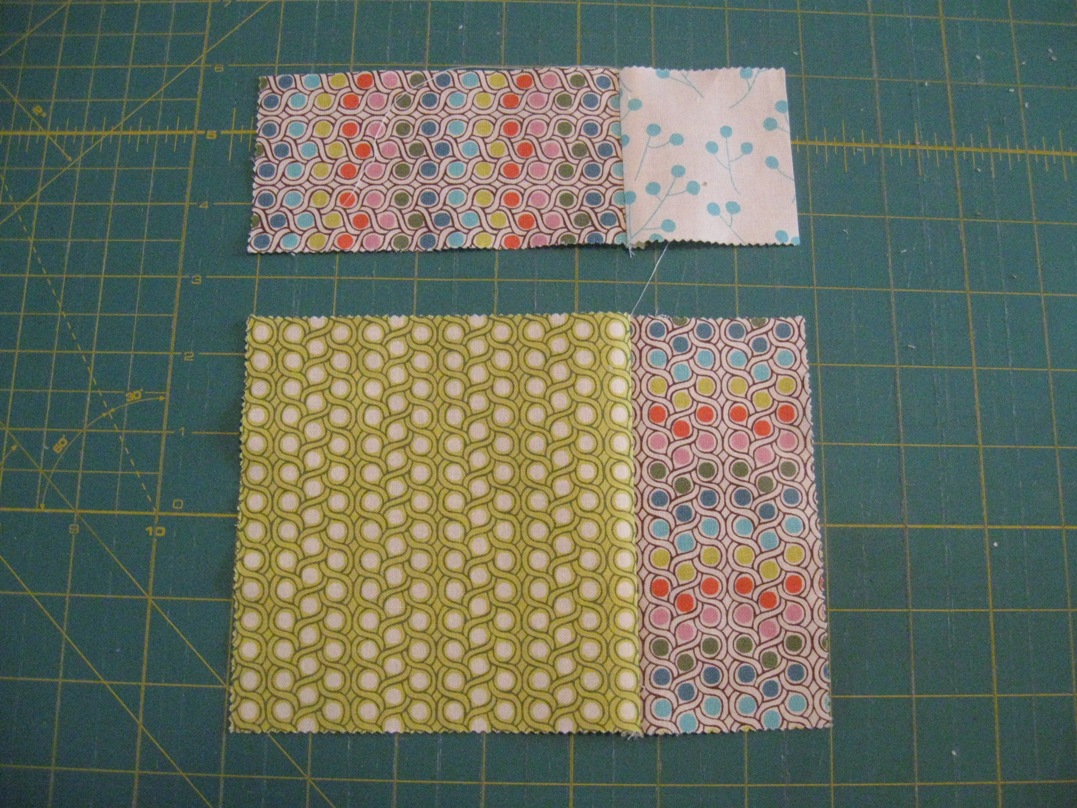
From the remaining fabric, cut a strip 2 1/2″ wide and one 3 1/2″ wide.
Trim each of these strips into a 9 1/2″ and a 4 1/2″ length.
Keep all four pieces cut in this step together in a set. Put aside for now.
Of the border print, cut six strips 2 1/2″ wide and eight strips 6 1/2″ wide.
Pair contrasting sets of the 3″ squares, creating 35 pairs (one for each block). Remember, contrast is key!
(If you are planning on using an angling tool to make Half Square Triangle blocks – highly recommended – skip the next step)
Otherwise for each paired set mark a diagonal line from corner to corner on the wrong side of the lighter fabric squares. (I forgot to take pictures of these steps – sorry. But, for a how to guide on Half Square Triangles visit my blog and read my
tutorial on how to accurately make Half Square Triangles step by step).
Match two of the contrasting squares from each set (one light, one dark) right sides together and sew 1/4″ from both sides of the drawn line (or use the angling tool for this step)
Cut along the drawn line or from corner to corner. Press to the darker fabric. Continue to keep the sets together.
Each Half Square Triangle unit should measure 2 1/2″ square. If they do, “square” or “true up” your piecing.
Sew together two of the Half Square Triangles from each set as shown above. Repeat for all of the sets, making two identically sewn pairs. Press the seam in the same direction as the other seams.
Rotate one of the pairs from the set and nestle the seams together.
Pin to secure the piece and stitch together.
Cut a slit in the center of the seam allowance (not through the stitching) and press the seams all circling in the same direction. This will help your block lay nice and flat and reduce bulk in the process. Repeat these steps to make all 35 pinwheels.
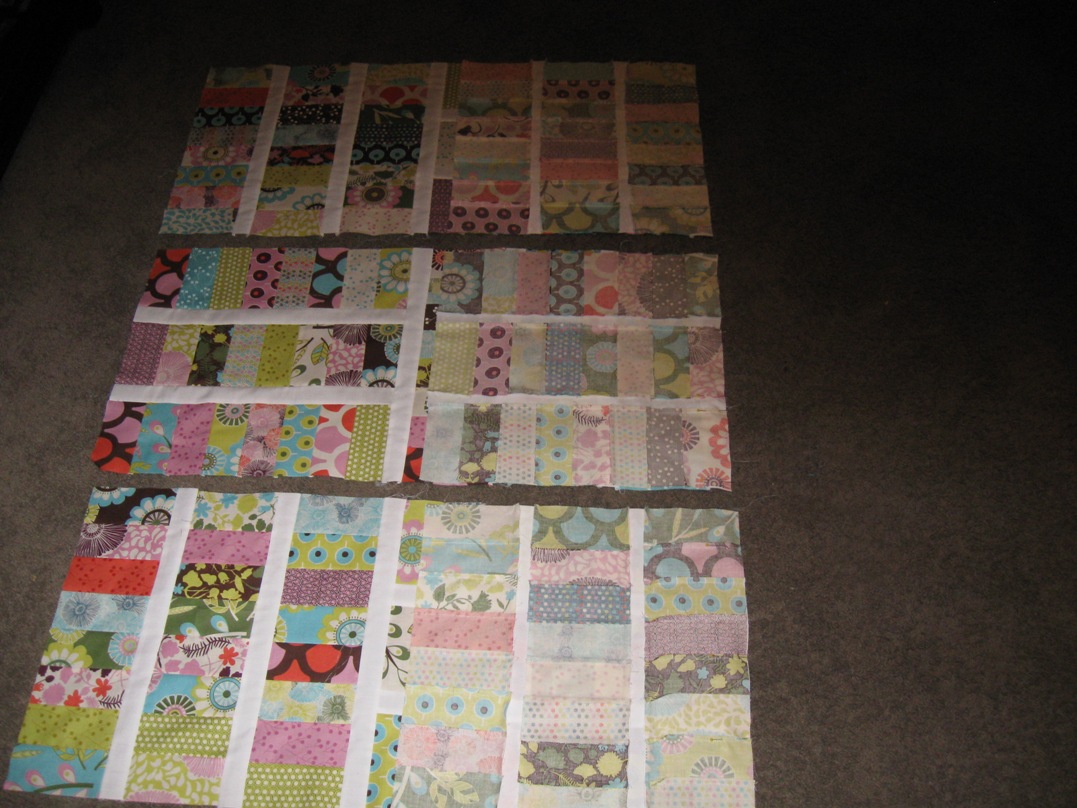
Match each of the pinwheel blocks with a set of the last four cut pieces from each Fat Eighth. Remember once again, contrast is key!
Stitch a 2 1/2″ x 4 1/2″ piece on one side of the pinwheel and a 3 1/2″ x 4 1/2″ piece on the opposite side. Press away from the pinwheel.
Sew a 2 1/2″ x 9 1/2″ on one side of the block and a 3 1/2″ x 9 1/2″ piece on the opposite side. Once again press away from the pinwheel. Make all 35 blocks the same.
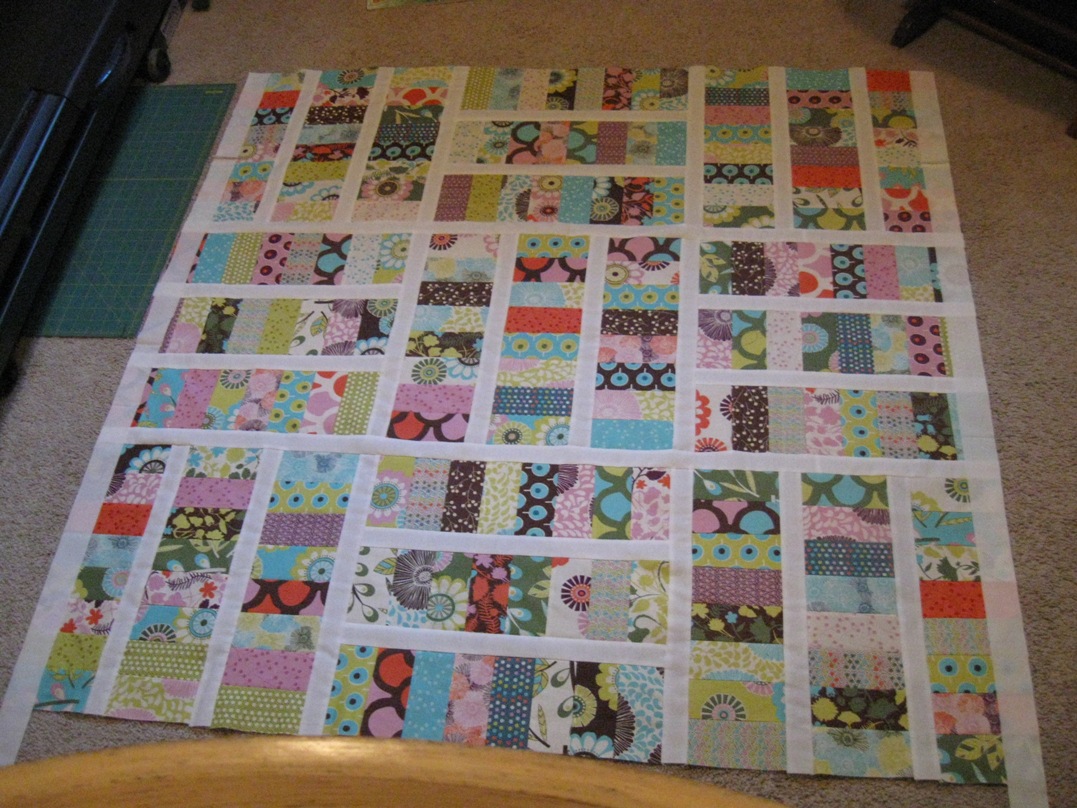
Layout all blocks until you have the colors balanced in a way that is pleasing to you.
Begin twisting the blocks so the pinwheel is anchored in a corner. The arrows above show which corner the pinwheel should be anchored in. (This way, there are virtually no seams to line up besides the ones created when sewing each block together. It is VERY forgiving if you should happen to make a mistake…not that it ever happens…) If you notice, every other block is anchored in the same corner.
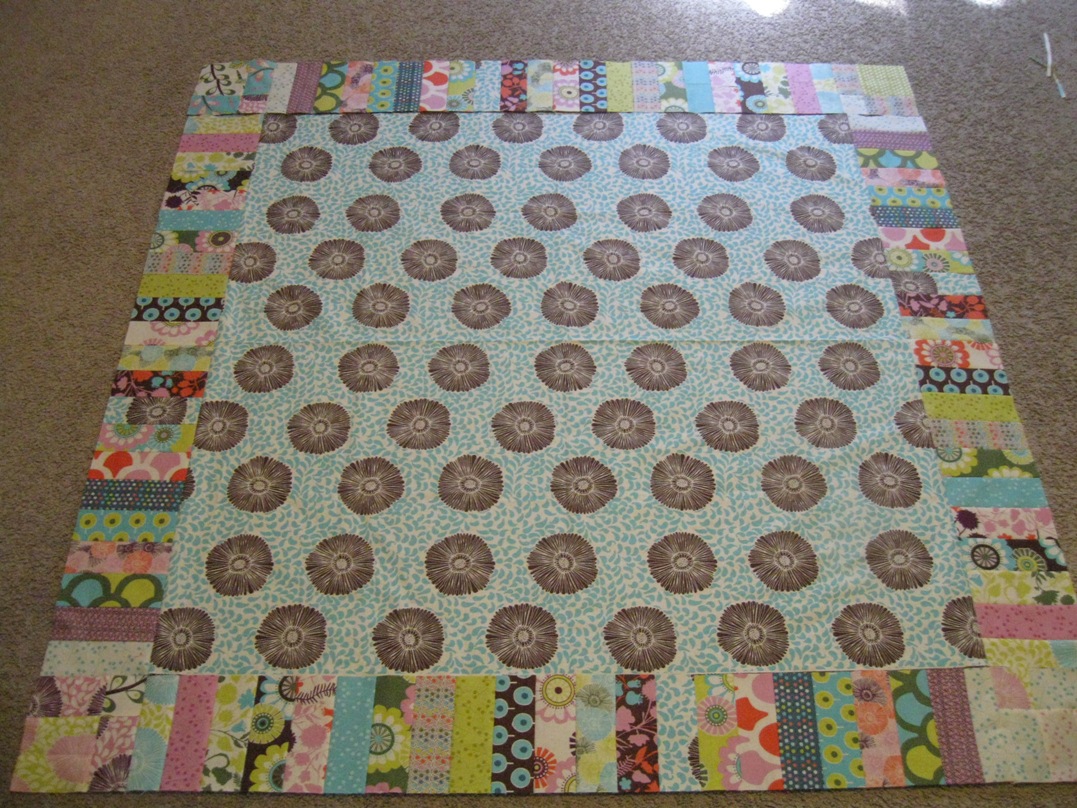
Sew on the first border consisting of the 2 1/2″ strips cut earlier.
Choose 13 of the long strips cut and set aside earlier from the Fat Eighths to be used for the next border. Cut each of these strips into two or three random lengths.
I then threw mine into a clean paper bag and randomly drew them out one at a time to sew into one long chain.
The chain will be quite long. Press all of the seams in one direction.
If you sew this border onto the quilt always with the seam towards you (like in the picture above) you will not have to worry about the seam flipping positions on you and it will make it much easier to attach the next border.
Sew this pieced border onto the quilt, one side at a time.
Sew the last border onto the quilt using the 6 1/2″ wide strips cut earlier.
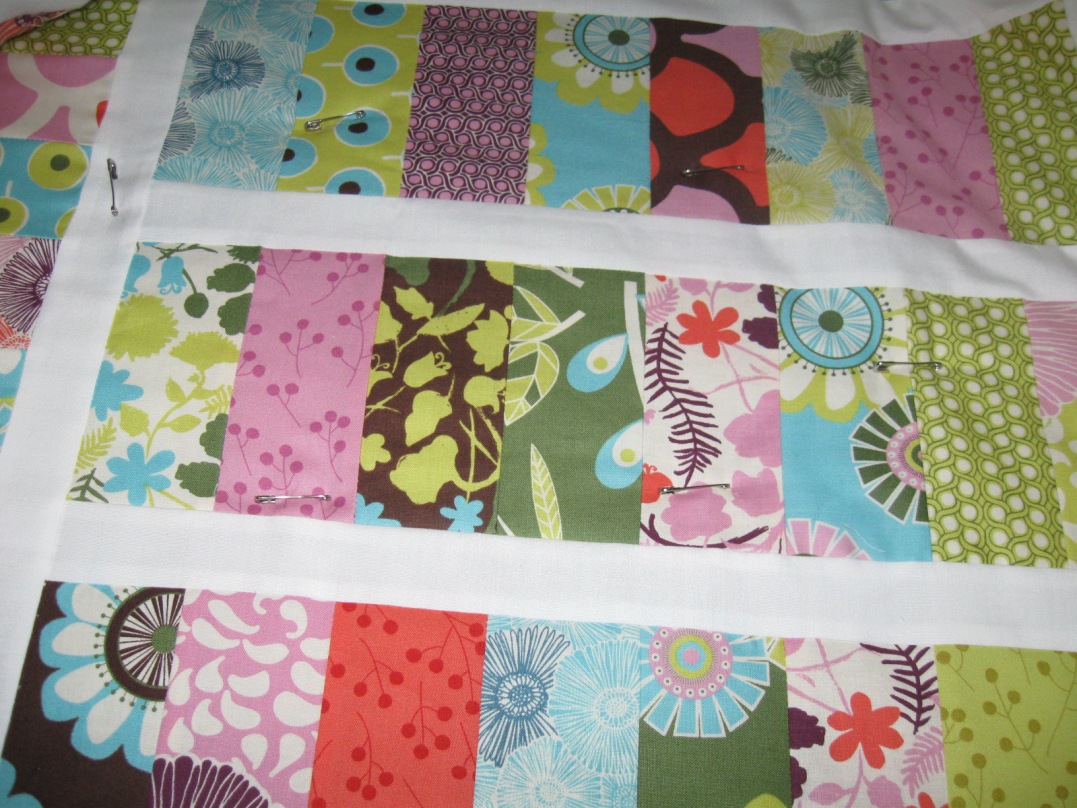
Remember these five fabrics we set aside at the beginning? Now it’s their turn to be used. Trim these prints (like the border strips) into random lengths anywhere from 9″ x 9″ – 9″ x 15″ or so. Also trim the backing fabric into two equal length pieces approximately 72″.
Sew the random pieces into another large pieced strip. Trim this strip to match the length of the larger backing pieces. (measure to get it exact or really close)
Sew the pieced strip in between the two backing pieces. Press away from the pieced strip.
With 16 of the remaining long strips from each Fat Eighth, stitch these together to make yourself a scrappy binding to match the quilt. Press the length of the strip in half, wrong sides together making one really long strip.
Quilt however your heart desires, this is what I happened to do on mine. Attach your binding and…
Voila! One absolutely adorable (or handsome if made for a guy) twin size quilt!
Complete with a pieced back to add a little flair. (You either have to add this pieced strip in the back or get an additional piece for backing as 4 yards will not be enough, but once you see this, why wouldn’t you want to add the pieced strip in? Plus you already have the fabric for it in the Fat Eighth Bundle!)
You can see how using the strips in many parts of the quilt ties it all together.
And the quilting just finishes it off.
Wouldn’t this just be perfect for a growing kid?
Stop by my
blog and say hi! or
e-mail me if you have any questions about this tutorial. I’d love to see any pictures of your version of this quilt. You can e-mail them to me and I’ll post them on my blog or you can add them to the
Moda Bake Shop group on Flickr. Until next time!
Rebecca Silbaugh
Ruby Blue Quilting Studio
{rubybluequilts.blogspot.com}


