
Have you ever had that struggle – you love a Fat Quarter Bundle, but aren’t sure what to do with it??? I have a solution for you – 2 quilts. I absolutely fell in love with the Mirage Batiks when I first saw them. But there was hot pink, lime green and brown… I was puzzled on how to take this luscious bundle and turn it into something cohesive. Then it hit me, why not separate the colors into their own personality and have 2 quilts? Two is always better than one!


(Sorry for the blurry picture, it’s been hot and steamy here like in most of the USA as of late!)
For this quilt you will need 1 Fat Quarter Bundle (at least 40 fabrics, I used the Mirage Batik line)
For each quilt you will need:
3 yards background ( I used Kota Nautical #41000 59 and Kota Sweet Off White #41000 20)
3/4 yard binding (I used Kota Nautical #41000 59 and Mirage Marble Solid Brown #4503 35)
4-3/4 yards backing* (I used Mirage Spirals Midnight #4502 25 and Mirage Marble Solid Pear #4503 39)
* This quilt has a pieced back. If you would prefer just a solid backing, you will need 5-1/2 yards of backing.

Separate your Fat Quarters into 2 piles: one for each color style (mine were bright and earth-toned). Wash if you prefer (with these fabrics and the variety of colors within them, I washed the whole bunch using the Color Grabber sheets found in the laundry detergent aisle of your grocery stores – they’re like magic!)
Let’s get ready to cut:
*All seam allowances are 1/4″ unless noted.
* When cutting all Fat Quarters, cut through the selvages. In the pictures below I folded the Fat Quarter in half, folded edge towards me, selvage away from me…

Layout each Fat Quarter on the cutting mat as shown, straighten the left edge aligning your ruler with the fold of the fabric (or right side if you are left-handed) Each Fat Quarter will be cut the same way.
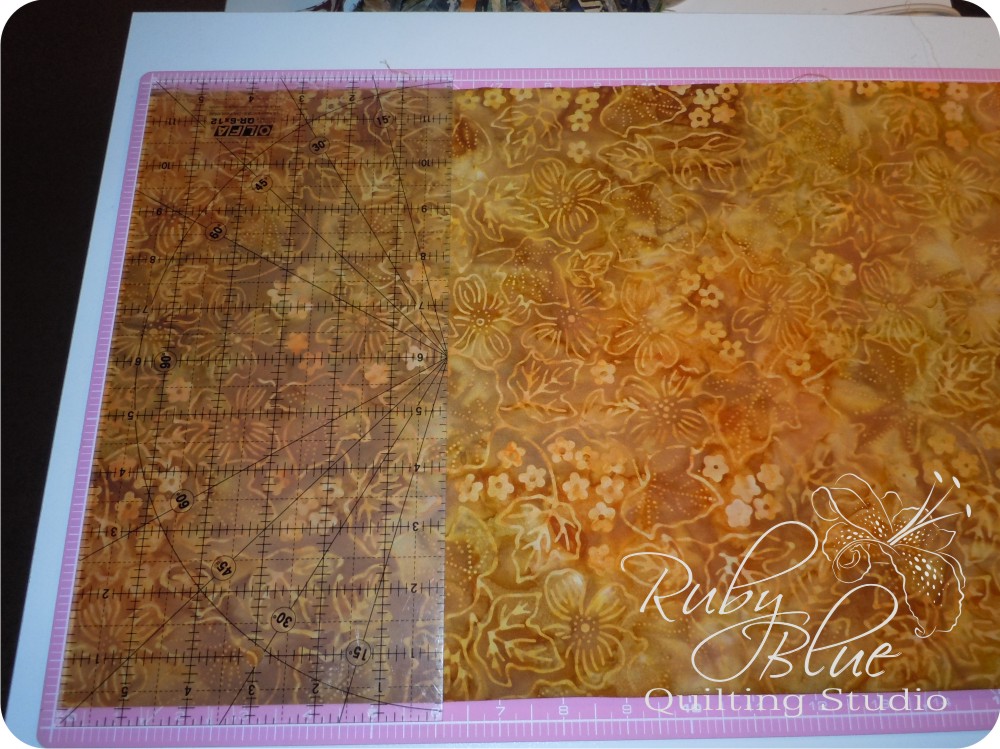

First trim 2 strips 2-1/2″ wide. Leave these in strips.

Next cut a 4-1/2″ wide strip.
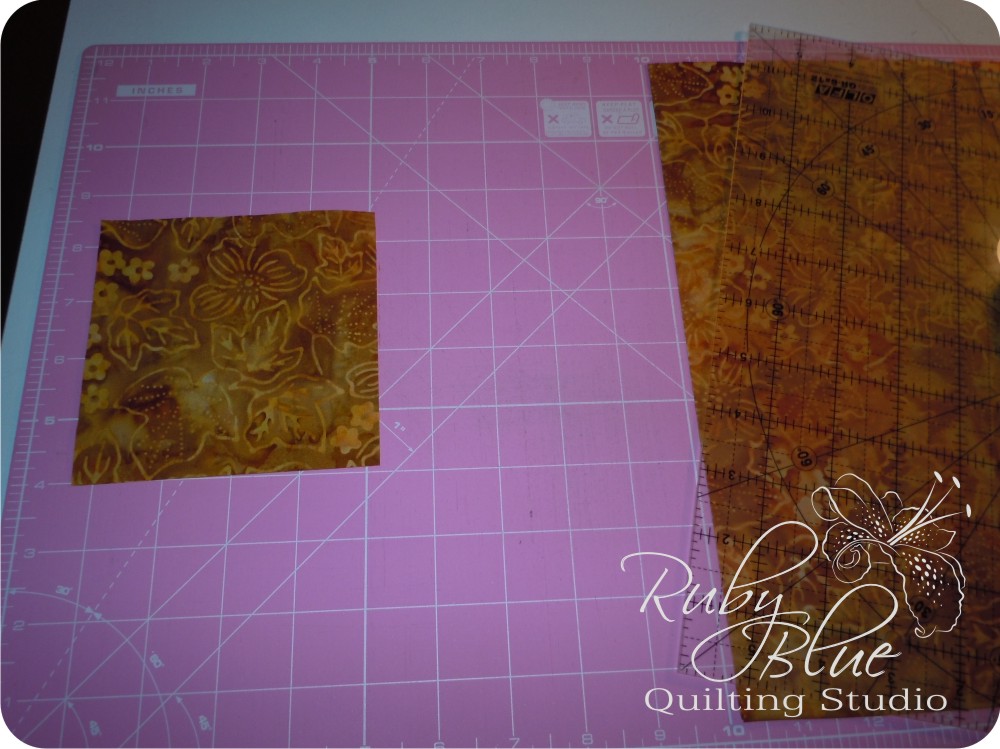
Cut this strip into (2) 4-1/2″ squares.
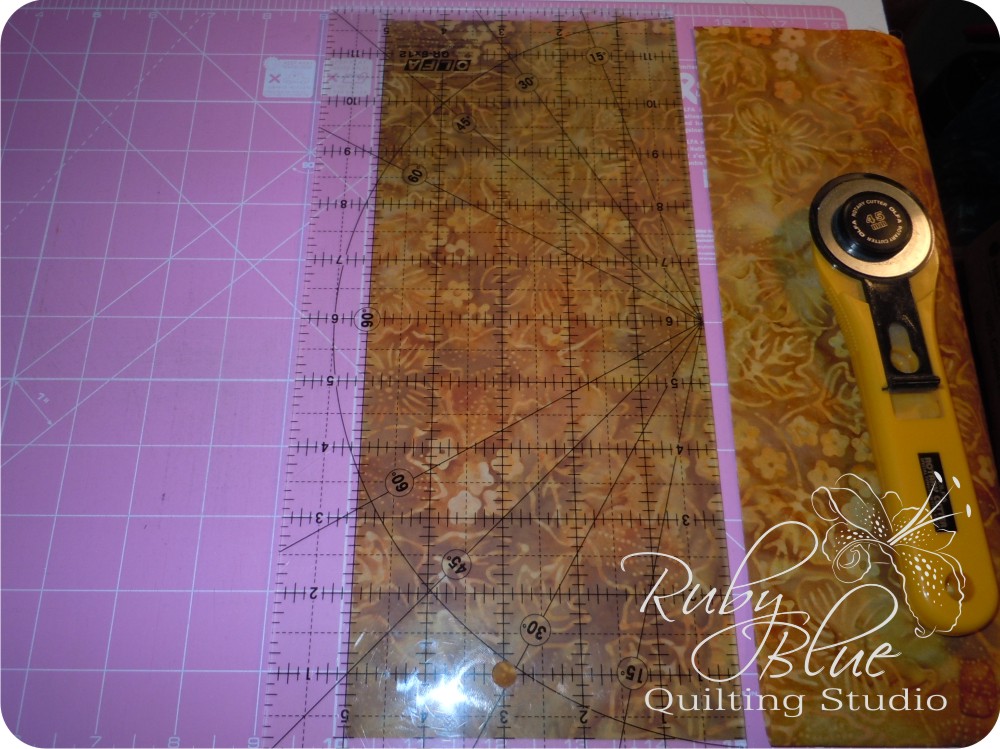
Lastly, cut a 5″ strip. Then cut this into (4) 5″ squares.
See all of that extra to the right? There is enough there that in case you goof (not that it ever has happened to me), you should be able to cut enough extra pieces. I’ve been there and hate having to scrounge for 1 small piece… But if you don’t goof – all of that can go in your stash!!! Yay for stashes! It’s like a little reward for you…

I used a small corkboard that I had around the house to stack all of my pieces on (it doesn’t let the pieces slip off).

One grouping of brights…
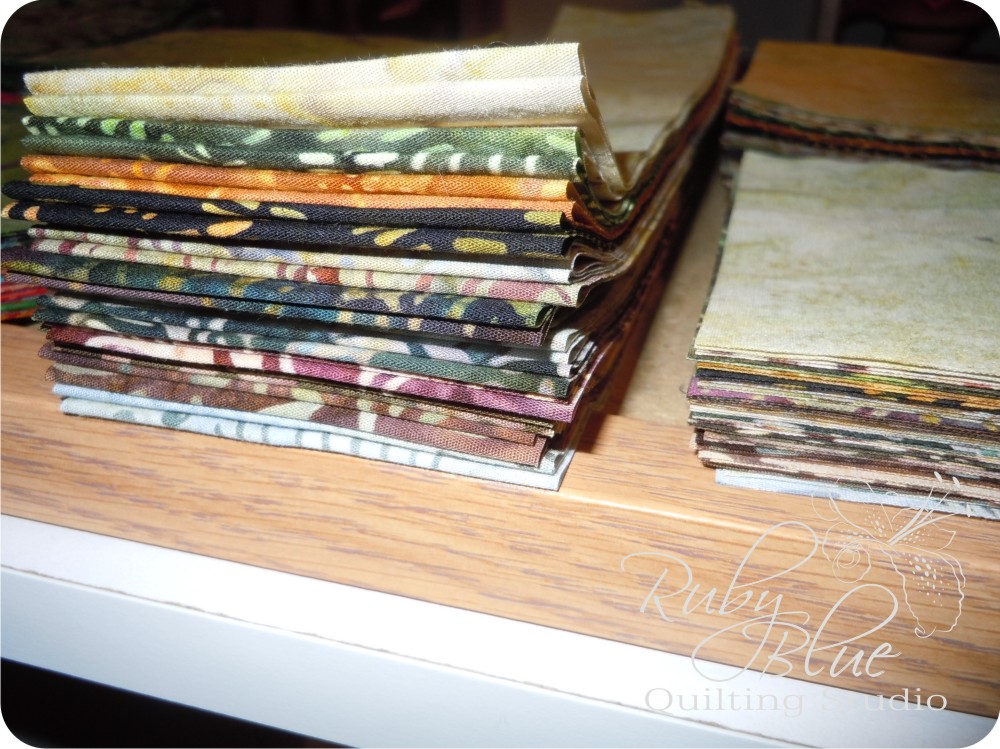
One of more neutrals…
Out of each “background” fabric cut:
(20) 2-1/2″ strips – leave in strips
(10) 5″ strips – cut into (80) 5″ squares

To make the Half Square Triangles for each block, mark the diagonal on one side of each 5″ “background” square.

Pair each marked square with a colored square (blue is the “background” for the brights, off white for the “earth-tones”) Sew 1/4″ from both sides of the drawn line.

Cut along the drawn line.

To reduce bulk when putting the tops together later on, I pressed my seams open on all Half Square Triangles.

There will be a small amount of excess on each unit made. Trim each unit down to a 4-1/2″ square.

This small step makes a HUGE difference later on. To read more about the importance of “Squaring Up” Half Square Triangles with a step-by-step guide, visit this tutorial on my blog here. Repeat for all Half Square Triangles…

Sew each of the 2-1/2″ strips from each Fat Quarter to a 2-1/2″ strip of “background”. Both colored strips will fit on one “background” strip. Press each style to the darker fabrics (for the earth-tone quilt, I pressed to the colors, for the bright quilt I pressed to the background).

Cut each strip set into (16) 2-1/2″ segments.

Pair matching segments, nesting the seams together (the pressed seams should go in opposite directions and meet snuggly together). Sew together until all pieces are paired.

Here’s another tip to reduce bulk: Clip the seam allowance (only the allowance, not the stitching!) in between the 2 seams. If you angle your scissors slightly, you can cut right between them.
Press the seams in the same circular direction as the first pressed seams (they will all go clockwise or counter-clockwise depending on the first seam). Notice mine are different for each quilt. This will make your Four Patches lay nice and flat from here on out!

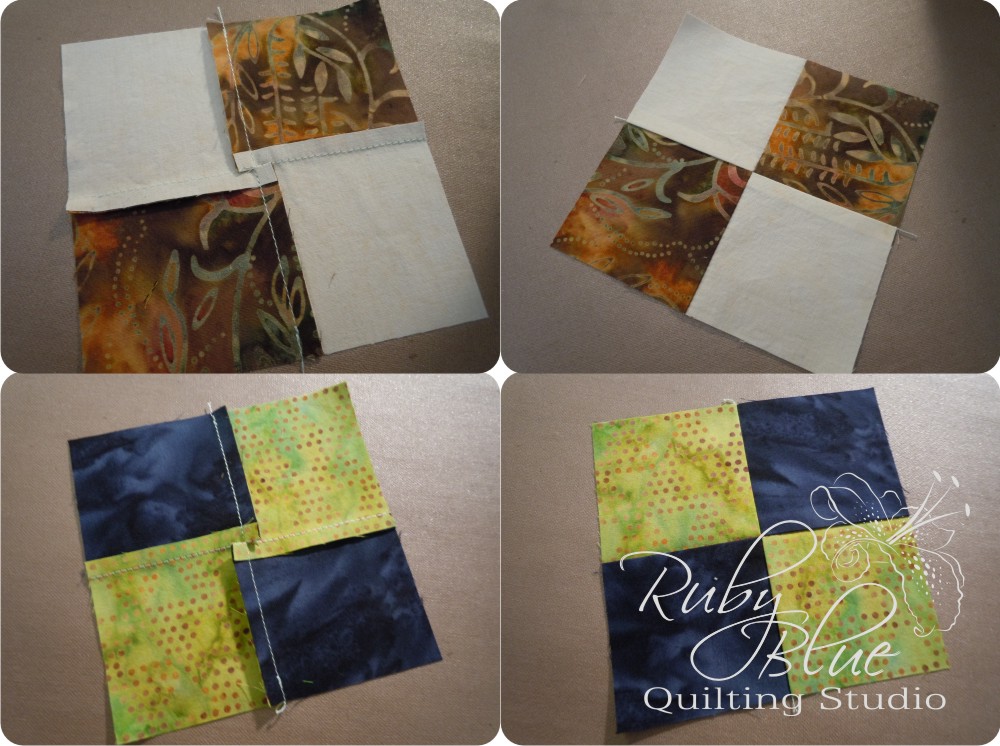
Now time to make the blocks – Layout (4) Half Square Triangles, (4) Four Patches and (1) Coordinating 4-1/2″ Square as shown.

Sew the block together, first in rows, and then sew the rows together. Each block should measure 12-1/2″ square at this point.

Layout the blocks until you have a pleasing arrangement (5×7 setting – but wait, you have 40 blocks made… :] )

And the contrasting earth-tones…

Remember how I said this had a pieced back? Well, to prepare the pieced back, cut a piece 1-1/3 yards wide, a 12-1/2″ strip and the rest should be around 2-2/3 yards. Cut the first 2 pieces as shown above.

Layout your backing in this manner. The 5 remaining blocks will get sandwiched in between the 12-1/2″ strip. The 1-1/3 yard piece will get sewn back together into one LONG section (make sure the selvages are to the outside of the quilt) and the 2-2/3 yard piece will complete the backing section. Sew these all together and your backing will be slightly larger than the quilt tops (your quilter will LOVE you!)
Layer each quilt, it’s coordinating backing with some batting in the middle for not one, but TWO quilts!


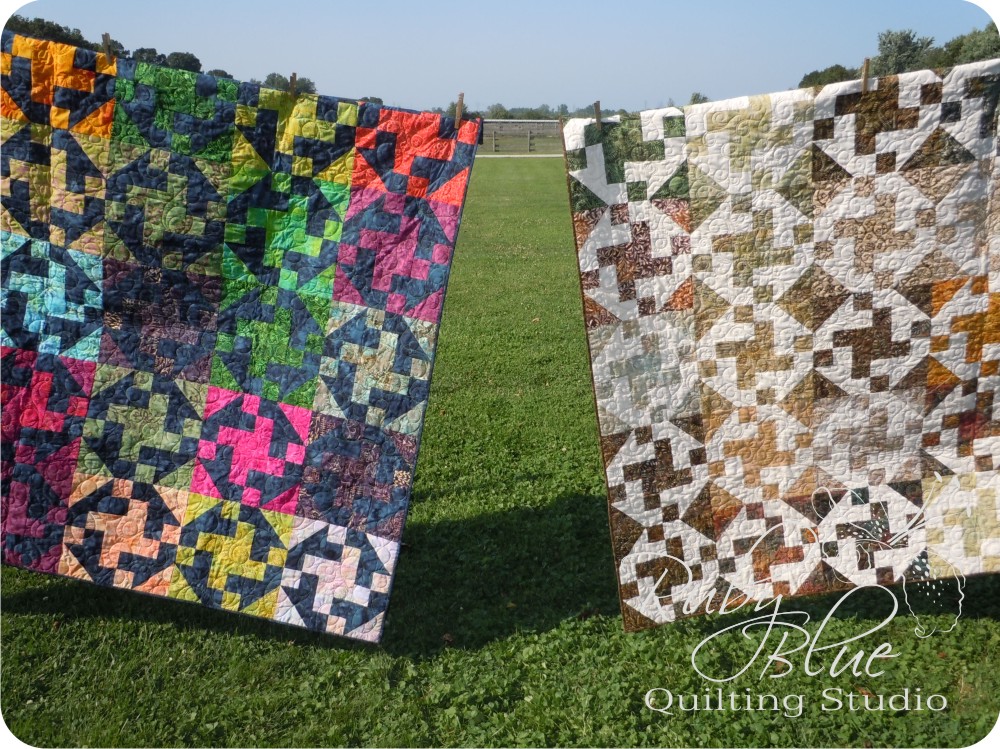
Each quilt will measure 60″ x 84″ prior to washing. Each complete with it’s own personality!

They were blowing in the breeze on the clothesline…

Here’s a look at each one and the pieced backing. It adds an unexpected touch to the quilt that I just love!
![]()
