
Hey Moda Bake Shop readers! It’s Tam from Sew Dang Cute Crafts back again to share with you this fun, “Shabby Spring” quilt. 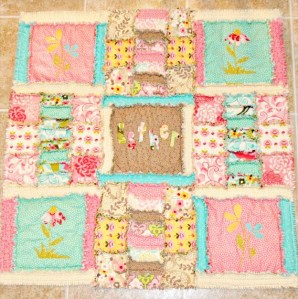 Rag quilts are so great because you can do so many things with them and finish them without actually “quilting”.
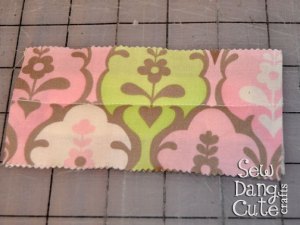
* 1 Layer Cake (I used Chez Moi’s beautiful
Hunky Dory line)
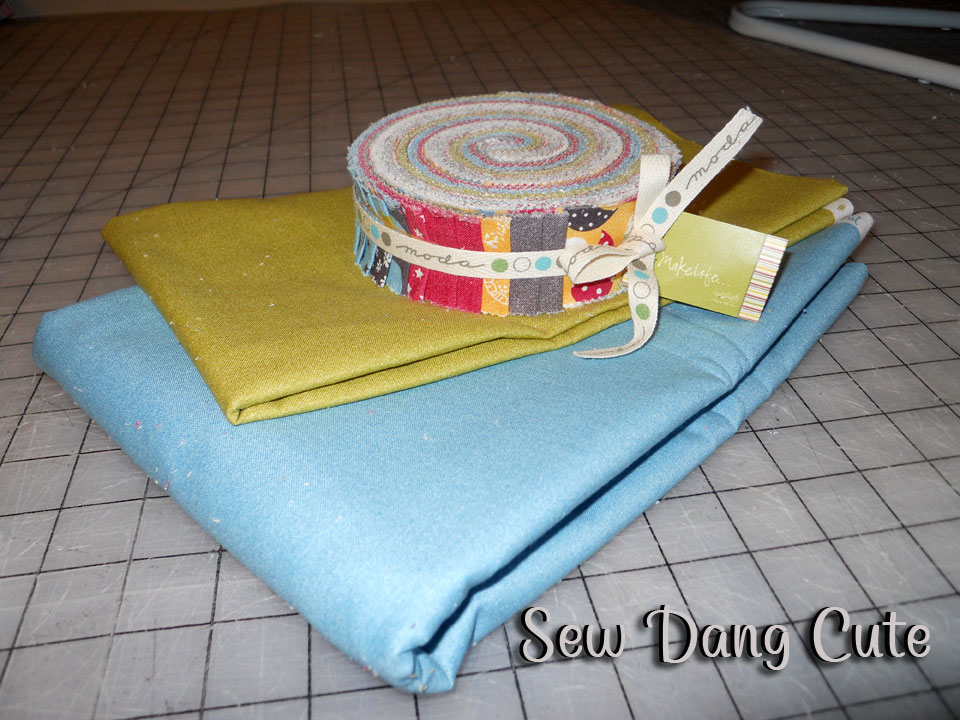
* 1 Jelly Roll * 1/4 yard coordinating fabric (my blue)
* 1/2 yard coordinating fabric (my cream)
* Warm and natural batting
* Coordinating thread(s)
* Ruffle foot (not necessary, but definitely makes things easier)

Any desired appliques.
1. The first thing we need to do is cut our fabric. To make things a little easier to understand, I’ve included a diagram of our pattern.

– Select 12 layer cakes and cut into 1/4’s to make (48) 5″x5″ squares – (B) in the pattern.
– Select 10 layer cakes for your big squares (A) and several others for appliques if doing any.
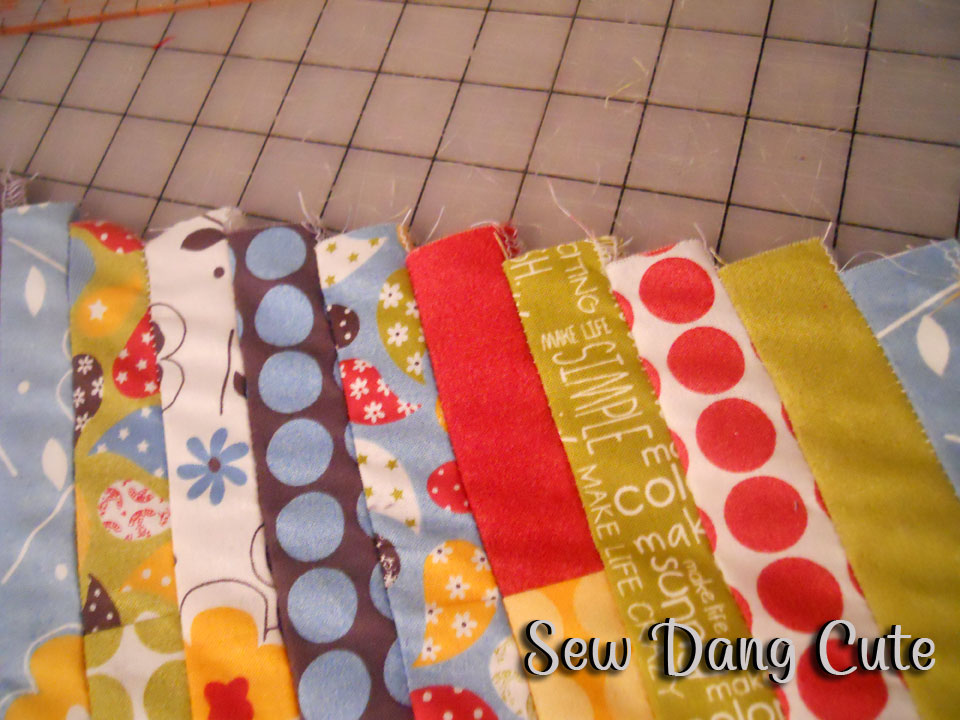
– Cut jelly roll strips into (16) 10″ pieces – (E) in the pattern, except the center square. (I used 2 jelly roll and 2 layer cakes: pink and blue).
– Cut (7) 2 1/2″ strips from the 1/2 yard coordinating fabric (my cream). From those strips, cut (16) 13″ pieces and (4) 10″ pieces – (D) in the pattern, except the center square, and (E) of the center square.
– Cut (2) 2 1/2″ strips from the 1/4 yard coordinating fabric (my blue). From those strips, cut (2) 13″ pieces – (D) of the center square.
– Select 8 different jelly roll strips and cut (64) 5″ pieces from those – (C) in the pattern.
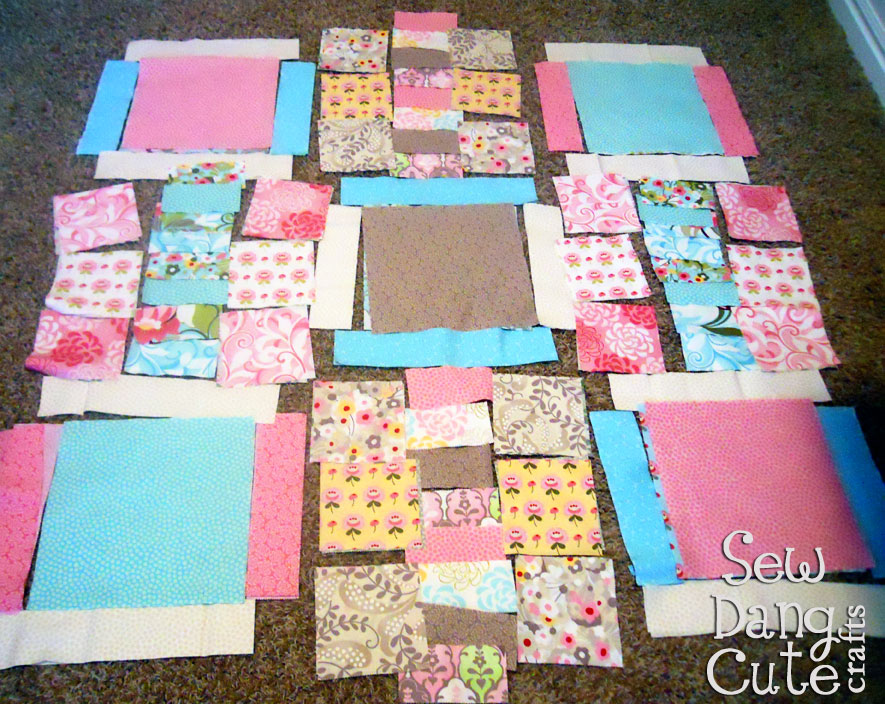
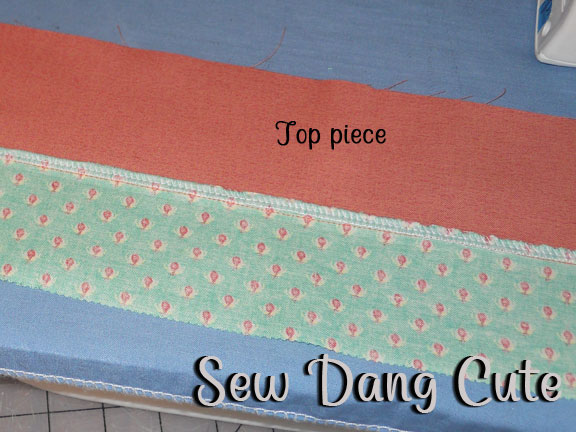
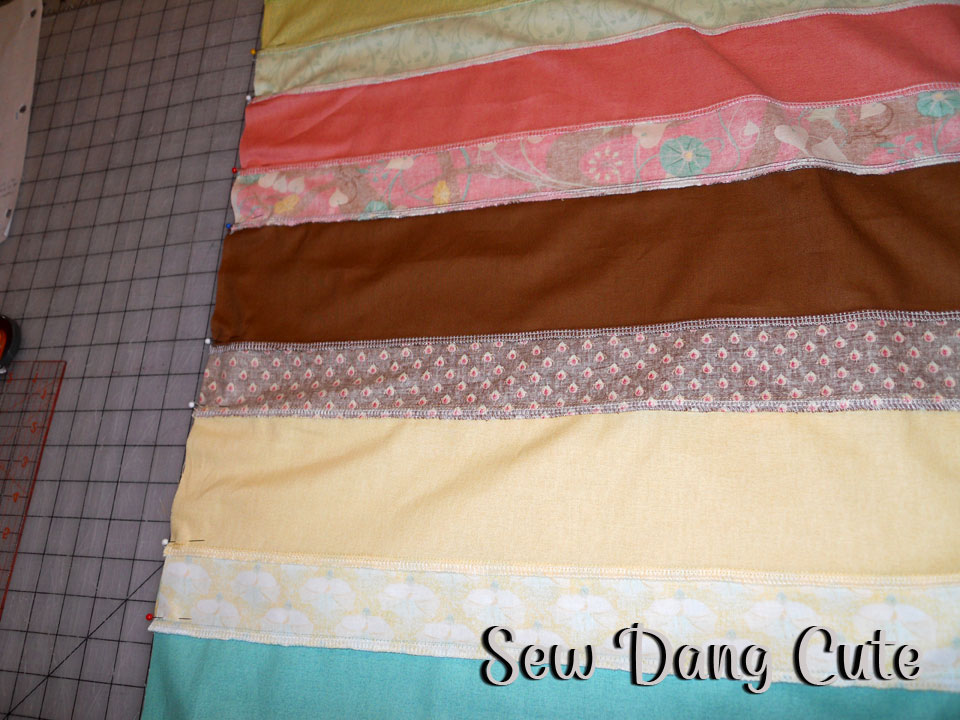
Now that you are done cutting, you should have something similar to this. Remember you are making both the top and back of the quilt, so you’ll need to arrange your pattern with this in mind. Here’s how mine looks (top shown).

2. Let’s start with (B). Cut (24) 3 3/4″ x 3 3/4″ squares of warm and natural batting. Layer one (B) wrong side down, then one piece of warm and natural, followed by one (B) right side up.
Stitch from corner to corner as seen in the photo below to form an “X” and create your fabric sandwich. You don’t need to worry about backstitching when doing these.

Repeat to form 24 (B) squares. I have found the fastest way to do this is by doing a chainstitch. Line all your squares up diagonally and stitch corner to corner in one direction.

Then simply clip between each sandwich and line them all up again to stitch from the other corner to corner.
3. Let’s move on to (A). Cut (5) 8 3/4″ x 8 3/4″ squares of warm and natural batting. Layer the fabric and batting as you did in step 2. If you are using appliques, apply those to your top square piece. I used my
Silhouette and their fabric interfacing, which was fabulous.
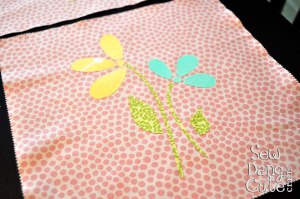
Stitch down your appliques through the entire sandwich, or stitch an “X” as you did in step 2 if you aren’t using appliques. I used invisible thread to make it easier for me, rather than changing my thread multiple times.

And this is how it looks from the back side. Repeat to form the (5) A pieces.

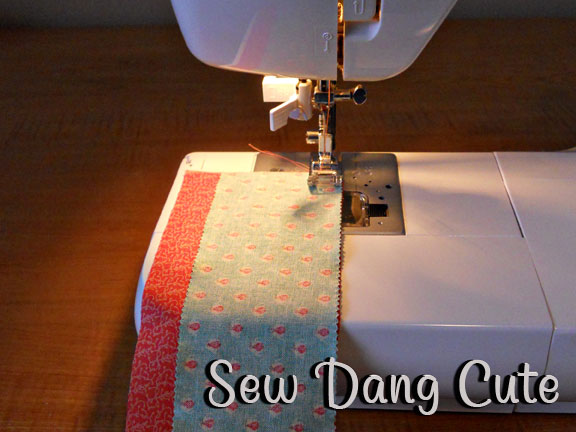
4. Cut (32) 3 3/4″ x 1 1/4″ strips of warm and natural batting for your (C) pieces. Sandwich in the same manner.

Instead of forming an “X”, I chose to simply stitch one line down the middle of the strip to create my sandwich. Repeat to make 32 (C) strips. Again, don’t backstitch and I highly recommend doing a chainstitch to make things faster.
5. Cut (10) 11 3/4″ x 1 1/4″ strips of warm and natural batting for your (D) pieces. Sandwich and stitch together as you did the strips in step 4, with a single stitchline down the center. Repeat to create your 10 (D) strips.
6. Cut (10) 8 3/4″ x 1 1/4″ strips of warm and natural batting for your (E) pieces. Sandwich and stitch together, again just like in step 4, with a single stitch line down the center. Repeat to create your 10 (E) strips.
7. Now we get to sew all our sandwiches together. This is where you want to grab your walking foot if you have one.
 The walking foot makes it so the fabric is fed through evenly and you avoid bunching – great for when you are working with numerous layers of fabric!
 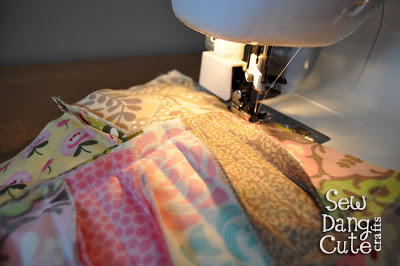 Grab three of your (B) squares. *Note: You can do a larger or smaller seam, depending how much fringe you want. I chose to do a 1/2″ seam for this rag quilt. Using 1/2″ seams, sew the back sides of the quilt together, so the seam is sticking out on the top side of the quilt.
  Using the same method of sewing back sides together, sew another three (B) squares together and eight (C) strips to create three rows.
  Then sew those three rows together to form one big block. Repeat with the other 3 blocks that are this style.
  For the other five blocks, we are going to sew two (E) strips to one (A) square first, then two (D) strips to create one big block. Repeat for the other four of this style.
  Sew three of the big blocks together to form a row. Repeat to create three big rows.
  Then sew those three big rows together and stitch around the entire perimeter of the quilt. You are done sewing!
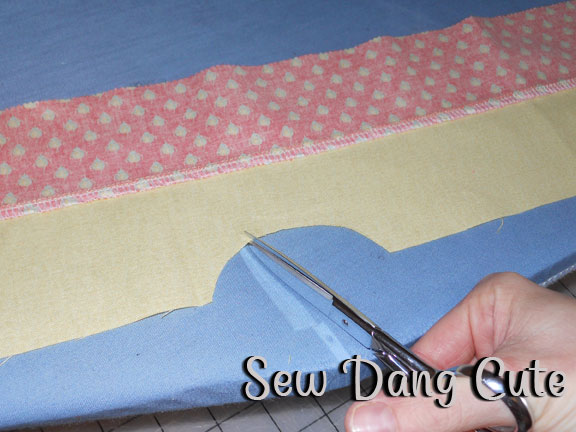
  8. Grab a good pair of scissors and a great movie and begin clipping all of those seams that are sticking up. Just keep clipping away until every seam has been clipped.
 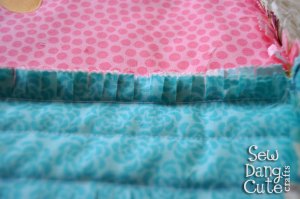 9. Toss the blanket in the washer, then dryer and be sure to clean out your filters afterwards. You are now done and have a beautiful rag quilt!!! Here’s how it looks from the back.

 I hope you will all come visit me over at Sew Dang Cute Crafts! Thanks for letting me be here today!!
Tamarynn Bennett
{Sew Dang Cute Crafts}


 Serge or


