
![]()
Hi everyone! This is Anna from HootnHaller. I am very excited to share my first Moda Bake Shop tutorial with you today. This is a tutorial for a bunting that is a great decoration for a party, special event, or to spruce up any room. If you have been nervous to try the honeycomb precuts in the past, I hope you try out this project that uses these fun fabric cuts!


1 Moda Honeycomb precut (Honeysweet by Fig Tree & Co.)
1/2 yard coordinating fabric

MAKING THE HEXAGONS
1. Sort your hexagons into pairs. Stack the pairs right sides together.


3. Connect the dots that you drew using the template as a straight edge. You can leave one side without a line. These lines show you where to stitch your seams.

4. Follow the lines to sew a quarter-inch seam allowance along five of the sides.

5. Trim off the corners of each of your sewn-together pairs.

6. Turn each unit inside out. You may need to use a turning tool to get the points to pop out. Give your unit a good press.


MAKING BIAS TAPE
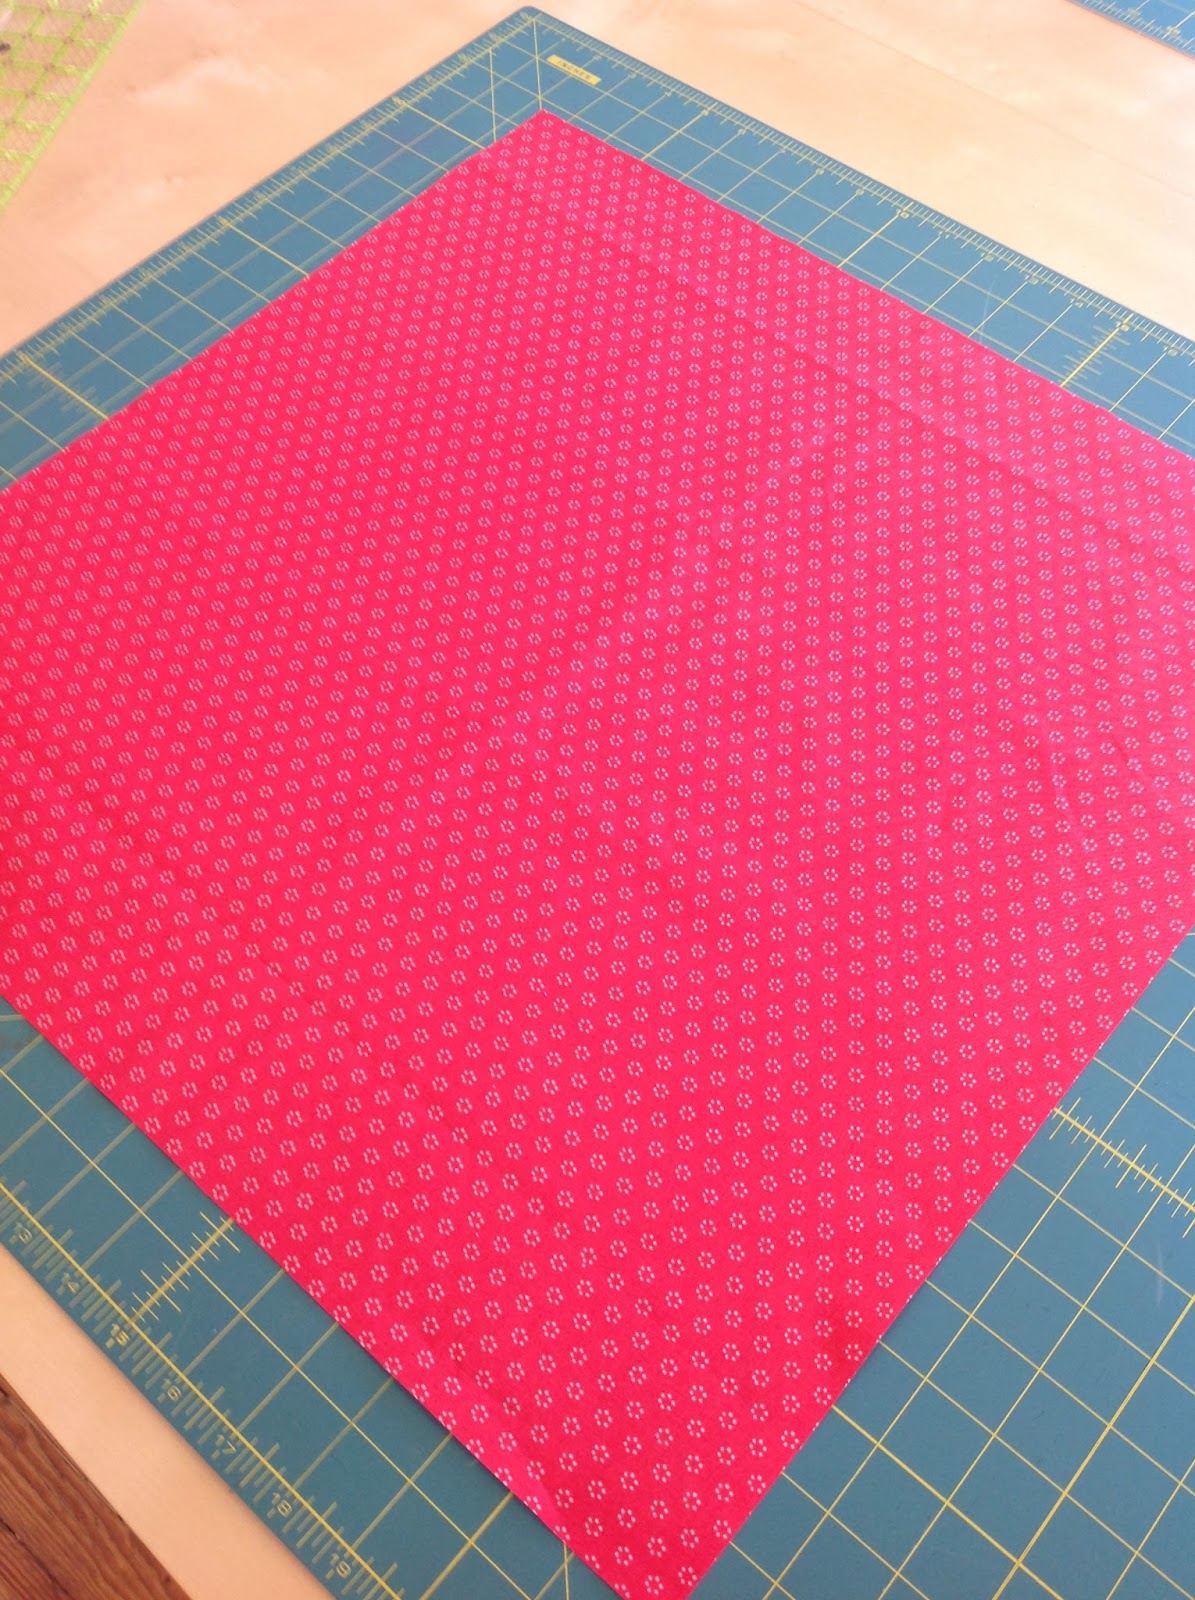
1. Cut one 20″ square from your fabric.
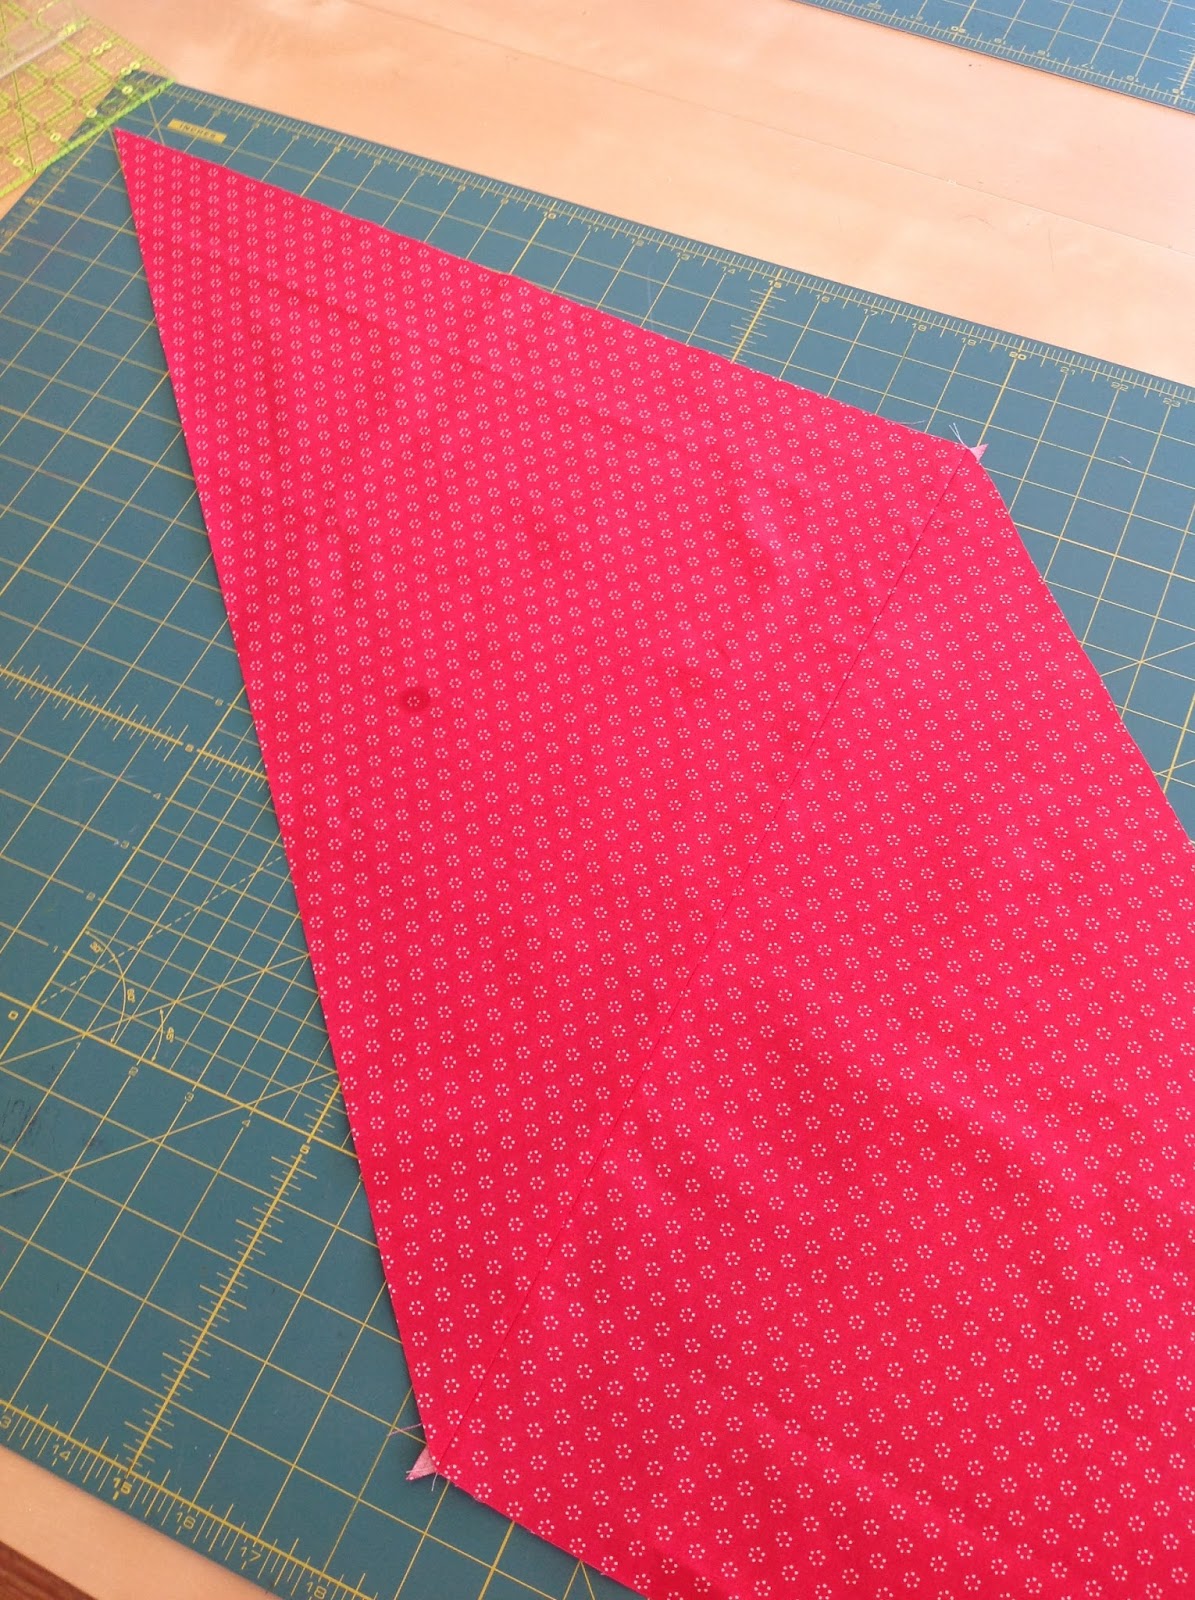
2. Using your rotary cutter, cut down the diagonal of the square. I used two rulers to reach the entire length, but you can use one ruler and move it for a second cut.

3. Sew the two triangles together by lining up the straight sides as shown below.
4. Cut 2″ strips along the bias, or the diagonal line you have created with the fabric.

5. Pin and sew the strips together.

6. Fold the bias strip in half and press.

7. Open the fabric up on the fold and fold each side towards the center crease. Press.
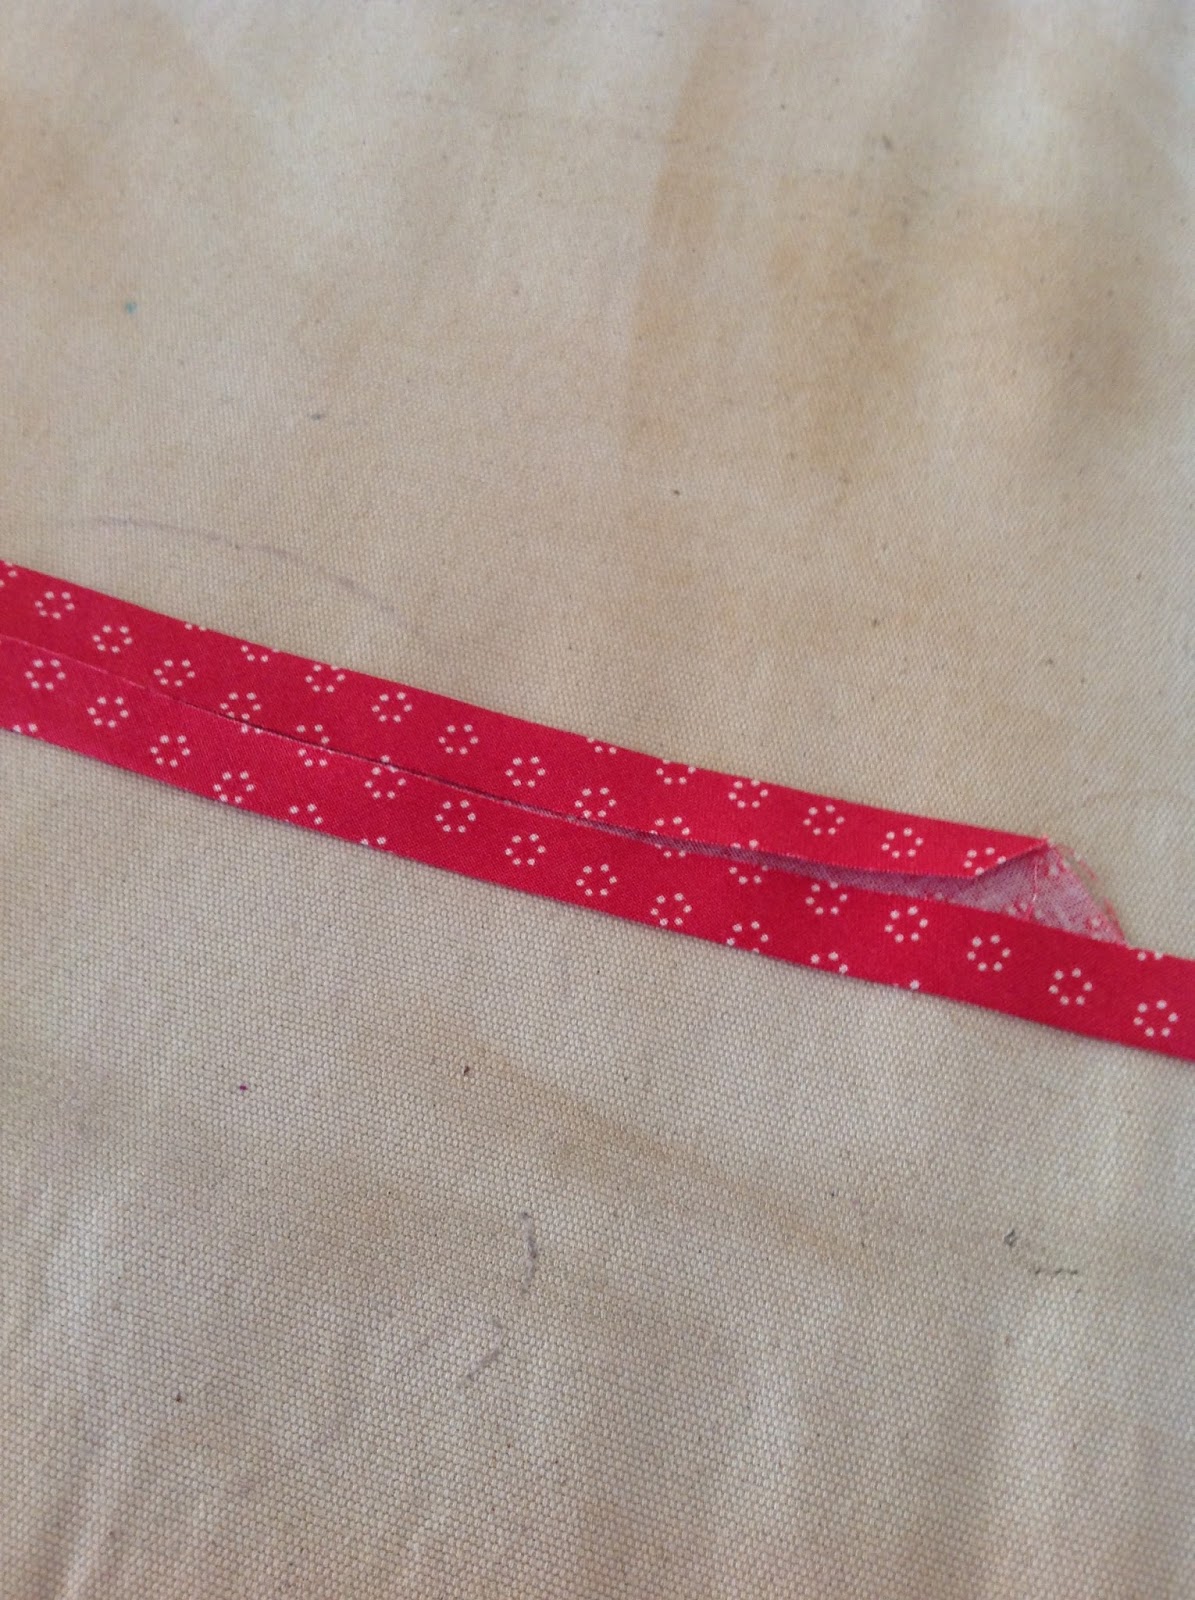
8. Fold the strip in half so that no raw edges are showing. Press. You have just created double-fold bias tape!!

ASSEMBLING THE BUNTING
1. Lay the hexagons out in an order that is pleasing to you.


3. Sew about 1/8″ from the edge of the tape. This will keep the bias tape closed and will secure the hexagons.


Anna Haller
{www.hootnhaller.blogspot.com}
![]()
