
![]()
Hey, gang! I can’t tell you how thrilled I am to bring you (TADA!) my first ever project for Moda Bake Shop. My name is Mary Miller and I have a little table in the blogateria that I call Spoolhardy Girl . I hope you’ll come by and visit when you are finished here. (Pssst! Can you smell the giveaway I’ve got cooking? MMMM Modalicious, if you get my drift.)
I don’t have to remind you that the holidays are quickly approaching. Parties, cookie exchanges and chaos will ensue. I am horrible about planning ahead for hostess gifts. I usually grab a bottle of wine and call it a day. I happen to think wine is a perfectly lovely gift. If you ever want to give me wine, I’ll be more than happy to accept. But let’s gussy that bottle up a little, shall we?

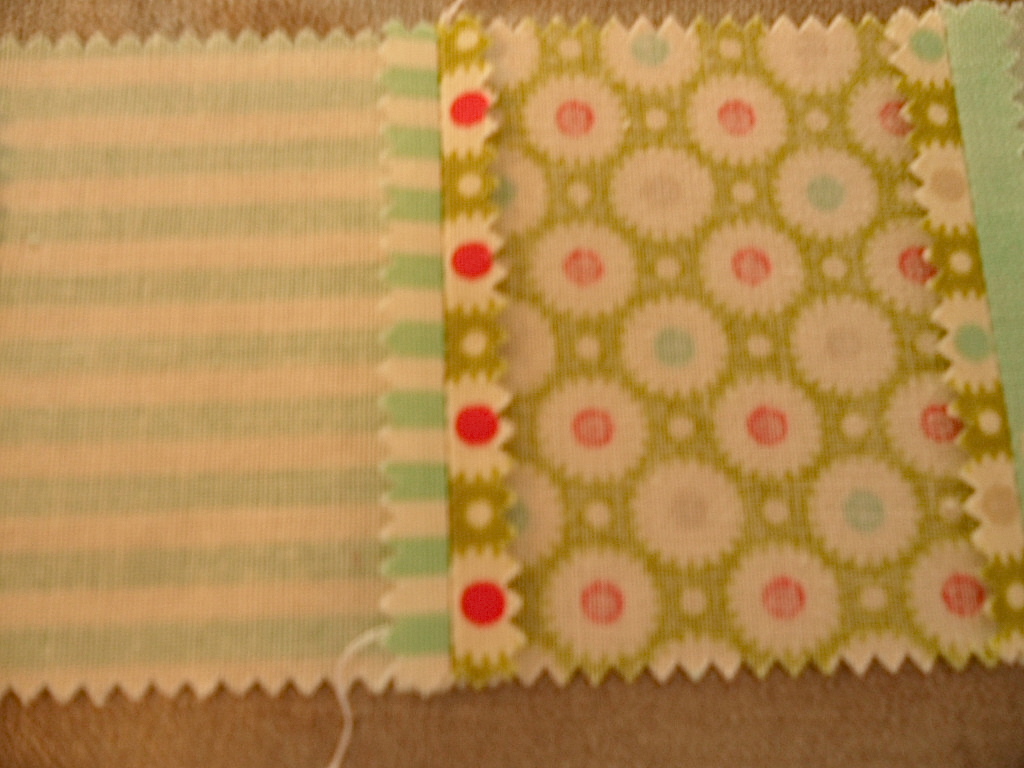
One Mini Charm Pack of a Moda fabric of your choice. I used Marmalade by Bonnie and Camille.
One 5″x 5″ square coordinating solid (also Bella Solid Sunshine)
One sharp #2 pencil

One 5″ x 5″ Fusible Fleece
One 5″ x 5″ square of freezer paper
Dritz Elastic Threading Tool
1/4″ presser foot (Highly recommended)
Let’s begin! Choose 25 individual squares from your mini charm pack and line them up in a 5 x 5 square grid like so:

Sew your rows together this way:
 |
| This picture is probably unnecessary, but I just learned how to make the little arrows and I wanted to show off. |
Press your seam allowances open.
Next, sew your rows together, and press your seams open.

Take a minute to admire this pretty panel you’ve made, then set it aside for a bit.

Next we are going to work on your bag bottom. No, not your baggy bottom. I have my own baggy bottom I need to work on, I can’t help you there! Anyway, on to the bottom of your bag!
This is where your #2 pencil and your freezer paper comes into play.
Place your pencil so that it is flat up against your bottle of wine, and the point is headed directly downward.
 |
| Thank you to Mr. Wonderful for taking this picture! |
Trace all the way around the bottle. Now, you could skip the freezer paper step and do this directly onto your fabric, but I have a heck of a time getting the pencil to write on the fabric, so I do it this way. I also don’t recommend using a washable fabric pen because they tend to be wider than a pencil and that puts the mark too far away from the bottle, making your bottom too big. We all know we don’t want bottoms that are too big!
Once you have your circle made, take a ruler and mark a dotted line 1/4″ away from your original line.

Bring your freezer paper template, your fusible fleece (if using) and your 5″ x 5″ piece of fabric to your ironing board. I really like the idea of using the fleece in this step because it will give your bag bottom added support and a little bit of cushioning (I’m not even going to go for the joke here. It’s just too easy).
Place the freezer paper template shiny side down onto your fabric. If you are using a printed fabric, you want the right side facing up. Press with a hot iron for about 10-15 seconds. turn this unit over so that the fabric is facing up and the paper is on the ironing board. Place your square of fusible fleece adhesive (bumpy) side down and press with a steamy iron for about 15-20 seconds.
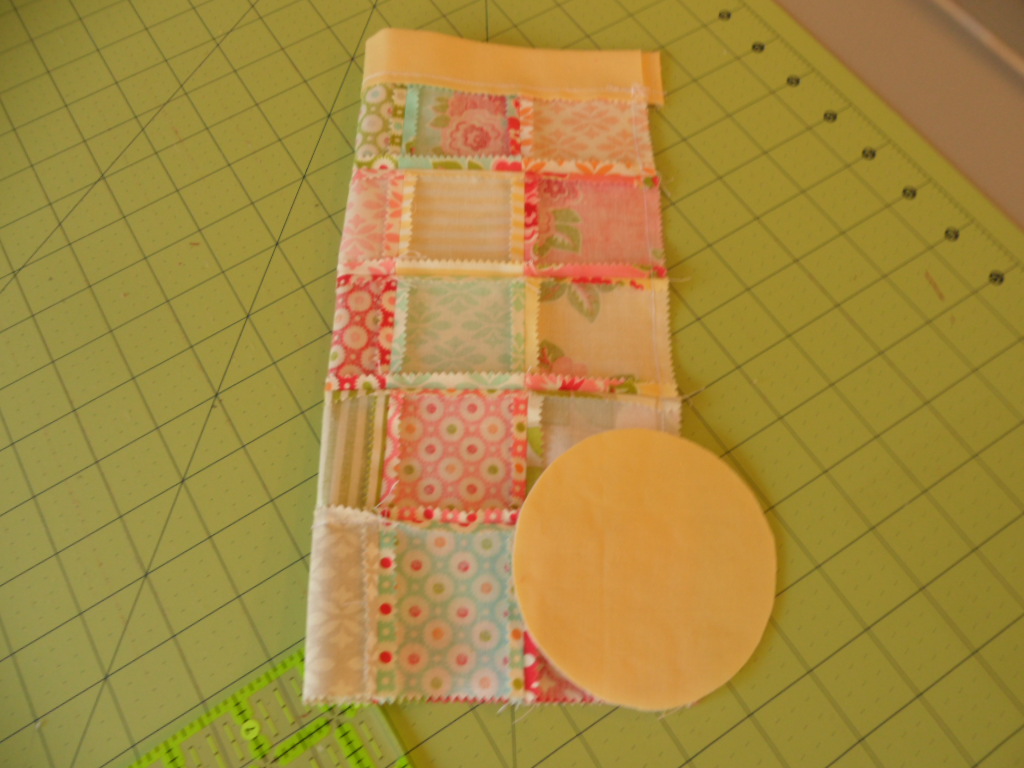
You should now have a unit that looks like this:
 |
| Freezer paper fused to fabric which is fused to fleece. |
Cut around your dotted line and remove the freezer paper. Set aside.

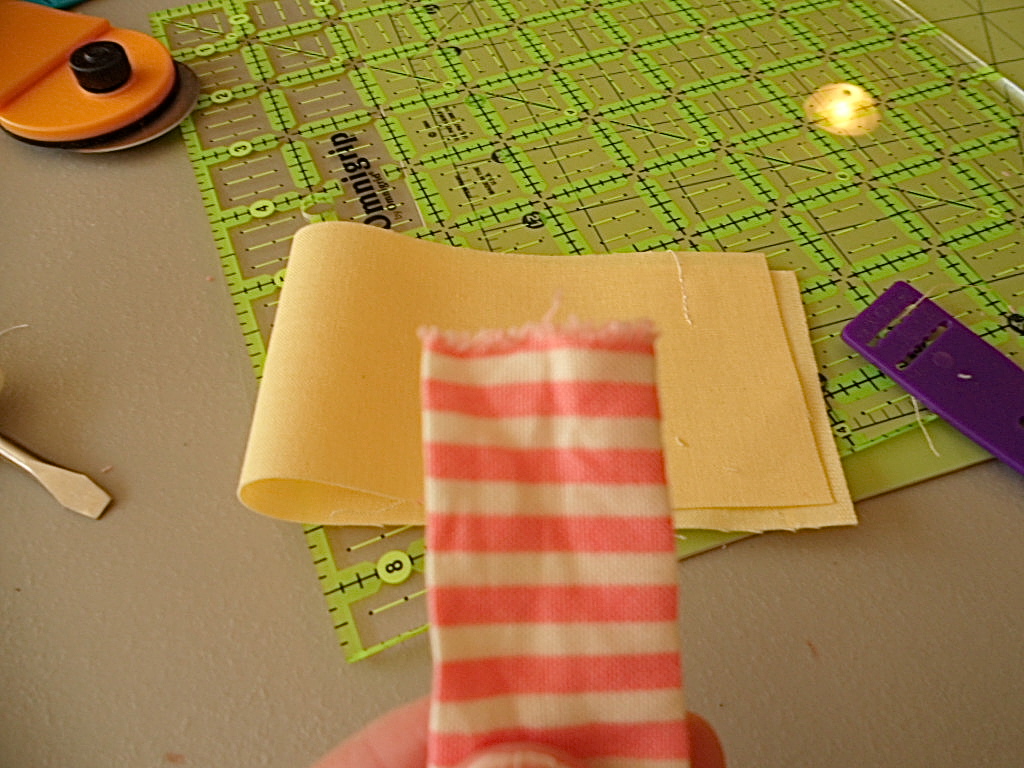
Next we are going to make a band for the top of your bag. Take your 2 1/2″ strip of fabric fold and press it in half lengthwise, WRONG sides together.


Bring your strip back to the panel that you made and lay it out open so that about an inch hangs off of each side.

Fold the short end of the fabric back on itself so that the fold is just barely over the edge of your panel.
Do the same for the other end of your strip. Press at the folds.

Bring your strip to the machine and top stitch both ends barely 1/8″ away from the fold.

Trim excess from the seam allowances.
 |
| Please forgive my nasty thread tangles. I was having an argument with my machine this day! |
Fold lengthwise again wrong sides together and press. Place your folded strip piece right sides together on top of your panel piece with raw edges aligned making sure that you have a bit of the top stitched ends sticking off the ends of your panel. Sew together. Press seam toward the panel.
If you want to give your bag a nice finished look top stitch about 1/8″ away from the seam you just made. This is completely up to you, and will only add decorative appeal to your bag.

Fold your panel in half right sides together and pin raw edges.

Begin stitching down this long side just below the seam created when you sewed your band on. You don’t want to sew the band shut, you’re going to need it in a minute! Back stitch at the beginning and ending of your stitching.
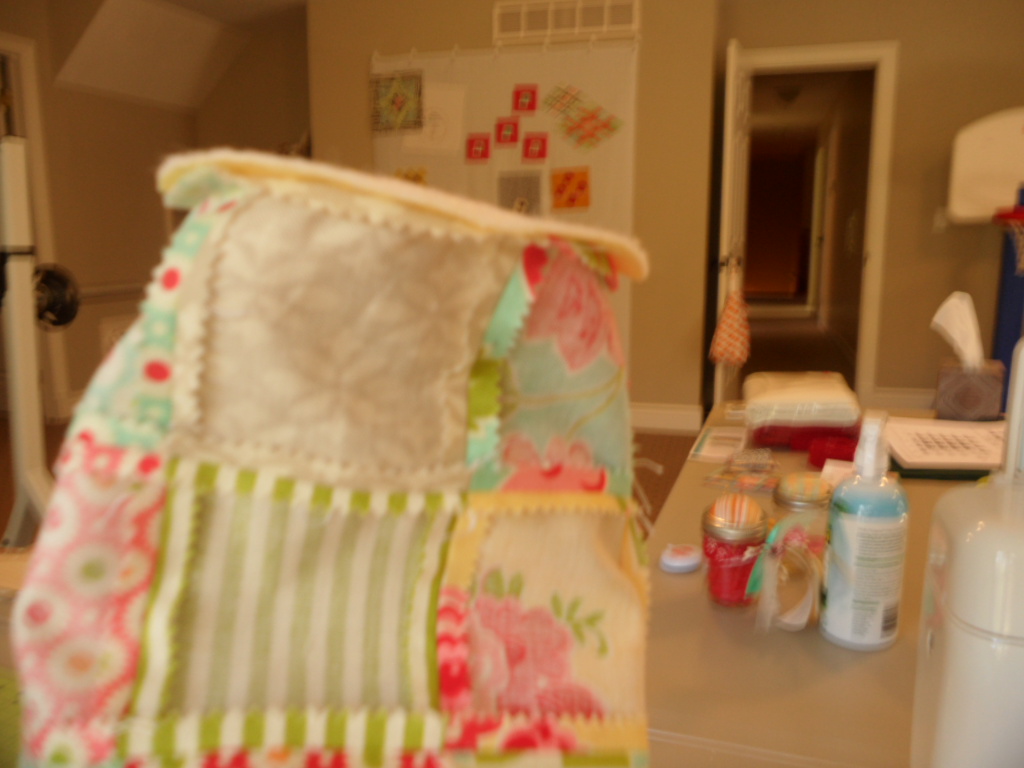
How cute is this sleeve!? If I could sew a shirt I would totally make a patchwork shirt just like this. Only I can’t, sew a shirt. I just took this picture to demonstrate that you have now sewn a nice tube.

Remember that circle we made with the fusible fleece? It’s time to sew it onto your tube. Yes. You are going to sew a circle onto a tube. I’m here to tell you, this is NOT hard. You can do this. Trust me. Take a deep breath and relax your shoulders. You are going to feel like a sewing goddess when I’m finished with you!
You want to pin your circle to the bottom (not the band end) of your bag. Pin it right sides together so that the white fusible fleece is facing out. Make sure that the edges of your circle are lined up neatly with the edges of the bag. I find that 8 pins placed at equal intervals around the circle are about right.
The key to getting this right is to go slowly. Place the bag under the presser foot. This is where a 1/4″foot comes in really handy. Make sure the edge of your fabric is nestled right up against the guide of your foot and slooowwwly begin to stitch. After 4 or 5 stitches lift your foot keeping the needle down, and realign the fabric so that it stays right up against your guide. As you remove your pins, make sure that your fabric edge is still lined up with your fleece edge. Also make sure that the fabric under the foot is laying flat. That’s it. Just work your way around and you’ll be fine, promise!
Cut the excess seam allowance to about 1/8″.
There. You did it! Give yourself a little pat on the back.

We’re in the home stretch now! We just need a pretty tie.

Take the remaining mini squares from your charm pack and sew them together in one long strip.
Press seams open.

Fold your strip in half lengthwise with right sides together.

Sew down the long side and across ONE of the short sides of this strip.

Now we need to turn this tube inside out. There are tools that you can buy to help do this, but I find that a wooden skewer or dowel works just fine. Place one end of the skewer against the sewn end of your tube. I like to place the other end of the skewer on my tummy, or on my work table. Then just begin to slip the fabric down over the skewer.

Continue easing the fabric down the skewer until it is completely right side out. Then press out the wrinkles.

Remember that Dritz Elastic Threader? I have to tell you, I have never once put elastic in one of my projects, but I use this little gizmo all the time. It was a total impulse purchase at Joann’s one day, and it has become one of my go to notions. We are going to use it to get the tie through the band at the top of the bag. If you don’t have an elastic threader, don’t sweat. Just use a large safety pin.

Thread the UNSEWN end of your tie through the top notch on the threader. OR pin your safety pin to the end. Put the threader into the hole on your band and work the fabric through until it comes out the other end. Tug on the tie so that it hangs out of the band equally on both sides.
Let’s tidy up the un-sewn end of the tie. Tuck the end in approximately 1/4″ and topstitch at 1/8″.
Done! Sit back and enjoy your handy work. Maybe pour yourself a glass of wine. Just not from the bottle you’re giving away!

One pretty darn cute wine bag that fits a standard wine bottle. If you like to give your wine away by the jug or the box, hey, go for it! I don’t judge but, sadly, this project won’t work for you. May I suggest yarn bombing?

Mary Miller
{spoolhardygirl.blogspot.com}
![]()
