
Hi everyone, it’s Chris Warnick from www.frecklemama.com again with a simple project that is perfect for the holiday season, gifts for the grandkids, or a even a beginner project for teaching the kids to sew.
Do you have a small elfin creature who comes to visit you in the night? Maybe just during the winter months? Well then he or she is probably getting chilly right about now. Have a heart and make the poor fella a sleeping bag with a comfy pillow. It is a quick and easy project that can also be used to make placemats! Let’s get started.

52 Moda Candy Mini-Charm Squares for the sleeping bag and pillow exterior – I used In From The Cold by Kate Spain (Note: I actually used scraps so I have more repetition than a Candy pack will provide.)
1 piece of backing fabric for the sleeping bag interior 12 1/2″ x 16 1/2″ (Note: my interior piece is pieced from two fabrics.)
1 piece of batting 12 1/2″ x 16 1/2″
Small handful of polyfil or some cotton balls for stuffing the pillow

Ric-rac, piping, ruffles, ribbon, buttons or any other trims desired to make your sleep sack “fancy”

To make the sleeping bag exterior, select 48 mini-charm squares and sew together into pairs.
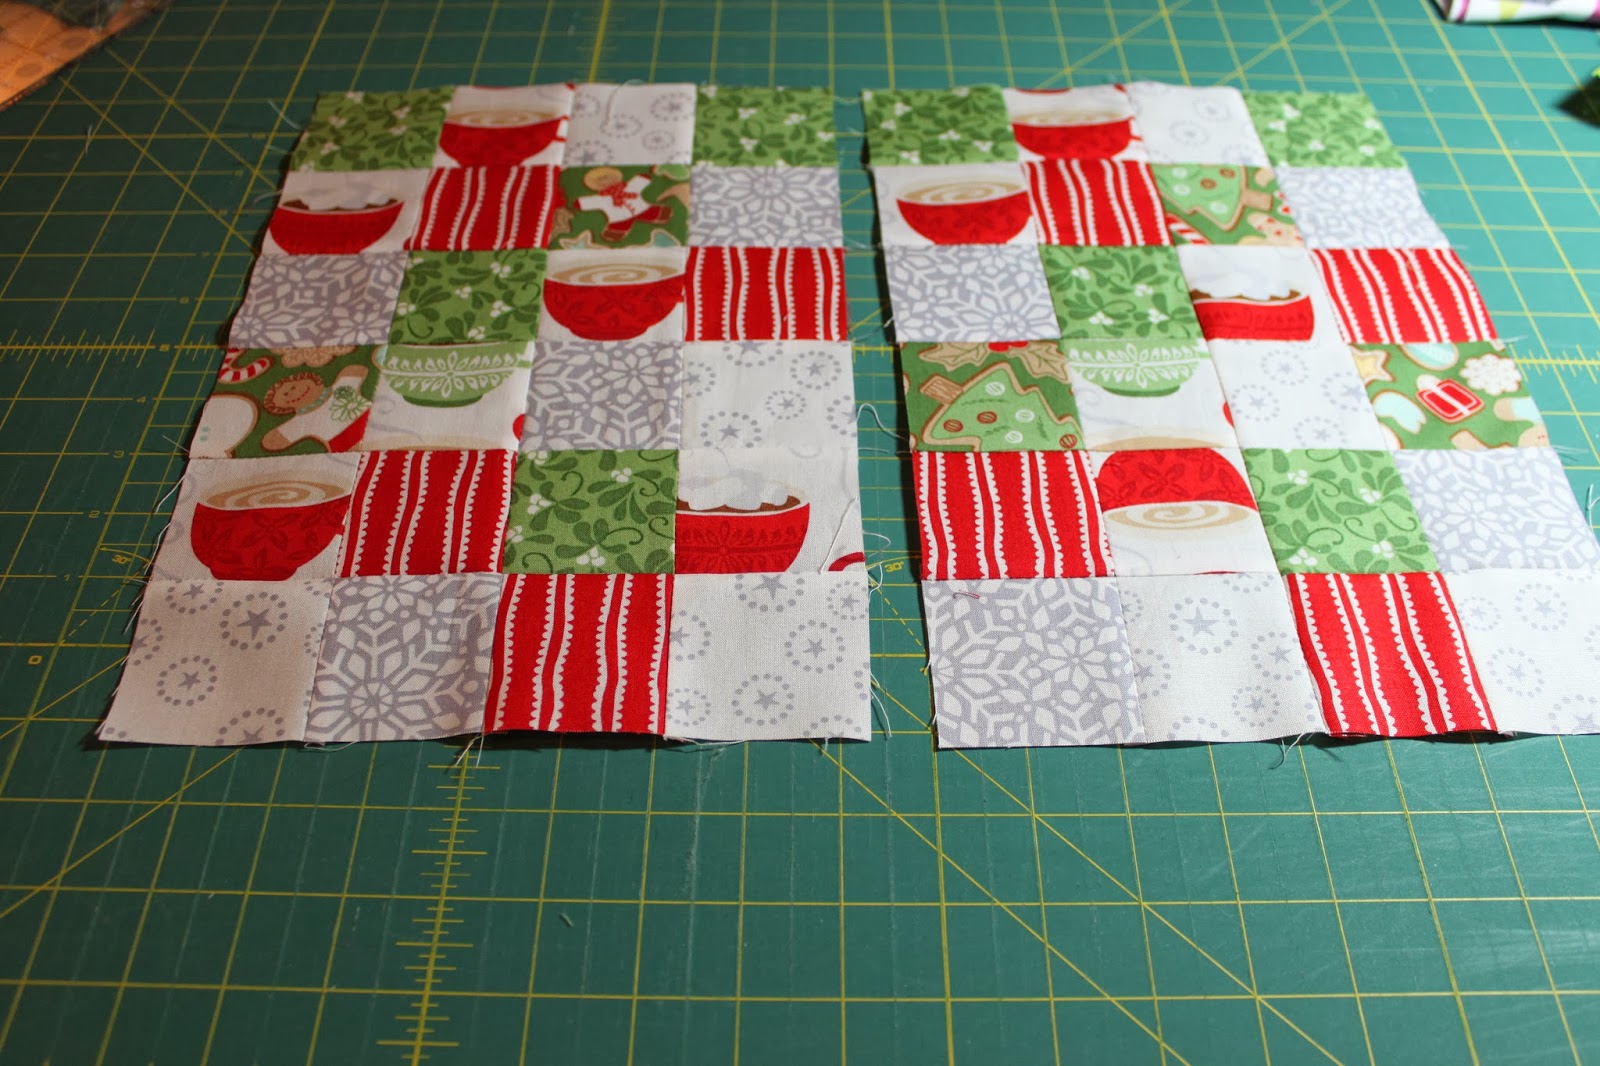
Once in pairs, layout the mini-charms to create two panels, each 4 squares across and 6 squares down. (Set aside the remaining two pairs for the pillow.) These panels will be the front and back of your sleeping bag.
Sew the pairs together to form the two panels.
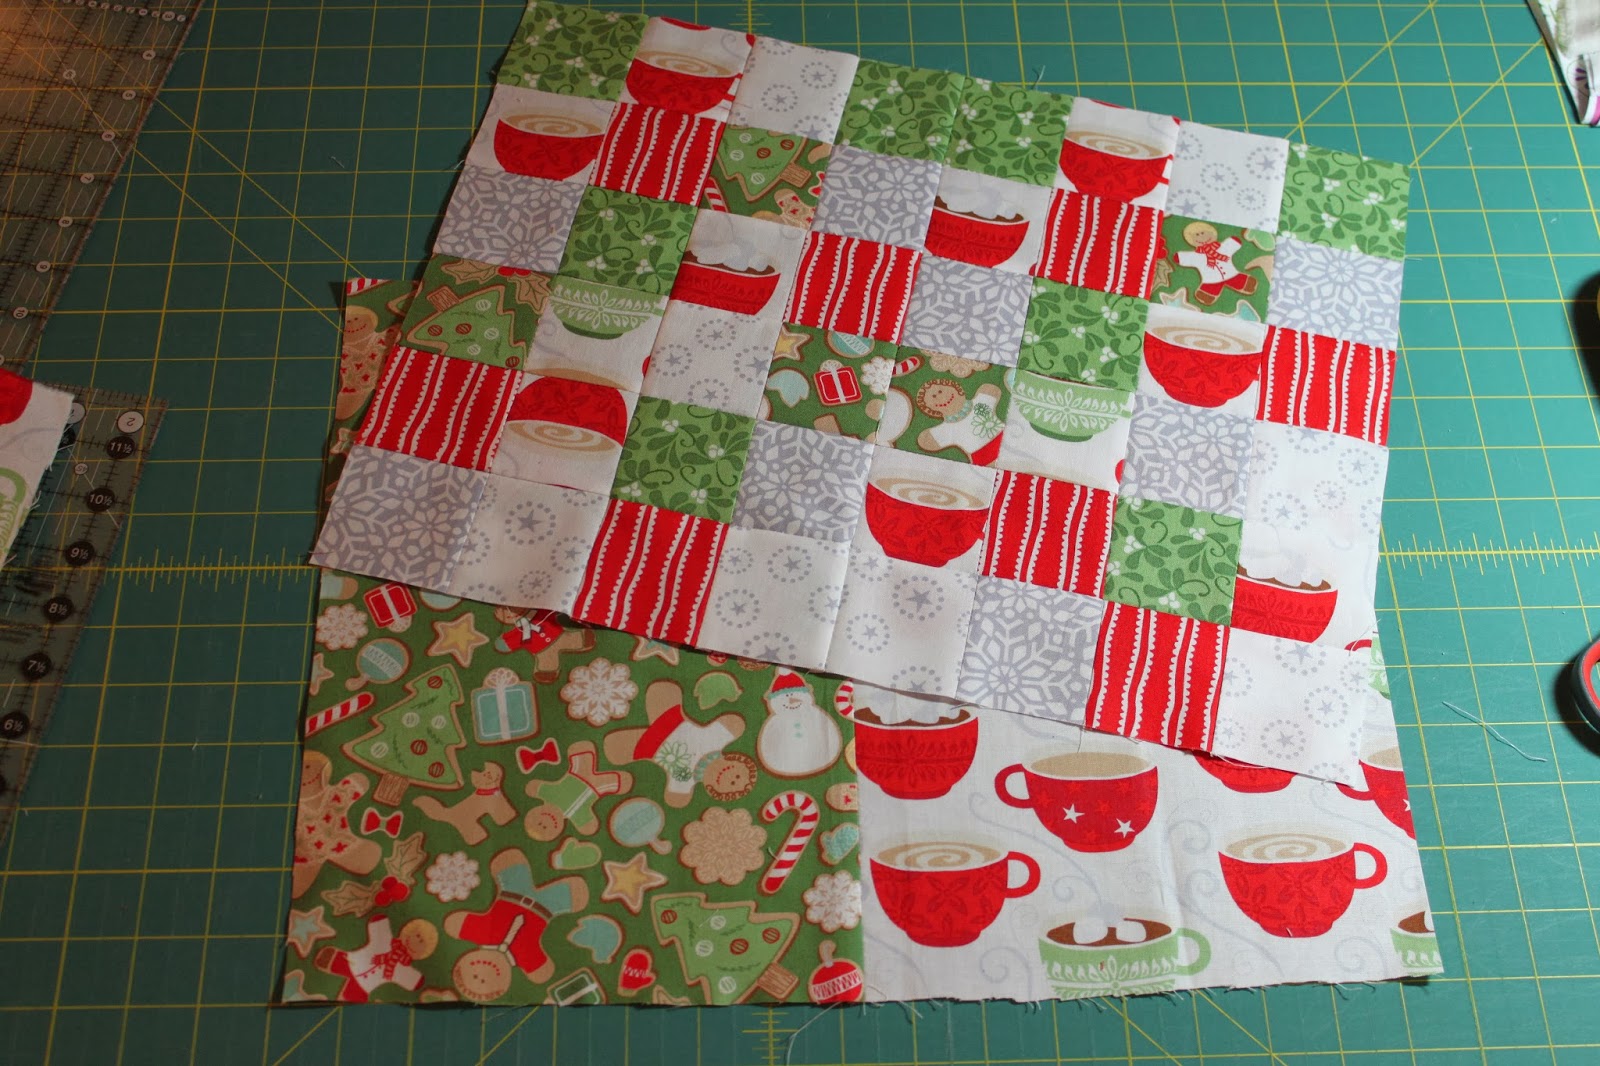
Sew the two panels together to make one big panel. This is the sleeping bag exterior.
Next grab your batting and backing/interior piece. Each should have the same measurements of your exterior panel (12.5″ x 16.5″ in my case). Below is my exterior panel on top of my backing to check that they are the same size.
Place batting down first, then the exterior piece right-side up next, followed by the backing right-side down. See photo below for clarification. Basically, you are placing exterior and interior pieces right-sides together (RST) and then placing that pair on top of your batting.
Now sew around the entire rectangle leaving a 3″ gap for turning. I like using a “green for go” and “red for stop” pin to remind me to leave the gap:
Clip the corners to reduce bulk. Flip the whole thing through the gap and poke out the corners with a chopstick or knitting needle.
Press into a pretty rectangle, paying special attention to making your gap nicely pressed.
Top stitch close to the edge around the entire rectangle. This will automatically close the gap.
If you just want a great table mat, placemat, or very large mug rug, stop here! Enjoy your finished item! If you are making the sleeping bag, you’re almost done.
Quilt a stich line straight down the middle. If this panel is an open book, you are quilting down the spine. This helps stabilize the batting to keep it from bunching. You can also quilt the entire panel if desired.
Now, close your “book” by folding the piece in half. Begin sewing the two sides together about two squares down from the top. Sew carefully since there are many layers. Sew down to the corner and around to close the bottom. Notice that I pinned the corner to keep it from shifting:
To tack the flap open, use a hand sewing stitch in the corner. Be sure to sew just through one layer rather than sewing the bag closed in that spot.
Someone has his eye on this already. It’s a little wide for him, but his plush friends might enjoy the extra elbow room.
If your elfin friend wants a snugger bag, adapt the pattern to result in an exterior that is 3 squares across rather than 4. That would look like this:
But wait, no one wants to rest their weary head on a cutting mat, do they? Let’s make a pillow to go with the sleeping bag. Grab the two pairs of squares left over from your original panel layout.
 Place these pairs right sides together and sew around the entire rectangle leaving a 1″ gap for turning. Clip the corners and turn right-side out. Stuff the pillow with polyfil by using very small bits to prevent lumps.
Pinch the gap closed and fit under the presserfoot. Topstitch around pillow edges, naturally closing the gap. You may need to shift the stuffing around to help get the edges of the pillow under the foot.
AHHHH, much better! Sleep tight little elfin friend.
One doll-sized sleeping bag and pillow. Hopefully your elfin friends won’t be caught sleeping on the job!
Have a wonderful holiday season, and be sure to share your Moda Bake Shop projects on the
Flickr page! If you have any questions or are looking for a quilt pattern for your human-sized friends, please come visit me at
www.frecklemama.com.
Happy sewing!
Chris Warnick
Frecklemama


 Place these pairs right sides together and sew around the entire rectangle leaving a 1″ gap for turning. Clip the corners and turn right-side out. Stuff the pillow with polyfil by using very small bits to prevent lumps.


