Hi, My name is Melissa Mortenson, I love all crafts, but my two favorite by far are Scrapbooking and Sewing. In this project I was able to combine both of them. There is a huge trend right now in scrapbooking to use fabric in your book, or to make embellishments out of fabric. When I got this layer cake I thought “funny, I have this scrapbook paper!”… Then I started thinking that the layer cake looked like pages in a book, so I thought, why not make a fabric scrapbook?
A layer cake makes a perfect base for a book!
I added canvas for sturdiness and fun ribbons & embellishments. I even printed words on fabric.
I think this would be perfect for highlights from a baby’s first year, or a grandparents album (nice and soft for little hands) or use Valentine’s themed fabric and make a Love album.
Stop by my blog, The Polkadot Chair or my pattern shop, fourteen may for more patterns, enter a VERY cool GIVEAWAY, ask me questions or just say hi!!!


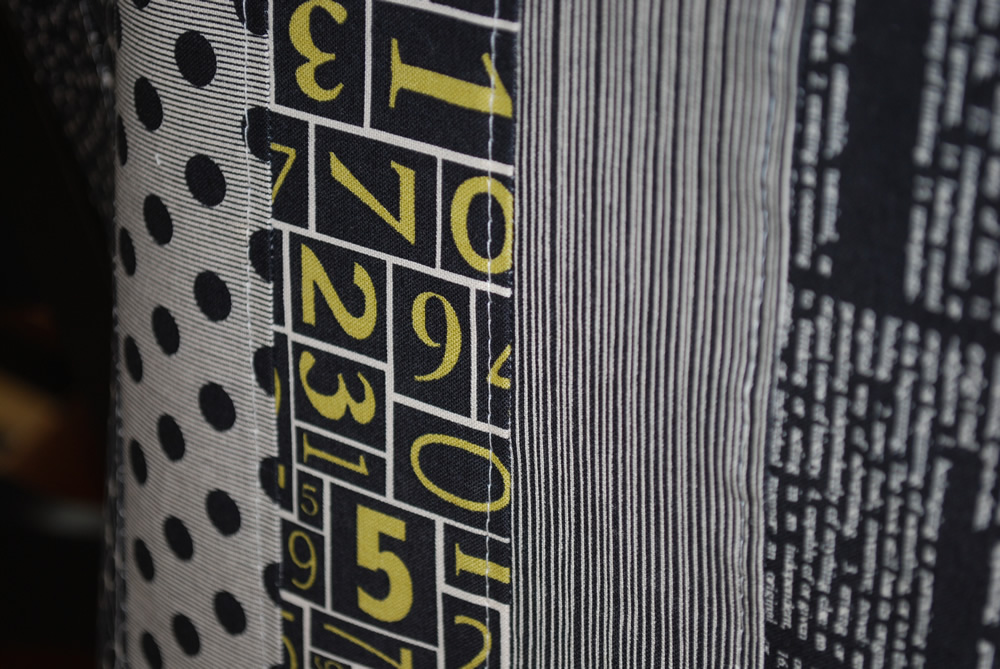
1 Layer Cake, I used Eva by Basic Gray
4 10.5″x10.5″ squares of canvas
Ribbon
Cotton Batting (I used quilters dream cotton)
Heat n Bond Lite or Wonder under
Freezer Paper
Grommets
Quilt Basting Spray
Fusible Printable Fabric I used, June Tailor Quick Fuse
Muslin
Pinking attachment for rotary cutter
Binder rings (I used 1″ but would recommend 2″)

Grunge Board, by Tim Holtz, Buttons, Ribbons, Flowers, and other scrap booking supplies
Digital Scrapbooking elements, mine came from Ali Edwards & House of 3.

Here are a close up of all of my pages. You will want to embellish and construct the pages to your liking, depending on your photos.
I’ll show the photos close up of the pages, then give step by step instructions for constructing each page. Feel free to use whichever “patterns” of pages that you like best.
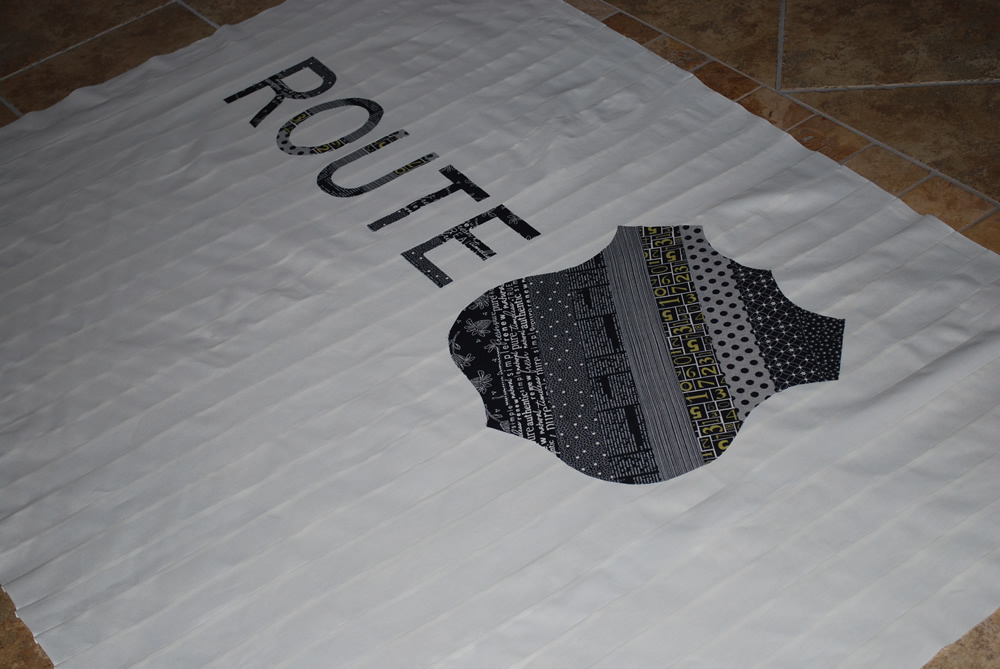
Cover
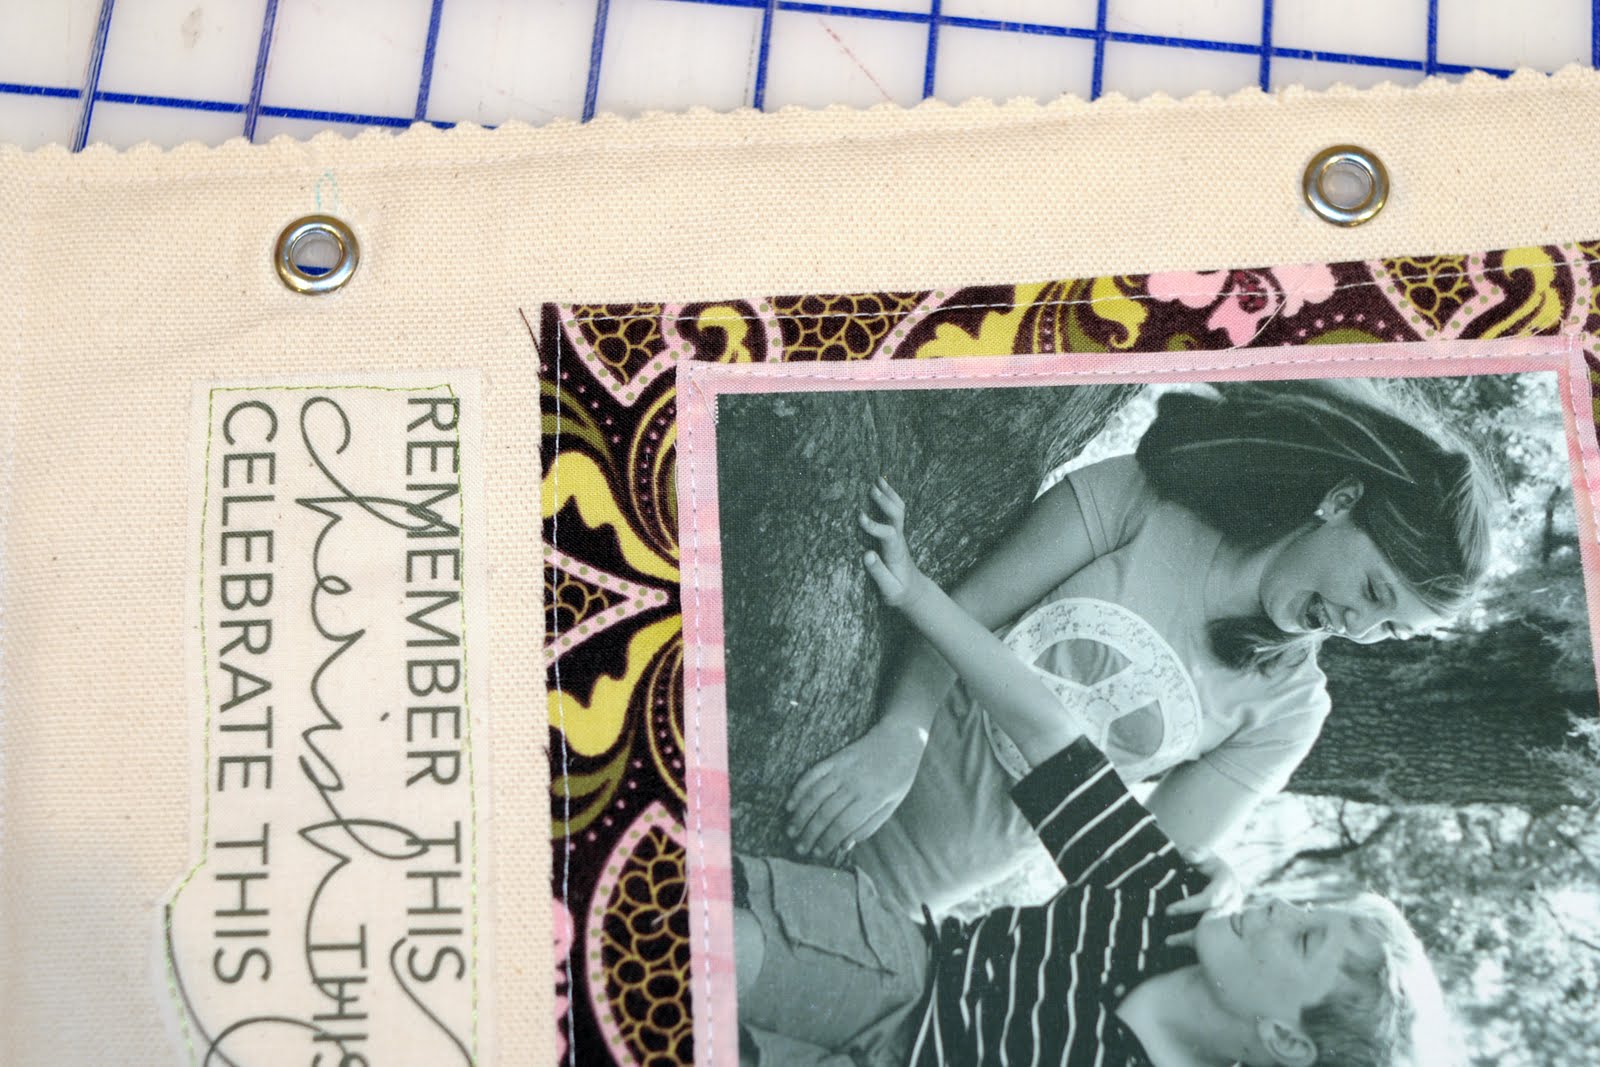
inside cover, with journaling. (yes I know there is a typo… I totally missed it!)
Page 1
Page 2
page 2 closeup
Page 3
Page 4
Page 5
Page 6
Page 7
Page 8
Page 8, close up
Inside back cover
back cover
To Begin:
Divide up your Layer Cake, I put mine in the following piles:
-feature fabric prints
-small fabric prints
-solids/monocromatic
-darks
I decided to make the “Feature” fabric prints in the Layer cake as my base pages. I have a total of 8 pages, plus the front and back covers.
To make the pages, you want to create “blocks” of fabric and “borders” with different fabrics. This will add interest to your book.
Here is how I constructed my book:
** NOTE: I did NOT place wonderunder under all of my fabric pieces, so some of them did fray.. but that is OK with me.. if you want less of your fabric to fray, then back each piece that you cut (for borders etc…) with wonder under. This will help to reduce the fraying***
To Construct Page 6
Cut 5×10 piece of a smaller print fabric. Using quilt basting spray, adhere to the front of an uncut layer cake piece.
Using a contrasting thread (mine is green), stitch 5×10 piece in place.
To construct page 5
Trace a shape (i just traced a shape of chipboard that I had) onto wonder under or heat and bond lite. Iron onto a layer cake square, sticky side down on wrong side of fabric.
Cut out and iron on to a layer cake piece. Using contrast thread, stitch around the edges.
To construct Page 2
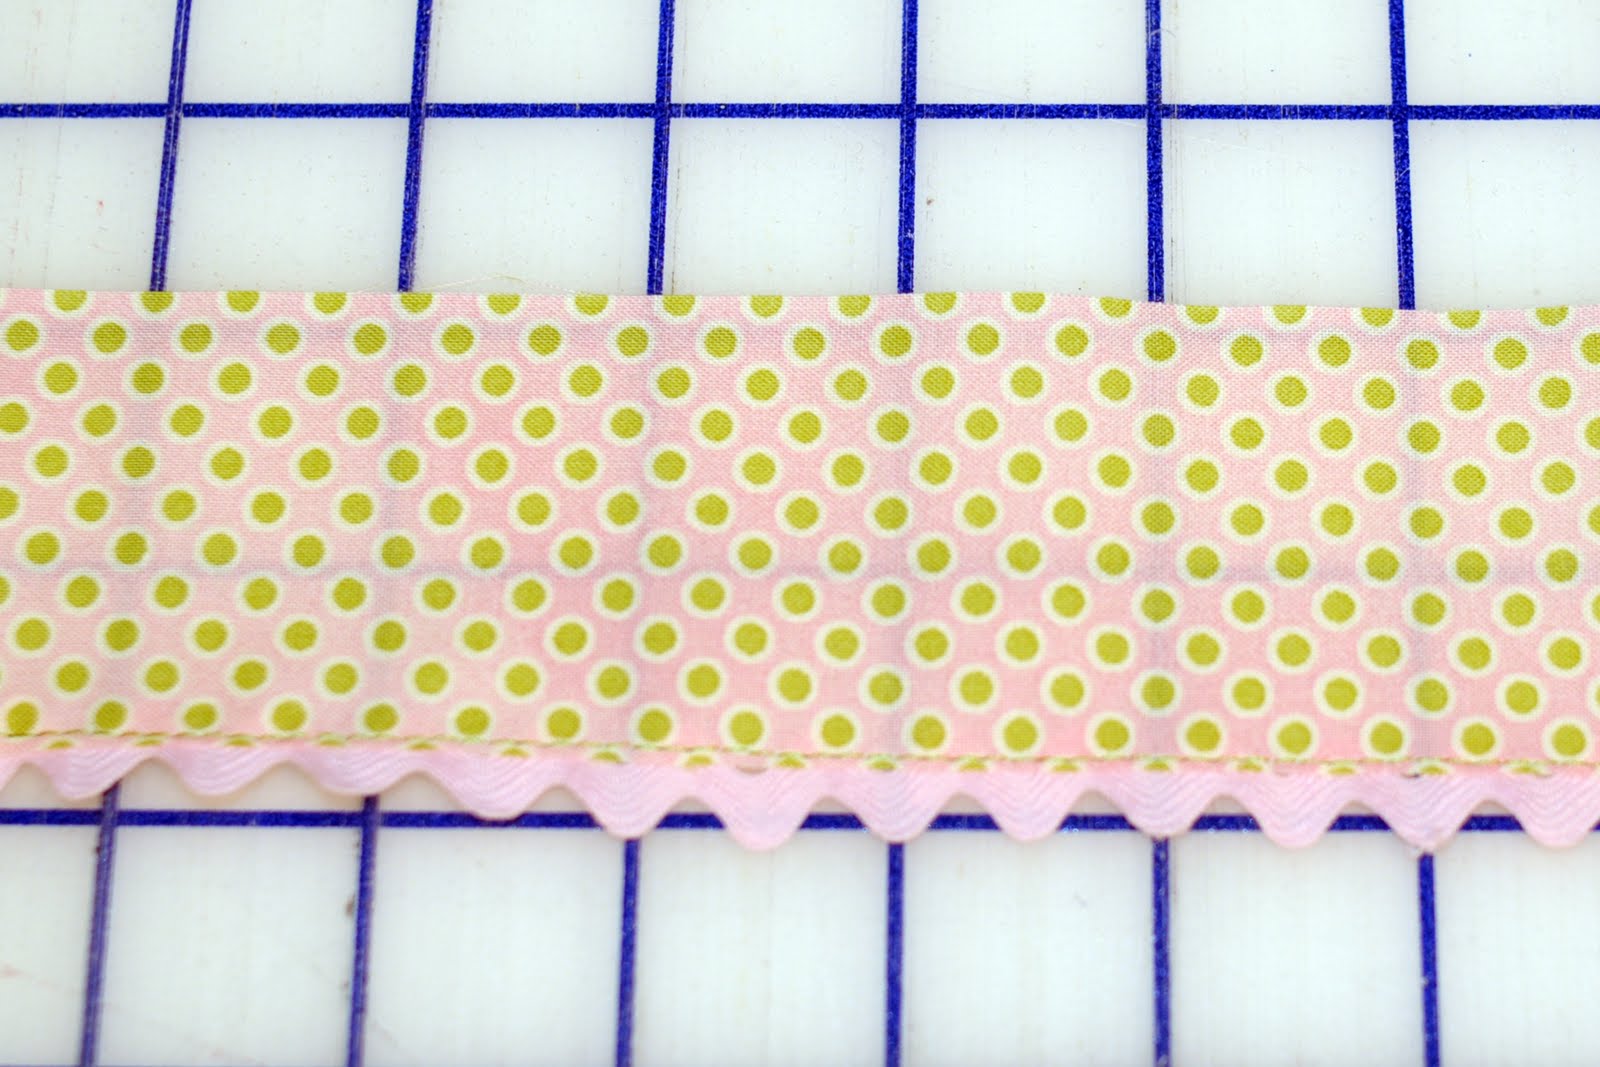
Cut a piece of fabric that is 2″x 10″
Onto the back of one side of the fabric, sew a strip of ric rac. Topstitch ric rac with contrast thread.
Cut a scrap of another fabric to 2″x10″. Sew each strip to top and bottom of uncut Layer cake piece.
To construct page 4
Trace a circle (like a lid or a soda can) onto a piece of heat n bond in a scallop pattern. Iron onto scrap of fabric so that you will have 1″ on the other side of the scallops to use as a border.
Cut out. Iron onto an uncut layer cake piece.
Cut another piece of fabric 1″x10″. Attach.
Top stitch both pieces with contrast thread.
To construct page 7
Most of my photos were 5×7. So I made photo mats from them out of fabric that were 1″ larger than the photos, or 6×8, if you are using a 4×6 photo cut your photo mats (out of fabric) to 5×7.
Cut a piece of fabric to 6×8.
Place in center of layer cake piece, adhere and stitch down using contrast thread.
To construct page 8
Cut a piece of fabric to 8×8. Adhere and stitch down.
(you will adhere a 6×6 square photo here).
To construct page 1
Cut a piece of fabric to 5×8. Adhere and stitch down to fabric. (this will fit a 4×6 photo with space on the side for an embellishment).
Assemble the Pages
Before you print your photos, determine the sizes you want, and plan out how your pages will look. Make sure you have a photo for each page.
Print your photos on Fusible Ink Jet printer fabric. I decided to use a purchased package of printer fabric (instead of printing right on my fabric, like we will in the next step) because I wanted the photos to last, and this printer fabric is specially designed for photos.
Trim your photos leaving a 1/4″ border of white around all the photos.
Using an iron, adhere the photos to each page.
You can stitch around the photo with white thread if you like (I didn’t).
To make the words:
Cut a piece of muslin to 8.5×11 (or you could use a piece of matching fabric, I just know that the ink shows up well on the muslin).
Cut a piece of Wonder under and adhere to the back of the muslin.
**note: the wonder under fused fabric DID work in my printer, I know it may not work in everyone’s. If the wonder under does not work, just use freezer paper on the back of the muslin (it has a bit more body).. You will just have to cut out your words, then adhere them to wonder under after you peel off the freezer paper (one extra step).
Run your fabric through your printer. Just use normal paper settings and set your print quality to best.
My images came from Ali Edwards, for Designer Digitals and House of 3… I’m sorry I can’t share them, they are copyrighted… but if you look around, there are lots of free digital scrap booking files available, or it is not expensive to purchase files. (or just print words out of your word processing program).
To Make Cover
Take one piece of your 10.5×10.5 canvas.
Cut a piece of one of the dark fabric prints to 6×8.
Cut a piece of solid fabric to 5.25×7.25
Iron 5×7 photo onto center.
Adhere to each other (use basting spray if you need to).
Stitch around edges with white thread.
Cut out words, peel off backing and iron onto cover.
Stitch around edges using contrast thread.
Repeat this process, for inside front cover, back cover and inside back cover (photos are shown)
inside back cover.
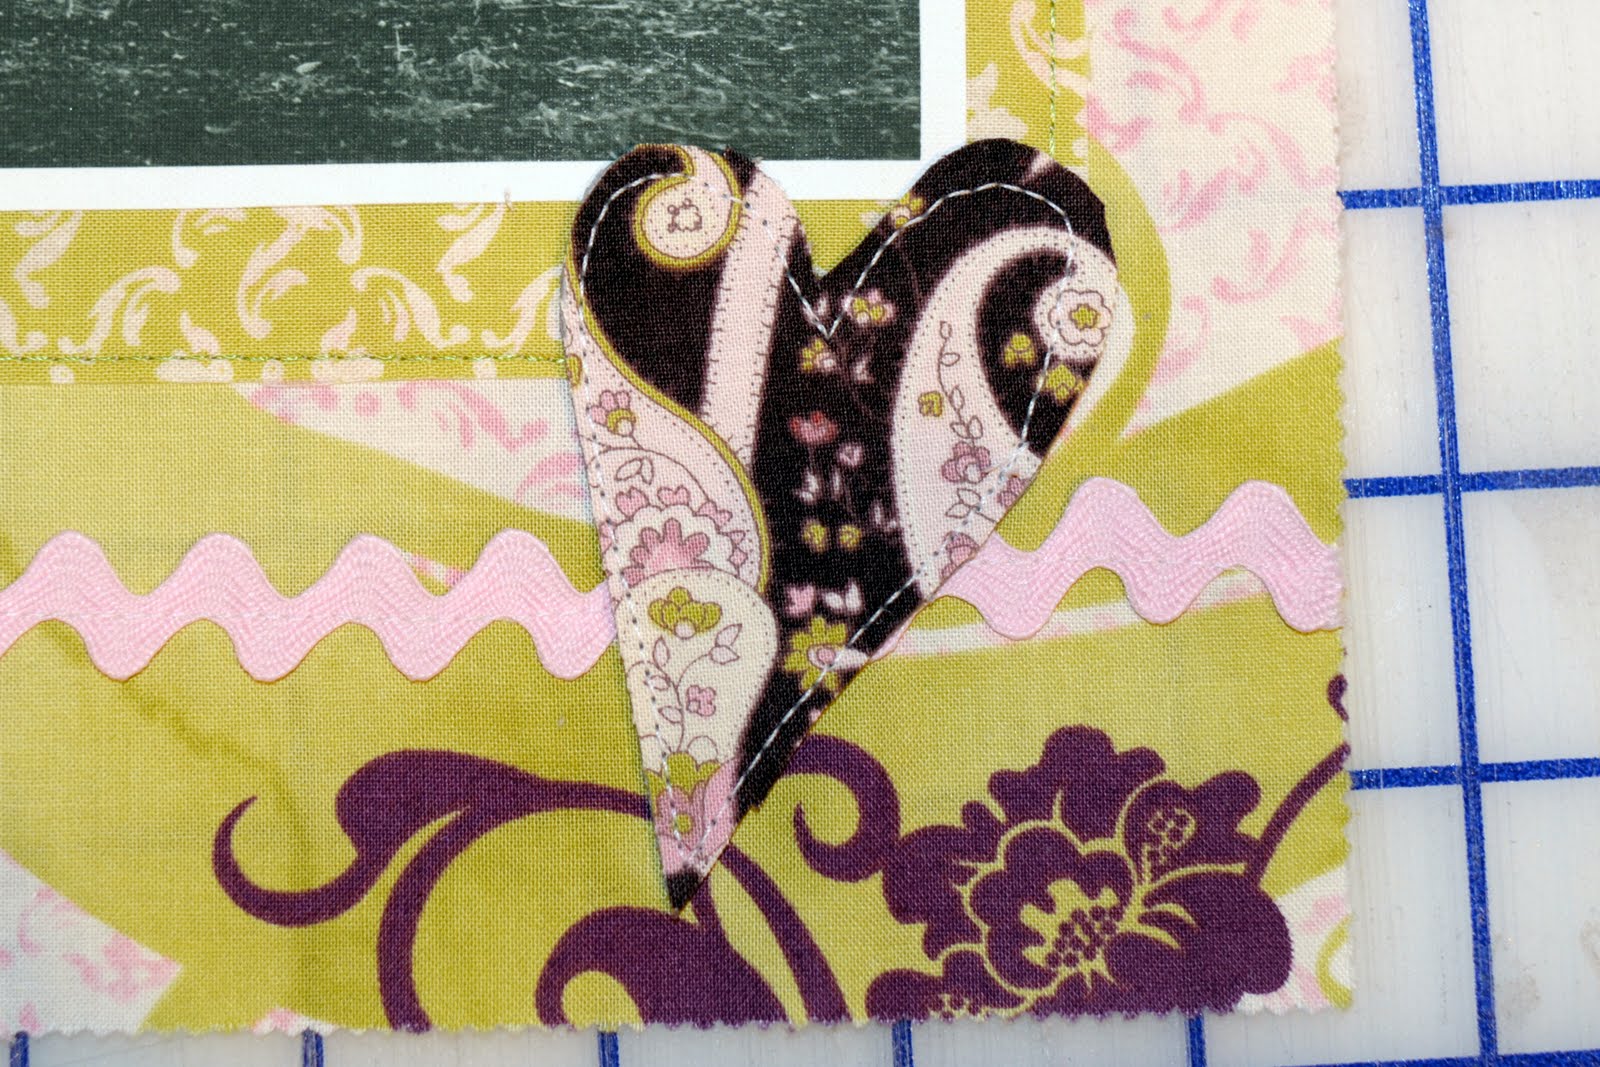
To Make Embellishments
I wanted a bit more dimension on some of my pages so I used Grunge Board. Grunge board is like chipboard except it is sewable, flexible and paintable (and washable, although I DO NOT reccomend washing this book).
To cover with fabric. Trace shape (simple ones are recommended) onto fabric using water soluble pen.
Cut out image out of fabric.
Adhere to front of heart.
Using basting spray to hold it in place, top stitch heart down onto page.
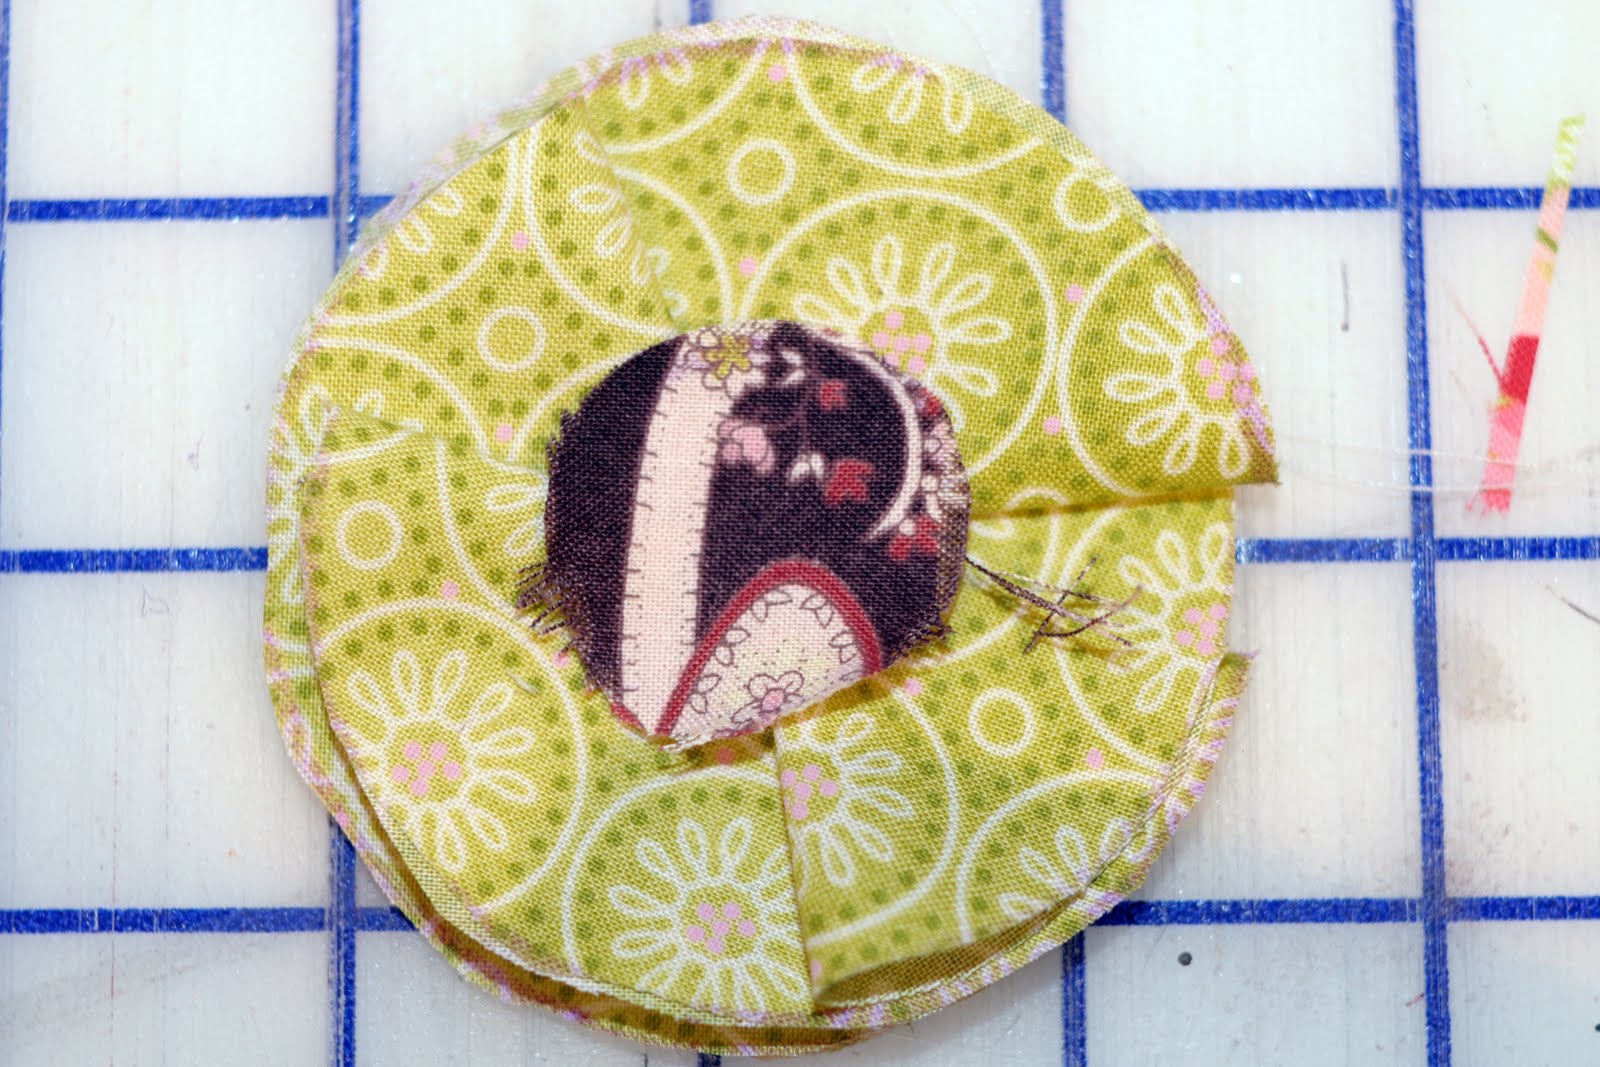
To make fabric flower:
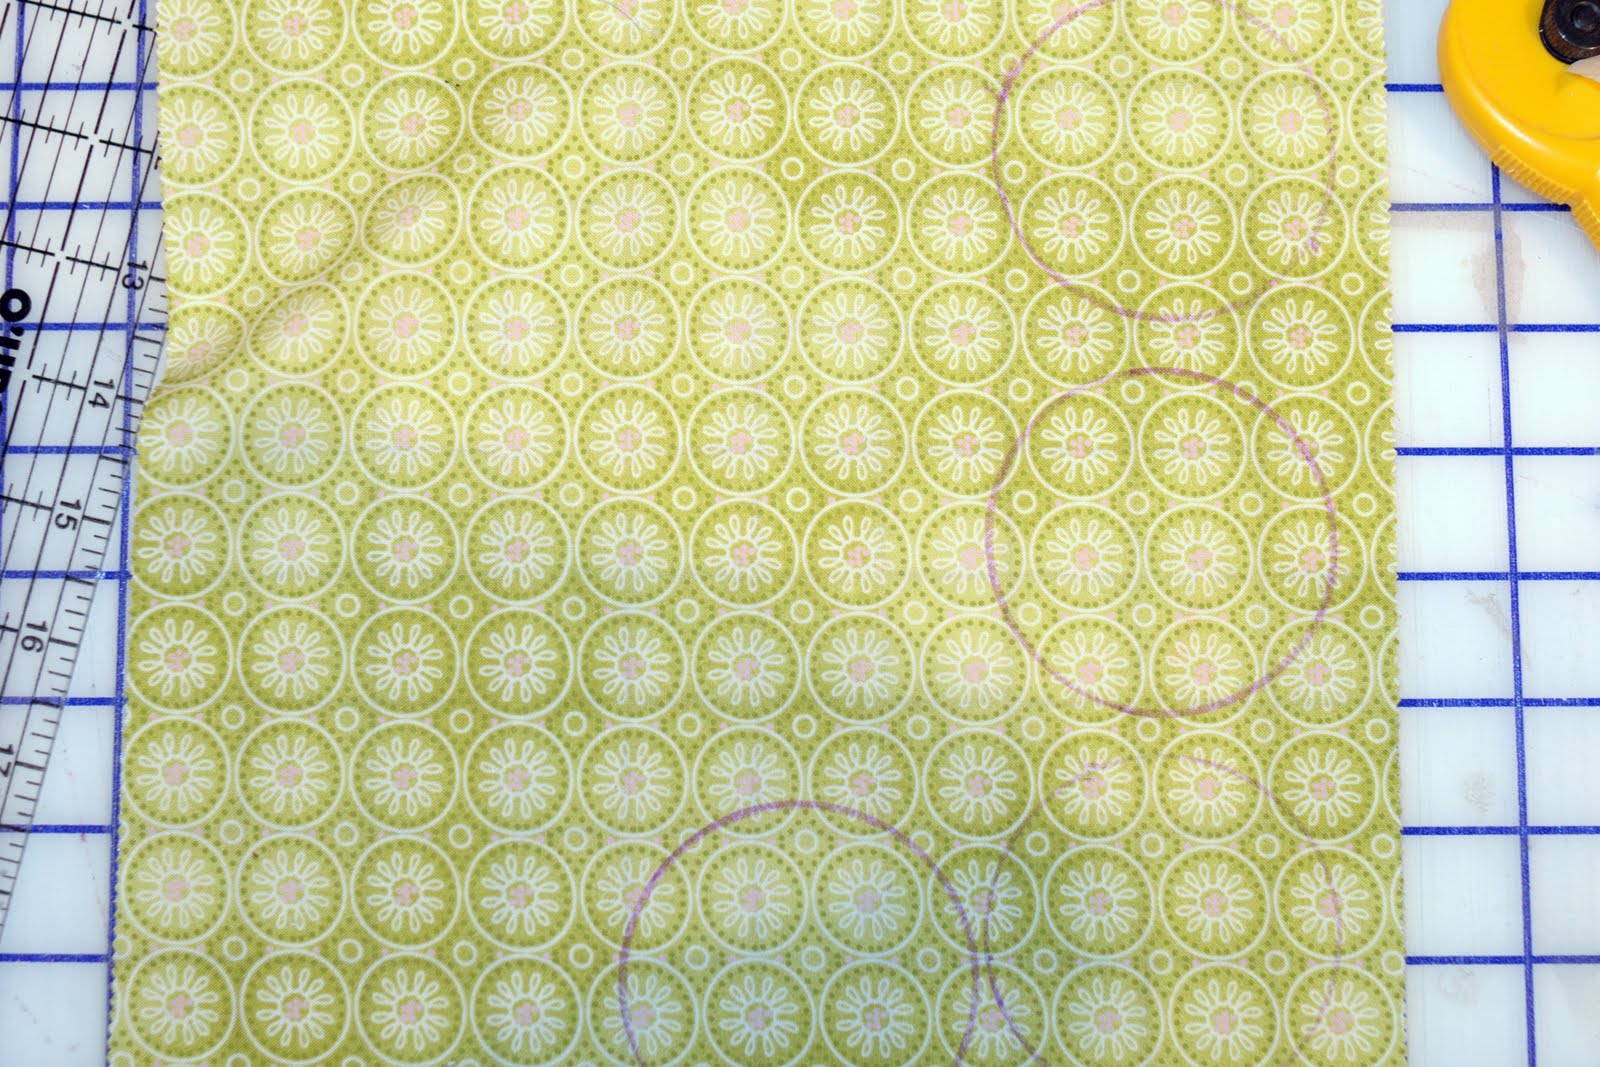
Trace 4 circles onto a piece of fabric (I used the bottom of a soda can)
Cut out and fold in half. Arrange so that the ends over lap and lock into each other (see photos) Use some spray starch to give the flower some “body”.
Stitch through center to hold in place.
Cut a small piece of dark fabric in a circle. Place over center of flower (fray the edges a bit to give it some dimension).
Stitch button to center of flower. (wait to stitch onto cover until last step)
To make ruffle border.
Using your pinking attachment to your rotary blade, cut 2 pieces of fabric, each 1″x 10″. Use the pinking cutter on both long edges.
Stitch together at short ends, so you have a piece that is 1″x 20″.
Run a gathering stitch straight down the center. Pull up on gathering stitches.
Place on your page. Pin well, keep flat, and stitch right down the middle over the gathering stitches. Remove gathering stitch.
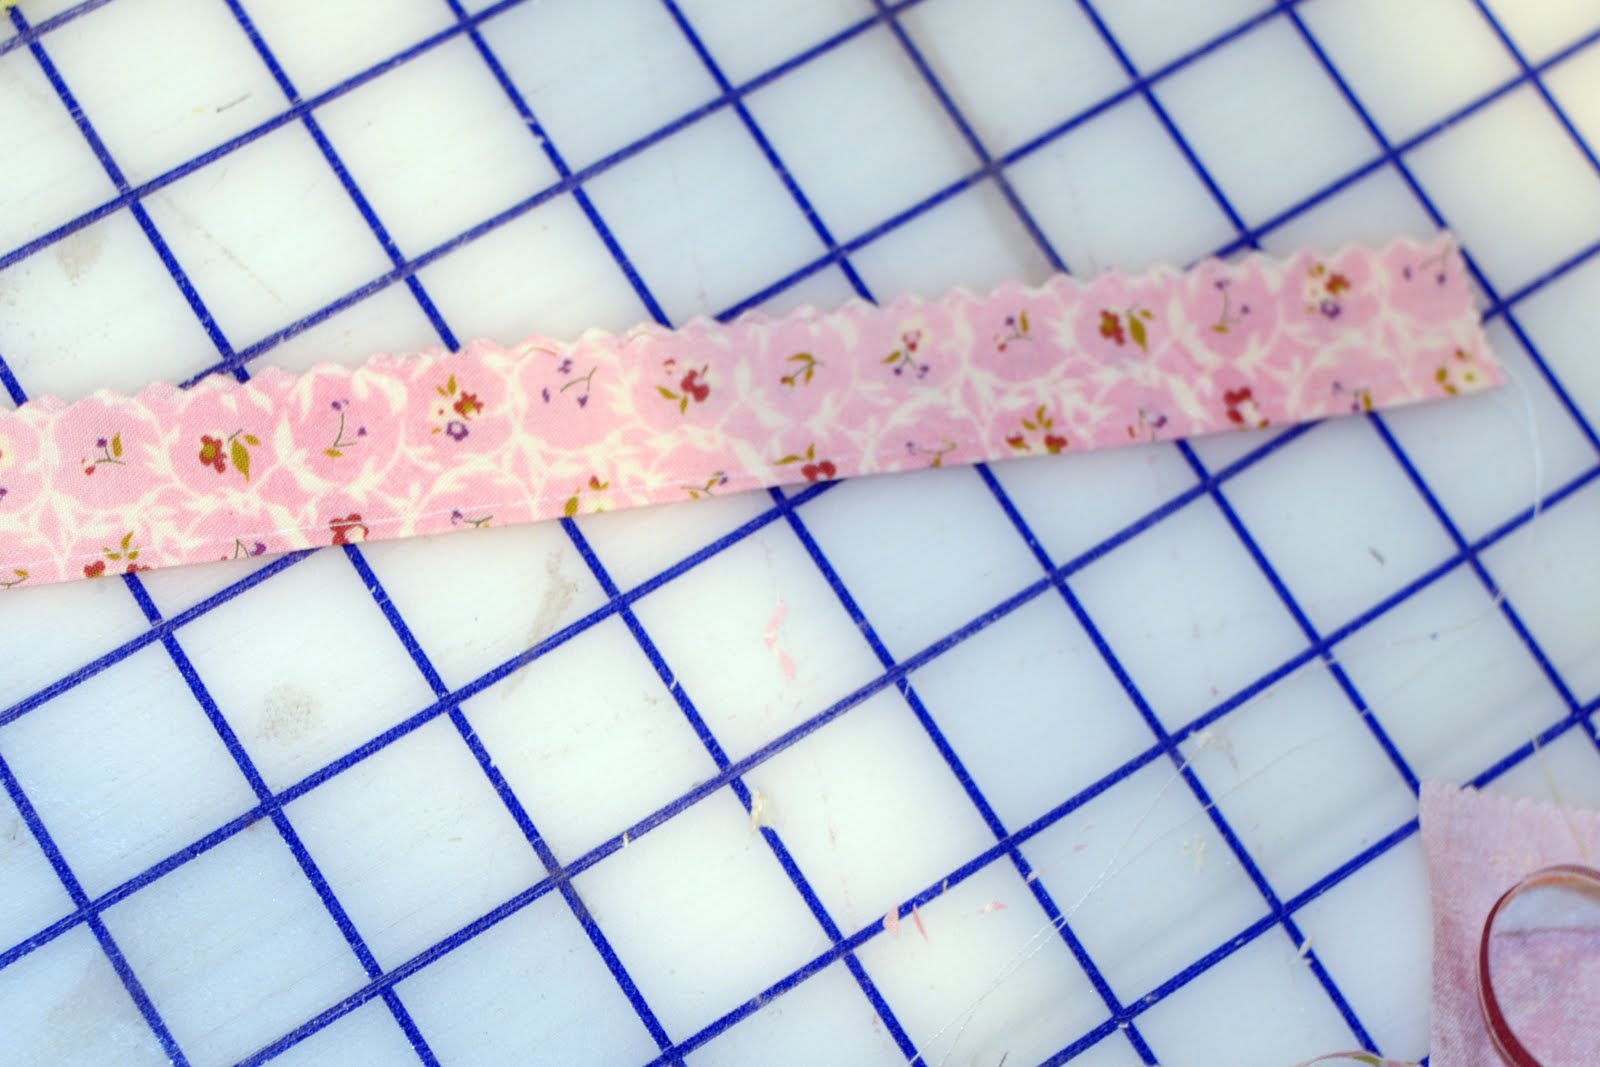
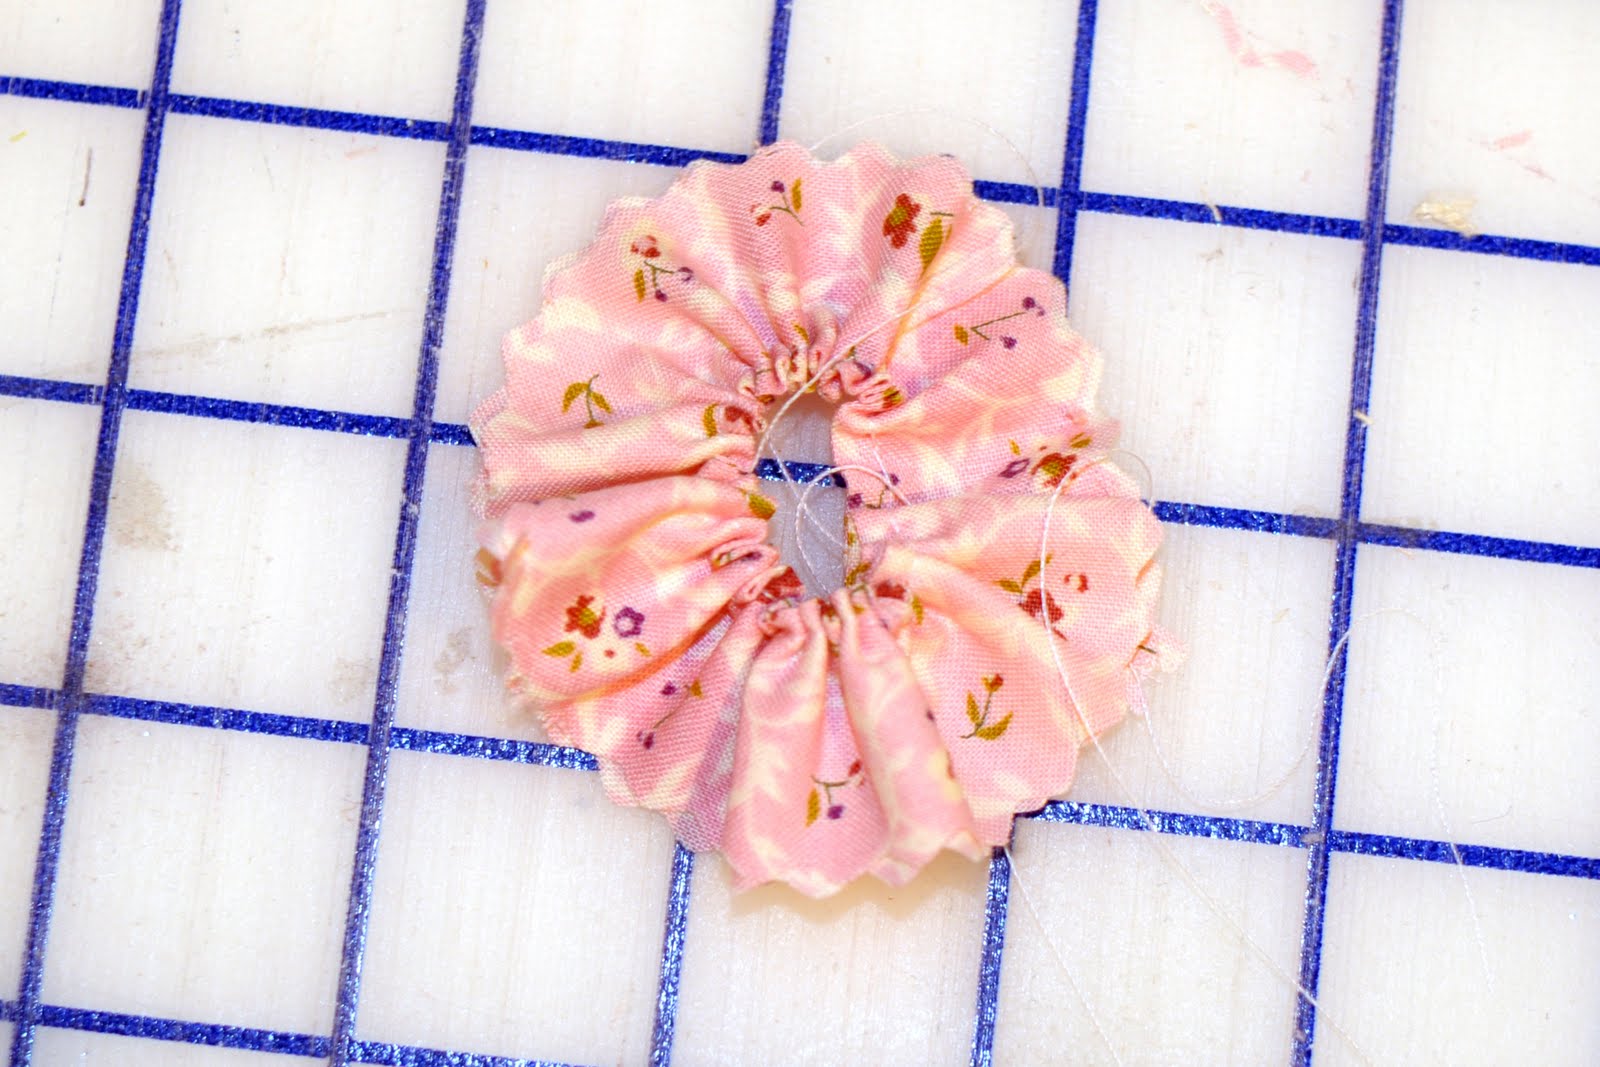
To make fabric rosette:
Cut a piece of fabric to 2″x10″. Use pinking trimmer on the edges.
Fold in half lengthwise, run a gathering stitch down long folded edge.
Pull up on gathering stitches until it forms a circle. Trim excess. Stitch closed.
Stitch button to center, stitch onto page
Adhere various embellishments to the pages. They will stick well, but not hold up to washing.
Assemble the book:
AFTER you are done with all of your embellishing, you are ready to assemble your book.
First you will assemble the inside pages.
Lay out your pages like you want them to turn as you look through your book. Put pages wrong side to wrong side.
Cut 4 pieces of white cotton batting to 10×10.
Spray back of each completed page with basting spray.
Make a “sandwich” one page on each side with batting in the middle. Make SURE all of your edges line up. Also DOUBLE check that both pages are right side up.
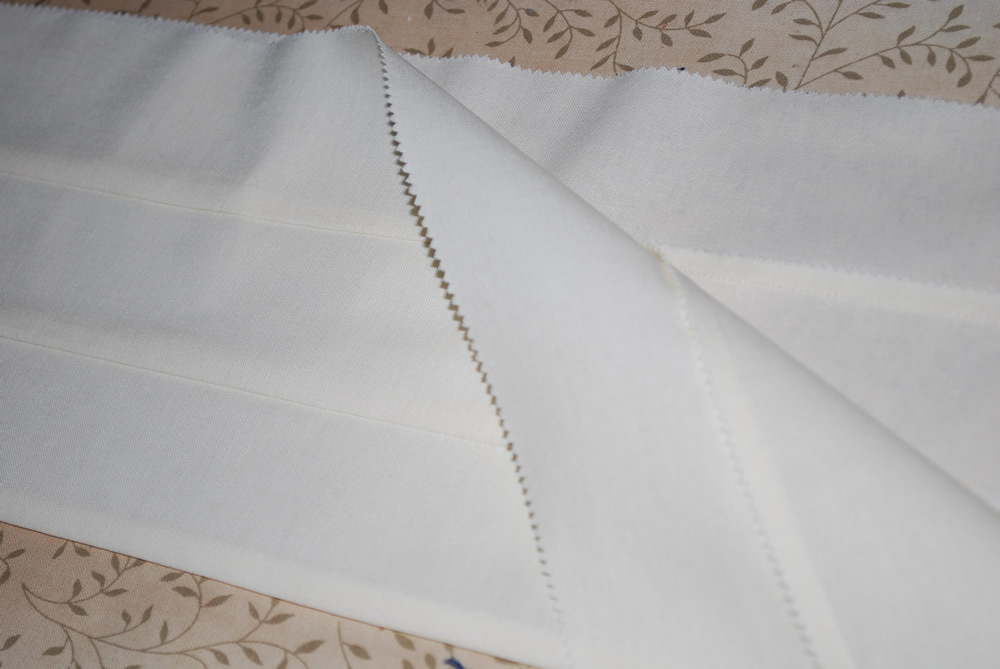
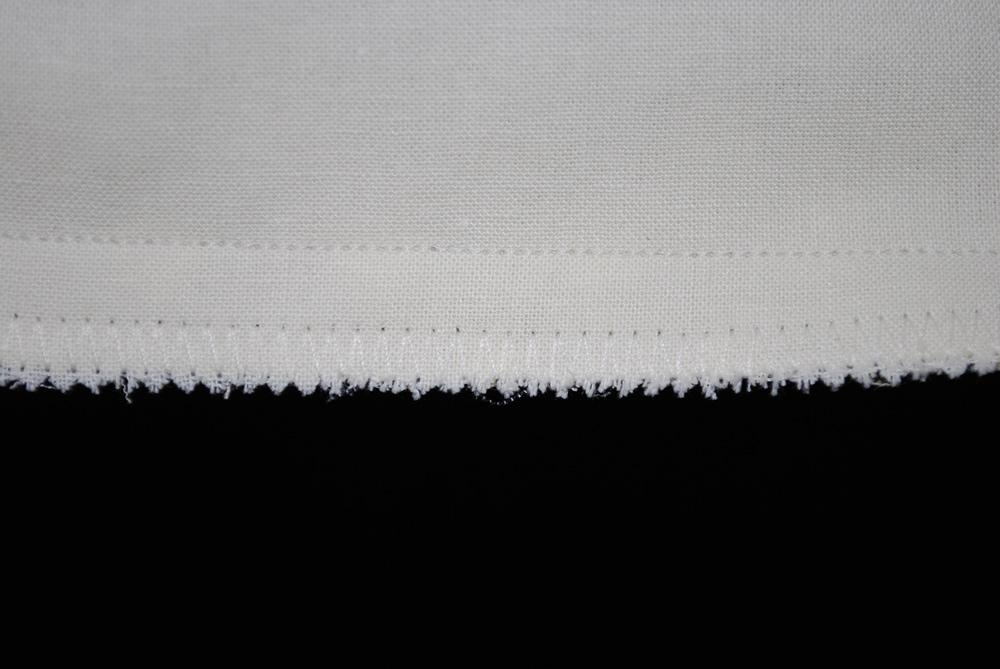
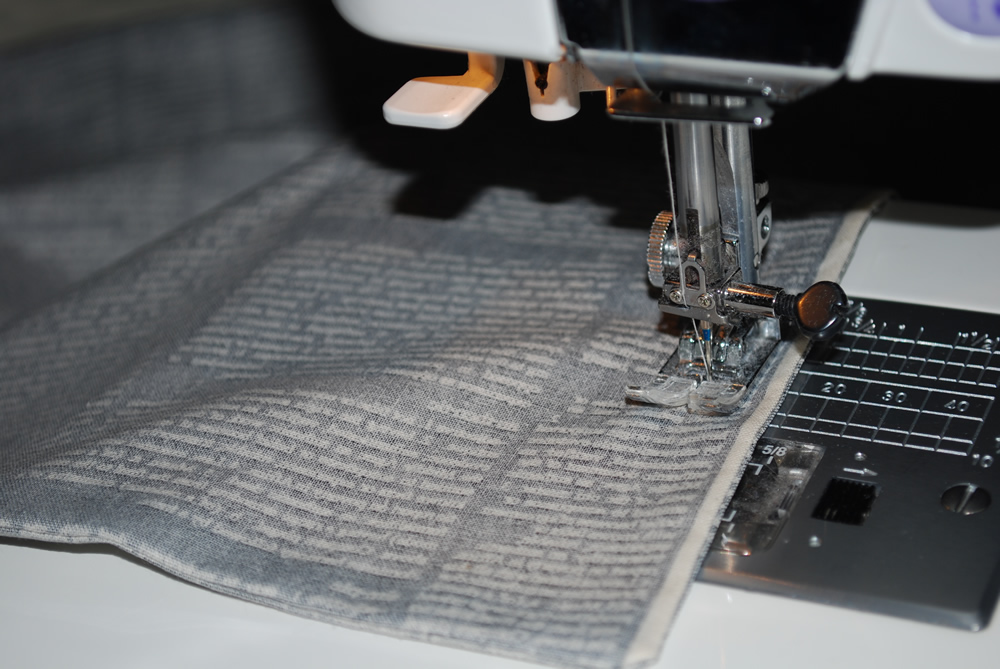
Using a walking foot (you do need it, I tried it without and it did not work as well). Stitch around all 4 edges. Stitch about 3/8″ in from the sides. Pivot at corners and back stitch well.
Using your quilt ruler and rotary cutter with pinking blade attached, with firm pressure and keeping pages square, cut off 1/4″ off the edge of each side. Don’t cut through stitching.
It will look like this when you are done.
Repeat for all pages.
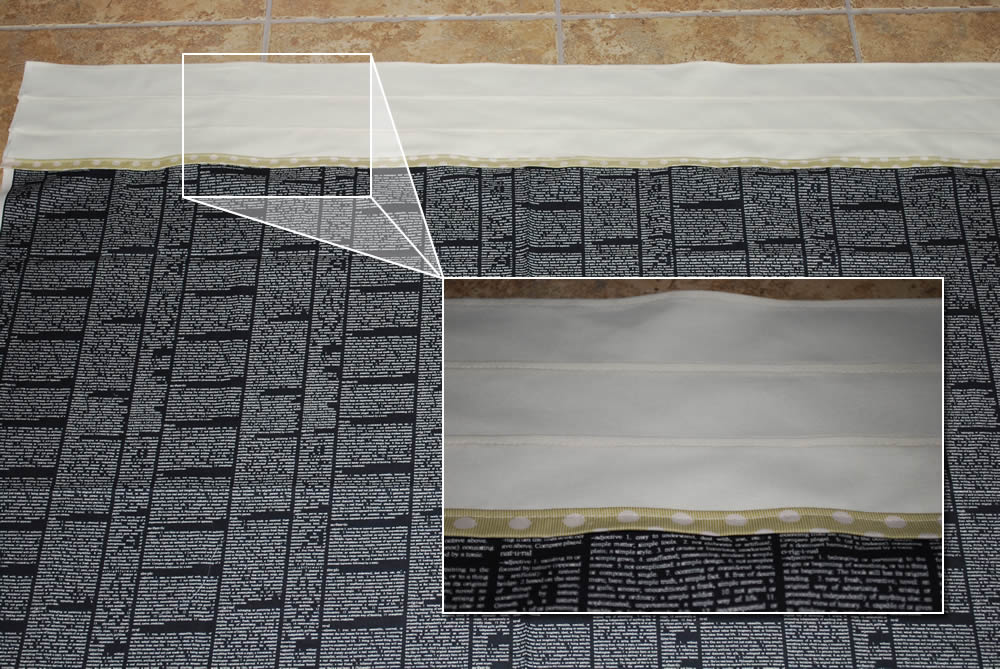
To Assemble Front and Back Cover.
Cut 2 pieces of cotton batting to 10.5×10.5.
Spray back of front cover and front inside cover with basting spray.
Assemble the “sandwich” with batting in the middle.
This time stitch ONLY around the 3 sides that will not have the ribbon closure.
Trim book with pinking rotary cutter the same way you did for the pages (you can’t trim after you attach the ribbon, it will cut it off ;-)).
Cut 2 pieces of ribbon to 12″ long.
Insert ribbon into center of cover, in between the layers. Pin in place
Stitch closed along entire edge.
Finishing
Attach grommets, according to package directions, to all pages and front and back covers, 2″ down from top and bottom. Measure each page so that they all line up with each other.
Insert binder rings and you are done!!

1-2 books depending on how you cut your fabric. You could get 2 easily if you are careful and save your scraps.