Tumbling Around Quilt


Hi there! Konda Luckau from Moose on the Porch Quilts here. I have loved playing around with honeycombs! I have a tumbling block quilt from my grandmother that I love. I have wanted to make one for a very long time. These Honeycombs finally make this quilt easy, and fun, to make! I have a new technique for piecing these blocks by machine – including being able to chain piece the blocks. I have a new book coming out this Spring full of projects using this new technique. Give it a try. You just may like it!

1 25th & Pine Honeycomb
1 1/4 yards White Bella Solid
2/3 yard Honky Tonk Red Plaid
1 1/4 yards Backing
Plastic Hexagon Template from Honeycomb


Cutting Instructions:
1. Take the plastic hexagon template from the honeycomb. Cut it as shown below.

2. Cut the white background fabric into 4 – 2 1/2″ strips, 4 – 4 1/2″ strips, and 3 – 2 5/8″ strips.
3. Using the diamond template, cut 28 diamonds from the 2 5/8″ strips.
4. Cut the red accent and binding fabric into 4 – 1 1/2″ strips and 4 – 2 1/2″ strips.
5. Take 25th & Pine Honeycomb and cut each hexagon into three diamonds as shown below.

Sewing Instructions:
6. Reorganize the diamonds into three stacks according to color.

7. Now for the magic! This is the trick to piecing y-seams on a sewing machine. The difference between my method and traditional machine piecing techniques is that my method can be chain pieced! Chain piecing means it is a lot faster and less thread waste. Refer to the picture below.
    a. Start the seam 1/4″ down from the corner.
    b. Sew 1/4″ into the diamond parallel to the top edge of the diamond.
    c. Sew down the right edge of the diamond with a 1/4″ seam.
    d. Stop 1/4″ from bottom edge.
    e. Sew to the right edge parallel to the bottom edge.
    f. Now it is ready for the next piece!

8. Seams will be pressed clockwise.

9. The bottom diamond is sewed on one seam at a time. Using the same method as above, matching diamond points, sew the right seam.

10. This is what it looks like opened up.

11. Fold hexagon in half matching points and sew the last seam as shown below.

12. Press the seams clockwise opening up the center of the seam allowances into a bitty hexagon.

13. With those three seams, one tumbling block is created! Repeat to make 38 tumbling blocks.

 14. Lay out the center of the quilt as shown below.

15. Using the same machine piecing technique as before, sew the tumbling blocks into rows.

16. Again, using the same machine piecing technique as before, sew the rows together.

17. Trim the left and right sides even. Trim the top and bottom 1/4″ outside of the points. The quilt should now measure about 26″ x 27″. Your measurements may differ slightly because of the many bias edges. Press carefully.

18. Use the 4 – 2 1/2″ white background strips to sew on the first border. Measure carefully before cutting the length of border strips.
19. Use the 4 – 1 1/2″ red accent strips to sew on the second border. Measure carefully before cutting the length of the border strips.
20. Use the 4 – 4 1/2″ white background strips to sew on the third border. Measure carefully before cutting the length of the border strips.
21. Quilt and use the 4 – 2 1/2″ binding strips to bind the quilt.

One fabulous quilt machine pieced tumbling block quilt that measures about 39″ x 40″.

Konda Luckau
{www.moosequilts.com/blog}

Hallie’s Hexi Stars

My name is Konda Luckau of Moose on the Porch Quilts. I have been quilting for a long time. In the past, I have always said that the only reason I can quilt is because I could do everything on a machine. With 6 kids from 4 – 14, I don’t always get as much time to quilt as I would like. I love precuts because I can start sewing faster. I love quick projects because I can actually get them finished.

I have recently been changing my mind. I still like to see projects finished, but I have tried hand piecing and hand quilting. I started small. I found that hand applique is too slow of a process for me. Hand piecing surprised me. I enjoyed being able to work on it while waiting for kids in various places.

If you haven’t tried hand work, this might be a project to change your mind.

1 Hope Chest Prints Honeycomb
3/4 yard backing
3/4 yard square batting
1/2 yard binding


1. Take 28 of the hexagons, 14 light and 14 dark. Each hexi star takes 2 light hexagons and 2 dark hexagons.

2. Cut each hexagon into three diamonds as shown. Using a ruler from corner to corner, cut half way.

3. Turn the hexagon and cut half way again. Repeat to make three diamonds as shown. 

4. Take 2 sets of 3 light diamonds and 2 sets of 3 dark diamonds for one hexi star.

5. Lightly mark the 1/4″ seam allowance on one of each dark diamond in a narrow V as shown. Lightly mark the 1/4″ seam allowance on all 6 of the light diamonds in a wide V as shown.

6. Lay out half of the star with the marked diamond between two unmarked diamonds.

7. Align two adjacent diamonds. Sew with a running stitch along marked line.

8. Tie off the thread at the corner and align the next diamond. Continue sewing down the next side. Tie off and cut thread. Finger press.

9. Repeat with the other three dark diamonds to make two half stars as shown.

10. Mark the 1/4″ seam allowance along one side as shown.

11. Pin the two halves together and sew along the marked line.

12. Press seams in a circle and press seams open in the middle rotating in the opposite direction.

13. Take one of the light diamonds. Align and pin it onto one dark diamond as shown. Sew along the marked seam allowance. Knot thread, but do not cut.

14. Align the light diamond to the next dark diamond. Pin and sew the next marked seam allowance. Knot thread again, but do not cut unless you need to.

15. Repeat with the next light diamond.

16. Continue sewing the light diamonds around the dark star. That makes one Hexi Star.

17. Repeat to make six Hexi Stars with a dark center and light edges. Make one Hexi Star with a light center and dark edges.

18. When pressing, always rotate seams.

19. Lay out seven Hexi Stars as shown. Hand piece in the same manner.

20. Layer backing, batting, and top. Baste with pins or spray. 

21. Hand or machine quilt.

22. Cut the 1/2 yard of binding fabric into 2 1/2″ bias binding. Bind.


One approximately 24″ table topper that you will be very proud to show off!

I hope you will give hand piecing a try. If you do, I would love to see it! My email is kluckau(at)moosequilts.com. I hope you have as much fun as I did!
Konda Luckau

Go Tell it on the Mountain


Hi!  I’m Konda Luckau of Moose on the Porch Quilts.  I’m excited to share this quilt with you!  I made a quilt in the delectable mountain pattern with charm squares that is in my book Simply Charming Fun.  When I showed it to a friend of mine, she suggested I make one with a layer cake.  What a great idea!  When I saw Grace by 3 Sisters, I knew that is what I wanted to make my quilt out of.  I used a different layout with the pattern for this queen size quilt.

As I sewed the quilt, I thought about the name of the fabric, Grace, and about the Christmas Season.  Combining that with the delectable mountain pattern that I was sewing, the name “Go Tell it on the Mountain” came.  I liked it because it made me feel like singing while I was sewing. 

A layer cake makes this traditional pattern quick and fun!

1 Grace Layer Cake
5 1/2 yards of background and binding fabric
2 2/3 yards of border fabric
7 1/2 yards of backing fabric

9 1/2″ square ruler or larger

Cutting Instructions:

1.  Cut the background and binding fabric into the following strips the width of the fabric:

            A.  6 — 10″ strips
                        a.  Sub cut into 24 — 10″ squares
            B.  4 — 9 1/2″ strips
                        a.  Sub cut into 16 — 9 1/2″ squares
            C.  12 — 2″ strips
                        a.  Sub cut into 48 — 2 x 9 1/2″ rectangles
            D.  18 — 2 1/2″ strips
                        a.  set aside 8 strips for the inner border
                        b.  set aside 10 strips for the binding


2.  Cut the large border fabric into 9 — 9 1/2″ strips the width of the fabric

Sewing Instructions:

1.  Take 24 of the layer cake squares and the 24 — 10″ background squares.  Draw a diagonal line on the back of all of the layer cake squares.

2.  Take one layer cake squares and one 10″ background square.  Place them right sides together and sew a scant 1/4″ seam on BOTH sides of the line and cut on the line as shown below.
3.  Repeat with all 24 layer cake squares and 24 background squares.  This will make 48 half square triangles.  Square up to 9 1/2″ as shown below.


4.  Press open as shown below.  Make two identical stacks of 24 half square triangles.

5.  **CAUTION**  Each stack will be cut differently.  There are two half square triangles from each layer cake fabric.  Make sure that the two identical halves are cut differently.  Also, sometimes using this method, you can cut two at a time as shown below.  This is NOT one of those times.  I tested this for you.  I probably should have picked a new layer cake square, but I decided to leave it.  If you cut two at a time this way, your mountains won’t match up.     


6.  Now that you know what not to do, take one of the stacks and cut it into three 3″ strips as shown below.  The leftover should be mostly background with a small corner from the layer cake print.  I actually liked to cut and sew one block at a time, so I didn’t get things mixed up.

7.  After you cut the three 3″ strips, swap the two outer strips and add one of the 2″ x 9 1/2″ rectangles to one side as shown below.

8.  Sew strips together to make one block.  Repeat with that stack only to make 24 of the right side of the mountain.  The block should measure 9 1/2.”

9.  Now for the other stack.  It gets cut into 3″ strips with the diagonal starting in the opposite direction as shown.  The leftover piece is still mostly background with a small corner from the layer cake print.


10.  Then, just as before, switch the two outer strips, add one 2″ x 9 1/2″ background rectangle and sew them together as shown below.


11.  Repeat with all 24 half square triangles from the second stack to make 24 left sides of the mountain blocks.  This block should also measure 9 1/2.”

12.  Take all 48 of your mountain blocks and the 16 — 9 1/2″ background squares and layout the quilt as shown. 

13.  Sew the blocks into rows.  Press.  Then sew the rows together.  Press.  The quilt center should measure 72 1/2″ x 72 1/2.”

14.  Take the 8 — 2 1/2″ background strips for the inner border.  Sew them together into 4 pairs.  Trim two pairs to 72 1/2″ or the length of your quilt center.  Sew these to the left side and right side of the quilt.  Press.

15.  Trim the other two pairs to 76 1/2″ or the length of your quilt center with the two side borders added.  Sew these two lengths to the top and bottom of your quilt.

16.  Take the 9 — 9 1/2″ border strips.  Take 8 of them and sew them into 4 pairs.  Take the last strip and cut it in half.  Sew each half to one long border length. 

17.  Trim the two shorter lengths into 76 1/2″ or the length of the two sides of your quilt.  Sew these lengths to the left side and right side of the quilt.  Press.

18.  Trim the two longer lengths into 94 1/2″ or the length of the top and bottom of your quilt.  Sew these lengths to the top and bottom of the quilt.  Press.

19.  Cut the backing fabric into 2 — 3 yard pieces and one 1 1/2 yard piece.  Cut the 1 1/2 yard piece in half along the fold parallel to the selvage.  Sew them back together along the short side so the length is about 20″ x 3 yards.  Sew this lengths between the 2 wider three yard pieces to make the backing.

20.  Quilt as desired.  I quilted it with a paisley design.  Use the 10 — 2 1/2″ strips for binding.


One queen size quilt 94″ square.

Because this quilt only takes 24 layer cake squares, there are enough squares leftover to make a smaller quilt.  It takes 12 squares to make the center two rings of mountains.

Happy Quilting!


Konda Luckau
{Moose on the Porch Quilts}

Cinnamon Pecan Turnover Quilt

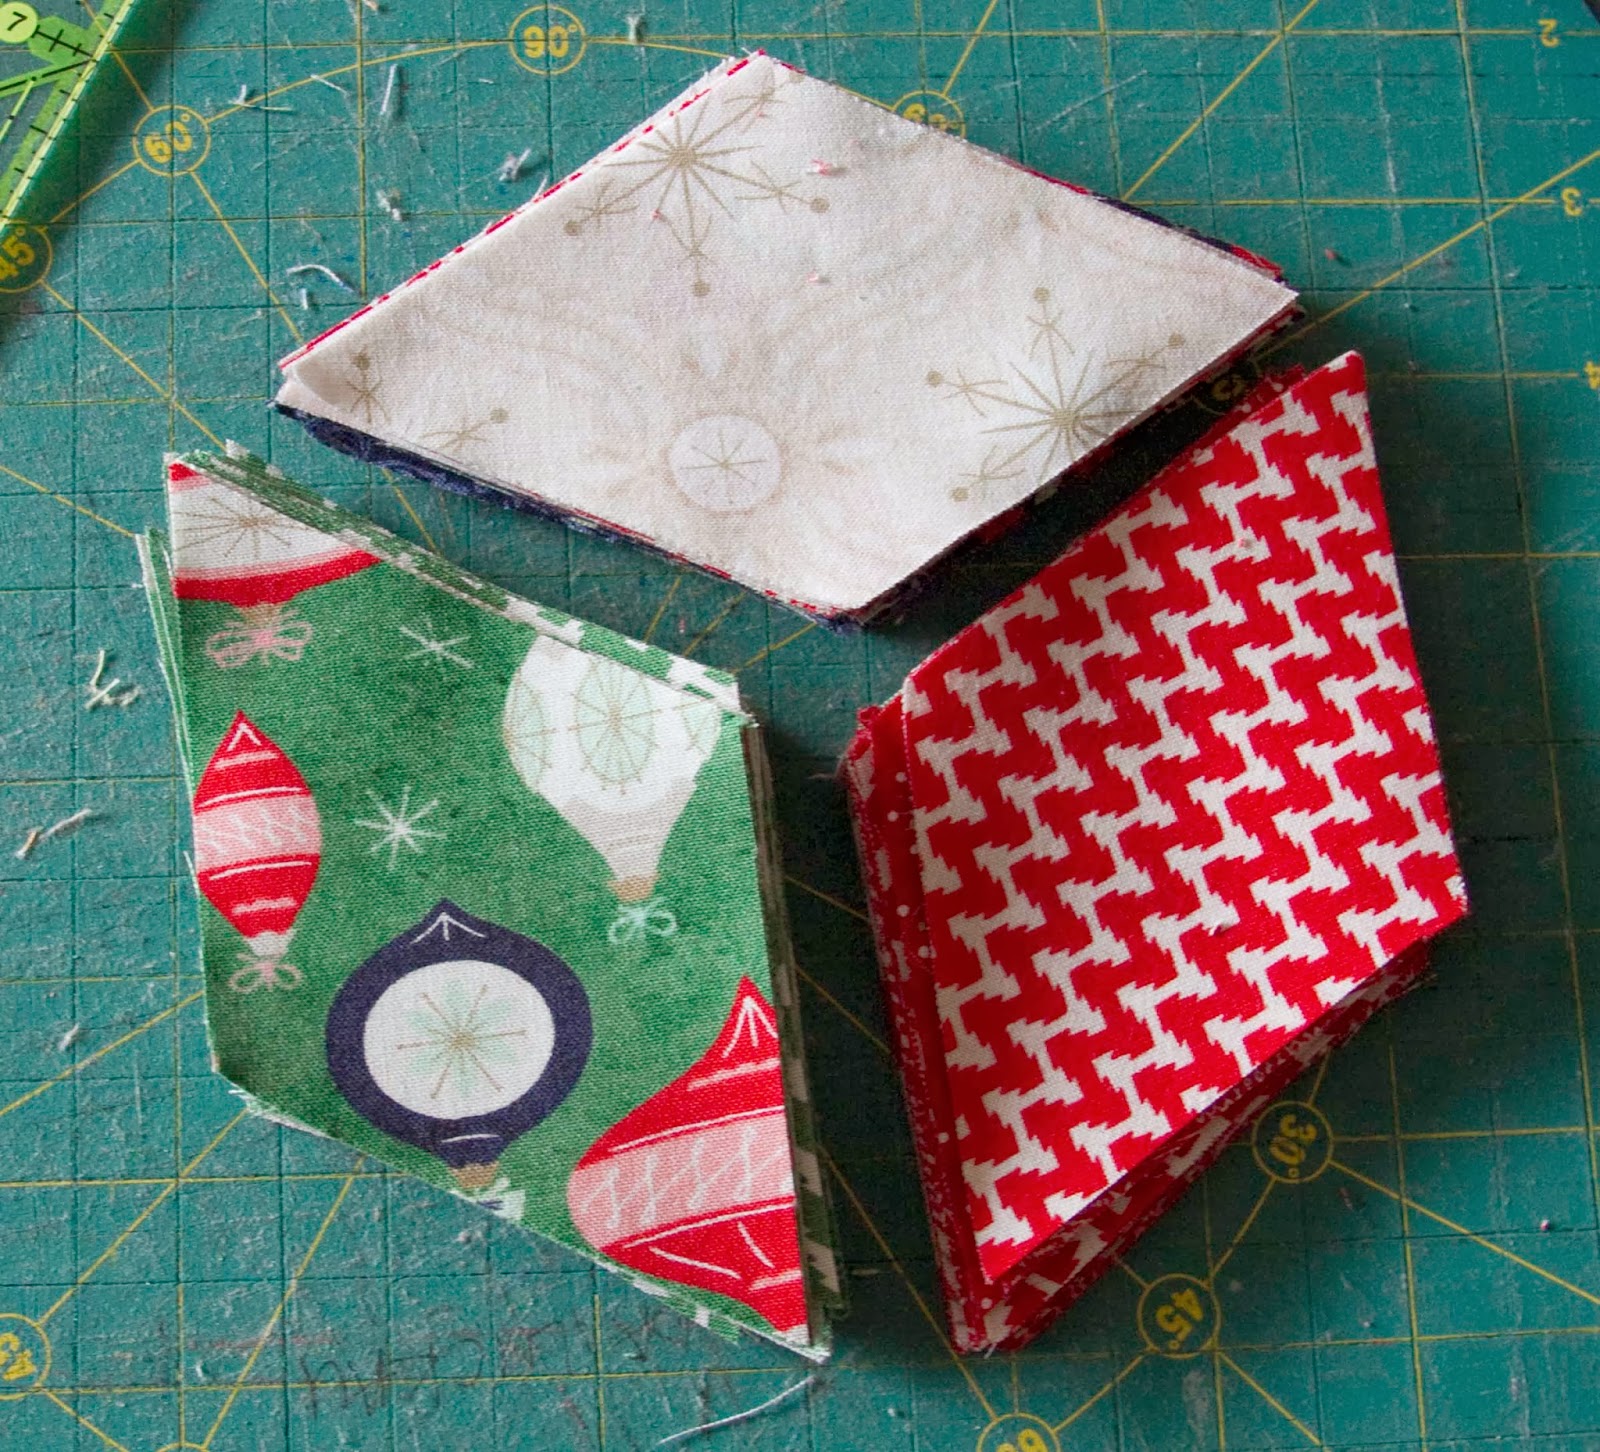
The beauty of the turnovers is that when you sew two of them together, they square up to 5 inches!  This means they match up perfectly with the charm squares.  I designed this quilt with that idea in mind.  However, not all fabric lines have the turnovers, so I made this using 2 layer cakes.  You can also use charm squares.  If you did, it would take 7 charm packs.  After all, it is a queen size quilt, measuring at 83″ x 83.” 

The first thing I thought of when naming this quilt was pecan pie.  Mmmm. . . .  Pie is one of my favorite parts of the holiday season. 

Despite the size, this quilt goes together quickly.  In fact, if you were in a crunch, you could get it sewn in time for Christmas.  However, getting it quilted is another matter unless you can do it yourself.  I have heard of giving a top for Christmas and then taking it back and getting it quilted after Christmas. 

Enjoy!
Konda Luckau of Moose on the Porch Quilts


2 charm packs and 3 turnovers -OR- 2 layer cakes (I used 2 layer cakes of Wrapped in Paisley)
3-1/4 yards border fabric
3/4 yard binding fabric
6-1/4 yard backing fabric

1a) If  you are starting with layer cakes like I did, then the first step is to cut them into 5″ squares and organize the squares into 4 groups:
   48 squares for the blocks — 24 light and 24 dark
   30 squares for the border — 15 light and 15 dark
   96 dark squares (or 96 dark turnovers) for triangles in blocks
   96 light squares (or 96 light turnovers) for triangles in block
1b)  Take the 30 border squares and cut them in half so there are now 60 rectangles 2-1/2″ x 5.”  Set these aside.
1c)  Take your border fabric and cut the following:
     Cut 7 — 5″ strips and
     Cut 9 — 8-1/2″ strips
Set these border strips aside.
2) Set aside the stacks of 48 and 30.  First we need to make 96 half square triangle blocks using the two stacks of 96.  If you have turnovers, just sew any light triangle to any dark triangle.  Then make sure they measure 5.”  This may involve trimming or squaring up.  If you don’t have turnovers, you need to first draw a diagonal line on the back of all 96 light squares.

3)  Pair 1 light square with 1 dark square, right sides together.  Sew ON the line.  Repeat with all 96 light and 96 dark squares.

4)  Trim a 1/4″ seam allowance on ONE side of the line as shown below.

Yes, there is a large triangle wasted here.  As I was going, I sewed those together too.  I intended to put them together into a table topper.  I am still intending to do that — just haven’t gotten that far yet.  That’s the beauty of the turnover, no waste to get a half square triangle square that matches up with the 5″ charm square. 

BUT, the beauty of this method, is that it now measures 5″ exactly — no squaring up.

5)  Press all of the seam allowances toward the dark triangle.

6)  Now for the blocks.  There are 16 blocks — 8 dark blocks and 8 light blocks.  To sew the blocks together, you are going to use all 96 of the half square triangles and the 48 squares that were set aside for the blocks.

First the light blocks.  The light block has a light square in the corner.  Watch the placement of the dark and light of the half square triangles.

Each light block needs:
    6 half square triangles
    2 dark squares and
    1 light square

These are sewn together as shown below.

Repeat to make 8 light blocks.  Press this block any way you like, but do all the light blocks using the same method.  You need to press the dark blocks in the opposite direction.

7) The dark block is identified by the dark square in the corner.  Again watch the placement of the dark and light of your half square triangles.  It is opposite of the light blocks.

Each dark block needs:
     6 half square triangles
     1 dark square and
     2 light squares

These are sewn together as shown below.  This block picture is rotated differently from the light block.  The orientation doesn’t matter.  The blocks are just rotated.

Repeat to make 8 blocks.  Again, press seams in the opposite direction of the light blocks.

8)  Now to assemble the quilt center.  Alternate light blocks and dark blocks as shown below.  I have shown it as a black and white image to make it easier to show the block orientation.

Press.  The quilt center should measure 54-1/2″ x 54-1/2.”

9)  Take 3 of the 7 — 5″ border strips.  Sew them together.  Cut into two 54-1/2″ lengths.  Sew these lengths onto the left and right side of the quilt center.  Press. 

10)  Take the remaining 4 — 5″ border strips.  Sew two together.  Repeat.  Trim each long strip to 63-1/2″ long.  Sew these strips onto the top and bottom of the quilt center.  Press.

11)  Now for the pieced border.  Take your stack of 60 rectangles.  Sew together 4 border strips that each have 14 rectangles in them — alternating dark and light rectangles.  Each strip will use 7 dark and 7 light rectangles. Start with a dark and end with a light rectangle. 

12)  There will be 4 rectangles leftover (2 light and 2 dark).  Take these rectangles and cut them in half to make eight 2-1/2″ squares.  Four of these squares will be used for the corners and four will be left over.  Take one light square and one dark square and sew them onto either end of one of the long pieced border strips from the previous step.  Repeat with another pieced border strip.  These are the top and bottom borders. 

13)  Sew the pieced borders on as shown below.  The strips will be rotated so the dark and light alternate all the way around the quilt.  Sew the smaller strips onto the left and right first.  Then sew the longer strips onto the top and bottom.

14)  For the last border, take the nine 8-1/2″ strips.  First, sew two strips together and repeat to make 4 double strips.  Take the last strip, cut it in half, and sew it onto the end of two of the double strip sets.  Trim the double strips down to 67-1/2.”   Sew these onto the left and right of the quilt.  Press.

15)  Take the extra long strips and trim them down to 83-1/2.”  Start measuring from the cut edge of this strip.  Two strips is either barely long enough or barely not long enough.  It is really close either way and depends on your fabric if there will be enough.  If you start from the cut edge, then there will not be a seam right next to the edge of your quilt.  Sew these strips onto the top and bottom of your quilt.  Press.

16)  Yeah!  Queen size quilts are quite larger than baby quilts.  Sometimes those last borders feel like they will take forever to sew on.  Quilt and bind.  For the binding you will need nine 2-1/2″ strips. 

One beautiful queen size quilt!

Konda Luckau
{Moose on the Porch Quilts}

Summer Fresh Pillowcases


Have you heard about the 1 Million Pillowcase Challenge?  This challenge intrigued me.  Pillowcases are so easy to make that I wondered if they could really make a difference.  Then I made my kids some new pillowcases.  I noticed that they loved them!  Sometimes they would take them and fill them with toys and drag them around the house.  Here’s my contribution to the 1 Million Pillowcase Challenge!  Make a pillowcase for yourself or to donate! 
Come visit my blog!  We’re just finishing up a Jelly Roll Sampler Quilt-Along and plans for another quilt- along are in the works.

1 Fresh Cottons Honey Bun
3/4 yard each of 4 different Fresh Cotton prints

That’s enough to make 4 pillowcases!


1)  This step is optional.  You only need to do this if you are making 4 pillowcases with your Honey Bun. Take yardage and cut one 1 1/2″ strip off one end.  Cut a clean edge from the other end of the yardage.  Your yardage should be between 25″ and 27.”  The exact size doesn’t matter.  Just make sure you have a piece that is nice and square (not square as in all sides even – square as in 90 degree corners).

2)  Pick 1 Honey Bun strip or one of the 1 1/2″ strips that were just cut from the yardage to use as the accent trim for the pillowcase. 
Note: 
I took this picture and then changed my mind several times.  I ended up making two pillowcases with trim and two without trim just for fun. 
3)  Take all the Honey Bun strips and cut them in half.  Now there are 80 strips that are about 1 1/2″ x 20″ long.
4)  Separate these half strips so that each pillowcase has 20 half strips.  I originally wanted to sew mine randomly together, but I couldn’t do it. 
5)  Sew the half strips together into 2 sets of 10 strips.  Press.
6)  Cut each of these strip sets into 2 sets 9″ wide.  The length of the strip set should technically be 10 1/2.”  I found that because of variables in sewing and pressing this many seams that this length varied slightly.  I have made allowances for this in the pattern. 
7)  Sew 4 of the 9″ strip sets together into a circle as shown below:
8)  Press it in half with WRONG sides together as shown below:

9)  Here’s where we account for how big your strips end up being.  Measure the length of your pillowcase band folded.  It should be around 20.”  Add 1/2″ for the seam allowance.  This is how wide to cut the folded body of your pillowcase.   In the picture below, the fold of your yardage and accent strip are on the left out of the picture.  Measure from the fold and cut 20 1/2″ or what your band measured.

10)  Turn your yardage (shown in green) right sides together and sew along two sides.  Then sew the same seam again, this time with a zig zag stitch.  (A serger would be great instead if you have one.)   Turn your accent strip (shown in red) right sides together and sew along the narrow edge and zig zag as well.
11)  Press the accent strip in half lengthwise with WRONG sides together. 
12)  Sew the accent strip onto the pillowcase band with a 1/8″ stitch.  You are basting the accent onto the band and don’t want the stitching line showing in the finished product. 
13)  With a 1/4″ seam, sew the band onto the body of the pillowcase with the RIGHT side of the pillowcase body next to the ACCENT strip as shown below: 
14)  Zig zag this seam as well.  (A serger would be great here too.)
15)  Turn it inside out and find a pillow!
4 Pillowcases — here’s a picture of the bands. 
These pillowcases are quick enough that you can finish them in the few dog days of summer that are left!

Easy as Cake


Hi! My name is Konda Luckau from Moose on the Porch Quilts. I love making quilts that are quick and easy, and I love how precuts speed up the quilting process. Kate Spain’s new line Verna is perfect for chasing away winter. I almost changed the name of the quilt to “Tut Tut Looks Like Spring,” but I got a blank stare in response, I left the original name. In case you also have a blank stare, it is a play on Winnie the Pooh and what I was thinking as I was photographing this wonderfully spring looking quilt in the snow.

This pattern would look great with absolutely any layer cake. What about A Breath of Avignon or Oz with white sashing, Butterfly Garden or Looking Back with tan sashing, Blush with light pink sashing, or Attitude Girls with black sashing? I think I might need to make another one.

1 Layer Cake
3 1/2 yards for Sashing and Borders
6 yards for Backing
3/4 yard for Binding


1) Take your layer cake and separate it into three groups: 30 squares to use as the blocks, 5 squares to use as the sashing posts, and 7 squares that aren’t used. (The 7 squares not to use was the hardest pile for me to make.)


2) Take the 5 blocks for the sashing and first cut 2″ off one side. Cut the remaining 8″ x 10″ rectangle in half horizontally and vertically as shown below.

Now there are 20 — 4″ x 5″ sashing posts and 5 — 2″ x 10″ strips set aside for the 2nd border.


3) Take the 30 squares for the blocks and cut 2″ off one side.

Now there are 30 — 8″ x 10″ blocks and 30 — 2″ x 10″ strips set aside for the 2nd border.


4) Take the yardage for the sashing and borders. Cut the following:
  • Seven 4″ strips for sashing
  • Five 5″ strips for sashing
  • Eight 3 1/4″ strips set aside for the 1st border
  • Eight 5″ strips set aside for the 3rd border

5) Take the 5″ sashing strips. Subcut into 24 — 5″ x 8″ horizontal sashing rectangles.

Take the 4″ sashing strips. Subcut into 25 — 4″ x 10″ vertical sashing rectangles.


6) Lay out the quilt 6 blocks across and 5 blocks down as shown below.


7) Assemble the quilt center.

8) For the 1st border, take the eight 3 1/4″ strips. Sew them into 4 double strips. Sew one onto the left side of the quilt and another onto the right side of the quilt. Then sew one onto the top of the quilt and the last one onto the bottom of the quilt.

9) For the 2nd border, take the 35 — 2″ x 10″ strips. Sew them randomly into 4 sets of 8 strips so there are 4 long skinny strips for the 2nd border. (You will not use 3 of the 2″ x 10″ strips.) First sew on the left and right borders, then sew on the top and bottom borders.

10) For the 3rd border, take the eight 5″ strips. Sew them into 4 double strips. First sew on the left and right borders, then sew on the top and bottom borders.

11) Quilt as desired and bind as shown below. You will need nine 2 1/2″ strips for the binding.


One 82″ x 85″ Queen size quilt perfect to put on a bed, take on a picnic, or give as a wedding present for someone special.