5 Pocket Curtains

Thank you, Moda for inviting me back again from Lilac Lane, where spring has sprung and lilacs will soon be blooming. I’m Melissa Ann Stramel and I hope you’ll come visit me for lots of great tutorials and giveaways.

New curtains can change the entire look of a room. If you’re looking for something fun and practical, look no further. These would be perfect for your craft/hobby room in Sandy Gervais’ Nautical and Nice. Or you could use a sweet, girly line for a completely new look in your little princess’s bedroom. A nursery would be adorable in a baby line. Or go very modern and add a new look to your teen’s room. Any way you choose, you can’t go wrong with the extra storage you’ll find in these 5 pocket curtain panels!
1 layer cake (featuring Nautical and Nice by Sandy Gervais)
1 jelly roll
2 yards 90 inch quilt backing for lining

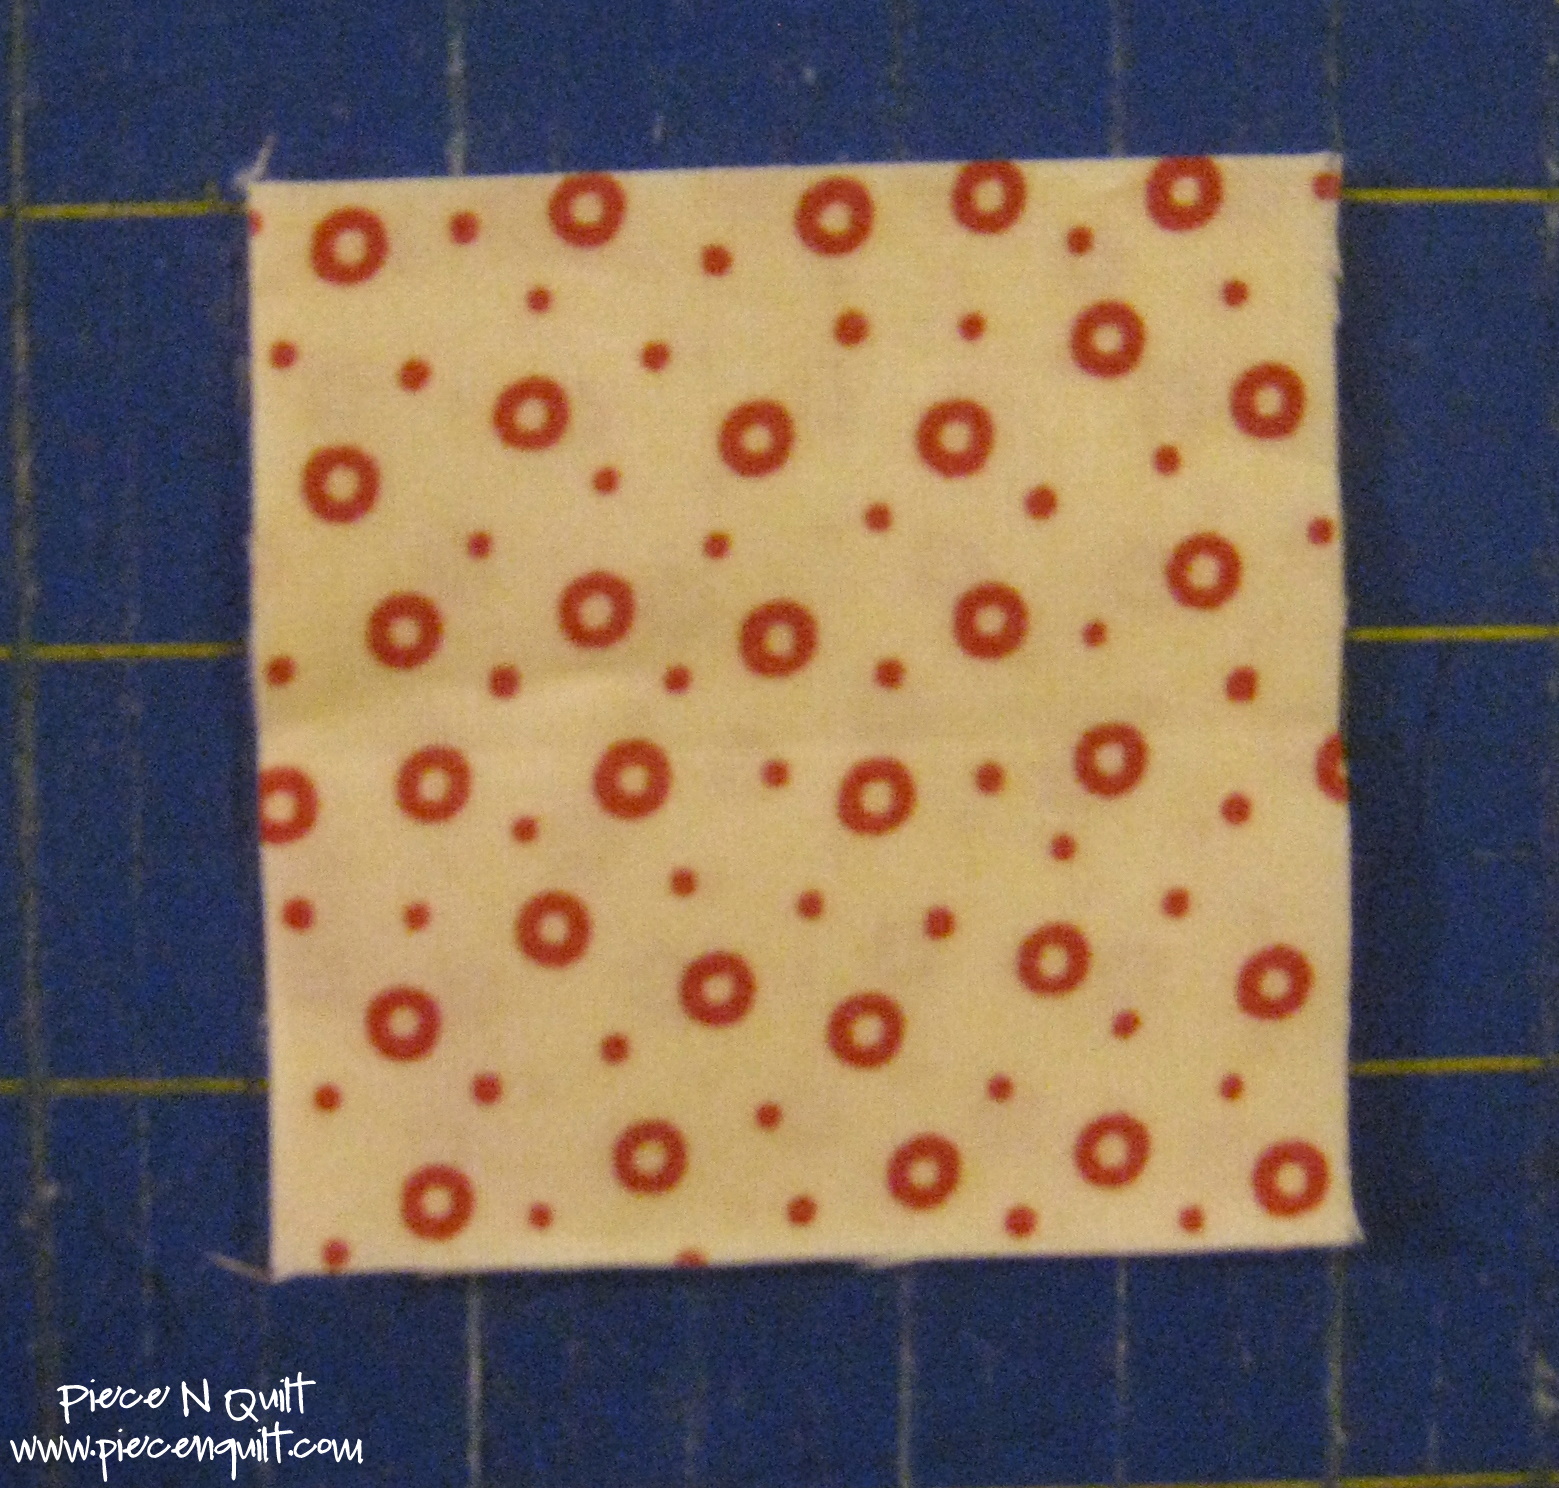
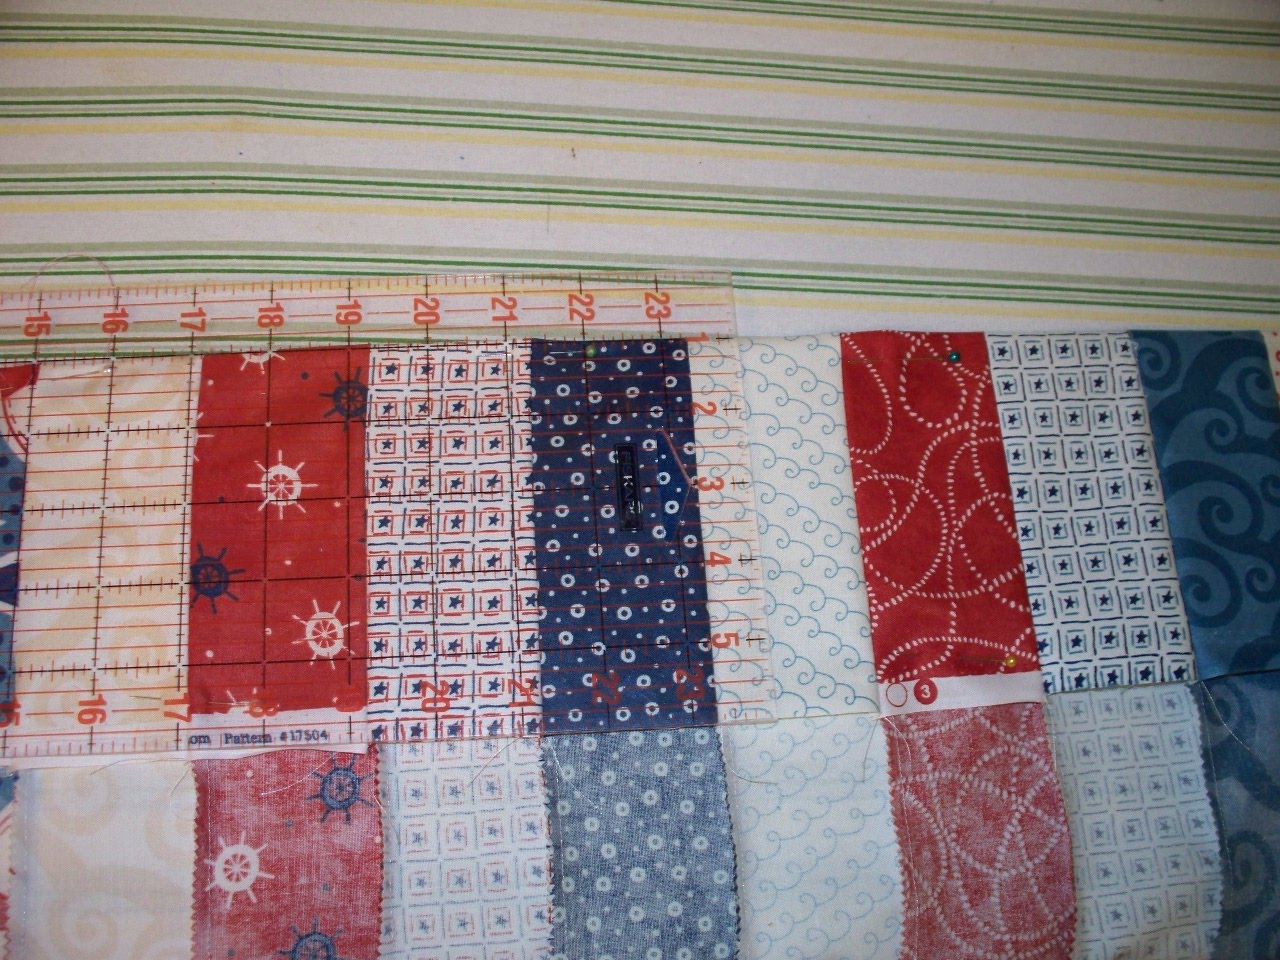
1. Let’s begin with the layer cake. Choose twelve pieces and lay them out, paying attention to balancing color and pattern.

2. Now choose 5 more pieces from your layer cake for the pockets. Decide where they will go.  (I just folded them so I would get an idea how they look on the background square.) You might want to keep in mind who these curtains are for. A small child will prefer lower pockets while an older person will want them higher. If you only want to make 4 pockets, that’s fine too. Or you can even make 6. It’s all up to you.

3. Repeat steps one and two so that you have another twelve blocks laid out with 5 more pockets. Mix and match around until you are satisfied with your color arrangement and pocket placement.

4. Take your first pocket and press a quarter inch seam under and then another inch.  Do this for all ten pocket pieces.

5. Decide if you want to chain piece. Since chain piecing is just code for “get more done is less time,” why not? Choose a coordinating thread color (I chose red) and then topstitch 1/8 inch from the bottom of the turned under seam. When you finish the first one, just place the second one there without cutting your thread and keep sewing. You will get a chain of pieces that looks somewhat like this.

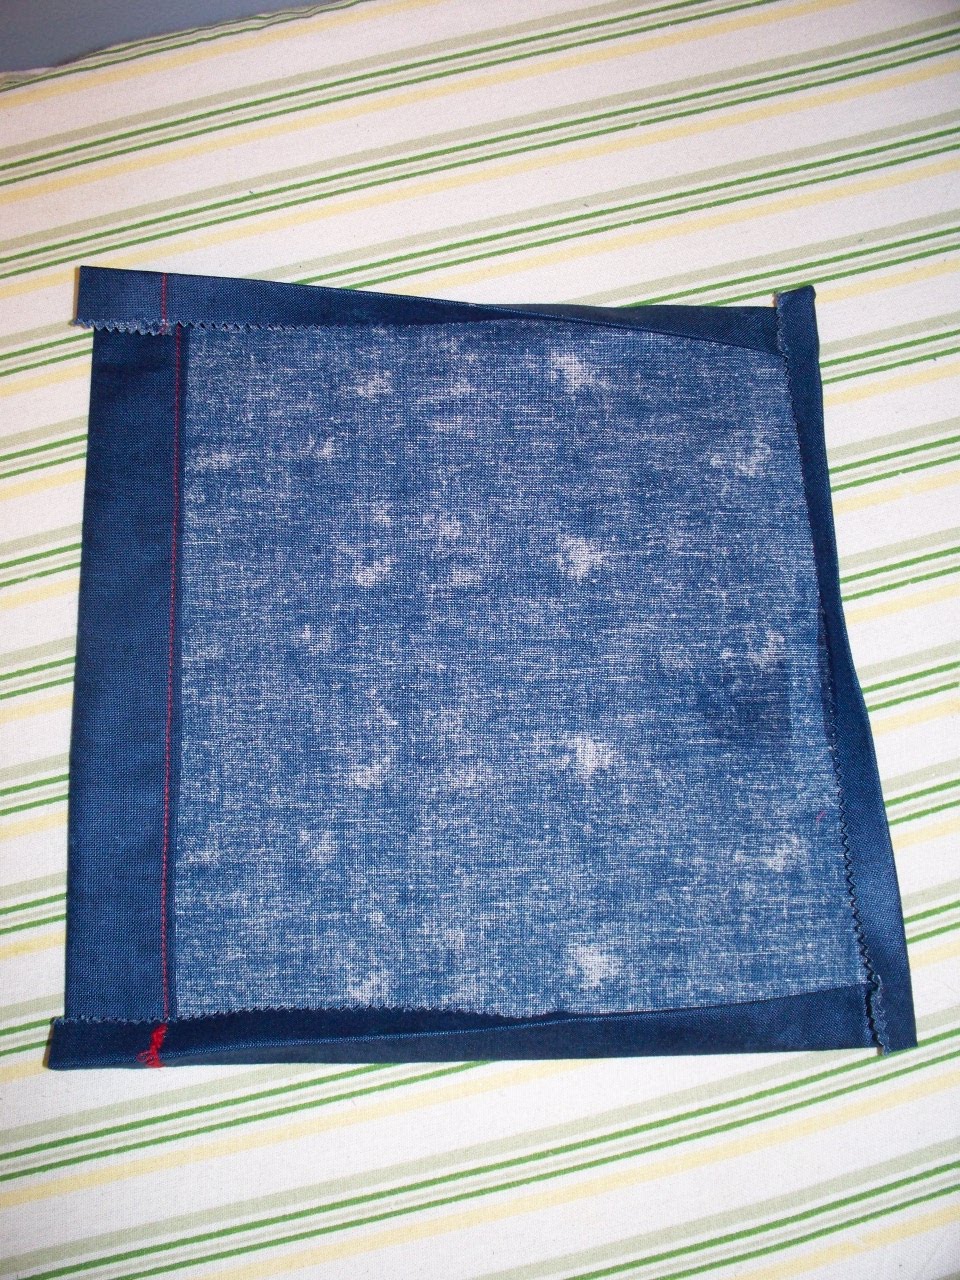
6. Press under a half inch twice on the remaining three sides of each pocket. If you need a bigger pocket, just turn under a quarter inch twice. If you need a smaller pocket, turn under more or cut a bit off.

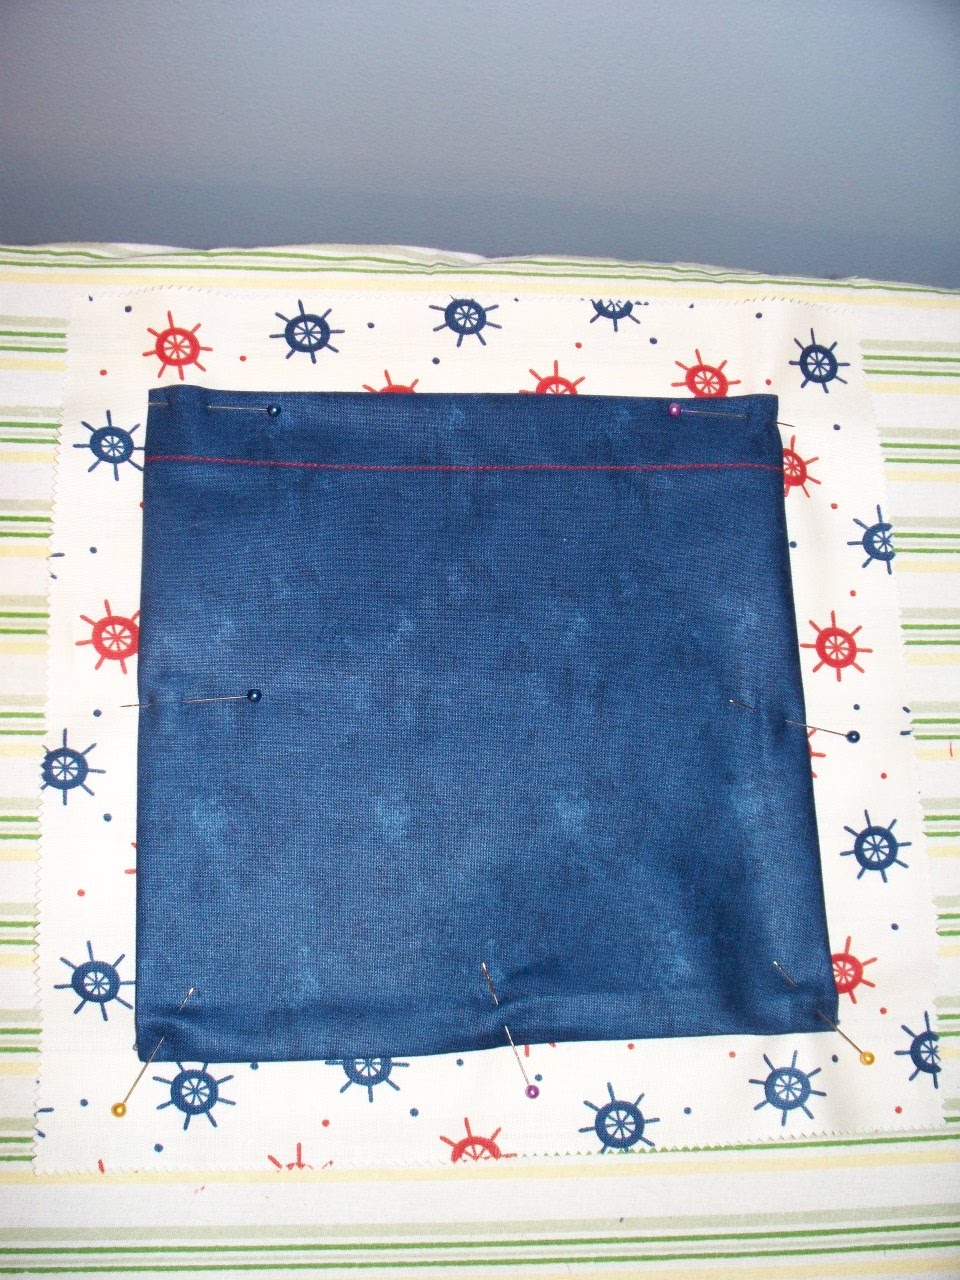
7. Now pin each pocket in place, centered as well as you can on the background square. You can’t chain piece these, but you can pin all the pockets on, stack them up and get them sewn on really quick.

8. Next choose six more layer cake blocks and cut them in half.

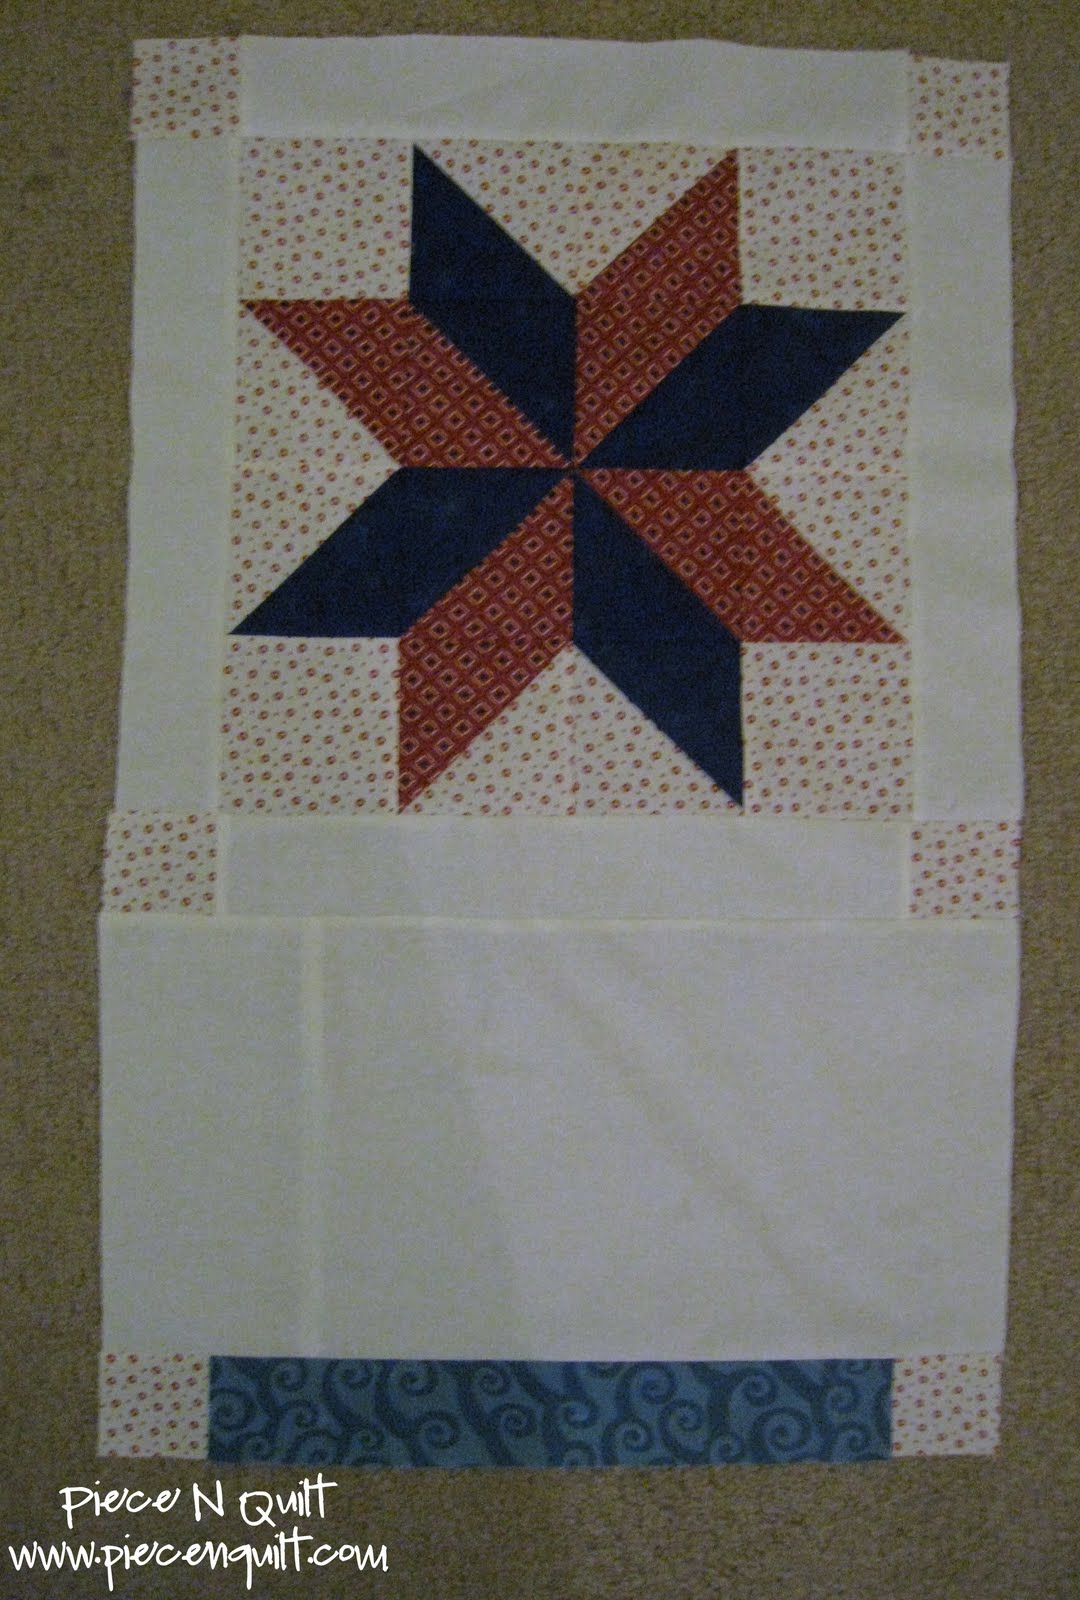
9. Lay out the half square pieces so that one half is in the same position on each panel. Sew everything together just like you would sew a patchwork quilt, using 1/4 inch seams.

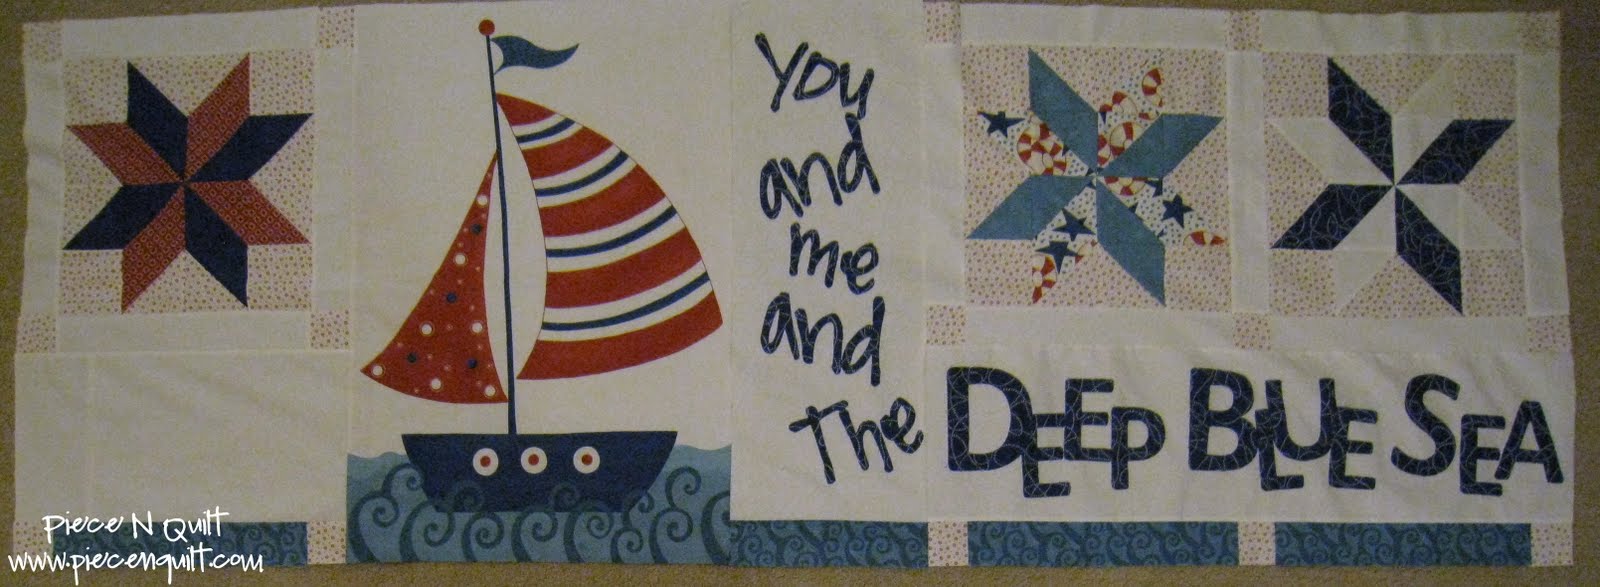
10. You should now have two pocketed panels looking something like these.

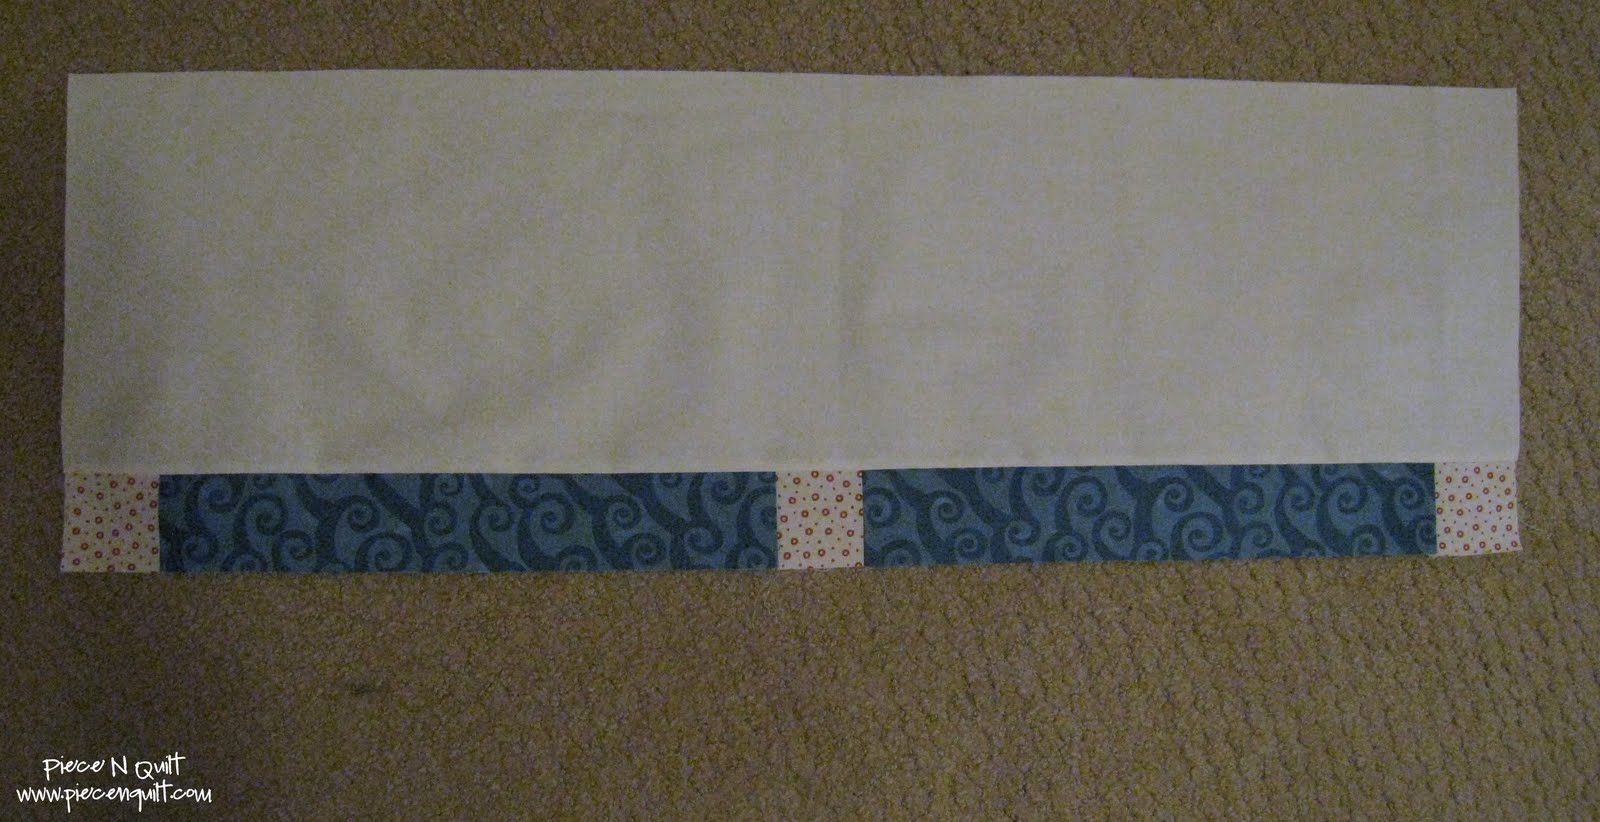
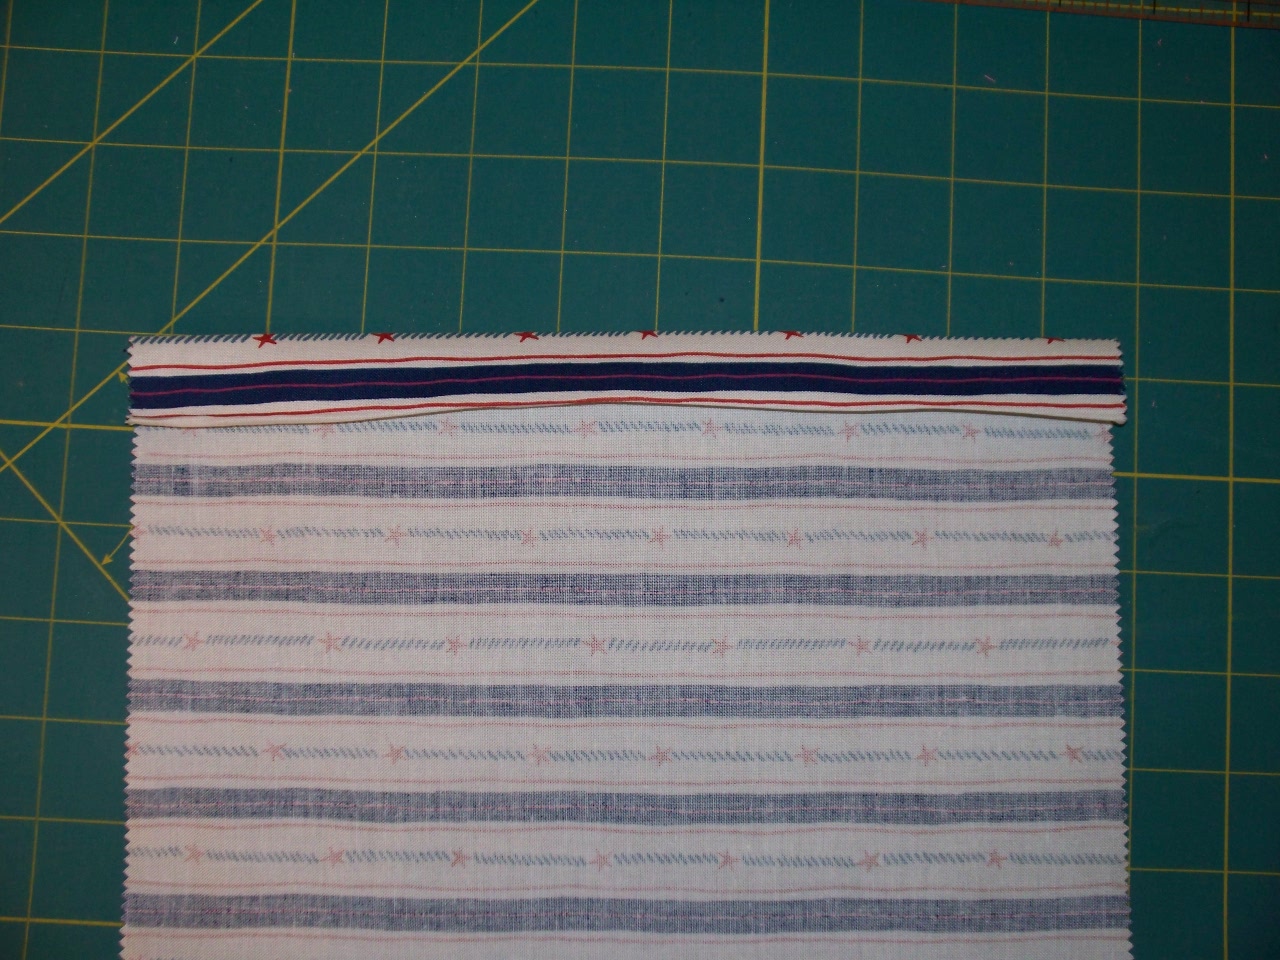
11. Turn you attention now to the jelly roll. Choose two groups of 14 strips and sew them together using a SCANT 1/4 inch seam. Once again pay attention to color and size balance.

12. Cut the selvage off of ONE end of each strip panel. Now sew this cut end to the other pocket panel you made up. Make sure your pockets are on the bottom of the panel and facing the right direction.

13. Now we’re going to do a little fitting (we could even all it a dress rehearsal) for your window. Turn under the selvage end five inches, press, and pin across the top where you have folded and the bottom where the selvage is. Then insert your curtain rod through this little “pocket” you have made and hang on your window.

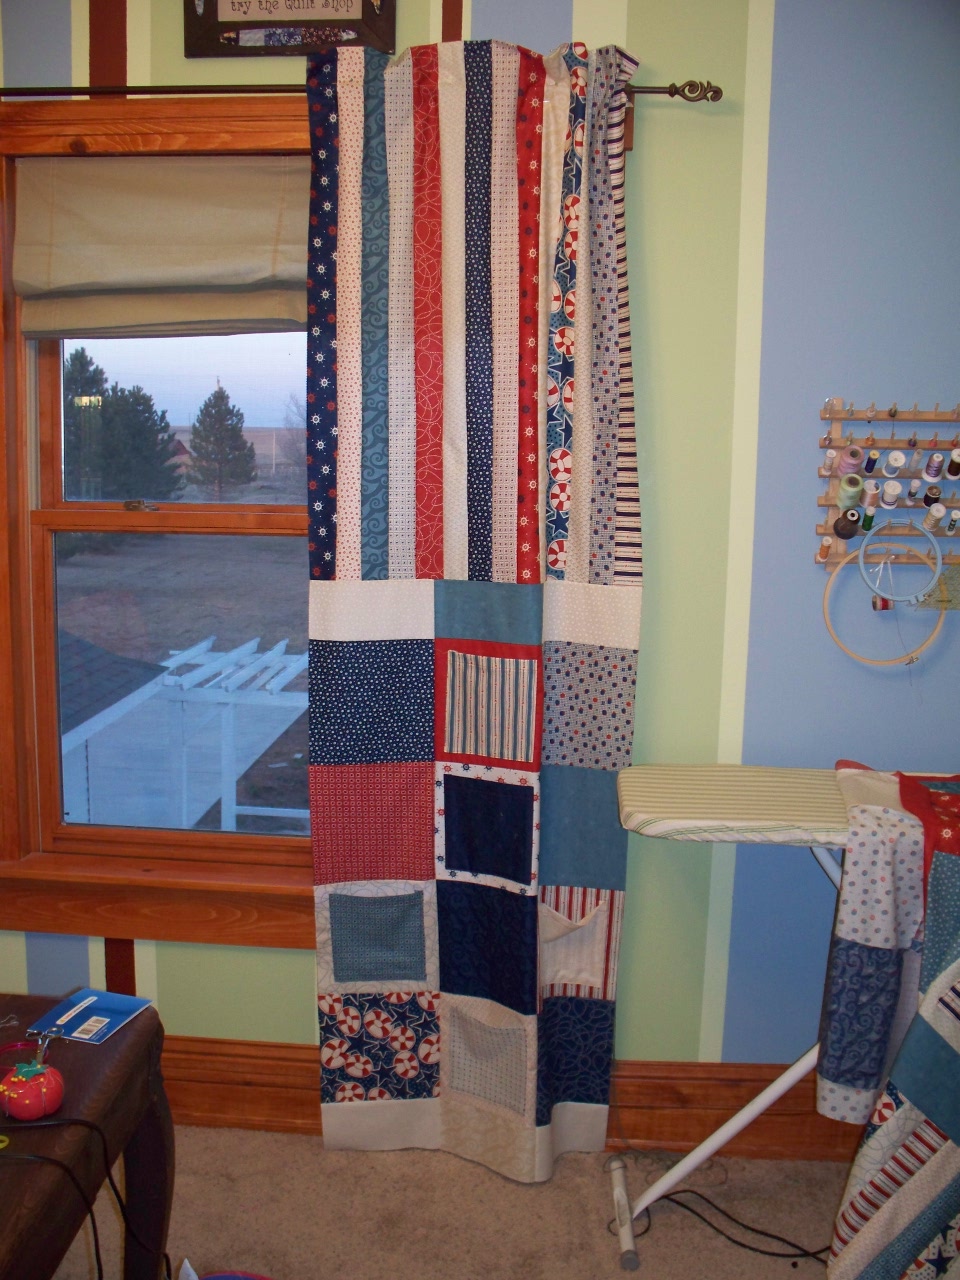
14. Once your curtain is hanging from the rod, take your pins and a stepstool and pin about 1 and 1/2 to 2 inches above the pins placed along the selvage. This will create a blousy header at the top of the curtain panel. Check out your length. My curtain looks perfect as it is, which means it will be a little short when hemmed. You can fix this in the following ways:

  • Unpin what you have done at the top and try four inches instead of five.
  • Forget the ruffly part and just turn under two inches.
  • Add a jelly roll strip across the bottom. (My choice.) We will have enough fabric to add up to two jelly roll strips, which can gain up to 4 inches for you. If you want to do this, just keep it in mind. We will add it later.

Likewise, if the curtains are too long, either cut some off of the top or turn under an inch or so more at the top.

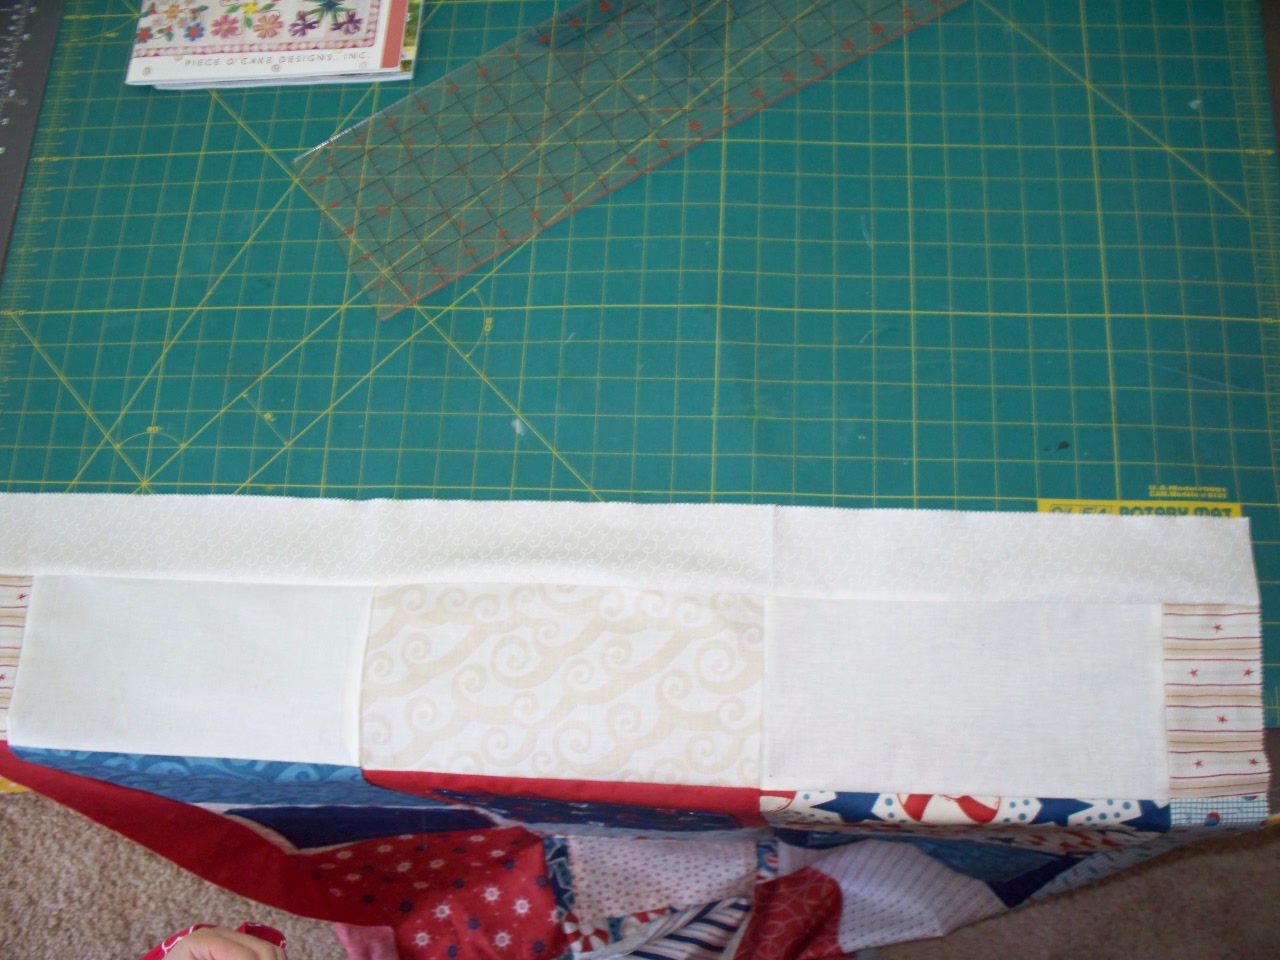
15. Choose 9 strips, four groups of 2 and one contrasting print. Sew the four groups of two together. I saved my solids for this and also two closely colored prints. Then take the 9 strip and cut 4 five inch strips from it. Sew one to the bottom of each group.

16. Sew one strip down each side of the two panels. This will add fullness and also help us with our lining. Notice that one strip will exactly fit the length of the strip part of the panel, one will exactly fit the length of the top half layer cake square and the next 4 layer cake squares and the final five inch piece will match up to the bottom half layer cake square. Take your time and match your seams for a more professional result.

17. Now is the time to add the extra length to the bottom of each curtain panel.

18. Measure the width of your curtain. Mine was 33 inches.

19. Now we take the quilt backing and cut two pieces which are 2 inches less wide than the width of your curtain panel. Since my panel is 33 inches wide, I cut this 31 inches, and of course it is 90 inches long. If you can’t find 90 inch quilt backing, you can cut down regular width fabric, but this is much, much easier and will save you lots of work when it comes to hemming.

20. Taking your front curtain panel, press under a quarter inch hem and then an inch or however much you need for your curtains to hang perfectly to the floor. (Remember our dress rehearsal?) Then topstitch 1/8″ across the bottom of each curtain panel.

21. Lay out your curtain panel right side up and place the backing on top of it, just like you would when assembling a quilt. Line the backing up to the bottom hemmed edge of the front panel and then pin all the way down the side. Your backing fabric should not be quite as long as the panel. (See how you can see my selvage end? The lining can be up to 4 1/2 inches shorter than the front panel.) Sew together using 1/4 inch seam. Repeat this for the other side of the panel, making a long tube, and then turn it right-sides out. Do this with both panels.
22. Now we are going to do some careful pressing. Pin across the top of the fabric, so it doesn’t pull down as we work. The lining needs to be centered on the panel. There should be a good 1/2 to 3/4 inch of each front panel fabric showing on the lining side. Press it all the way down the panel for each panel. Then once again pin across the bottom of the fabric to hold it in place.
23. If you’re happy with your results and satisfied that the panel will not pull from side to side, you can skip this step. However, I like the look of a contrasting topstitch 1/8″ from the curtain panel edge on both sides. This will hold everything in place. (See my line of red topstitching?)
24. Fold over your five inch header once again. (Or the width you have adjusted the header to, no less than 1 1/2 inches.) Pin across the top to hold it in place. I find that another row of pins across the bottom also helps keep everything where it needs to be. Sew across your selvage, a quarter inch from the bottom. This is probably a good time for another dress rehearsal, unless you are confident of the results. After this, sew a second line of stitching between 1 1/2 and 2 inches from the first line you have just made. This creates a rod pocket.
25. You did it! Hang your curtains and enjoy.
1 pair of adorable, practical, room-changing curtains. Sure to be a crowd pleaser from age 9 months to 99.

Deep Blue Sea

Hello again! I’m Natalia from Piece N Quilt and I am so happy to be sharing this tutorial.
The main part of this quilt is made from a panel and some turnovers.

2 Nautical & Nice Turnovers
1 Nautical & Nice panel
7 yards Nautical & Nice Bubble Regatta Red (background & backing)
1 Yard Nautical & Nice Ropes Regatta Red for binding
2 Yards Nautical & Nice Surf White Cap
2 Yards Nautical & Nice Waves Ocean  
1 Yard Nautical & Nice Stripe White Cap
1/4 Yard Nautical & Nice Ropes Blue


Start out by cutting  36 -6″ squares from your background fabric.

Cut in 1/2 diagonally. As shown in the image above.

Cut in half again in the opposite direction. As shown in the image above.

 
Now separate your turnover pieces into the color combination’s you’d like for your blocks.

Now cut your turnovers in half as show in the image above.

Cut 72 – 4″ squares.

 
Now stitch lay your block out as shown in the image above.
  
Stitch together in rows.
Now stitch the block together to create a block similar to the one above. Repeat this process until you have 18 blocks.
Now cut your sashing. Cut 7 – 2.5″ strips. Since I used a directional fabric I cut the sashing for the sides of the block with the fabric going the direction shown in the image above.

For the top and bottoms of the blocks cut 7 – 2.5″ strips withe the fabric going the direction shown in the image above.

 
Cut 33 – 2.5″ squares for the cornerstones of the sashing.
Stitch the bottom section of the quilt together as shown in the image above.

From your white background fabric cut 4 – 2.5″ strips.

Add a border around one block for the top left corner of your quilt. As shown in the image above.

 
Sew the other two blocks together with the white sashing as shown in the image above.
  
Now take your panel and trim all of the borders off.
You want your panel to look like this.

Now stitch the single block with white border to a 17.5″x9″ white strip. Then sew to a piece of sashing as shown in the image above.

 
Now take this piece and sew it to the side of your panel.

For the right side where the applique words will go sew a 9″x33.5″ piece. As shown in the image above.

 
Now you will print out onto paper the saying “You and me and the deep blue sea”.
 
For the section shown above you will need to stitch a 10.5″x29″ piece as shown in the image above.
Using our starch applique tutorial you will applique the words onto the two sections.

After the applique is complete you will sew the top section of the quilt together as shown in the image above.

 
Now sew the top and bottom sections of the quilt together.

Using your stripe fabric you will add a 3.5″ border.


  Now quilt, bind with the red material and enjoy.

1- 87″x83″ deep blue sea quilt.

I hope that you enjoyed this tutorial as much as I enjoyed designing and making this quilt. Don’t forget to stop by my blog and website. I’d love to hear what you think. 
You can also save 10% off your total purchase @ Piece N Quilt when you use discount code ‘modabakeshop’ .