Hi! My name is Kim and I blog over at Kim Sherrod Studio. I am so excited to share with you my first post here on the Moda Bake Shop. Lately I love to create projects that are small and very quick to pull together. This little pouch is a snap to put together and makes a perfect gift.

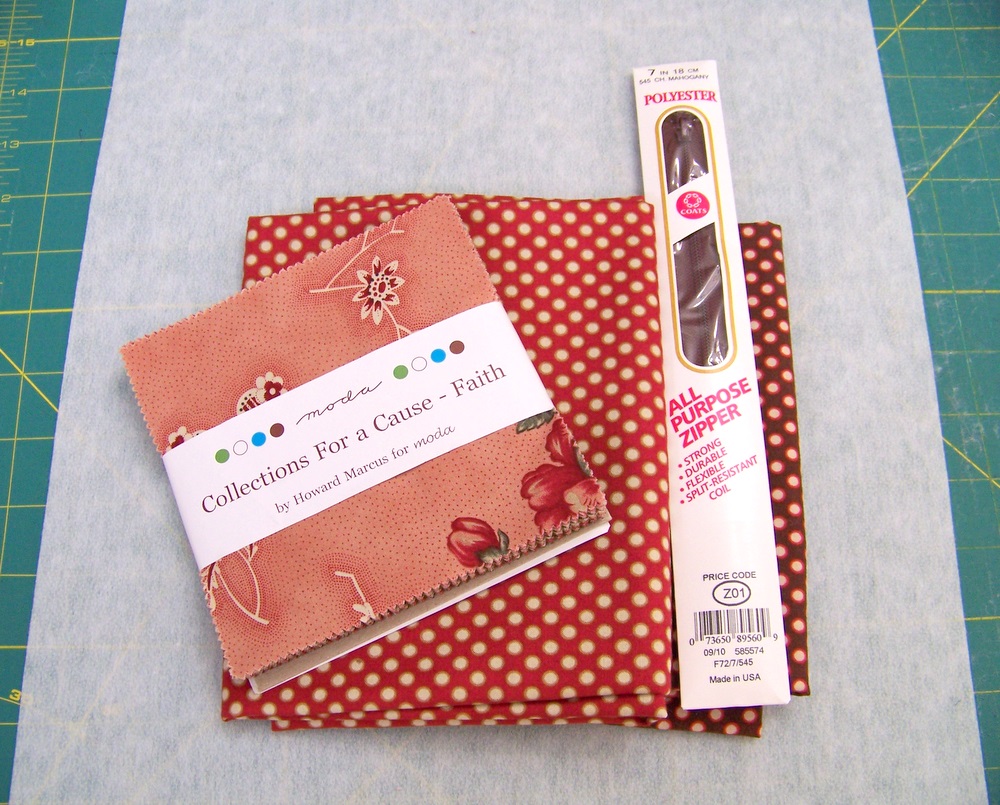
Collections For a Cause – Faith Charm Pack
2 Coordinating Fat Quarters
2 – 7″ x 91/4″ fusible fleece
2 – 7″ x 9 1/4″ interfacing
1 – 9″ zipper

1/4″ wide organdy or silk ribbon
Cutting Instructions
14 – 1 3/4″ x 5″ strips from Charm pack
2 – 2 1/2″ x 9 1/4″ rectangles from one fat quarter 1, bottom of pouch
1 – 2″ x 12 1/2″ rectangle from fat quarter 1, strap
2 – 7″ x 9 1/4″ lining pieces from fat quarter 2
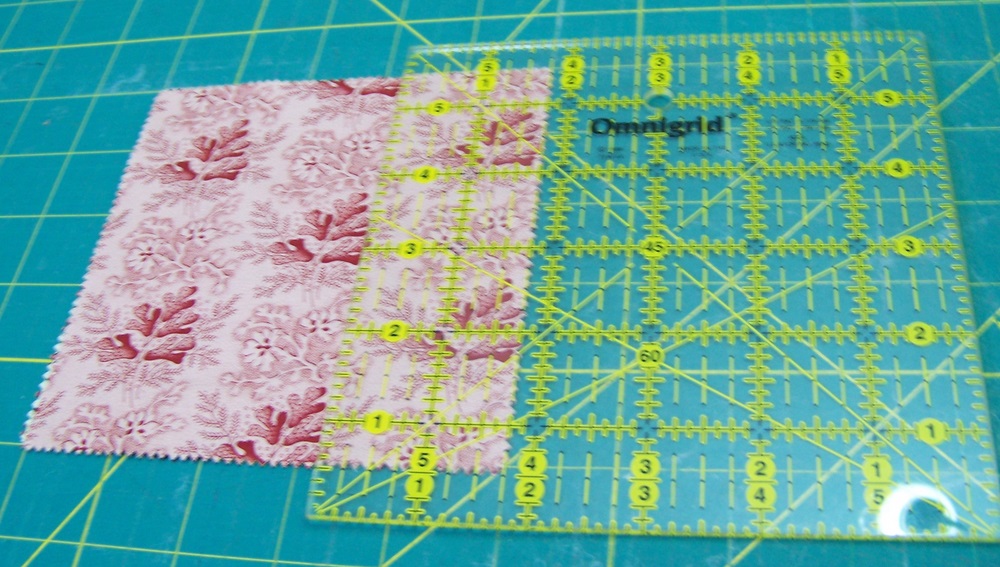
Choose 7 charm squares.

Stack and cut at 1 3/4″. Do this twice. You will get 2 – 1 3/4″ x 5″ strips from each charm square for a total of 14 strips.

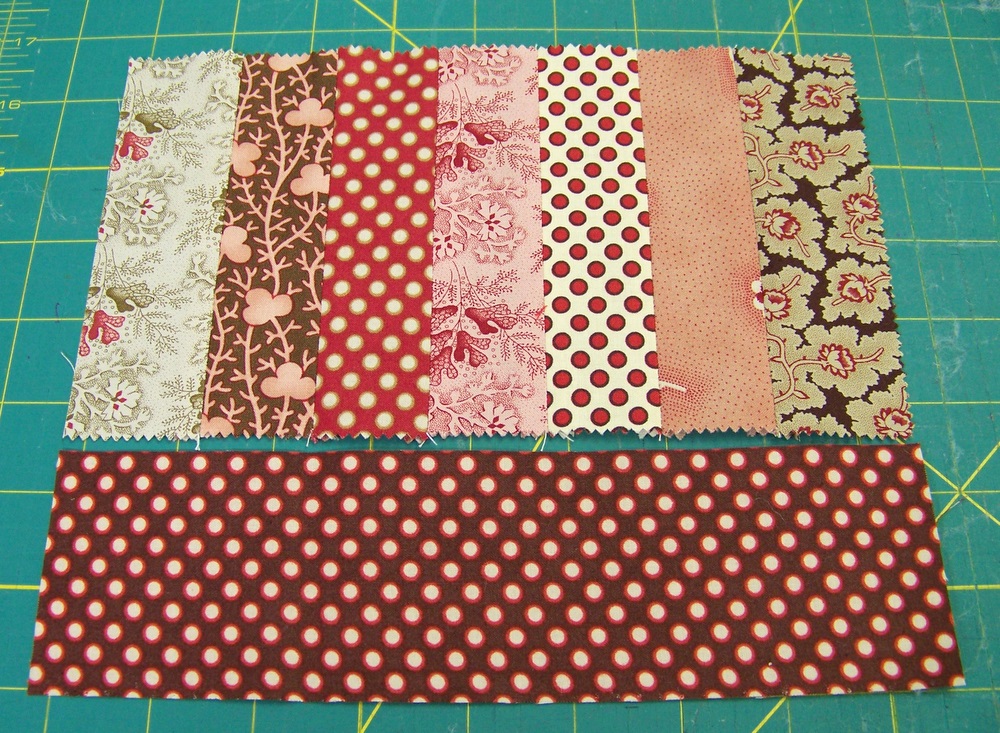
Layout your strips in 2 rows, 7 strips per row.
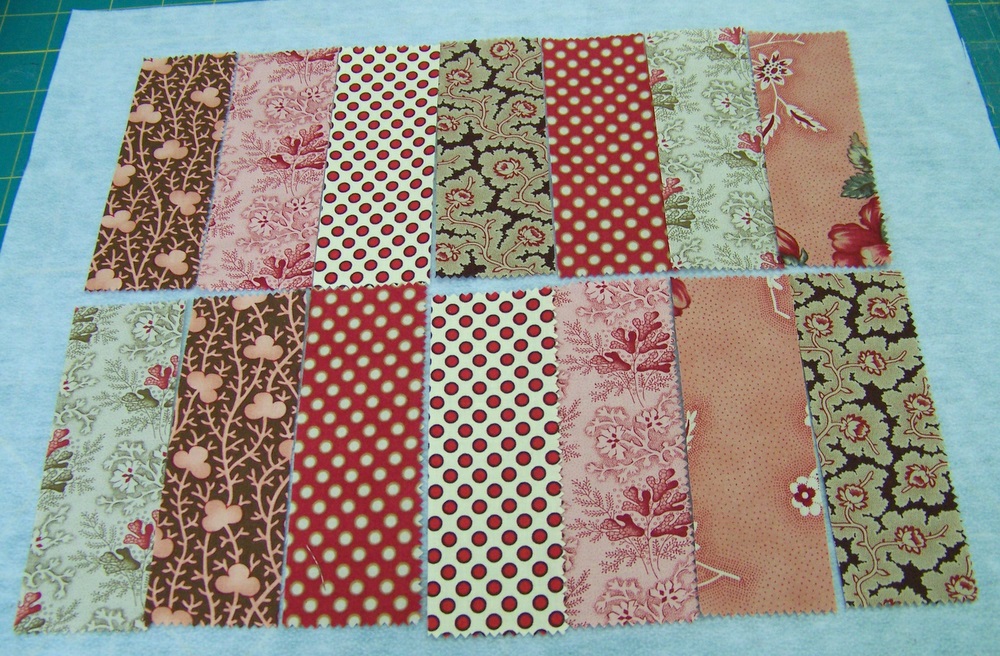
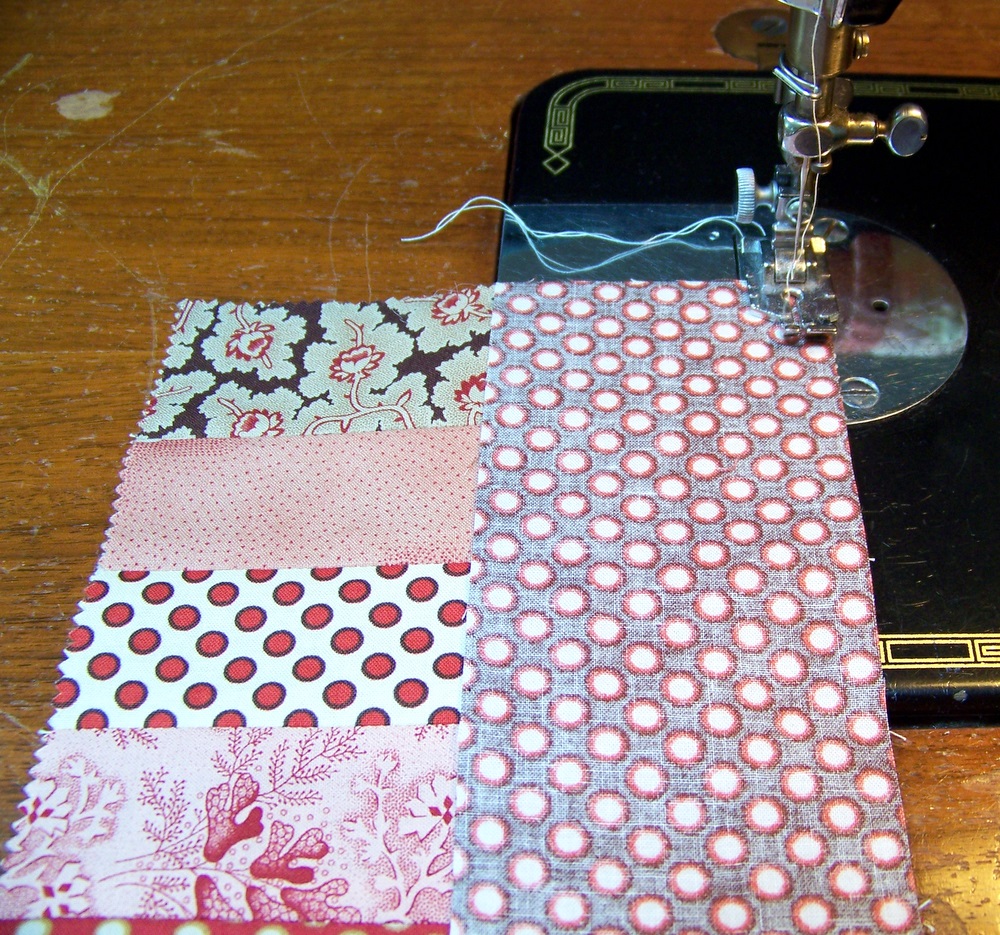
Sew your strips together.

Press the seams open. I like to do this to allow the piece to lay nice and flat. You now have two outer pieces.

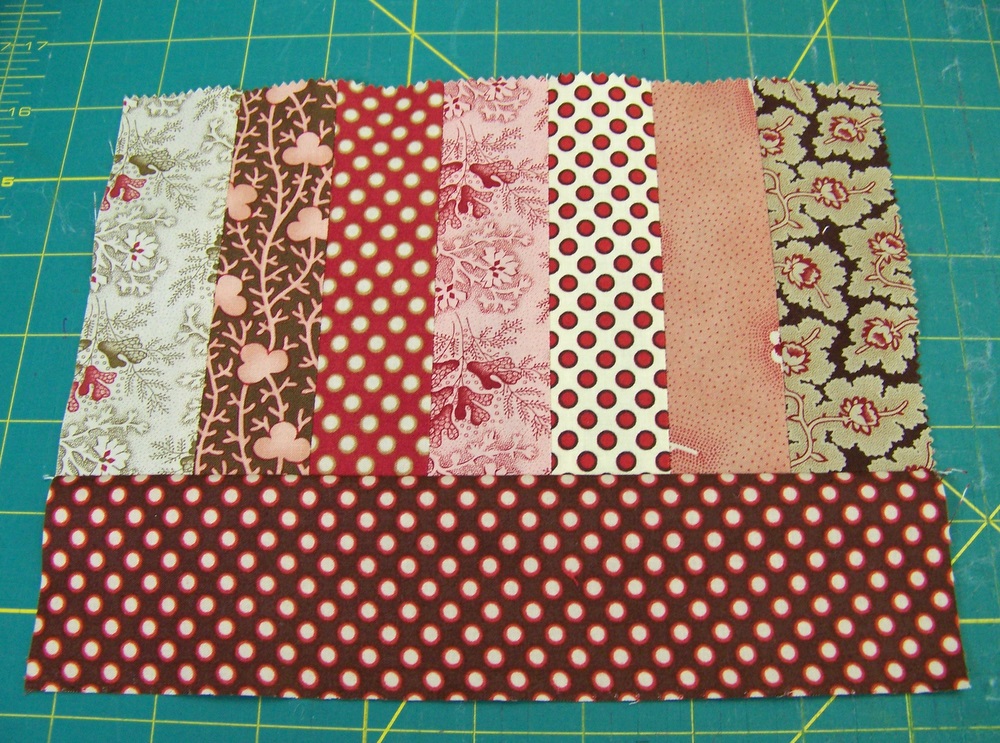
Take the 2 1/2″ x 9 1/4″ rectangle pieces and sew onto the bottom of each outer piece.
Press seam toward bottom rectangle strip.
Iron on fusible fleece to outer pouch pieces and fusible interfacing to lining pieces.

Measure and mark a 1″ square at the bottom corners of outer pouch and lining pieces.

Cut out the squares and set aside for now.

Take the 2″ x 12 1/2″ rectangle for the strap and fold in half wrong sides together. Press to form a center crease.

Unfold the fabric and fold the long edges toward the center crease. Press.


Fold in half again and press.
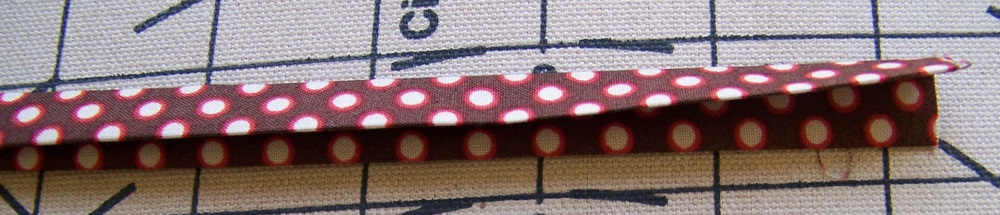
Sew the opening side closed, and then topstitch the opposite side to create a nice finished look.
This is the finished strap.

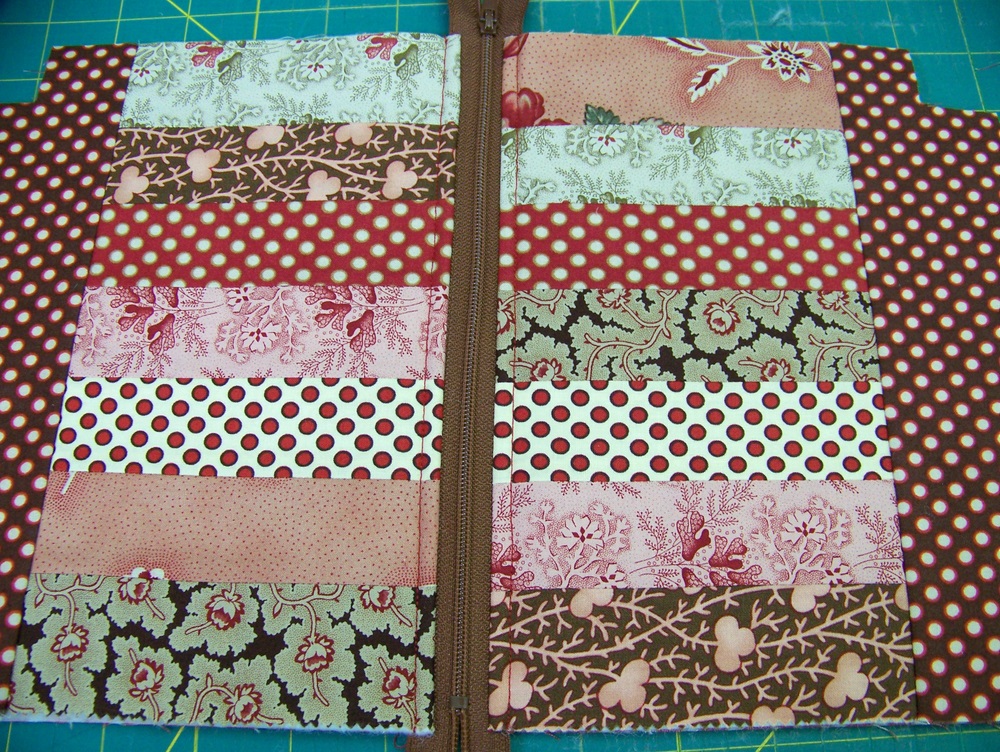
Take the zipper, one outer piece and one lining piece. Lay them in the following order from bottom to top:
A) Lining piece right side up.
B) Zipper right side up (you’ll see the zipper pull).
C) Outer piece right side down.
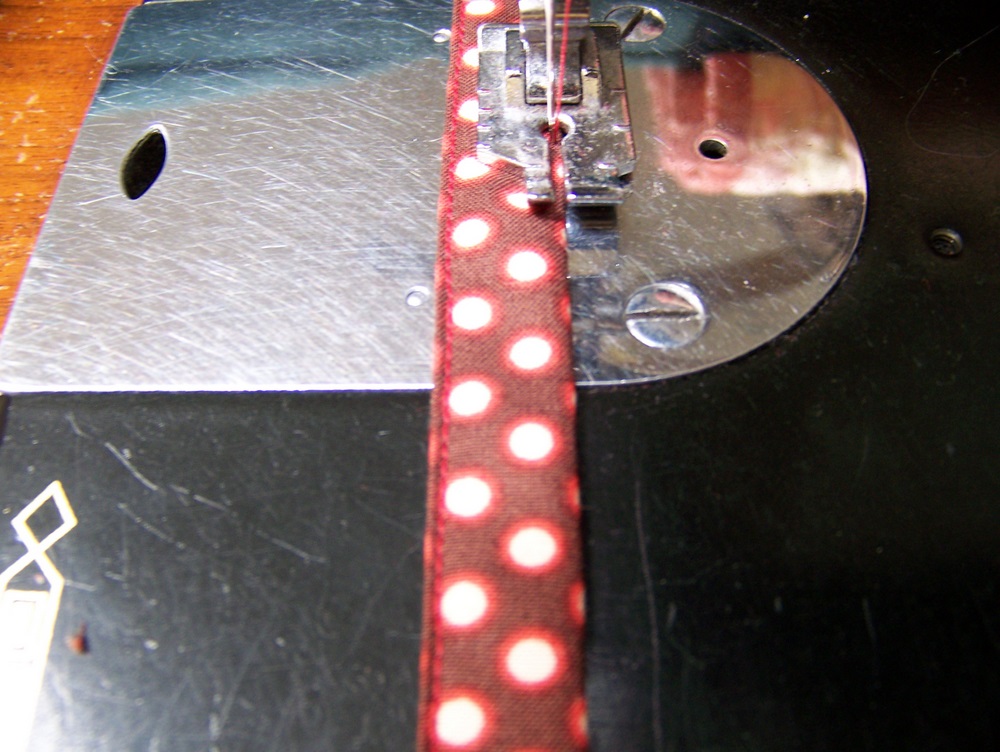
At this point, I pin all three layers in place and sew them together using a zipper foot.
This is what the 3 pieces look like once you’ve sewn them together. Press the fabric away from the zippers.
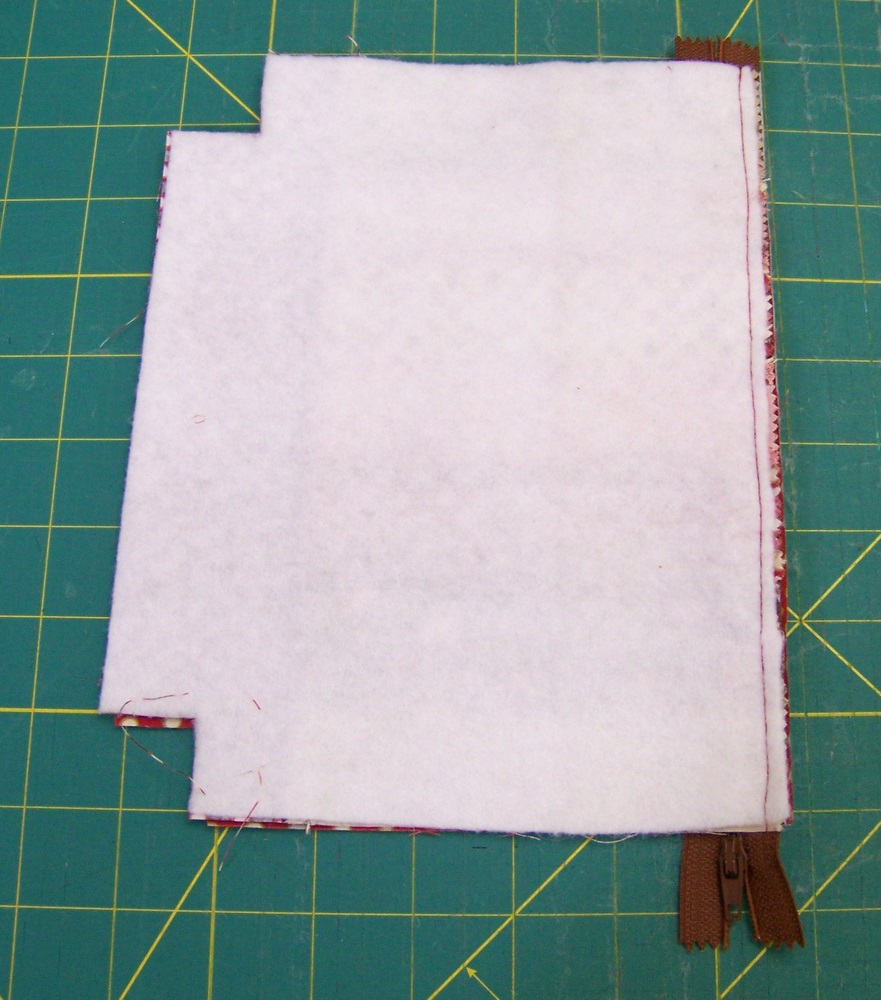
Repeat the same layering steps for the remaining exterior and lining pieces.
At this point, the lining pieces are still underneath the outer pieces. Make sure all sides match up. Topstitch a scant 1/4″ along the top edge of the pieces.
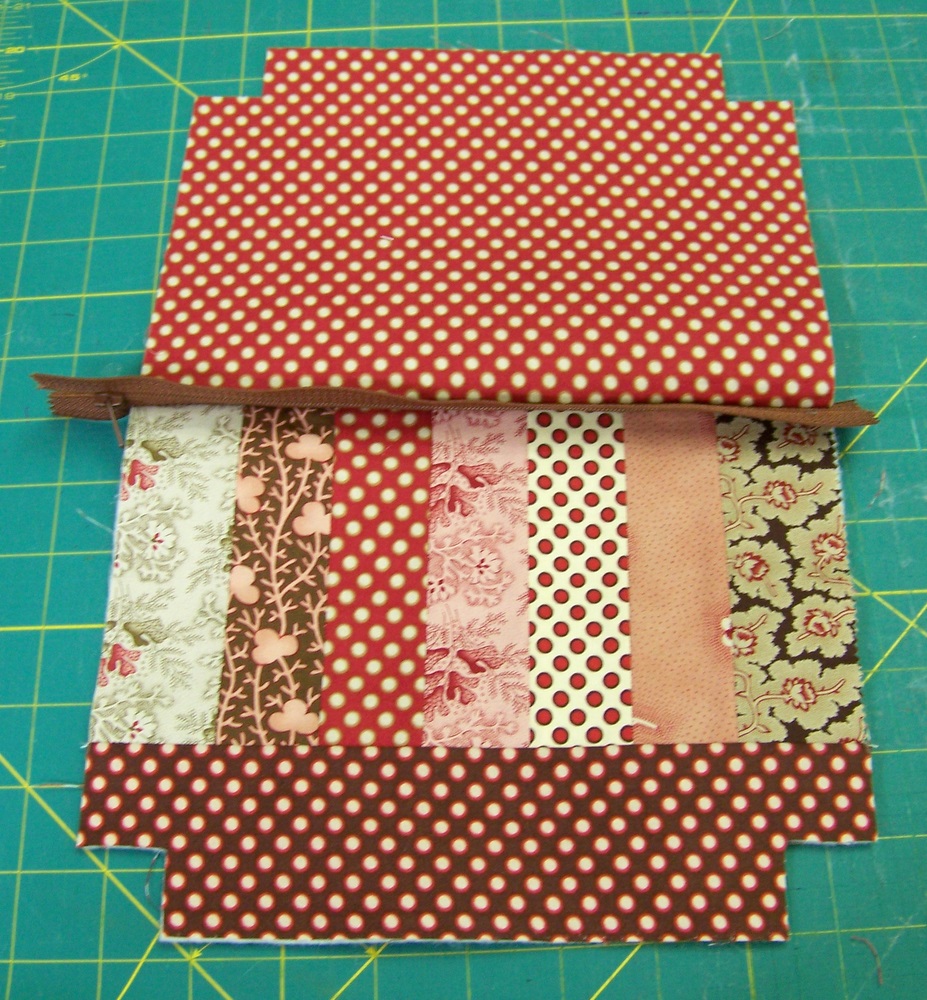
Take the strap piece you set aside earlier, fold in half and pin to the outer piece only. I pinned mine roughly 5/8″ from the top edge of the fabric. Baste in place.
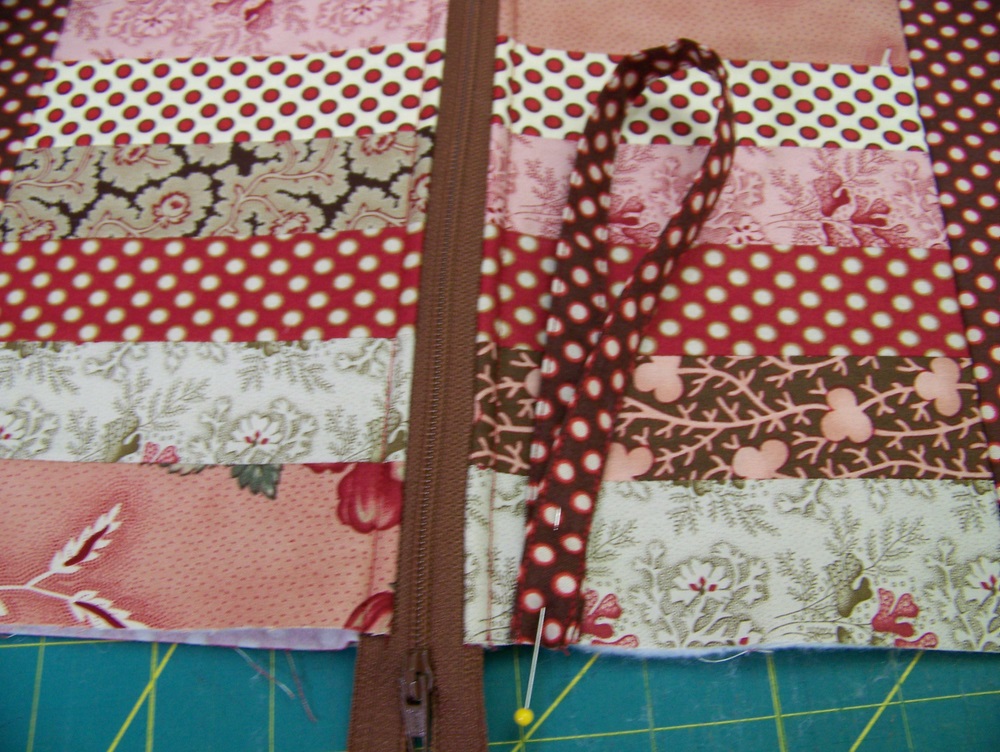
Open up the zipper, wide enough for you to be able to put your hand through.

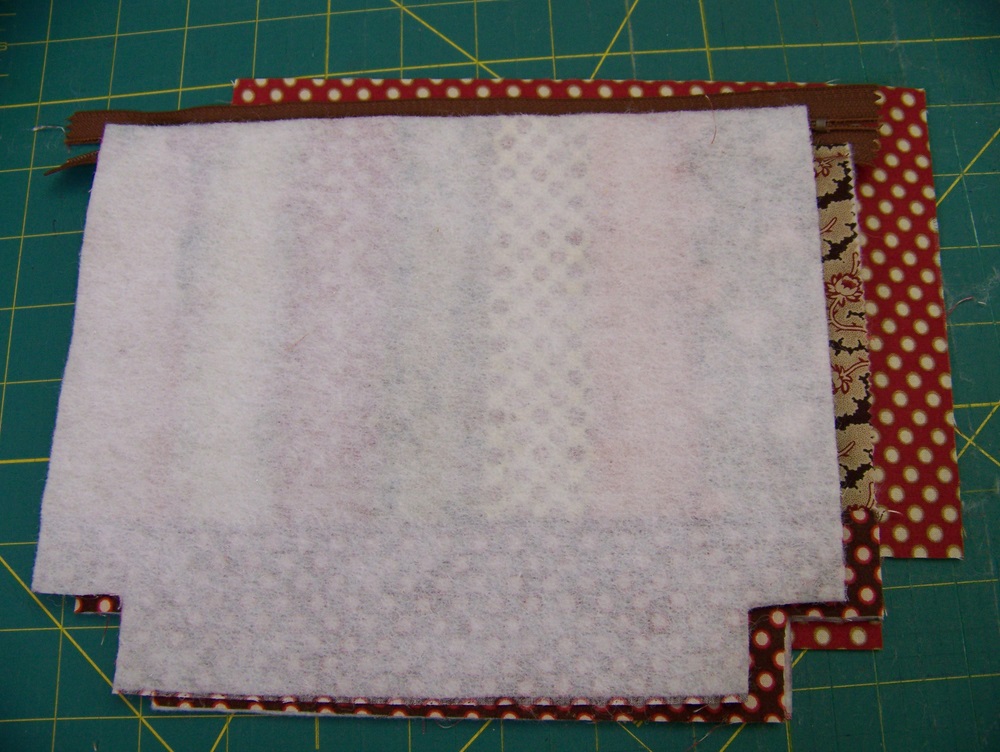
Match up the outer pouch and lining pieces to each other, right sides together.
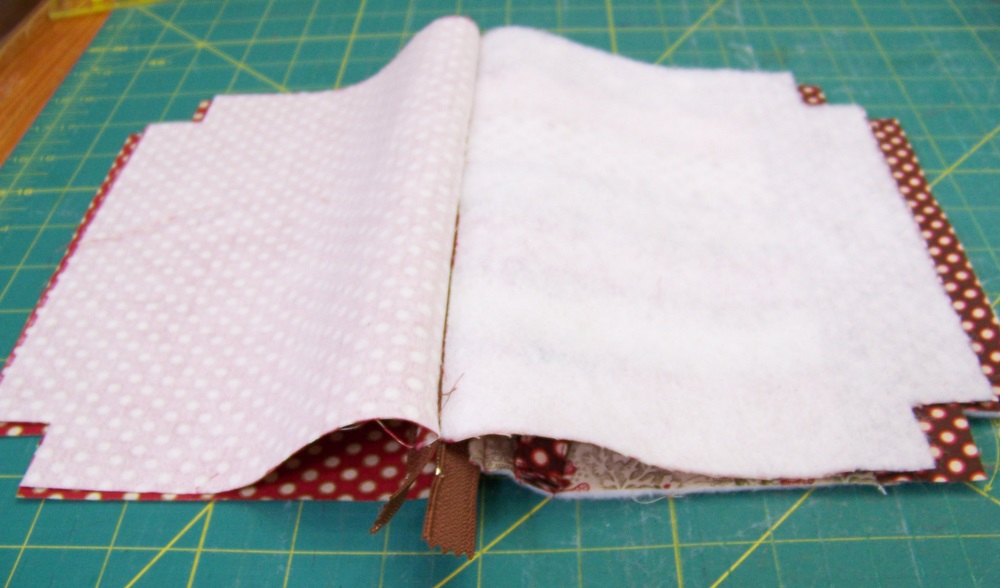
Pin in place with the zipper towards the lining. Notice I have two pins that are different colors than the yellow pins. These pins are in the bottom of the lining to remind me not to sew past them. Sew along all four sides, leaving the opening and the four cut out corners unsewn. Trim off excess zipper ends.

Open the bottom corner and match up the bottom and side seams.
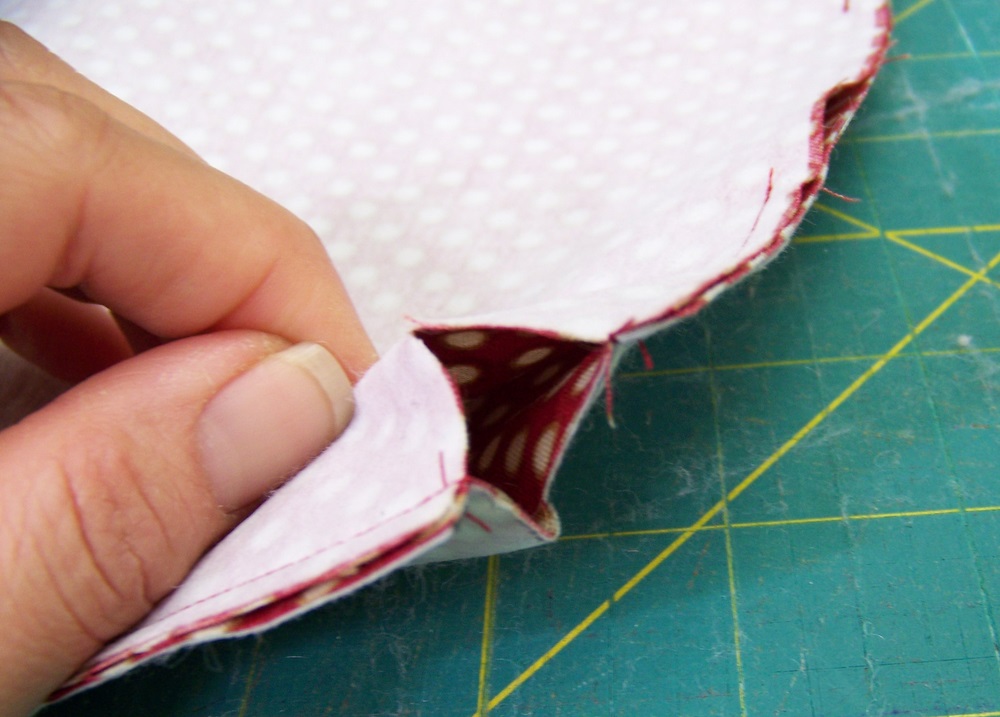

Sew the opening closed. Repeat for the remaining cut out corners.

Reach your hand in through the opening of the lining and pull bag right side out. Machine or hand sew the opening closed. Press to remove wrinkles.
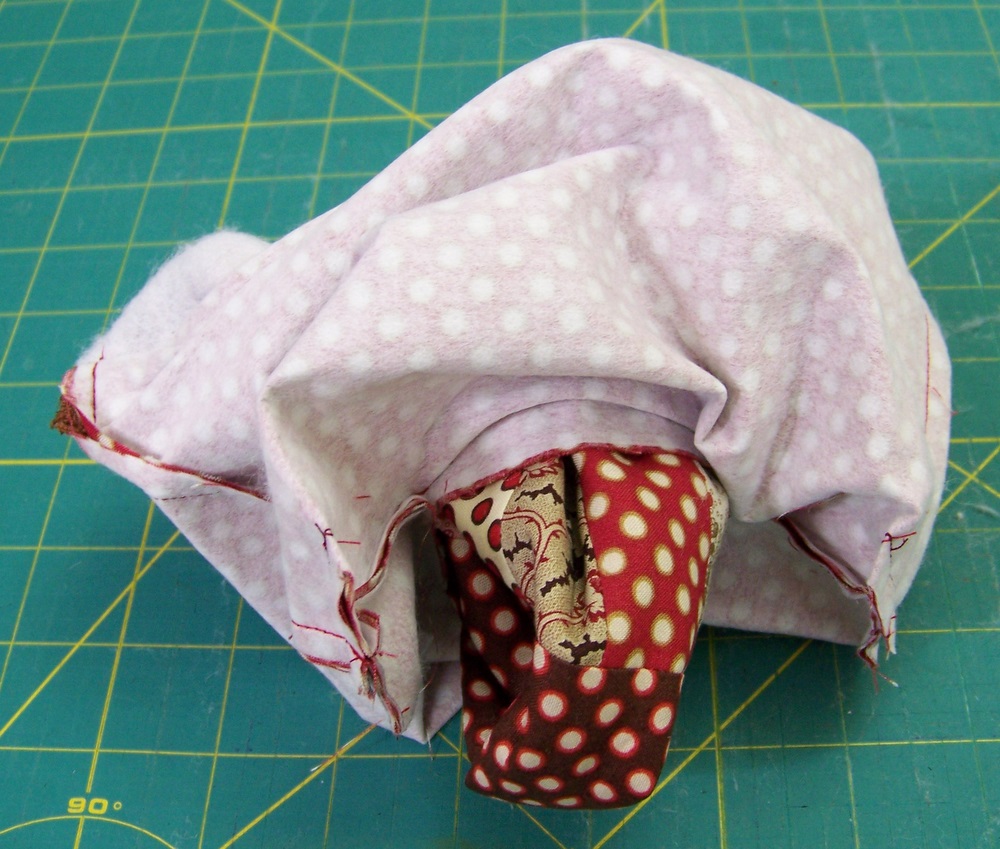

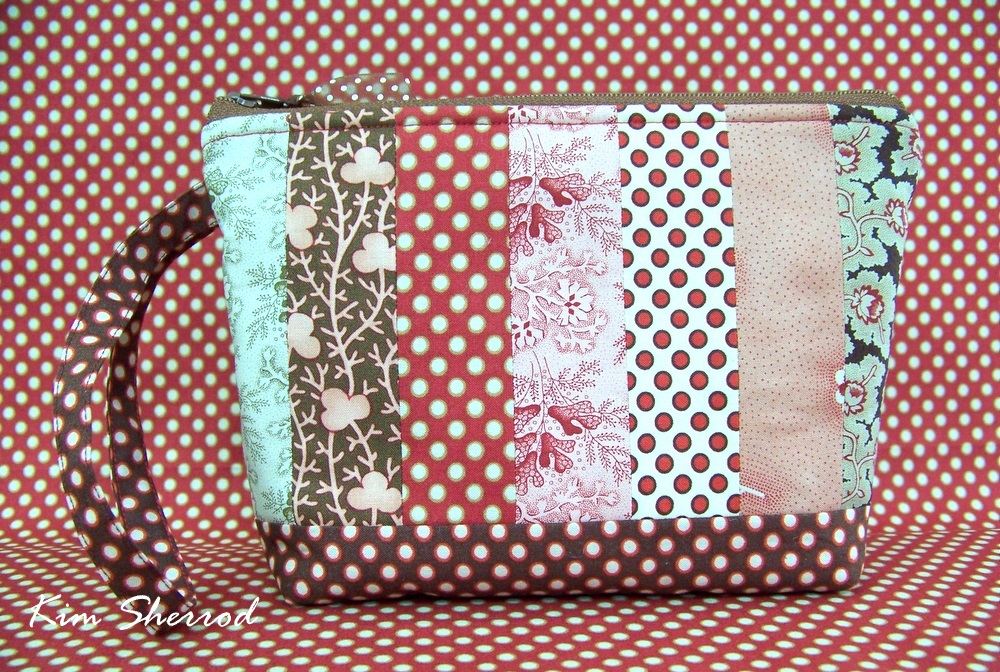
One zip pouch which finishes at approximately 5 1/2″ x 8 3/4″. If you would like to add the ribbon to the zipper pull, cut the ends on the diagonal and pull it through the hole in the zipper pull. Trim ends and heat set to prevent fraying.

Enjoy your new strippy pouch!
Kim Sherrod
![]()


