
![]()
Hi! Lisa Calle of Vintage Modern Quilts here today with a very easy project that will help you get a jump in your spring cleaning. A couple of years ago I bought a set of sheets that came with a handy little storage bag and I thought it was a great idea. The only problem? There was no way I’d ever be able to fold those sheets up as small and tidy as they were straight out of the package and they never fit into the bag again. So what’s a girl with a sewing machine and tons of fabric to do? Make my own cuter linens storage bag!
The hardest part of this project is folding that fitted sheet. I made mine for queen size sheets but it will fit king or full, as well. You may want to decrease measurements all over by 1″ to 2″ for twin sheets.

2 fat quarters (I used a pair of gray prints from V and Co.’s Color Me Happy line)
8″- 11″ of Velcro
Marking pen

Hand sewing needle and embroidery thread

Cut each of your fat quarters into a 14″ x 15″ rectangle. If you are using a directional print, the 15″ measurement is your length. From the remaining pieces of each fat quarter, cut a 6″ x 8″ rectangle. Set these smaller rectangles aside.
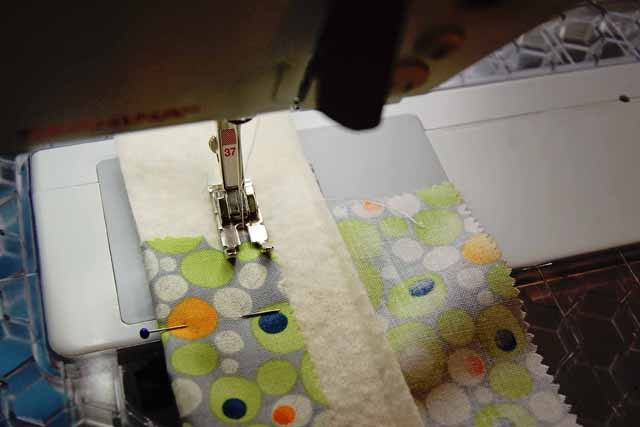
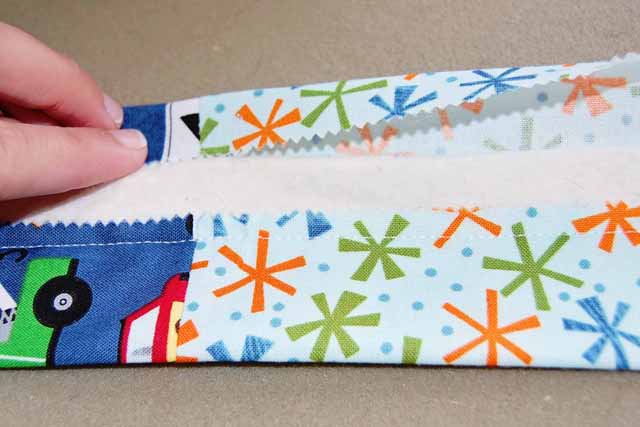
Sew a 1/4″ hem along the top of each large rectangle (or use a serger, if you have one). Trim a 2½” square from the bottom left and right corners of each rectangle.
Place rectangles right sides together and sew a ¼” seam along the sides and the bottom, leaving the top and the corners open. Be sure to back stitch at each edge. Press seams.
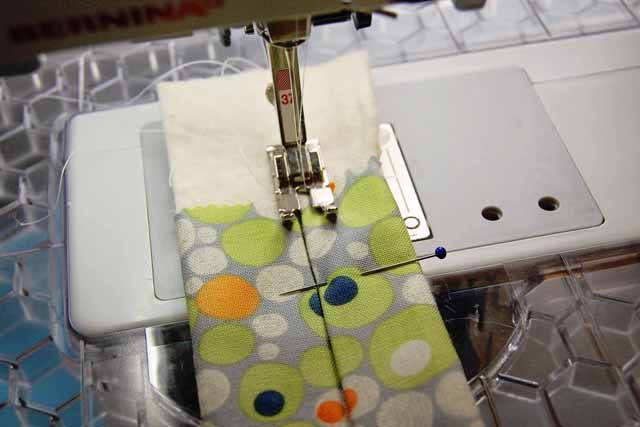
Box the corners of your bag to create depth. To do this, pinch the fabric together so that the seams line up as pictured.
Sew ¼” seam along each boxed corner, back stitching at the beginning and end of your seam.
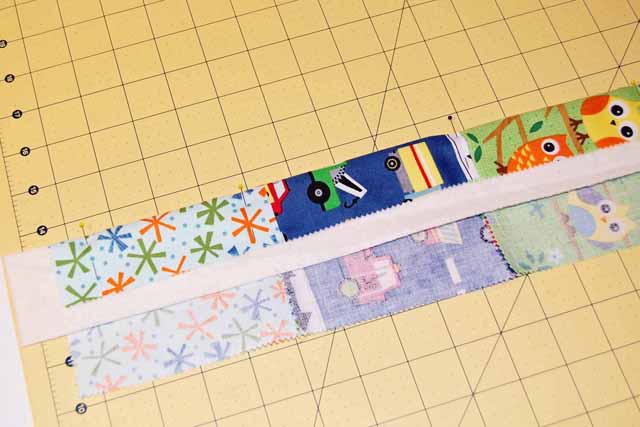
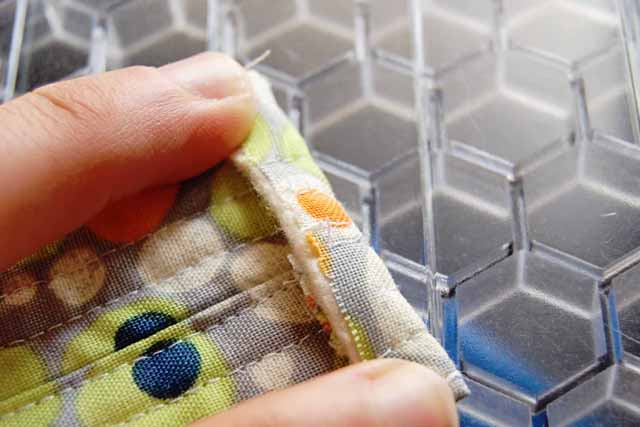
To create the fold-over flap of your bag, join the small (6″ x 8″) rectangles together along the long side. Press the seam to one side. Hem all sides of the resulting rectangle.
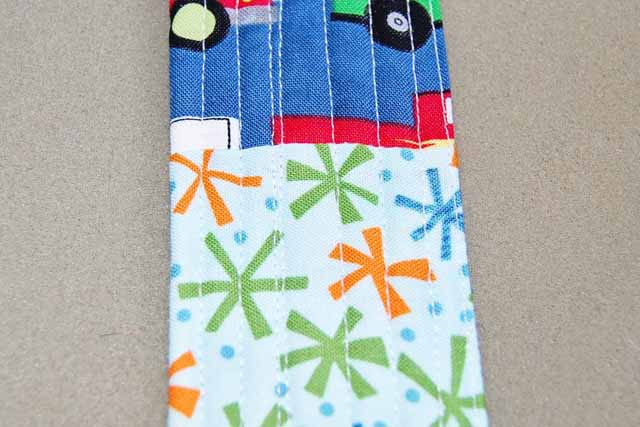
Determine which side of the bag will be the front. Find the center of the back of the bag and match up with the center of the flap, right sides together. Sew a ¼” seam to join these sections.
Pin one strip of the Velcro along the inside of the bag flap, close to the edge. Sew ⅛” around the Velcro to attach it to the bag. Put your folded sheets in the bag and close the flap firmly, marking where the edge meets (use a removable marking pen). Remove the sheets from the bag and pin the other piece of Velcro just a hair above your mark, again sewing a ⅛” around the Velcro to attach it to the bag.
That’s it! You are done. But if you want to take this project up another notch, use embroidery floss to add some important info to the bag. Are these sheets for the guest room? Your child’s room? Or maybe just add the size.

1 tidy linens bag
Lisa Calle
{vintagemodernquilts.com}
![]()


