My name is Sara and you can find me at www.knottygnome.com. This is my first bakeshop tutorial and I’m excited to bring you this hexagon quilt in two sizes. I love to play with color in textiles. In addition to quilting I engage in many crafts, like knitting, spinning, dyeing, crochet, embroidery, and sewing. Be sure to stop by my blog for a bonus tutorial that uses scraps from this quilt to make an improv pillow cover.

Stroller blanket:
1 Comma FQ bundle + 1/2 yd Bella solid 9900-11 (Snow);
155in binding using your preferred method
Batting: 40×48
Lap quilt:
1 Comma FQ bundle + 1 2/3 yd Bella solid 9900-11 (Snow);
2 1/4 yd yardage for backing;
290in binding using your preferred method
Batting: 76×80

I used the Fons & Porter Pyramid ruler, but I’ve also included a triangle template that can be found in the printer friendly version of this post.

Step 1: Choose your fabrics. Each fat quarter will yield 24 triangles, or 6 per 21” strip. A strip cut from yardage will give you 12 triangles.
For the Stroller blanket you will need 150 triangles. I chose extra fabrics for more variation but remember to keep 7 FQ intact for the backing
36 Black: 1.5 FQ
36 Grey: 1.5 FQ
12 Green: .5 FQ
12 Orange: .5 FQ
12 Yellow: .5 FQ
42 Snow: .5 yd
For the Lap quilt you will need 558 triangles. Remember to keep 8 FQ intact for the backing.
120 Black: 5 FQ
120 Grey: 5 FQ
60 Green: 2.5 FQ
48 Orange: 2 FQ
60 Yellow: 2.5 FQ
150 Snow: 1 2/3 yd
Step 2: Press your fabrics. I laid mine out 4 layers deep to save time. Square up your edge and cut fabrics into 4.5” strips.
Step 3: Line up your triangle ruler or template close to the edge of your strip. If using the template, align your cutting ruler with the edge of the template to help you cut a straight edge.
Step 4: Cut both sides of the template to complete your triangle.
Step 5: Remove 1/4″ from each tip to get rid of the “dog ears” and make the triangles easy to align when piecing.
Step 6: Flip the template and align it with the cut edge of the strip to begin your next triangle. Repeat Steps 2-6 until you have the correct number of triangles from Step 1.
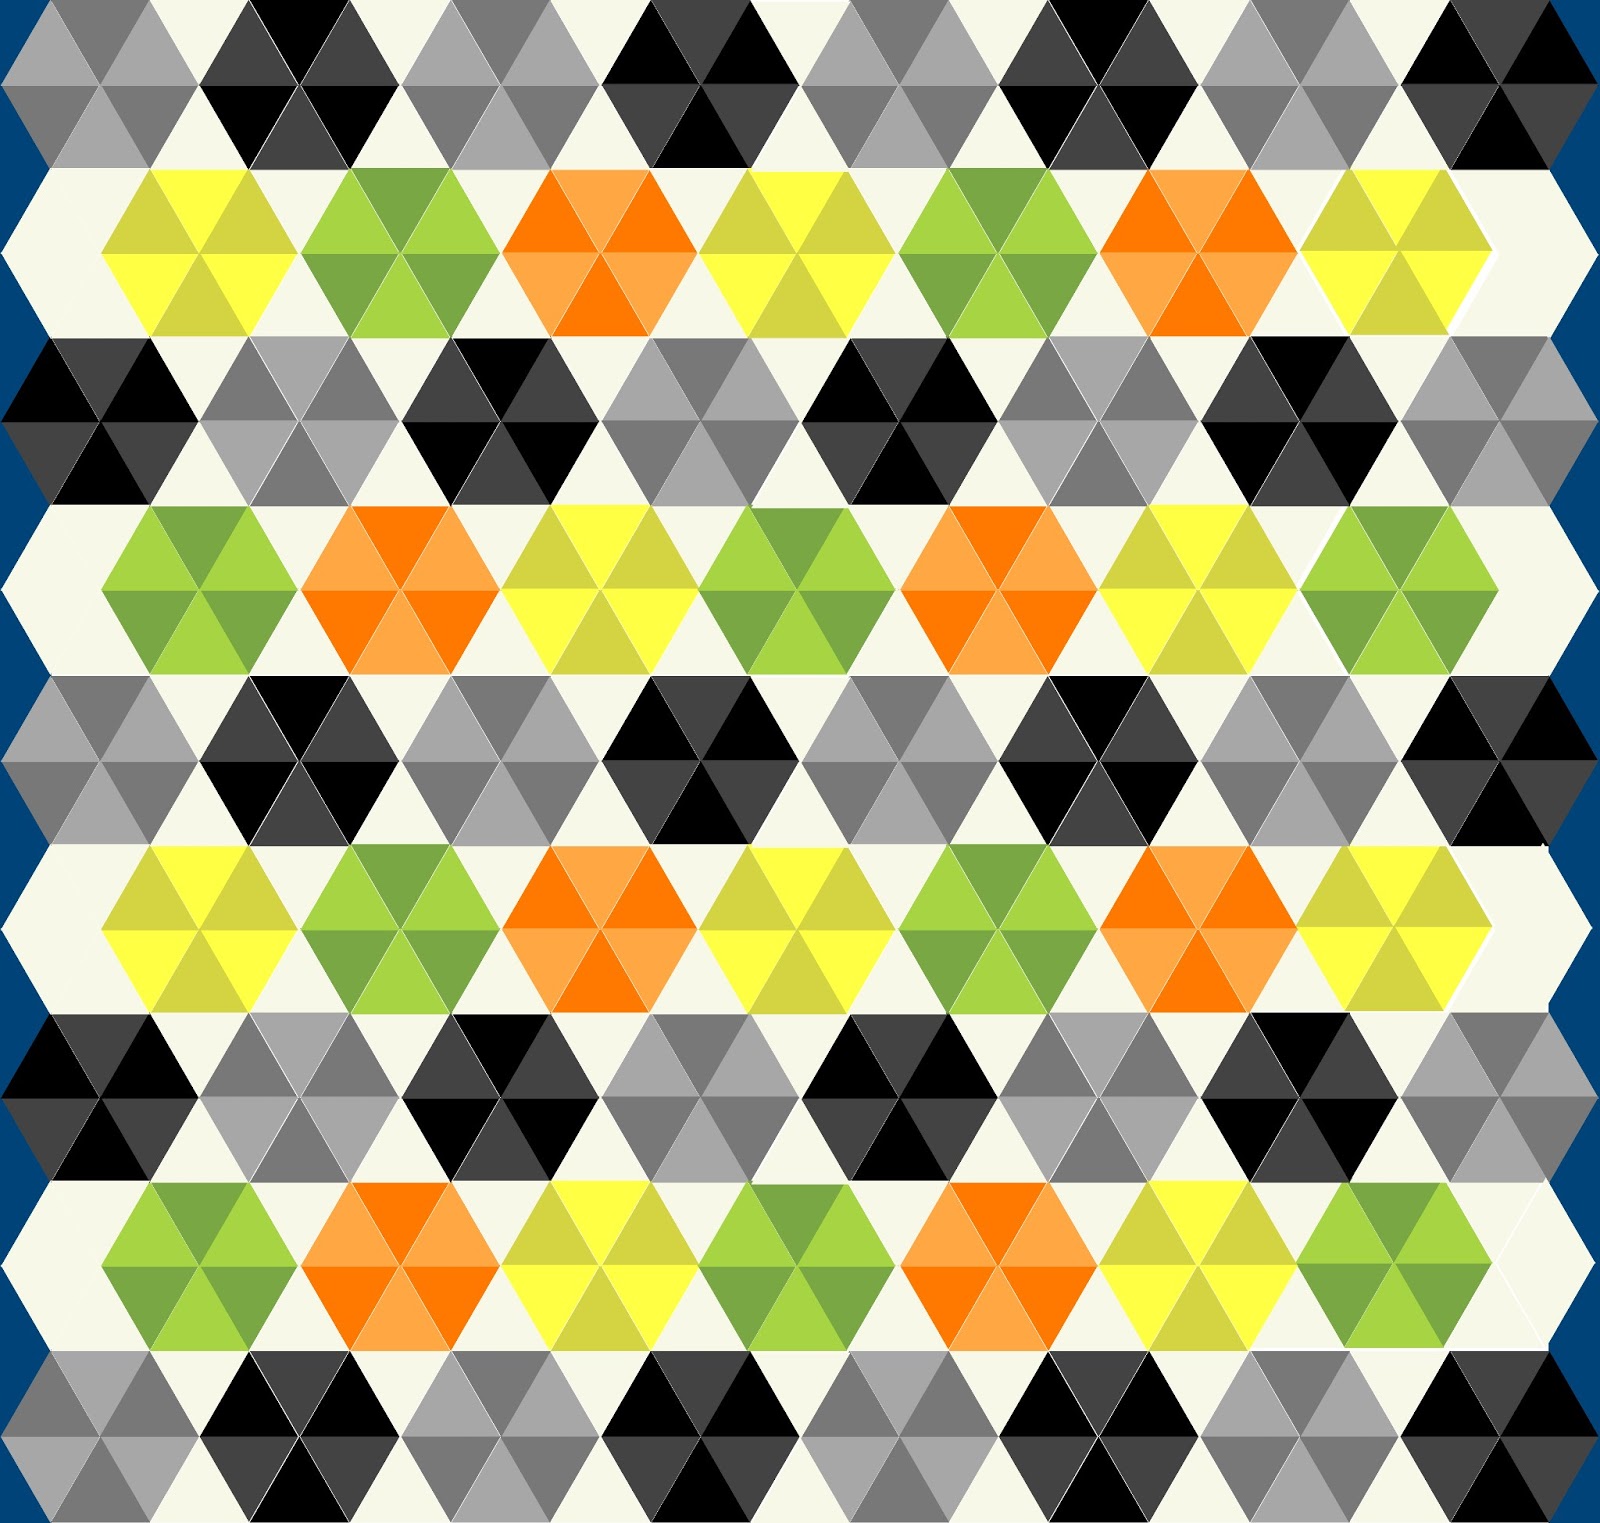
Step 7: If you have a design wall, lay out your triangles according to the diagram. I do not have a design wall, so I laid out a few rows at a time.
 |
| Stroller blanket: 10 rows of 15 triangles |
 |
| Lap quilt: 18 rows of 31 triangles |
Step 8: Stitch your triangles into rows using 1/4″ seam. Be sure to keep them in order when chain piecing. Press seams open, being careful not to stretch the triangles out of shape.
Step 9: Piece rows together in groups of 2 to form complete hexagons. Stitch rows together to complete top.
Step 10: Trim the 2 uneven sides 1/4″ beyond the first whole triangle in the row, making the top rectangular.
Step 11: Choose fabrics for the back, cut and layout according to the diagram. The Stroller blanket requires 7 fat quarters and the lap quilt requires 8 fat quarters plus 2 1/4 yd for the center panel. Piece together using 1/4″ seams.
Step 12: Make a quilt sandwich, baste, quilt, square up, and bind using your preferred method.

Stroller blanket: 31.5 wide x 40 long
Lap quilt: 67.5 wide x 72 long
Be sure to stop by blog.knottygnome.com for a tutorial on using up those trimmings.
Sara Peterson
{www.knottygnome.com}