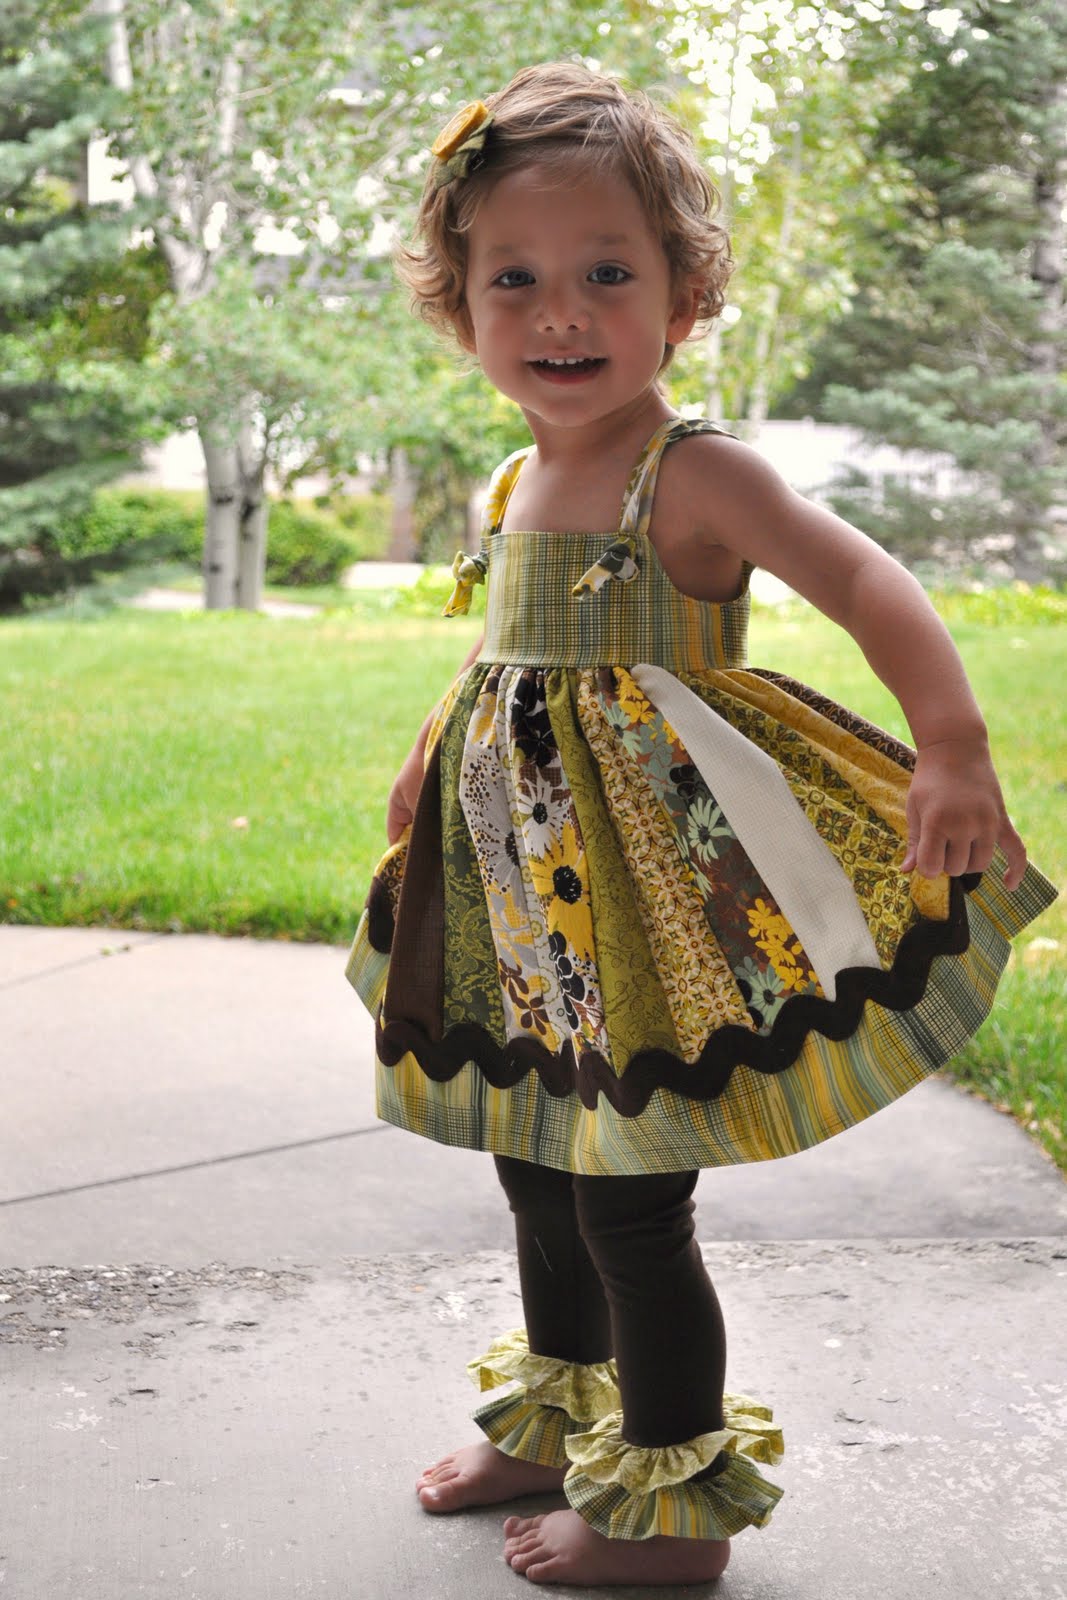
I used “It’s a Hoot” by MoMo in a layer cake for all of these projects.

The garnishes depend on which tutorial you try…some needs buttons, velcro, fusible interfacing, a shirt, or a onesie.

I completely fell in love with this line of fabric and decided that I wanted to make a lot of things with one layer cake. You’ll find 8 great, small projects that can all be made from one layer cake. Let’s get started.
1) Card holder. I am a sucker for punch cards, but I get frustrated when they are all on the bottom of my purse. I wanted to sew a little pouch for those cards or you could use it for business cards.
I used two halves of a layer cake square. You could use one square to make it, but I wanted to use two different fabrics so the lining would be different.
I ironed on some light-weight fusible interfacing to one side of one of the pieces so it wouldn’t be too flimsy.
Place right sides together. I sewed around the edges using a 1/4 inch seam allowance.
At the top I wanted mine to be rounded (so the flap would be rounded) so I found a round object and drew a half circle on the fabric as my guide. Invert and press.
Now you just have to fold it and do the topstitching. You can see how it’s going be folded to look like a little purse.
I stitched across the top of the pocket first. Then I folded the pocket as it should go and top stitched around the rest of the wallet. Your top stitch is also what holds the pocket in place.
Lastly I sewed on velcro for my closure and I sewed a button on the outside to cover up where the velcro is sewn. (It would be easier to sew the velcro on before you sew the folded pocket up. I got a little ahead of myself, though 🙂 You could also do a snap closure.
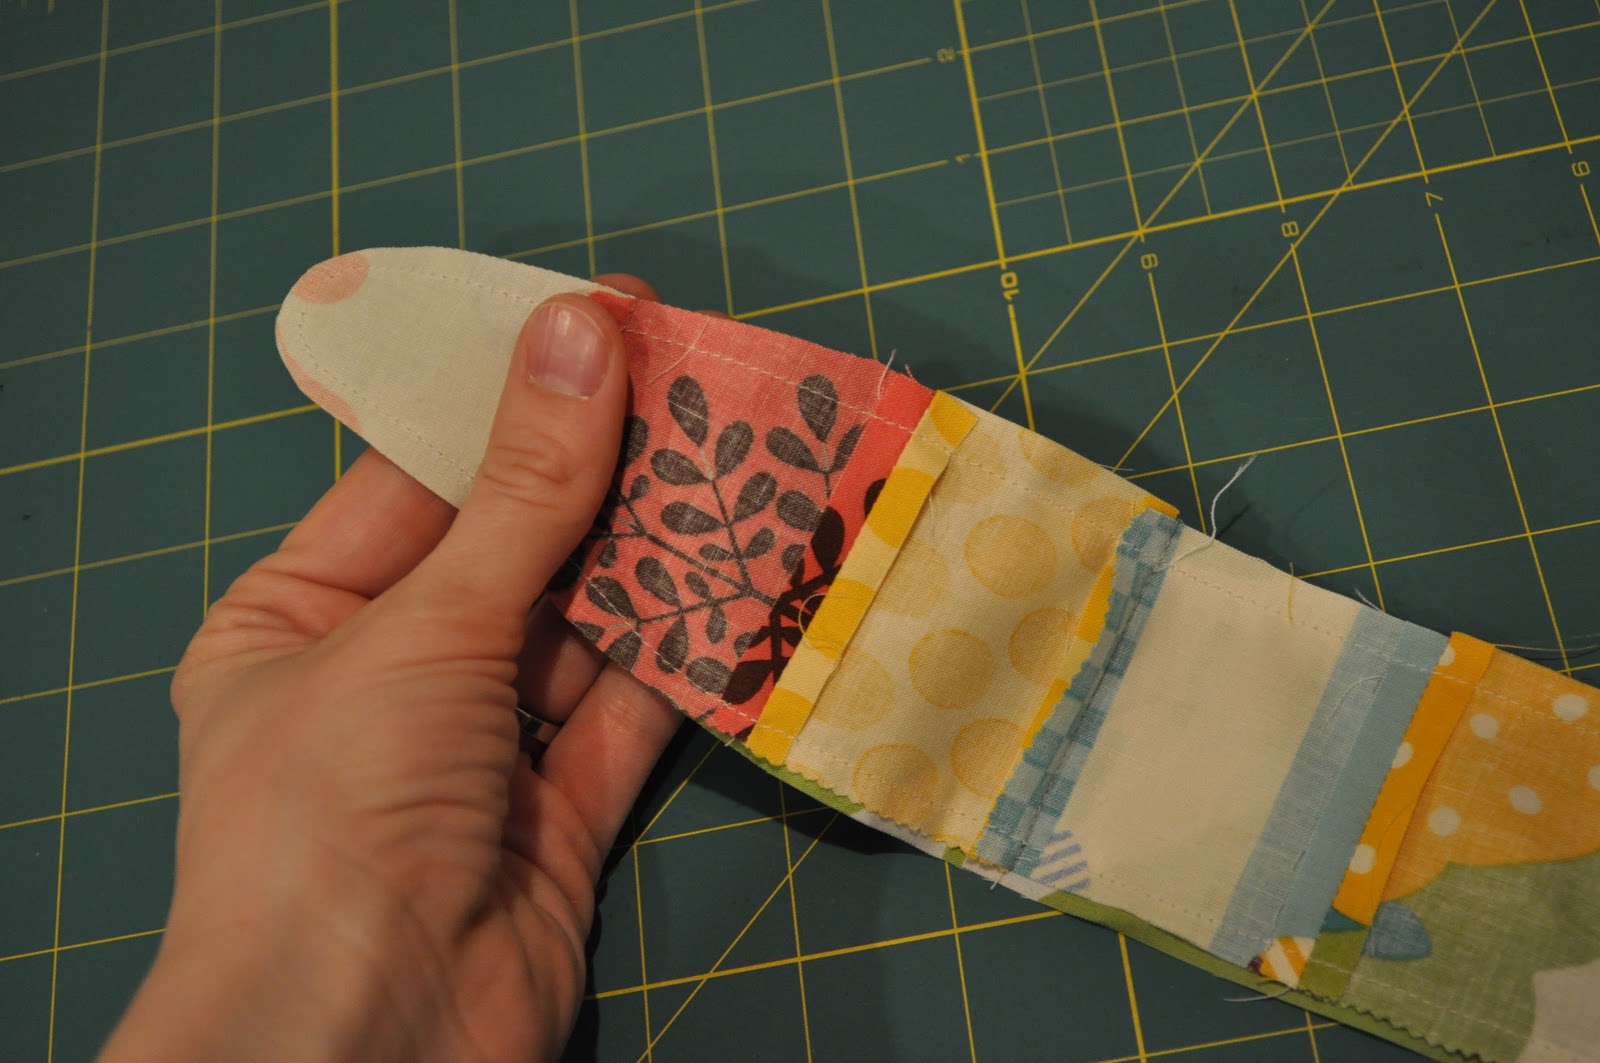
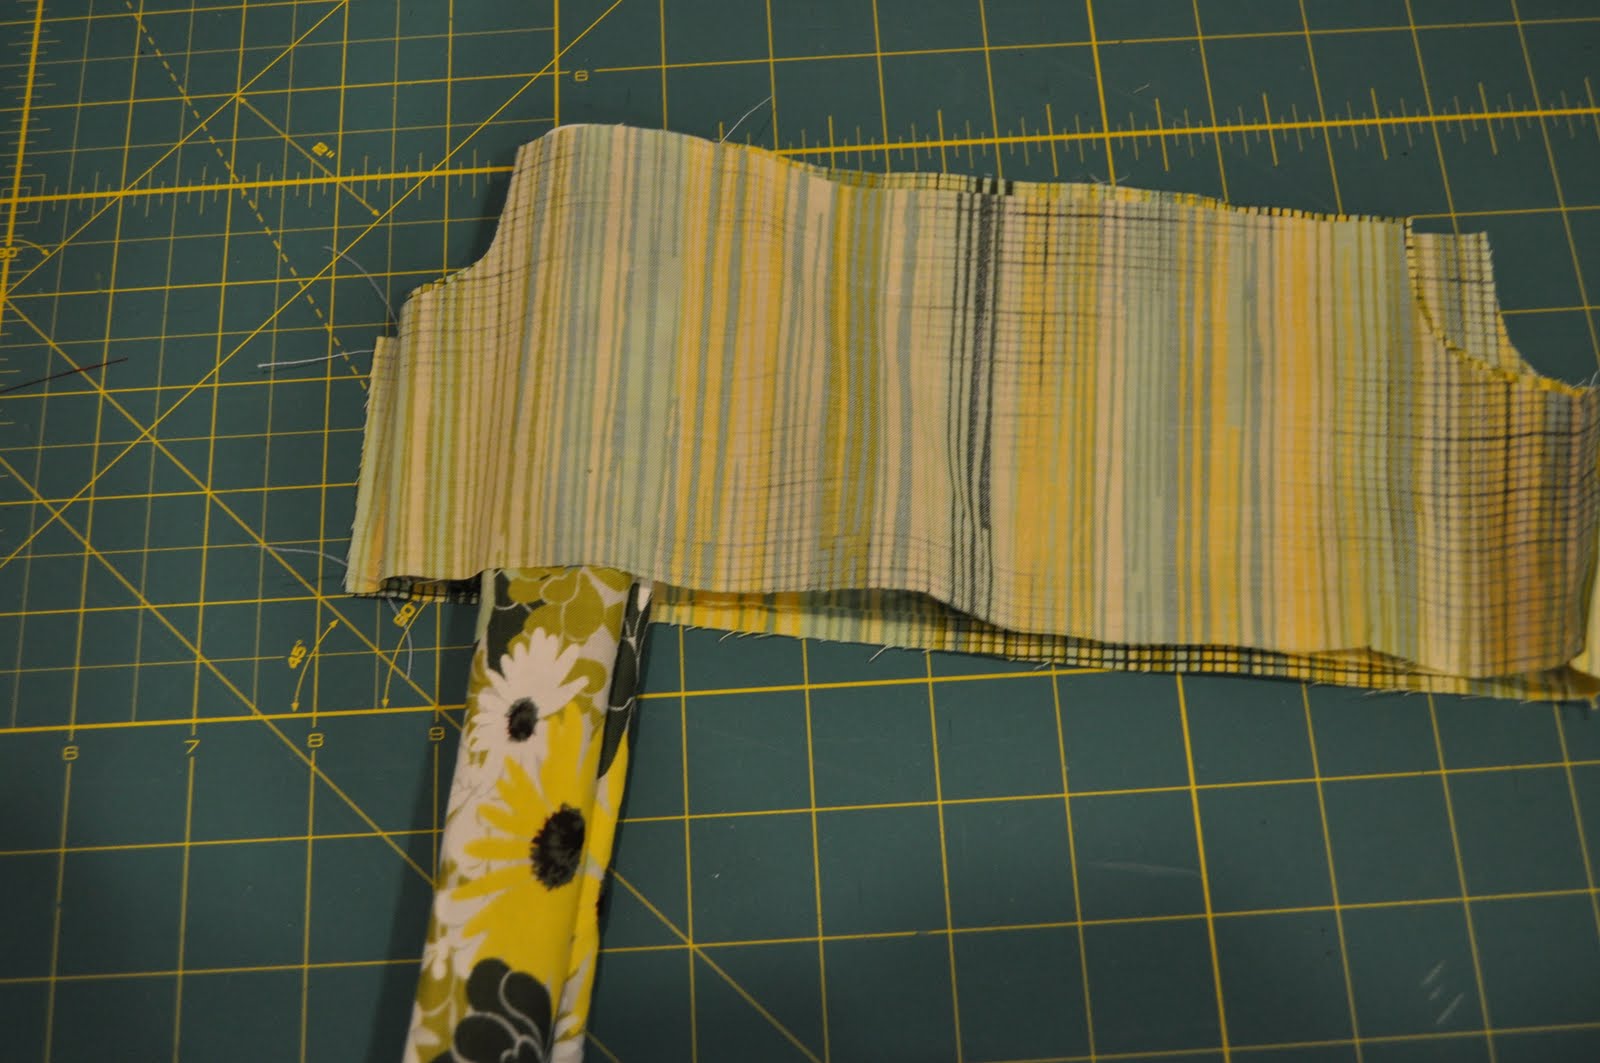
2) Pennant Flag Banner. I recently finished my craft room and I used the fabric for a couple of projects there as well.
I created a pattern of what shape I wanted the flags to be and I made sure I could get 4 out of each layer cake square. Right sides together, sew, invert, press.
I bought doubled sided bias tape, inserted each tab into the fold, and sewed down the line. I think this one would also be cute in a nursery.
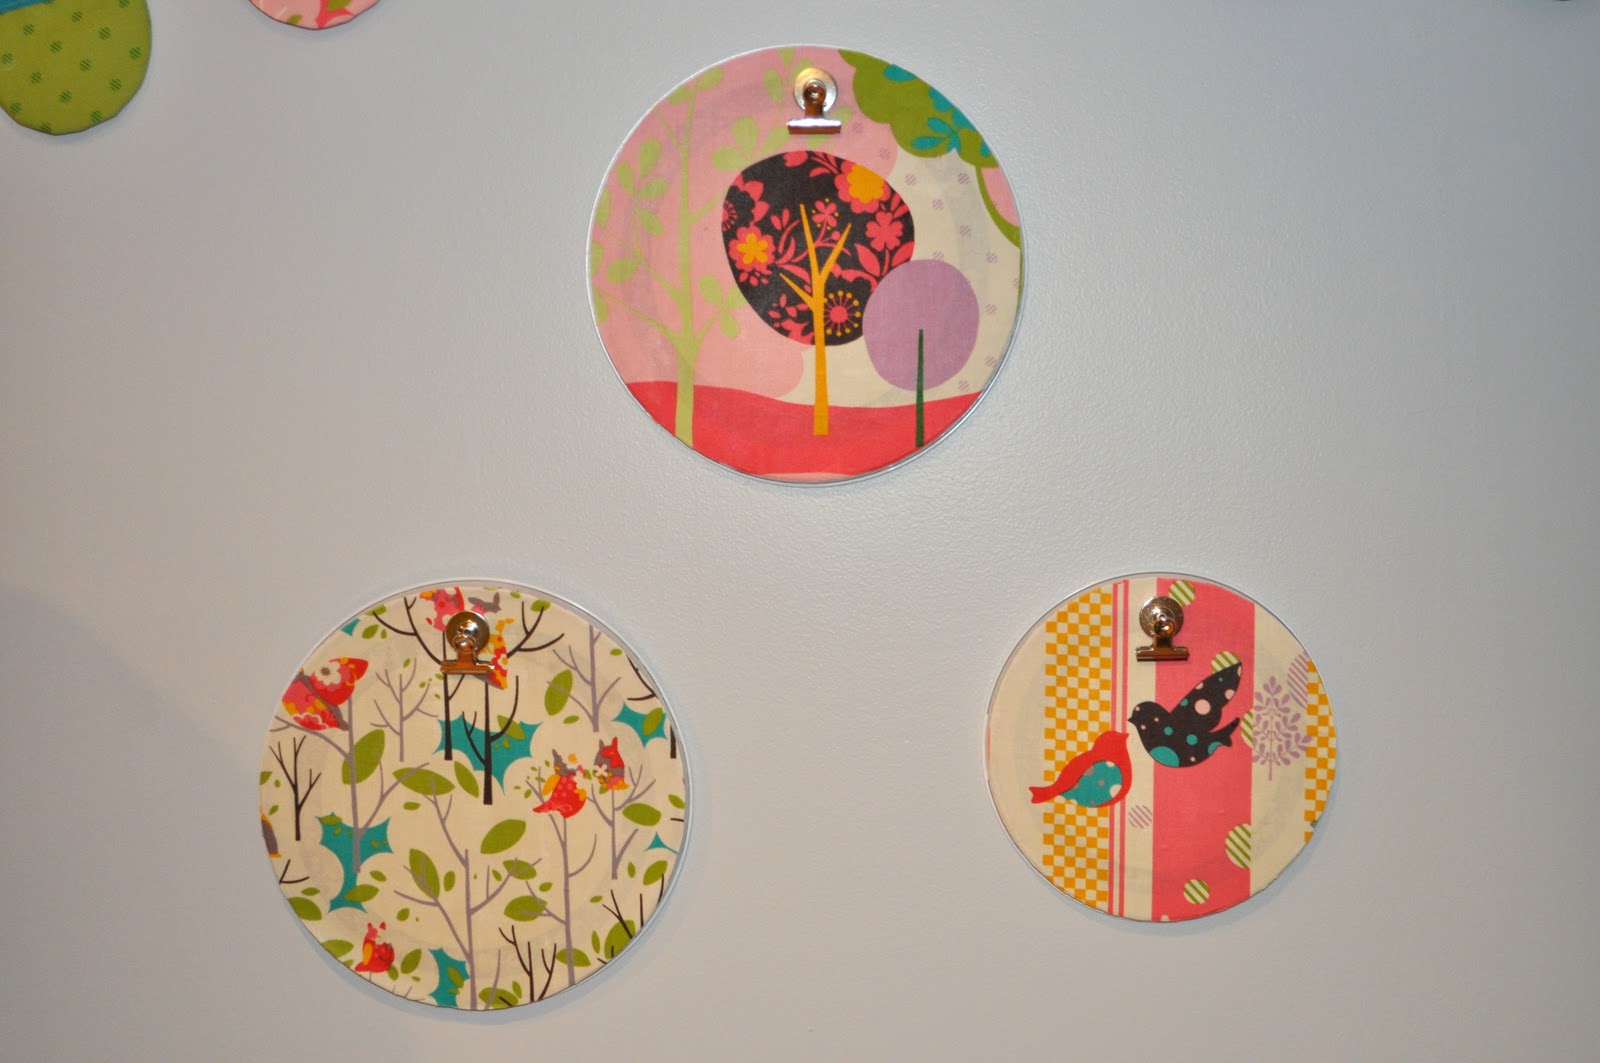
3) Inspiration Plaques. Along with the banner, I created some places to clip up any inspiration I find in magazines.
I bought burner covers from the dollar store. 2 come in a pack. I spray painted the edges since I didn’t want to have to fold the fabric over.
I spread a layer of Modge Podge onto the burner cover, laid the fabric on, and then spread on another layer of Modge Podge. Lastly I trimed the edges after it dried. I purchased magnetic clips, which cling to the burner covers since they are metal.
Voila! A fun, easy project to put more color on the walls.
4) I made a few bowties. This is my new
“Retro Pointed Bow Tie” pattern and it can be purchased
HERE.
5) Patchwork Headband. I love headbands, so I had my sister pick her favorites patterns and I made her a headband. (This is me trying it out 🙂
I cut 2.5 inch squares.
I sewed them to each other, creating a long line. I used 16 squares total and I pressed the seams.
I cut a long strip of fabric for the reverse side (from fabric I had lying around). I put right sides together and sewed it, tapering it at the end. I inverted it and pressed it.

Tie it on to spice up any outfit.
6) Homemade Heating Pad. This was super easy to make and would make a great gift. I’ve been using it on a regular basis since I made it.
I used 2 squares for this project, but you could use more if you wanted a longer one. I sewed the squares together and then cut them in half lengthwise.
Right sides toether, sew, invert, and press.
I stuffed it with rice and sewed it closed. Pop it on the microwave for a minute, wrap it around your neck and you’ll be toasty warm as you sit on the couch.
7) Applique. I love being able to use existing graphics or images from a fabric to make an applique. This line of fabric has some great options for this.
I simply cut out one of the birds (leaving plenty of extra fabric around it) and pinned it onto a onesie. I sewed around the edge of the bird twice and then trimmed fairly close to the edge (leaving about 1/8 an inch). I washed it so the edges would fray a little. It was also really easy and makes a great baby gift.
8) Mock-Henley Tee. I love to add something extra to my shirts just to give them a little interest.
For this shirt I cut a strip of fabric and ironed the edges under. The strip goes over the collar in the picture because I folded it over the edge to sew it. I sewed on the the whole strip and embellished it with covered buttons. (Follow the directions on the package to cover the buttons.)

One layer cake yields a LOT of any of these small projects. You can buy one layer cake and have lots of gifts for the upcoming season.
Cheri Heaton
{I Am Momma – Hear Me Roar}