
![]()
Hi, it’s Kristy here from Handmade Retro. You know how there are some times that you have the time and energy to work on something really involved and intricate and others where you just feel like a simple sew with very little cutting? This quilt is for those times like the second option. It is also a great option for simple graphic prints or novelty prints you don’t want to chop up too small.

1 x charm pack of Summersville by Lucie Summers

0.5 yard of Bella Solids in Betty’s Orange (9900-124), Kelly (9900-76), Christmas Red (9900-16), Horizon Blue (9900-111), Black (9900-99)

2.5 yards in Bella Solids Snow (9900-11) – for top and binding
3.75 yards for backing (I used the green leaf print – 31703 15)

For Quilting

DMC Perle 8 thread in Black (310), Orange (900), Green (702)
Finca Perle 8 thread in Red (1490), Verigated Aqua/Teal (9770), Cream (1211)

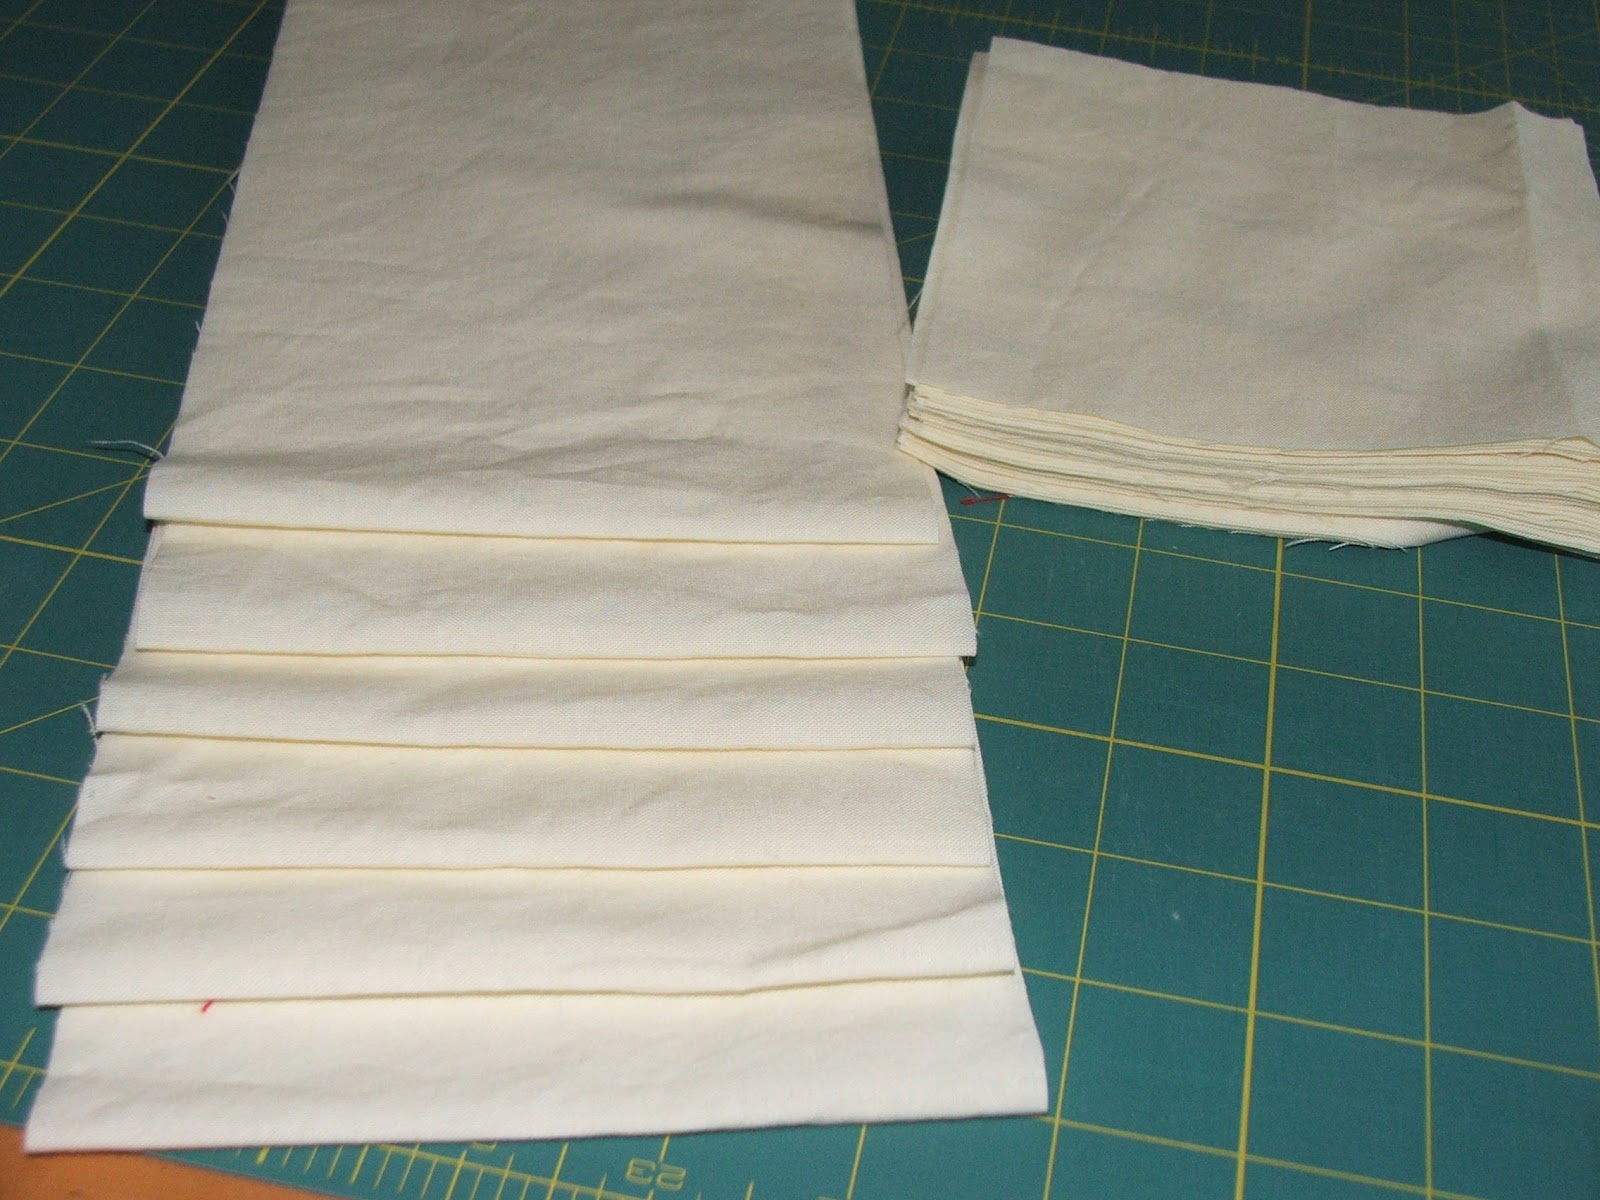
Cutting
From the cream solid
Cut 7 – 2.5″ strips – set these aside from the binding
Cut 12 – 5.25″ strips and cross cut into 5.25″ squares.
You will be able to get 7 squares from each strip – you will need 84 squares total.

Cut each of the squares into triangles in half from corner to corner – you will end up with 168.

From the Orange Solid
Cut 1 strip 4″ wide – cross cut into 10 4″ squares and then again into triangles in the same manner as the cream solid.
You need to finish with 20 triangles.
From the Red Solid
Cut 1 strip 4″ wide – cross cut into 10 4″ squares and then again into triangles in the same manner as the fabrics earlier.
You need to finish with 20 triangles.
From the Green Solid
Cut 2 strips 4″ wide – cross cut into 18 4″ squares and then again into triangles in the same manner.
You need to finish with 36 triangles.
From the Black Solid
Cut 2 strips 4″ wide – cross cut into 20 4″ squares and then again into triangles in the same manner.
You need to finish with 40 triangles.
From the Teal Solid
Cut 3 strips 4″ wide – cross cut into 26 4″ squares and then again into triangles in the same manner.
You need to finish with 52 triangles.
That’s it. All the cutting is done.
Sewing

Split your bundle into color families – in Summersville you will have 5 (from left to right – black, red, blue, green, orange). All the blocks will be constructed in the same way – just with the matching solid.
Find the center of two opposite sides of a charm square and finger press to mark. Take two corresponding color triangles and find the center on the long side in the same way.

Match the center marks and pin at the center mark and each end, you will have some overhang on each end. That’s a good thing.
Sew both seams.
Tip: I worked with one color at a time, pinning the triangles onto opposite side of all the squares of one color and then chain piecing them down one side and then the other.
Press the triangles open to end up with something like this. I recommend pressing your seams towards the triangle.

Find the center of the two sides without a triangle and finder press to mark. Do the same with the rest of the triangles and pin. Sew, chain piecing as before.

Press triangle out – you’ve got a square again! Trim the dog ears from the center of each of the four sides.

The cream triangles are added in exactly the same way – the only difference is I only mark the center on the triangle – I match this with the point of the charm square – this is not the edge of the seam on the edge of the block!

Sew a triangle on opposite sides, press out, repeat with the remaining sides. Trim the new dog ears.
Another square!
Repeat with all the other colors.
Lay out your blocks until you are happy with the distribution of the colours. You should have 42 blocks for a 6×7 layout.

When you are satisfied ,sew the blocks together in rows, then pairs, then fours, then join and add on the last row nesting seams between the blocks and pressing row seams towards the bottom of the quilt.

You have a quilt top!

Finishing
Tip: If you have joins or designs you want to match up the floorboards joints or tile grout lines can be helpful here!

For this quilt I hand quilted with Perle cotton No. 5 (see garnishes for colors I used) ¼” outside the print square and in a square inside the larger cream areas.


54″x62″ lap size quilt
Kristy Ward
{handmaderetro.blogspot.com}
![]()
