
![]()
Hi everyone! My name is Tammie Schaffer, and you’ll find me over at craftytammie.com. I try to make something everyday, and I love quilting! I’m here today with an easy, charm pack friendly quilt project. I’ve always called this an Hourglass block, but I recently learned when you put four of them together, it’s called a Yankee Puzzle Block. The quarter square triangle blocks stitch up quickly and with a little planning, the layout is easy too. Perfect for solids, it also makes a really fun scrappy quilt as well!

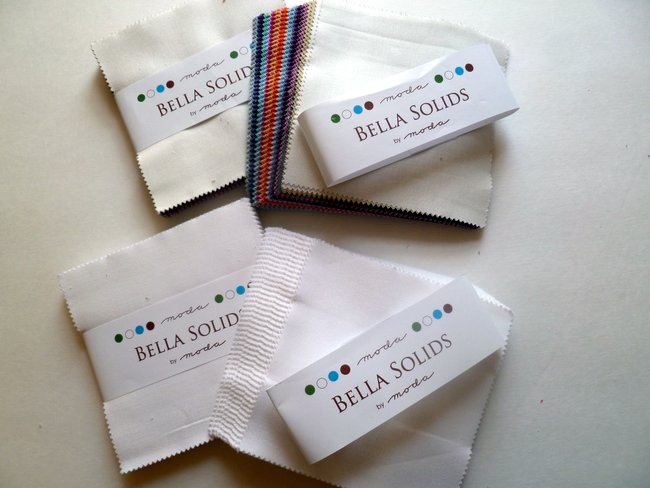
2 charm packs Bella Solids white
2 charm packs Bella Solids 2012 colors
3 yards Bella Solids white for sashing and backing
1/2 yard each Bella Solids Indigo, Peacock, Citrine, and Berrylicious
1/2 yard Bella Solids Graphite for binding

A design wall is recommended for laying out the quilt. If you don’t have one, you can use an inexpensive flannel backed tablecloth tacked to the wall.

Ok, let’s begin by sorting our charms. The 2012 colors charm pack comes with 20 colors, 2 each of most and three each of the indigo, sand, and graphite. Set aside the 2 off white charms (9900-200) in each pack for another use. Then pair up a bright white charm with a color charm, until all your charms are matched up. You won’t need all of them – I made extras to have options. You need 50 pairs for the Yankee Puzzle blocks. The border and backing uses a few extra.

Next you’ll want to mark the diagonal lines on the white charms. There are many methods to do this, I prefer to use a quilter’s ruler to mark both the stitching and cutting line. I feel like I get a more accurate HST when I do this. But you can use whatever method you prefer.

Chain stitch your blocks. There’s something so satisfying to me about chain stitching! Be sure to press them flat before cutting apart. Then press again.

You now have a pretty stack of HST. Begin matching them up, solid to white, lining up the seams. I like to pin each end, and feel along the center seams to make sure they have nested evenly.

Again, mark your diagonals, and chain stitch your blocks. Press, cut apart, and press again.

Yay! Look at your perfect points and pretty quarter square triangle blocks!

You’ll want to square up your blocks and cut off the dog ears at this point. I use a square ruler and a rotating cutting mat to make this step go faster. Square them to 4 inches. I like to keep it all in a basket I can carry with me around the house – squaring up at the kitchen counter, or while I watch TV.

Now the real fun begins! Start putting together groups of 4 blocks. We’ll be making a block I recently learned is called a yankee puzzle block. Using 4 quarter square triangle blocks, arrange them as shown. 12 of them start with a horizontal hourglass in the top left corner, block A.


Quilt as desired. My friend Ariane from Callie Grace Quilts quilted this for me, and it’s just beautiful! She chose a paisley design for all the white, and a loopy outline in the hourglass blocks. It is awesome. She’s giving away $50 worth of quilting services over on my blog so be sure to stop by!

I used Graphite for the binding, and used four leftover charms at each of the places where I had a hourglass in the border. Another little use of the extra charms! I cut my binding, 5 strips, 2 3/4″ by WOF.

If you make this, I’d love to see it! Be sure to add it to the Moda Bakeshop flickr pool. Stop by my blog to see another version of this quilt, and enter the giveaway going on too…

one lap quilt, 42″ x 60″
Tammie Schaffer
{craftytammie.com}
![]()
