My name is Judy Gauthier. I have been a critical care nurse for 30 years and a couple of years ago I decided to open a quilting and yarn shop. I have been sewing since I was 9 years old. My first love was garment sewing, and then the quilting bug hit me. I have always loved fiber arts and fabric. My shop, Bungalow Quilting and Yarn, is located in Ripon Wisconsin. It is a contemporary quilt shop with yarn and knitting supplies. It has done very well. We are entering our second year of business. Fabric, especially bright and contemporary, just speaks to me. I can’t seem to get enough!

One Jelly Roll, Posh Pumpkin by Sandy Gervais
Three Mini Charm Packs, Posh Pumpkin by Sandy Gervais
One Yard of Moda Bella Solid, Sienna
One Yard of Moda Bella Solid, Cheddar

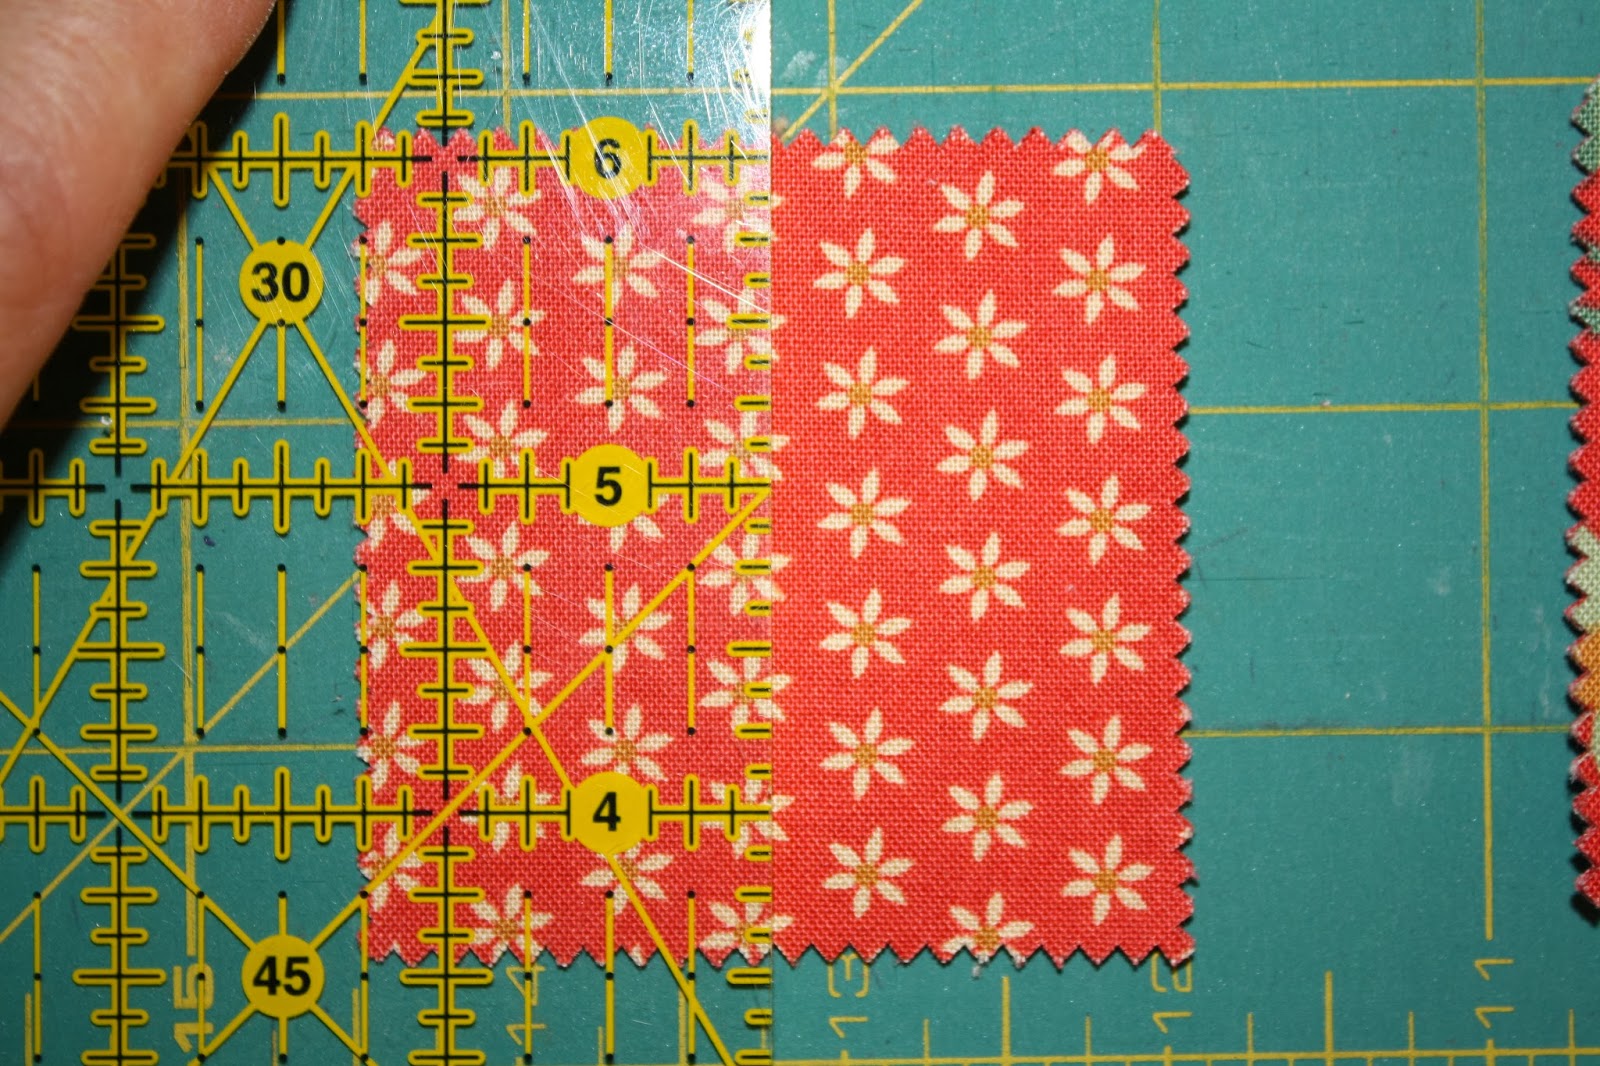
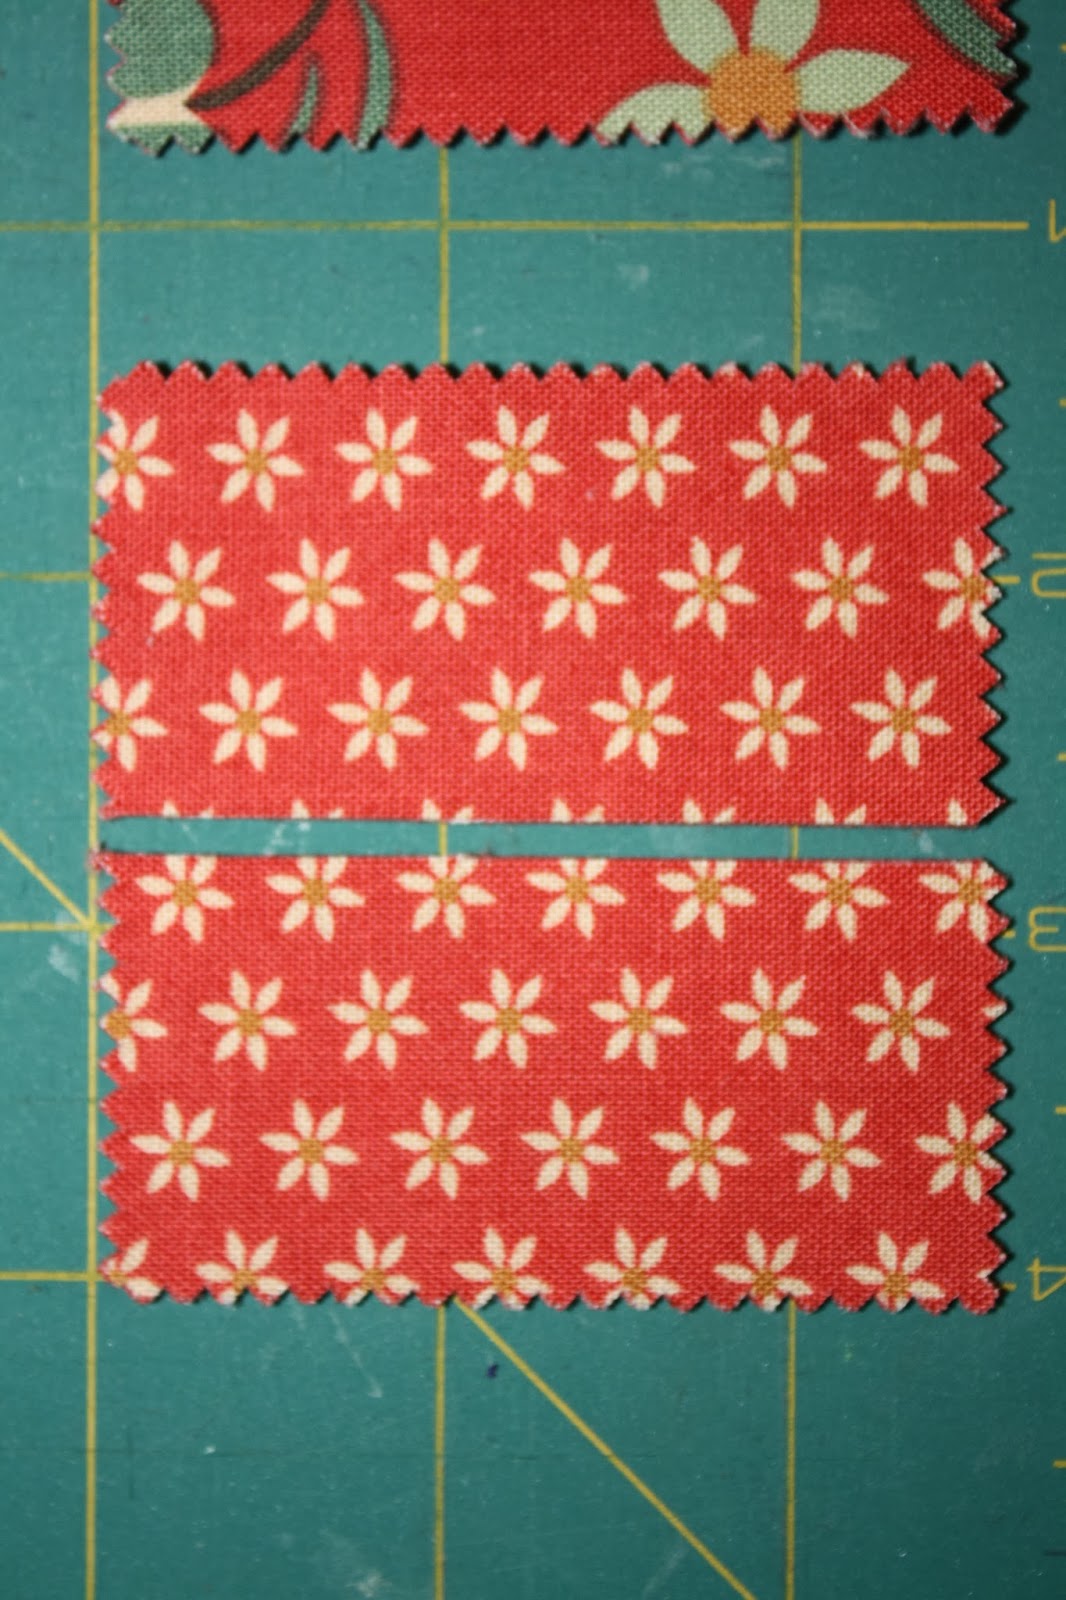
From the Sienna Moda Solid, cut 42 bricks. Bricks are 5 1/2 inches x 2 1/2 inches.
From the Cheddar Moda Solid, cut 3 fat quarters. These must measure 18 inches x 22 inches.
Find 2 of the darkest strips from the jelly roll and cut 3 – 18″ pieces from them. Set aside.
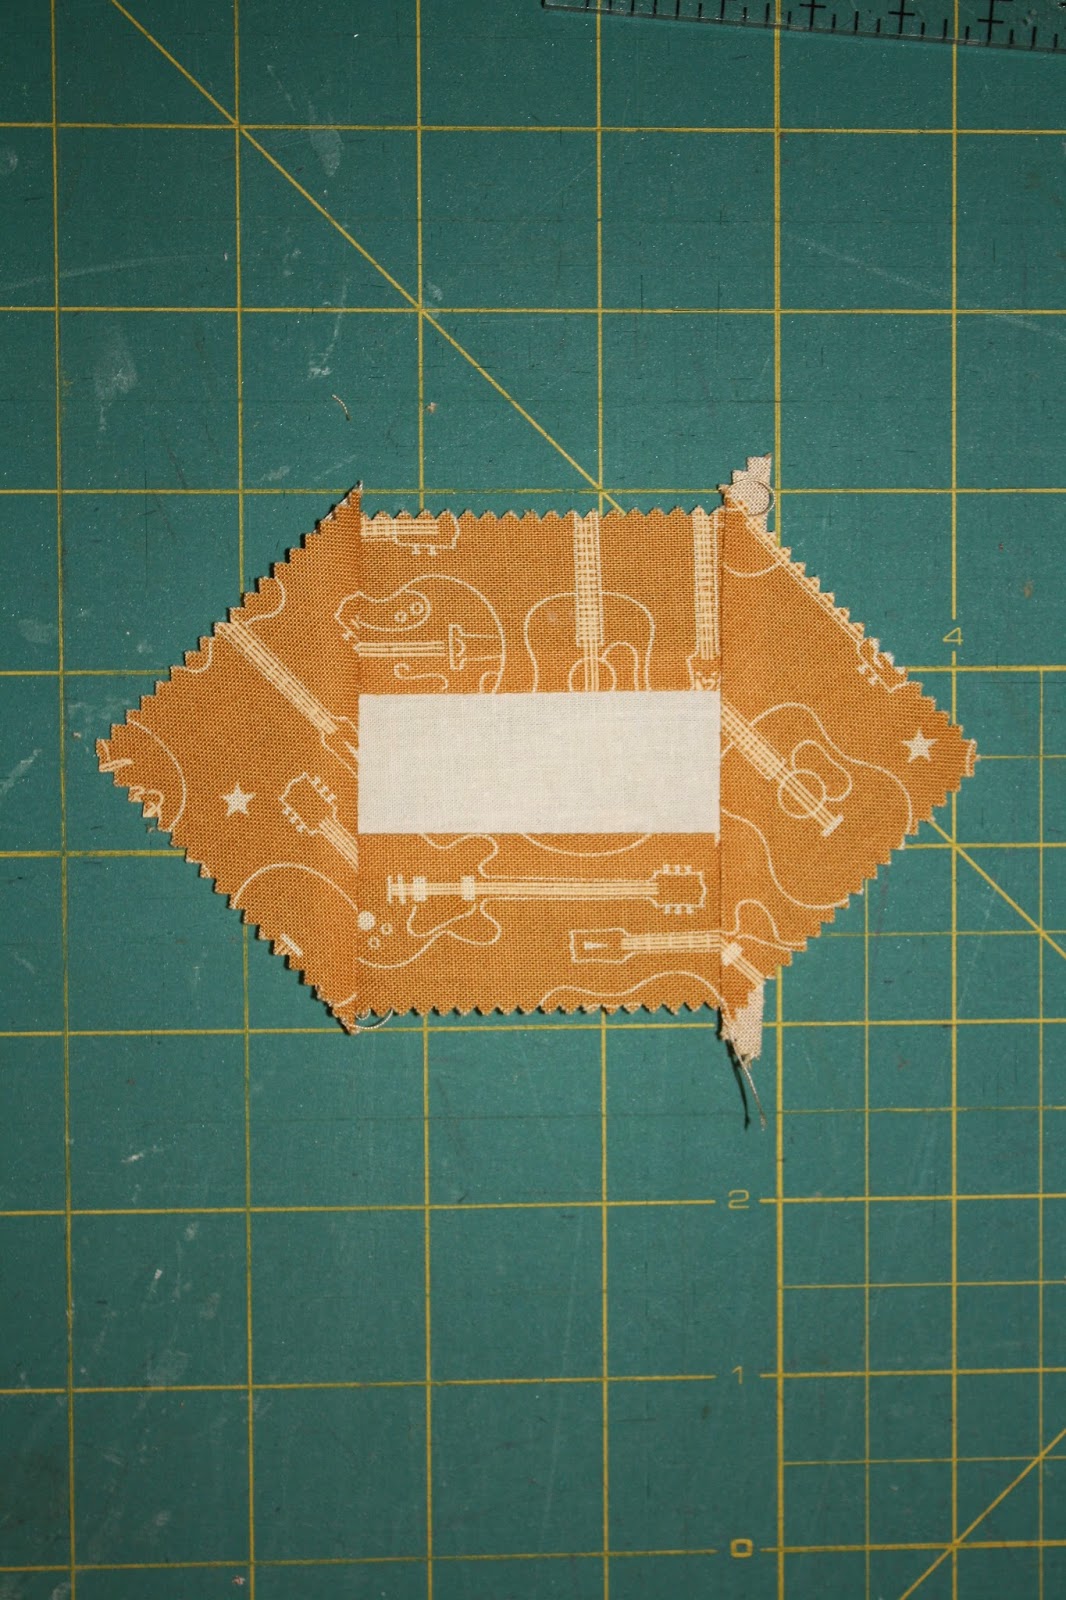
Taking one of the strips from the jelly roll, add a brick to the end of it by stitching the 2 1/2 inch end of the brick to the 2 1/2 inch end of the jelly roll. Press the seam down toward the brick. Take another strip from the jelly roll and add it to the brick and jelly roll unit that you just created by sewing the 2 1/2 inch end of the jelly roll to the 2 1/2 inch end of the brick. To that unit, add another brick to the jelly roll strip in the same manner as previous. Continue in this manner until all the jelly roll strips and bricks have been used.
You will have a very long strip that measures approximately 1700 inches long.
Subcut this long strip into 34, 36 inch strips and 34 12 1/2 inch strips. Set aside.
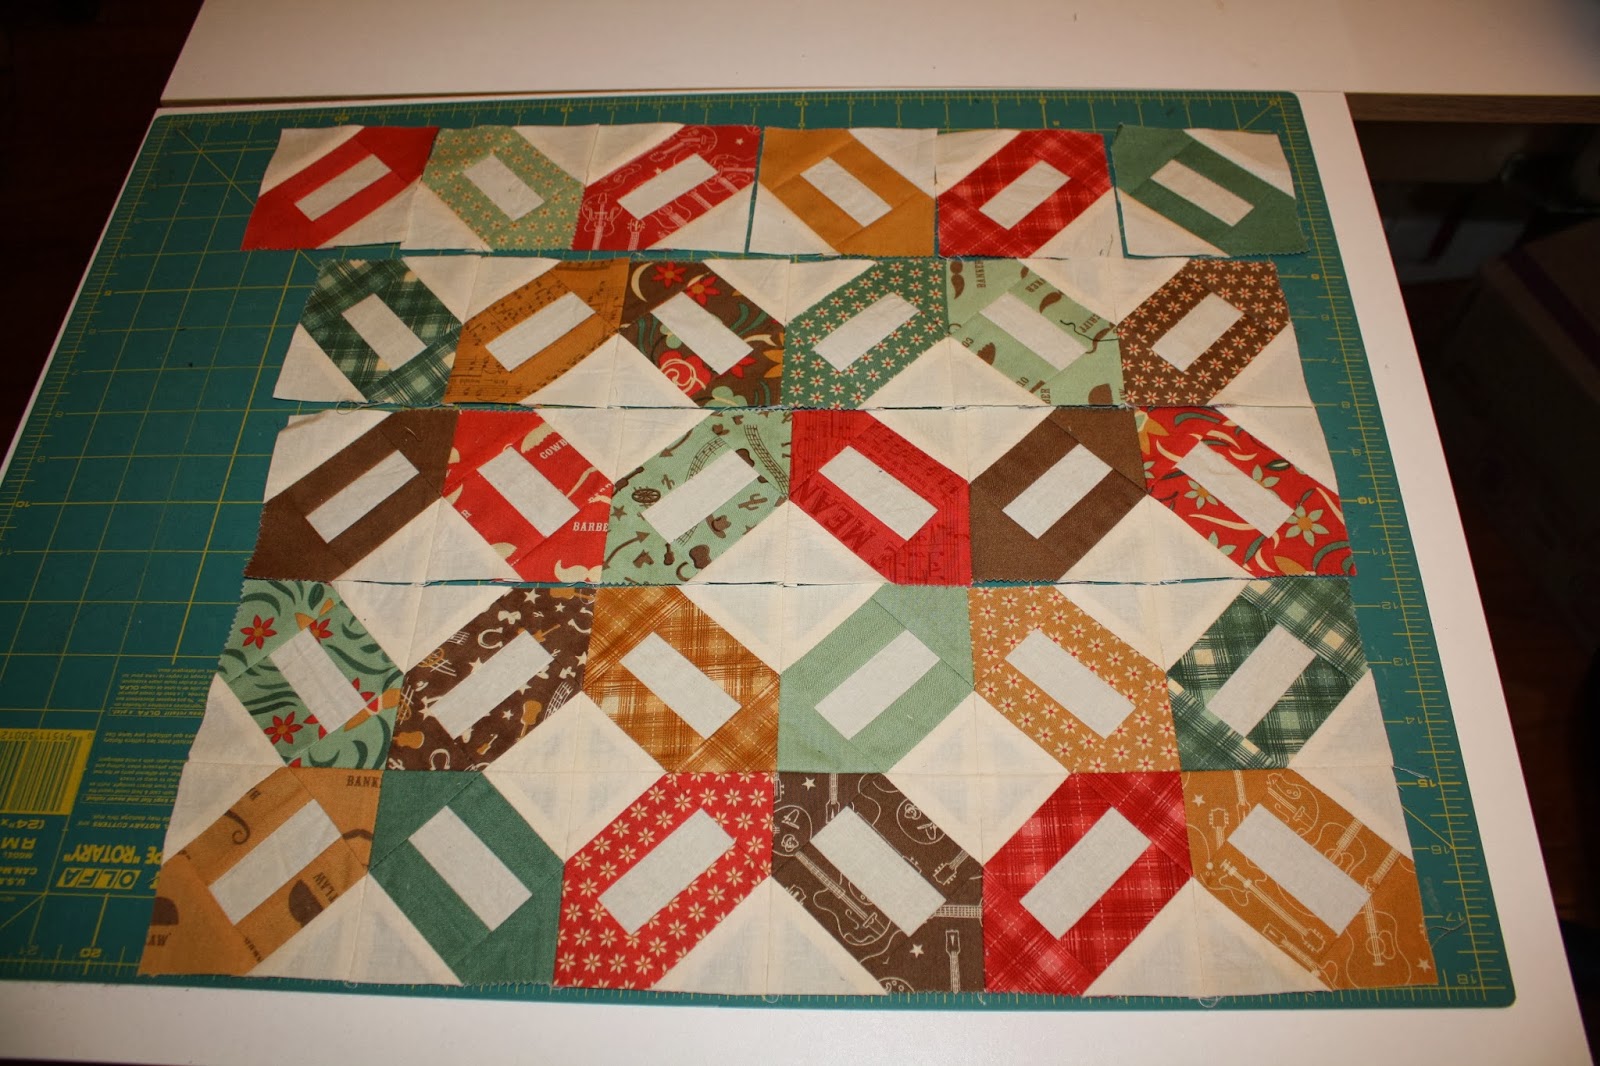
Using the 3 mini charm square packs make 3 units. The three units will be 6 squares x 7 squares. You will sew 7 columns of 6 squares and sew these together to make a rectangle. Press the seams flat.
Fold these in half lengthwise and press with the iron. Fold them in half again, widthwise, and press. These will be cut into circles. Each unit will make one circle for the trees.
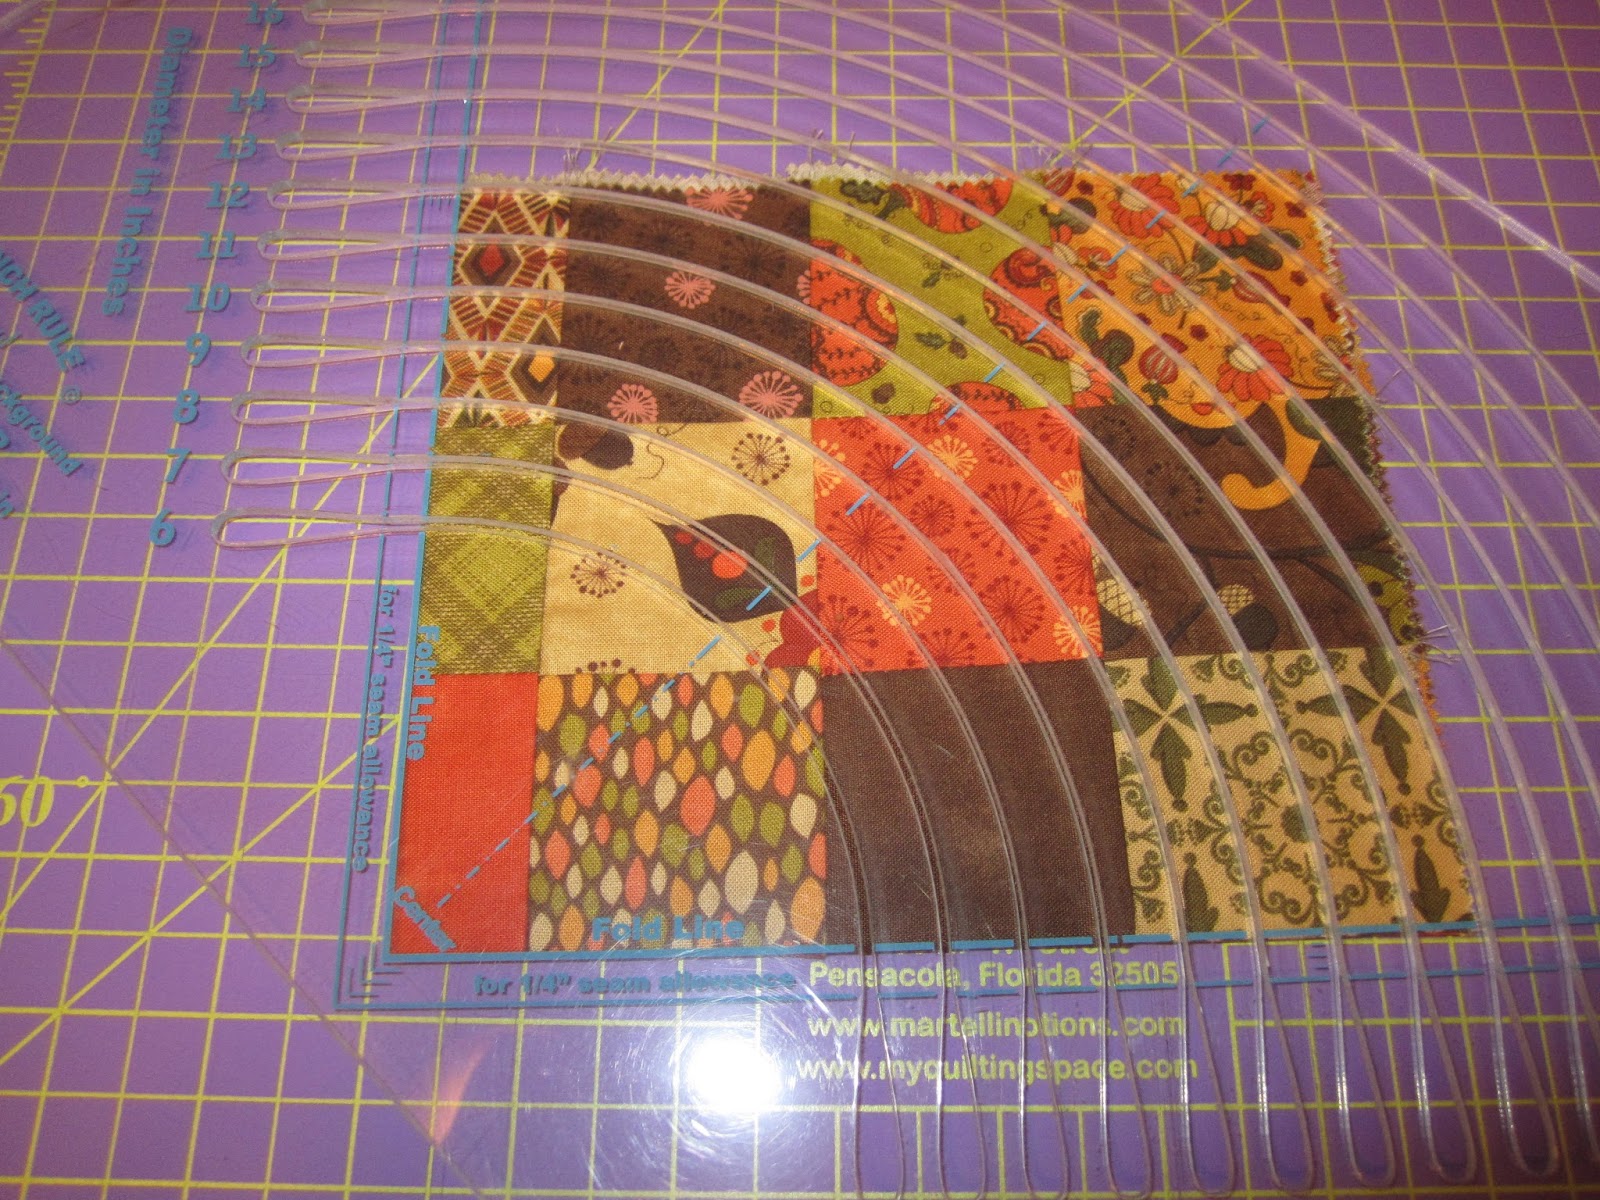
From each of these folded units, you will cut one 11 1/2 inch diameter circle. You may use a circle cutter to assist you, but remember that these must be one inch larger than the circle that they are to be set in to. These will be set into the Bella Solid fat quarters. The folded point will be the center of your circle. Cut these into 11 1/2 inch circles.
Now, take the 3 fat quarters that you have cut from the Moda Bella Solid Cheddar fabric. You are going to cut circles out of these so that you can set in the patchwork trees.
Fold the entire fat quarter in half lengthwise and press.
Then, fold it again but not in half. This time you are going to fold it down but leave 4 inches of it unfolded on the bottom, as shown:
Press again. You will be cutting a circle out from the folded edge of the fat quarter through all 4 thicknesses. The circle must measure 10 1/2 inches in diameter, no larger. You can use any of the circle cutters on the market to assist you, but it must measure 10 1/2 inches in diameter. If you are using a circle cutter to assist you, then make certain to follow “The Inch Rule”. This rule says that for set in circles, you must always cut the background frame one inch smaller than the circle you want to set in.
Cut out a 10 1/2 inch circle.
Now you are going to set the patchwork circle made from the Moda Mini Charms into the Bella Solid fat quarter. Where you have pressed there will be 4 creases. You will match the creases on the patchwork circle to the creases on the Bella Solid Circle, and right sides together, sew the patchwork circle in to the solid circle.
Press the seams toward the center of the circle. Do this for all three trees.
Now, take the 3 dark strips that you originally cut to 18 inches from the jelly roll and sew one to the bottom of each of two of the tree units. The ones that have the strip sewn to the bottom will be the top tree and the middle tree. Press the seam allowance toward the strip.
Now you need to create the tree trunks. This is where you will use the remainder of the Sienna Bella Solid. Draw a tree trunk and transfer to the Sienna Bella Solid. Mine was drawn free form. You can make all three the same or change them on each tree.
Using your favorite applique technique, applique a tree trunk to each tree. When you’ve finished with the applique, sew the 3 tree units together so they appear in a column as below:
Now, you are going to take the 34 strips that you have cut to 36 inches and sew them together along the long edges of the strips, stacking them and pressing the seams as you go, until you have used all 34. Sew the entire unit of strips to the right side of the tree column. Press the seam.
Then you are going to take the 34 12 inch strips and sew them together along the long edges, stacking them until all 34 have been used up. Sew the entire unit to the left side of the tree unit. Press the seam.
Layer with batting, quilt, and bind.

One Quilt the is 66″ x 66 to remind you of fall all year long!
Judy Gauthier
{www.bungalowquilting.com}