

1 Punctuation Charm Pack
1 yellow fat quarter for “CHORES” background
1/2 yd. of red stipe fabric for border, pockets, binding and sleeve (for hanging)
1 1/8 yd. of 3/4″ black rick rack
1 solid cream fat quarter for chore lables and pocket linings
8 1/2″ x 11″ piece of freezer paper
1/3 yd. of 17″ wide double sided fusible web (such as Heat ‘n Bond)
5/8 yd. for backing
batting

Fray Check
1″H x 22″W flat piece of wood to go inside sleeve
3 yards ribbon for hanging
3 iron star “buttons” for hanging (I got mine at Rod Works in Lehi, Utah)

Note: assume 1/4″ seam allowances, unless otherwise specified.
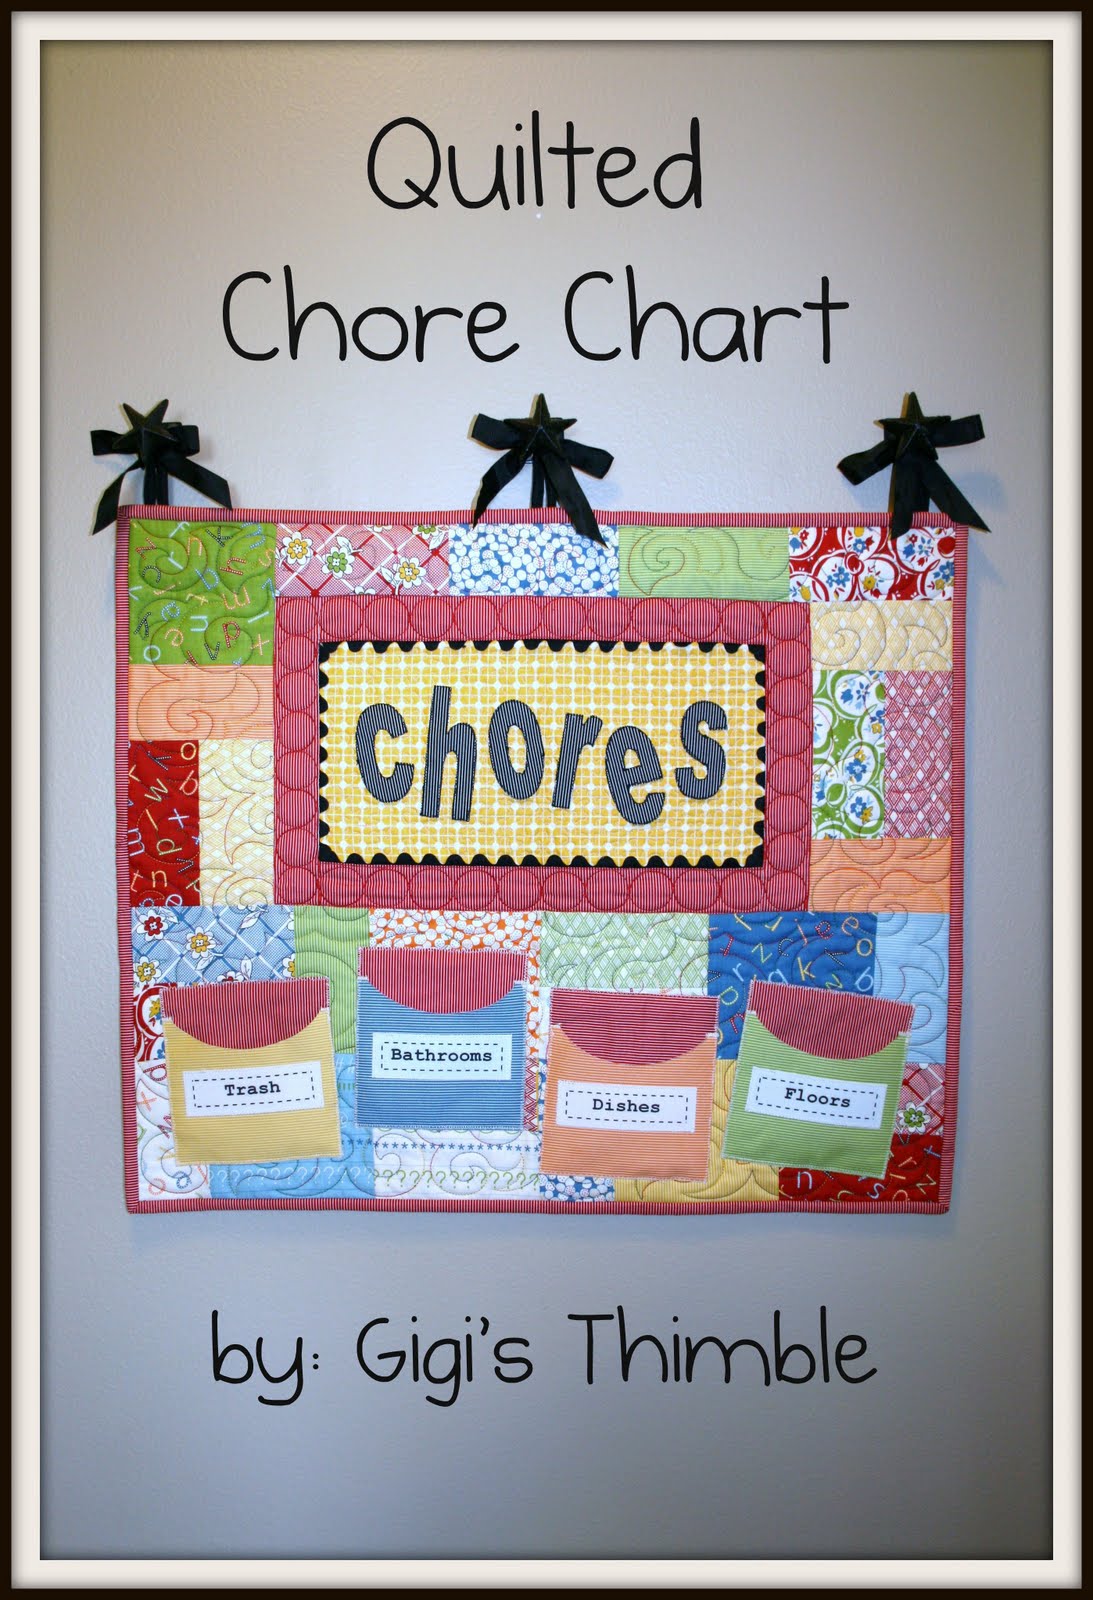
1. From the yellow fat quarter, cut one 6 1/2″ x 12 1/2″ rectangle. Sew a 13″ piece of rick rack onto both of the long edges, using an 1/8″ seam allowance (see photo below for rick rack placement guide.) Trim off ends.
Next, sew two 7″ pieces of rick rack onto the shorter sides of the rectangle. Trim off all excess (including the rick rack that hangs over the edges of the rectangle around the perimeter.) Set rectangle aside.
Next, sew two 7″ pieces of rick rack onto the shorter sides of the rectangle. Trim off all excess (including the rick rack that hangs over the edges of the rectangle around the perimeter.) Set rectangle aside.

2. Trace the reversed letters “C-H-O-R-E-S” (which are included in the “printer friendly version” at the bottom of this tutorial) onto the paper side of double sided fusible web. Roughly cut out the letters and iron onto the wrong side of two 5″ charm squares.

Cut the letters out on the drawn lines.

Peel off the paper from the fusible web, lay out the letters on the yellow rectangle and iron in place.

Machine applique around the letters using a small zig zag stitch and matching thread.


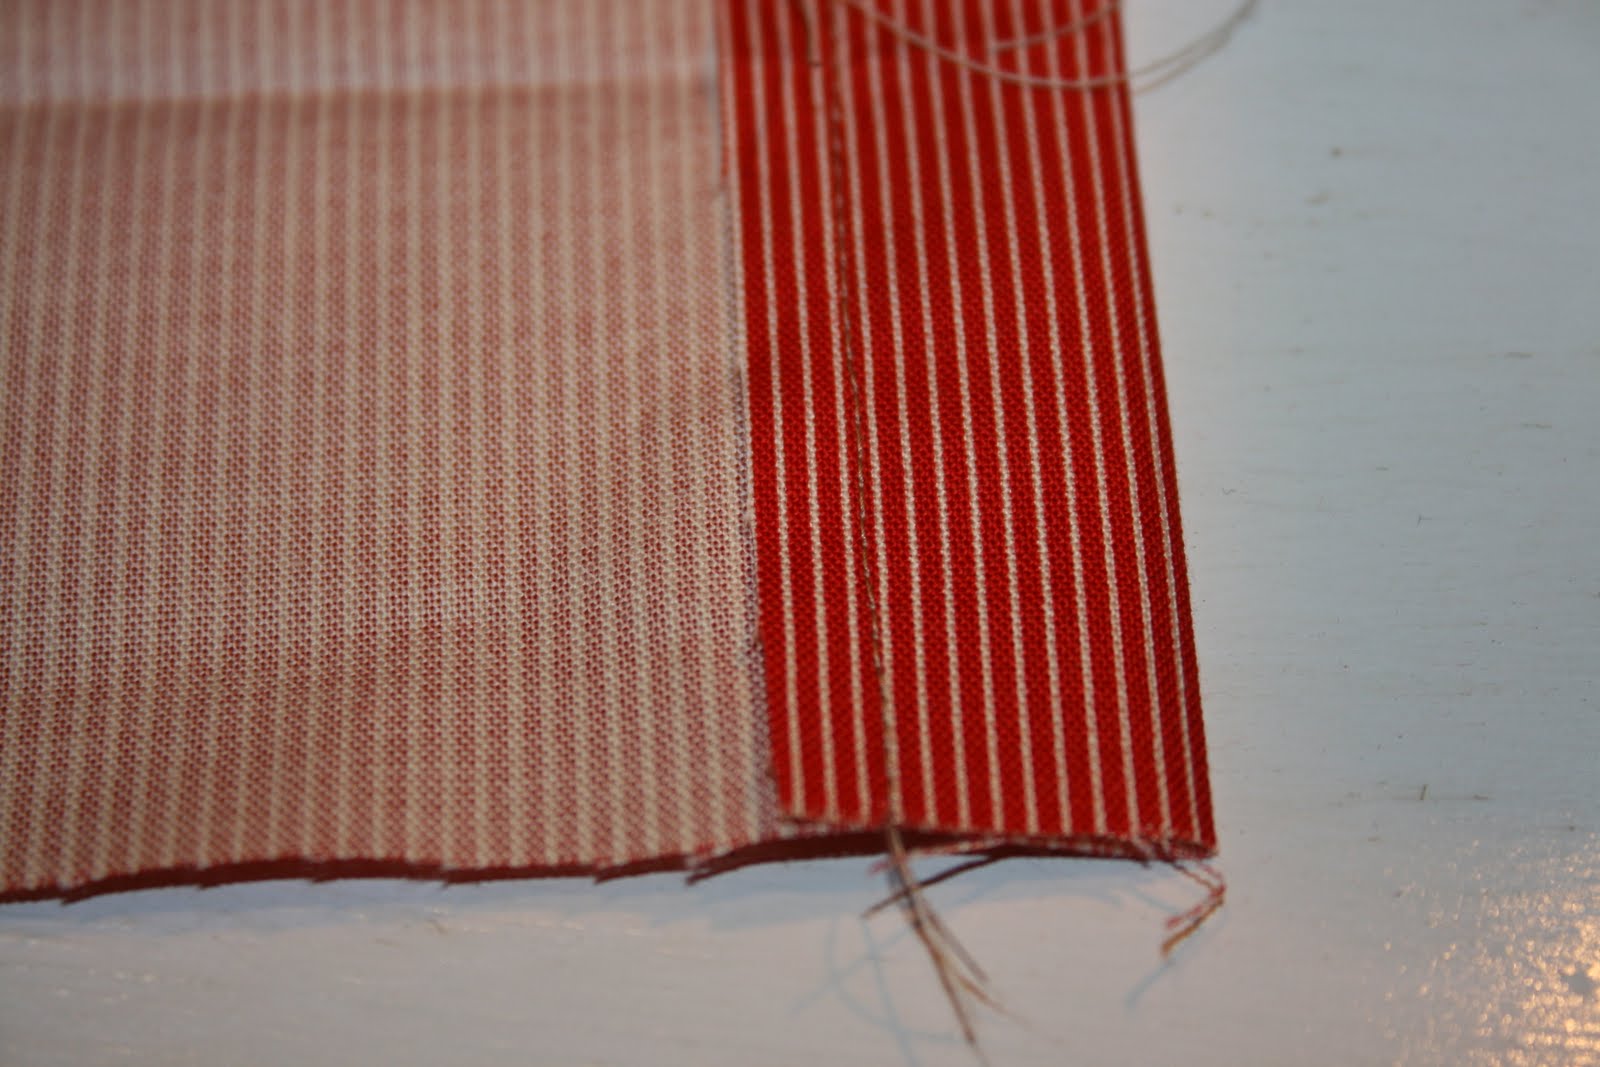
3. For the red border, sew a 1 3/4″ x 12 1/2″ red striped rectangle onto both of the long edges of the yellow rectangle. Press seams towards the border. Next, sew a 1 3/4″ x 9″ rectangle onto both of the shorter sides of the rectangle. Press.
4. Choose 28 charm squares to use for the main body of the chore chart. Cut 23 of them in half so they measure 2 1/2″ x 5″.

Following the diagram below, piece together section 1 using four of the
2 1/2″ x 5″ rectangles. Trim where needed. Attach to the right side of the red border. Continue piecing sections 2 – 5 in the same manner, using the diagram below as your guide.
2 1/2″ x 5″ rectangles. Trim where needed. Attach to the right side of the red border. Continue piecing sections 2 – 5 in the same manner, using the diagram below as your guide.

5. Quilt as desired. Trim off excess batting and backing.
6. Make pocket lables by ironing a piece of cream fabric (right side out) to the shiny side of freezer paper. Trim both pieces so they measure 8 1/2″ x 11″. Place the fabric/freezer paper in your printers’ paper tray so that the lables will be printed out on the fabric side (the labels are also in the “printer friendly version” of this tutorial).

Peel off the freezer paper. Trim down the labels a little (so that you have about an inch on each side) and iron the label sheet (right side out) to the sticky side of double sided fusible web.

Trim down each label so that there is a one-quarter inch around the dotted lines. Then set the labels aside while you make the pockets.

7. Make pockets by ironing double sided fusible web in between one 5″ charm square and one 5″ square of solid cream fabric (right sides out). Make a total of 4. Trim down each square to 4 1/2″W x 4″H.

8. Center a label onto the colored side of the pocket squares. Peel off the fusible web paper and iron in place.

Using a small zig zag stitch, machine applique around all four sides of the label.

9. On the top edge of each pocket, trace the edge of a small bowl to make an arc (leaving 1/4″ on either side of the bowl). Cut on the drawn lines.

10. For the pocket backs, cut out four 4 1/2″W x 5″H red striped squares.
11. For each of the four pockets, layer together a red background rectangle and a prepared pocket. Stagger their placements at the bottom of the chore chart and pin in place.

Using the same small zig zag stitch as you used before, stitch around each of the edges of the pockets and red backgrounds (except for the arc). Double stitch over the 1/4″ edges (next to the arcs) for added stability.

12. After you have all four of the pockets sewn on, bind the chore chart using four 2 1/4″ strips of red striped fabric. If you wish to hang the chart with a rod or buttons, then make a sleeve and sew that into the top edge of the chart, on the back side [before binding].
To make a sleeve:
Cut one 4 1/2″ x 23″ strip of red striped fabric. Turn in each of the short ends 1″ and stitch in place.
Iron the rectangle in half, lengthwise. Center it on the back of the chart along the top edge (with raw edges matched up with the raw edges of the chart).


Sew on binding.
Hand sew bottom edge of sleeve down with a hidden stitch (being careful not to go through to the front side.)

13. If desired, put a little bit of fray check onto the raw edges of the pockets.

14. To hang the chart from iron “buttons” like I did, cut your 3 yards of ribbon into three equal lengths, depending on how long you want your bow “tails”. I used a large-eyed needle to thread each of the three pieces of ribbon through the center and each end of the sleeve, but you can attach your ribbon to the back however you like. Insert a 1″ x 22″ piece of wood into the sleeve and tie chart to each of the buttons. Or, slide rod through sleeve and attach to wall.
15. Make tags for each member of your family and enjoy your new chore chart!


Finished size = 18″ x 22″
I hope you enjoyed this tutorial.
Come visit me at my blog: A Little Bit Biased
2 new quilt patterns will be available soon!
Thanks for stopping by!
Amber Johnson
Gigi’s Thimble
![]()


