


1 Warm Pastels Bella Solids Jelly Roll
3.25 yd. Fig Tree Cream Solid 9900 67
1 yd. Fig Tree Apricot Solid 9900 70
1 yd. Fig Tree Wheat Solid 9900 68
1 yd. Ochre Solid 9900 79
1 yd. Buttercup Solid 9900 51
1 yd. Green apple Solid 9900 74
1 yd. Clover Solid 9900 73
1 yd. 20″ wide light weight fusible web (I used Heat n Bond Lite)
Queen Size Quilt Batting
Note: The last 6 solids will be used for the backing & binding as well as for some of the appliqued petals.

Cutting Instructions:
WOF=Width of Fabric
~Measurements given are based on 44″ of usable fabric–be careful when trimming your selvages to not overtrim them.~
Cream Fabric:
Cut {5} 12.5″ x WOF strips, subcut each strip into {4} 7.5″ strips and {4} 3.5″ strips
Cut {8} 2.5″ x WOF strips, subcut each strip into {2} 16.5″ strips, set aside the remaining 10″ left over from each strip we will use these later
Cut {9} 2.5″ x WOF strips, trim selvages and sew end to end, randomly add in 4 of the 10″ strips from above. Trim down into {6} 2.5″ x 70.5″ strips
Cut {4} 2.5″ x WOF strips, trim selvages and sew end to end, add in 2 of the 10″ strips from above. Trim down into {2} 2.5″ x 92.5″ strips.

Jelly Roll:
Remove the cream strips from the jelly roll. Divide the remaining 36 jelly roll strips into two equal piles. Each pile should have 2 strips of each of the 9 remaining colors–18 strips total in each pile.

From Pile #1 cut the following from each strip:
{1} 2.5″ x 16.5″ strip, {1} 2.5″ x 14.5″ strip, {1} 2.5″ x 12.5″ strip
From Pile #2 cut the following from each strip:
{1} 2.5″ x 14.5″ strip, {1} 2.5″ x 12.5″ strip (Set aside the left over strips-you will use a portion of them in the next step), Select 10 of the left over strips(the other 8 remaining left over strips will be used to make petals), cut 10 additional pieces as follows:
{2} 2.5″ x 16.5″ strips
{4} 2.5″ x 14.5″ strips
{4} 2.5″ x 12.5″ strips

Backing/Binding Fabrics:
-From each of the 6 one yard pieces cut {1} 2.25″ x WOF strip. Cut an additional 2.25″ x WOF strip from two of the fabrics for a total of 8 binding strips. Tag the two pieces of fabric that you cut the extra strip from(for easy reference when piecing the back).
-From each of the 6 one yard pieces cut {1} 2.75 x length(approx. 31-33″) of fabric. This strip measurement includes the selvage–there is no need to trim it prior to cutting. These strips will be used to make petals.

Making the Petals:
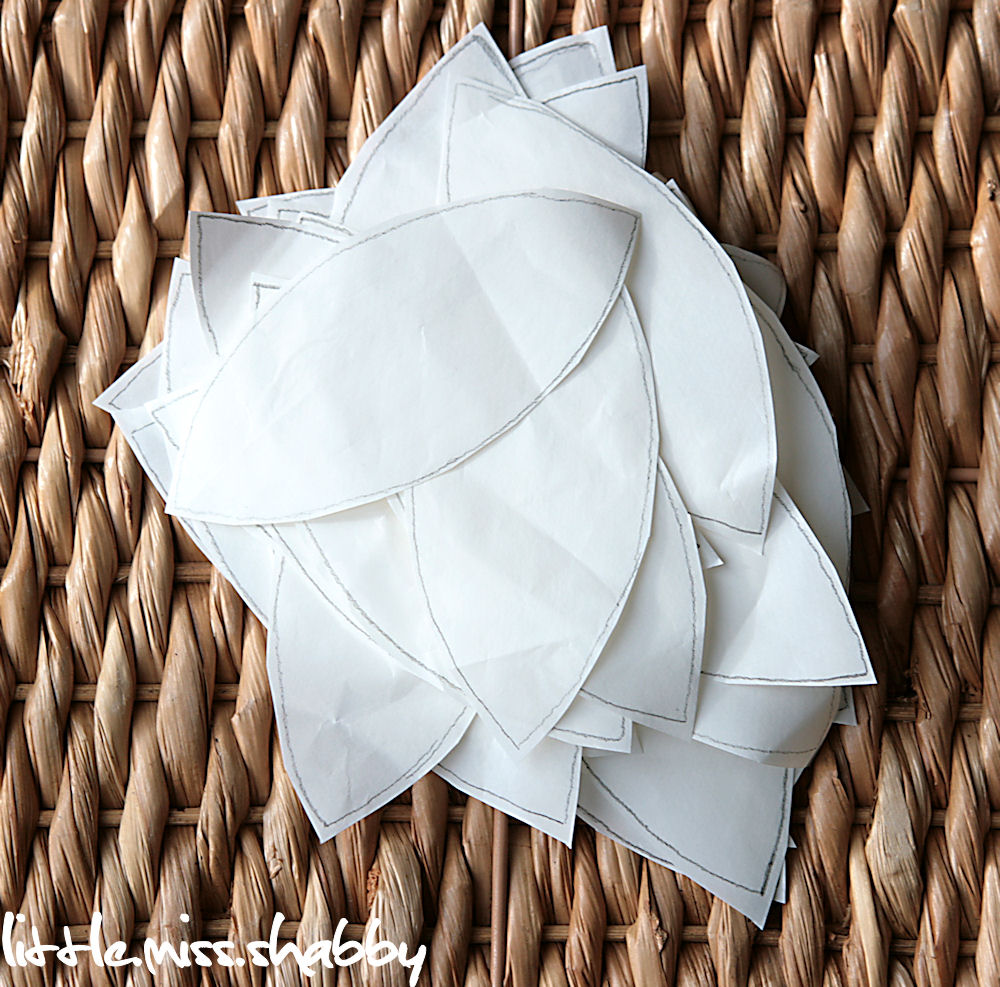

Cut apart the petals on the line, peel off the backing, and set aside.
Block Construction
Sew a 2.5″ x 12.5″ colored strip to each 7.5″ x 12.5″ white piece. Press seams away from the white. Make 20.

Sew a 2.5″ x 12.5″ colored strip to each 3.5″ x 12.5″ white strip. Press seams away from the white. Make 20.


Sew a 2.5″ x 14.5″ colored strip to the right of the unit made above. Press seam toward the colored strip.


Layout your blocks in a pleasing manner varying their rotation. You want to layout the blocks prior to appliqueing them as the rotation will effect applique placement.

Once you have finished the layout, choose 7 of the blocks to applique. You can see above, the blocks I appliqued.
Completing the Applique
Using a water erasable fabric marker, draw a line down the center of the white rectangle in which you will be appliquéing (the center will be at approx. 3.5″).

Line up the petals and iron into place. Using a blanket stitch, complete the applique. I used 12 weight thread for the applique on my petals. Complete the applique for all 7 blocks.

Adding the sashing
Sew a 2.5″ x 16.5″ white sashing strip between the blocks. Press seams towards the blocks. Complete all 5 rows.

Sew a 2.5″ x 70.5″ white sashing strip in between each row. Press seams away from the sashing. Make sure to add a sashing strip to the top and the bottom of the quilt top.

Finish the quilt top by adding a 2.5″ x 92.5″ sashing strip to the left and right of the quilt. Press seams away from the sashing strips.
Making the Backing
Straighten the backing fabrics if needed. Of the two slightly smaller backing pieces you tagged above, put one piece on the left and one on the right. Of the four remaining backing pieces, two will go on the right side of the back and two on the left with a seam in the middle of the backing. The uncut selvage edges will go around the perimeter of the backing. Sew together.

Sandwich, Baste, and quilt as desired. I opted to send this quilt out to be professionally quilted by the fabulous Angela.

To finish the quilt, use the binding strips to create a scrappy binding. And your quilt is ready to be enjoyed! Thanks so much for reading over my tutorial! I’d love to see pictures of your Organic Elements Quilt. =)

74″ x 92″ Quilt
Corey Yoder
{Little Miss Shabby}
![]()
