
My sweet girl turned 10 last week (double digits!) and we are about to move from Texas to the midwest, so I wanted to make her party extra special for her this year. She invited 12 of her girlfriends to her birthday party and I decided to see how far I could stretch a fat quarter bundle in making party favors and decorations for her party. I started with a full line fat quarter bundle of Momo’s soon to be released collection Just Wing It (L.O.V.E!!!) and started by making patchwork tote bags as party favors for the girls. Then I decided to use up the remaining scraps to make some hair accessories and a confetti party banner. I planned out the design of the tote so that I could stretch the fat quarter bundle as far as I could and boy was I able to make alot of this. I have always enjoyed working with fat quarter bundles because I like to incorporate lots of fabrics and full line bundles are great because you get a little bit of every print in a collection. I encourage you to pick yourself up a fat quarter bundle and try this tutorial for your next birthday bash, book club party, graduation party, or even a bridal show. You’ll be pleasantly surprised at how far one bundle can go! Now on to the details…

1 fat quarter bundle of Momo’s Just Wing It Collection, which contains fat quarters
6 yards of coordinating cotton fabric for lining the tote bags
6 yards of fusible interfacing for the tote bags
3 yards of bias trim for the party banner
60 inches of lingerie elastic for the headbands
Thread
Scissors
Rotary cutter
Cutting Mat

For cupcakes:
2 and 3/4 cups cake flour
1 and 2/3 cups sugar
1 teaspoon baking powder
3/4 teaspoons salt
1 cup vanilla Greek yogurt or 1 cup whole milk
2 teaspoons vanilla extract
1 teaspoon vanilla beans
3 egg whites
2 whole egss

PLEASE NOTE: All seam allowances are 1/2 inch unless otherwise noted.
MAKING THE TOTE BAGS (13):


Step 1: Prepare the backs for the tote bags.
Select 13 fat quarters to use as the backs of the tote bags (I used the ones shown on the left in the picture above). Cut 18″ squares from each of the 13 fat quarters. Also cut 13 18-inch squares from the fusible interfacing.

Fuse one piece of interfacing to the wrong side of each of the fabric squares following the manufacturers instructions.
 Cut out 2-inch squares from the right and left bottom corners. Repeat this on all 13 pieces of fabric. Reserve these squares for the thank you cards below. Set these aside for later. Now let’s make the front of the tote bags.
Step 2: Make the patchwork fronts for the tote bags.
Make the following templates out of cardstock paper and label as noted (cut 1 of each from cardstock):
One 4.5″ long by 18″ long rectangle (label top band): you will need to cut 13 of these from fabric to make 13 tote bags, 1 for each bag)
One 6.5″ wide by 14.5″ long rectangle (label bottom side band): you will need to cut 26 of these from fabric to make 13 tote bags, 2 for each bag)
One 7″: wide by 14.5″ long rectangle (label bottom middle band): you will need to cut 13 of these from fabric to make 13 tote bags, 1 for each bag)
One rectangle 3.5″ wide by 18″ long (label straps): you will need to cut 26 of these from fabric to make 13 tote bags, 2 for each bag)
NOTE: Be sure to always start cutting your rectangles at one corner to cut your pieces efficiently. Don’t start cutting in the middle of the fat quarter, or you will not be able to cut out all the pieces you need to cut out. I designed this project to make efficient use of the fat quarter bundle. If you don’t cut efficiently, you will not have enough fabric to complete all the projects.

For each tote bag front, you will need one rectangle for the top band, two rectangles for the bottom side panels and one rectangle for the bottom center panel as shown above. I mixed up the fabrics so that each of the 13 bags would be different. So I took the remaining fat quarters and selected 7 to use for cutting the top bands. I cut 2 of these pieces from 6 of the fabrics and 1 from the 7th fabric so that I had 13 of these pieces. Pin them together, label as top band and set aside. Please note, when cutting these pieces, start at a corner, mark the fabric using a ruler and a fabric pen or simply cut with a rotary cutter and a see thru ruler like Omnigrid (that’s what I did). Again, please remember to be sure to start at one corner. You need to cut your fabric very efficiently if you want to be able to make all the projects shown! No fabric wasting, okay!!
From these same 7 pieces of fabric, also cut 2 each of rectangles 18″ long by 3.5″ wide for the tote bag handles. Pin them together and label. Set aside. Save the scraps from these pieces, as you will need them to make the remaining projects (headbands, confetti banner, etc.)
With the remaining fat quarters, cut out a total of 26 pieces of the bottom side bands and 13 pieces of the center bottom band.
Step 3: Assemble bag front.
 Sew the bag front together by first sewing the bottom side panels to the bottom center panel. Press seams away from the bottom center panel. Then sew this piece bottom section to the top band. Press this seam up towards the top band. Be careful when sewing the pieces together when working with direction prints so that you do not inadvertently sew pieces upside down!

Cut 13 more 18-inch squares of the fusible web and fuse one to each of the 13 patchwork pieced bag fronts following the manufacturer’s instructions.
Cut out 2-inch squares from the right and left bottom corners. Again, save these 2-inch squares for making more cards! Repeat these steps to create 13 bag fronts.
Step 4: Assemble outer bag.

Pair up your bag fronts and backs. Pin the bag fronts to the bag backs, right sides facing and sew together along the side and bottom seams.


Now create corner gussets by matching the bottom of center side seam to the center of the bottom seams (do this on both sides) and sew straight across as shown above.

Turn bag right side out and press seams really well.
Step 5: Make bag lining.
For the lining, you will need to cut two 18-inch squares of fabric for each tote bag (so 26 total for the 13 bags). You can use all the same fabric or a different fabric for each bag…that is up to you. I mixed my lining fabrics up, using 5 different prints from Momo’s It’s a Hoot collection..these two lines coordinate beautifully together! Just note, for each tote bag, you need 1/2 yard of fabric (or 2 fat quarters) for the lining. You can use this fabric for the straps as well if you like. More on the straps later. Back to making the lining.

Now that you have cut your 18-inch squares. Cut out 2-inch squares from the bottom corners as you did for the bag front and back pieces above. Take 2 lining pieces and with right sides facing, sew them together along the side and bottom seams as you did above for making the outer tote bag. And create the corner gussets as you did for the outer tote bag as well (see step 4 above).
Note: I did not add interfacing to the lining fabric, as I did not want the bags too stiff. You can by all means interface your lining fabric as well. Just do this before cutting out the 2-inch corners, just as you did for the outer bag in step 4. Just remember you will need additional interfacing as well.
Make 13 bag linings and set them aside while you make the straps.
Step 6: Make tote bag straps.


Using the leftover fabric pieces from above, cut out 26 rectangles for the straps. You can mix and match fabrics as you wish here. For my bags, I used matching handles on the totes, so I selected 13 pieces that were large enough to cut 2 rectangles each from them, but you can even use scraps from the lining fabric for added contrast or even mix them up so that you cut 26 different rectangles.
Step 7: Attach handles and finish tote bags.
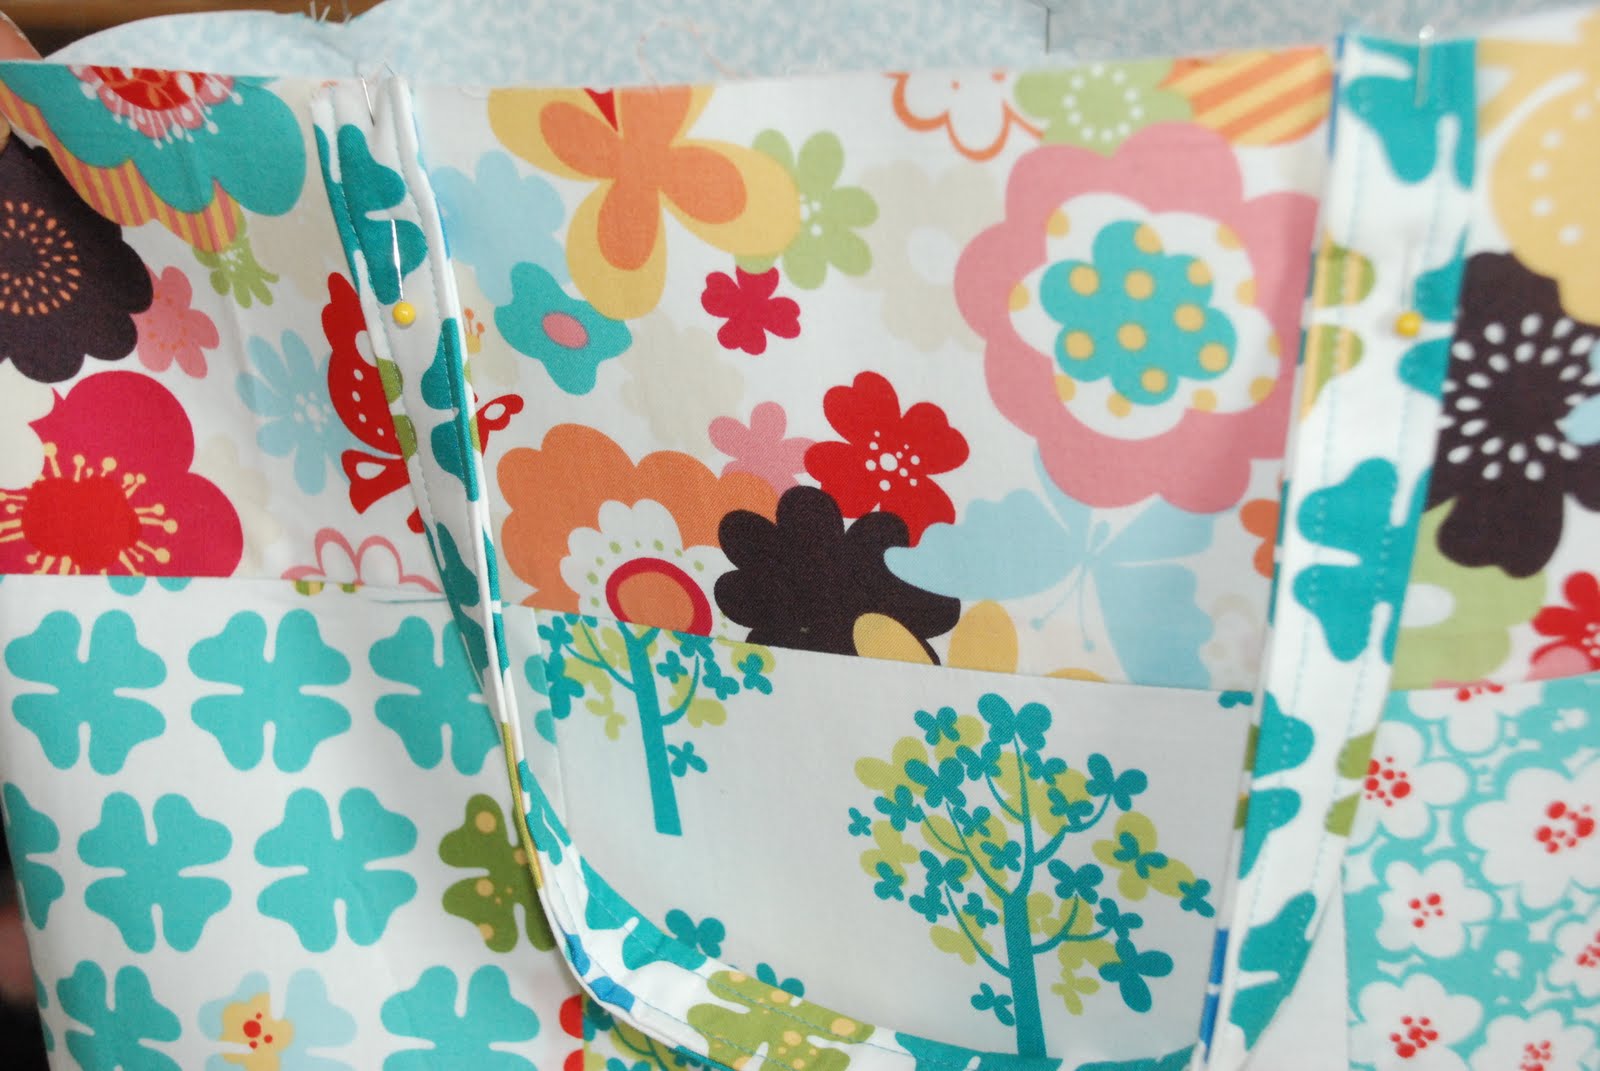
Pin handles in place on the front and of the outer tote bag (place them about 5 inches in from the side seams as shown above. Stitch down in place.

Place the outer totebag inside of the tote bag lining, with right sides facing, and pin in place along the upper opening, making sure straps are down and out of the way. Mark a 2 inch opening with pins or a pencil/pen. Start at one end of the opening, sew all around the upper opening with a 1/2 inch seam allowance and stop sewing of the second pin/marking, leaving open a 2-inch segment for turning the bag right sides out.

Turn the bag right side out. Press firmly along the upper seam/edge of the opening and then top stitch just inside the seam and then again about 1/2 inch down from the seam. Press your bag. Repeat all these steps to create all 13 bags.


MAKING THE HEADBANDS (13):

Step 1: For each headband (make 13) cut a 4 inch by 18 inch piece of fabric. Cut a 5 inch piece of lingerie elastic and pin it 1 inch in from one edge as shown above. Stitch in place.

Step 2: Now fold the fabric in half width wise with right sides facing as shown. Sew along one short edge and the long edge, leaving the remaining short edge open for turning right side out.

Turn right side out with a turning tool.
 Press. Fold in 1/4 inch of the edge at the opening and slip the unattached end of the elastic into the seam. Pin the elastic in place and sew the opening closed, being sure to catch the elestic within the seam.
 Topstitch all around the edge of the headband.

MAKING THE CONFETTI PARTY BANNER:

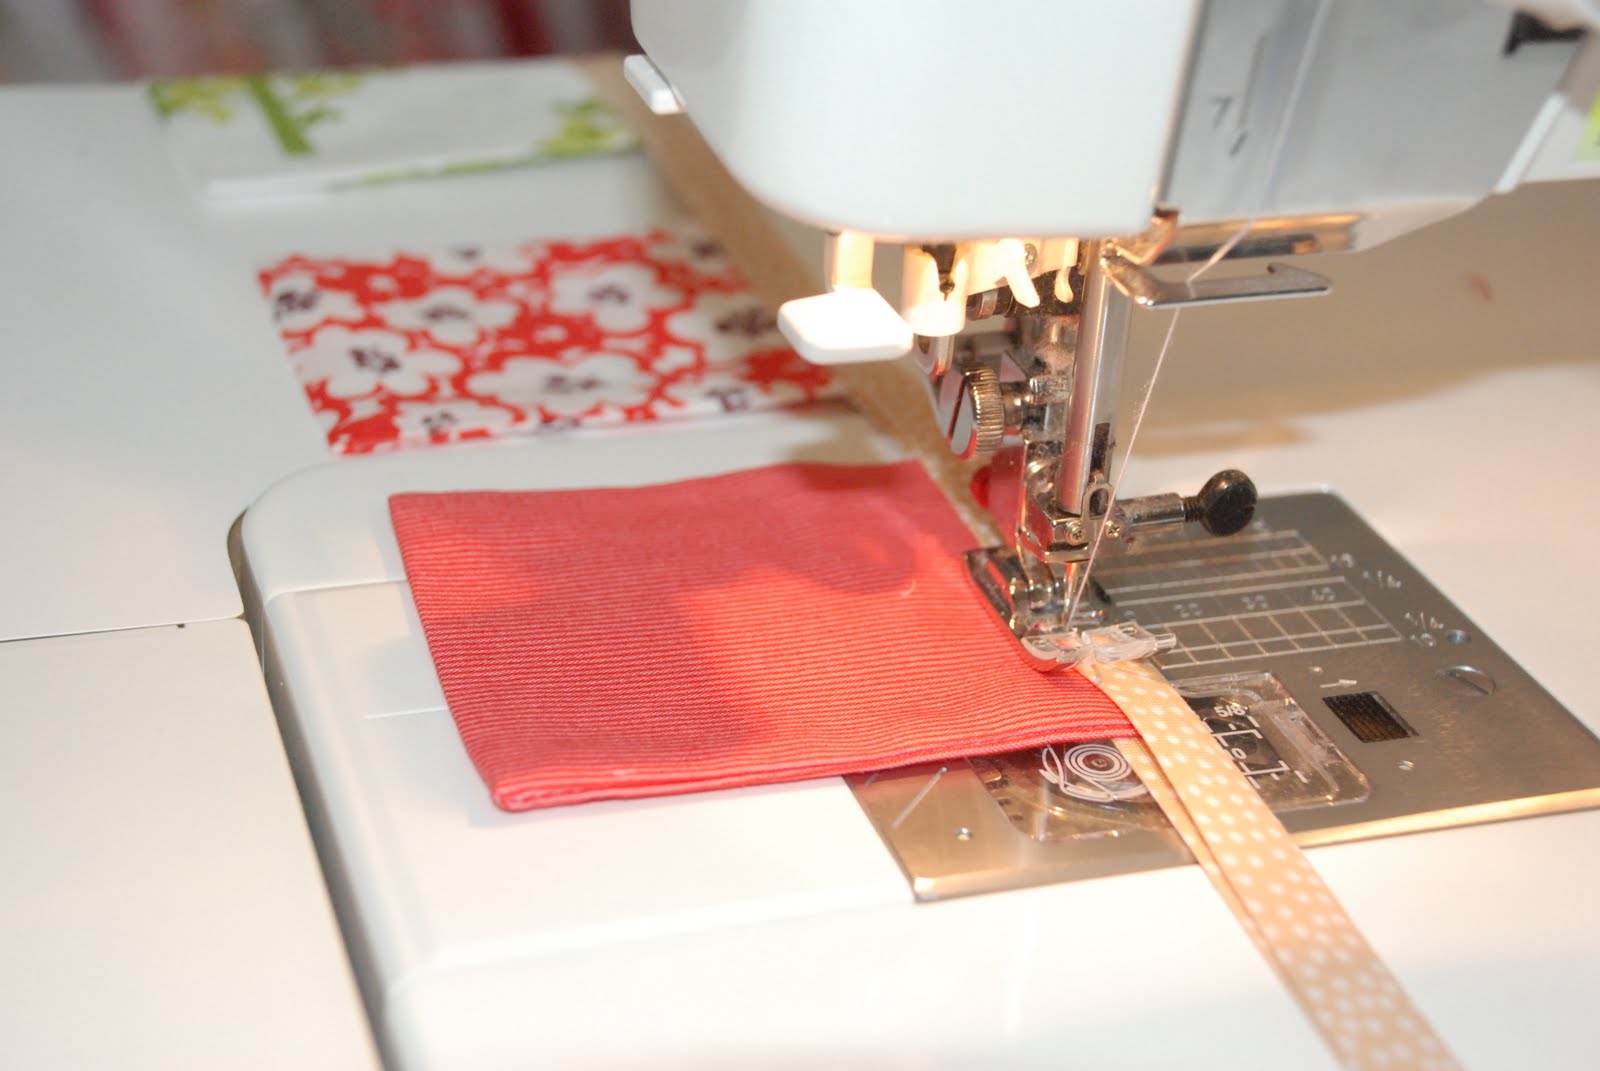
Step 1: Cut as many 3 inch wide by 6 inch long rectangles from all the scraps that you have. Take a rectangle, fold it in half along the 6 inch side and sew along the two side seams. Turn right sides out and press. Create as many of these as you can.

Step 2: Spread the squares evenly across the 3 yards of bias trim, sandwiching them within the bias trim, making sure the unfinished edge of the squares are butted up along the center crease of the bias trim. Pin the squares in place. Starting from one end, sew along the edge. Make knots on each end of the banners and hang wherever you like. (Note… you can make your banner longer or shorter, just adjust the required yardage and make more of less squares).
MAKING THANK YOU CARDS:
Step 1: Gather together all of those 2-inch squares that you cut out when making the tote bags.
Place them on top of a flat card. I centered mine, but you can position it as desired. Stitch the square in place. Layer a second flat card under the first card, matching up edges and stitch around the perimeter. You can make loads of these. You can also consider cutting out other shapes, letters or numbers as well. I made a bunch of these for my daughter to use as thank you cards.


MAKING PONYTAIL HOLDERS:
Step 1: Using scraps of fabric, cover metal buttons following the manufacturer’s directions. I used Dritz button sets for mine in various sizes.
Step 2: Attach elastic ponytail holders to the metal loop of the covered buttons.
You can make as many of these as your scraps allow or until you run out of buttons!
MAKING THE CUPCAKES:

Step 1: Combine 2 3/4 cups Unbleached Cake flour, 1 and 2/3 cups sugar, 1 tablespoon baking powder and 3/4 tablespoon salt in a large mixing bowl and blend together.
Step 2: Add 2 sticks (1 cup) unsalted butter that has been softened and beat into the dry mix from step 1. Add 3 egg whites, incorporating 1 at a time. Then add two whole egg, again one at at time, incorporating the first before adding the second one.
Step 3: Mix together 1 cup vanilla Greek yogurt or 1 cup of whole milk (I use yogurt), 2 teaspoons vanilla extract and 1 teaspoon vanilla beans. Then add this mixture, 1/3 at a time, blending on medium speed for about 1 minute until fluffy.
Step 4: Pour the batter into grease cupcake tins or paper and foil lined cupcake tins like I did. Bake for about 20 minutes, until lightly browned on top and cooked through.
Step 5: Frost with your favorite icing and add sprinkles if you wish (we kept ours plain).
Makes about 24 cupcakes.

13 tote bags that are tall by wide and 1.5″ deep
13+ headbands
26+ fabric scrap cards
1 confetti party banner
13+ pony tail holders
24 cupcakes
A very happy birthday girl plus 12 of her girlfriends!
Sheree Schattenmann
{Sheree’s Alchemy}
![]()
