Scattered Squares Pillow


Hello All!–Corey Yoder of Little Miss Shabby here!  I always love hanging out over here on MBS and sharing a new project with you. =)  This is a quick, beginner friendly design that will add a dash of panache to your living space.  It uses just one mini charm pack and a bit of yardage–you might even already have all the supplies you will need to complete this project.  I love adding hand quilting to my projects but you could easily swap out the hand quilting for machine quilting and have this pillow on your couch in a jiffy.


(The fabrics I used are in parentheses)

-1 Mini Charm Pack (Miss Kate)
-1/4 yard background fabric (9900-98)
-1/8 yard border fabric (55091-12)
-1/2 yard pillow backing fabric (55090-17)
-1/8 yard binding fabric (55092-17)
-20″ square piece of pillow backing fabric (this will be used for the pillow top sandwich)
-20″ square piece of quilt batting

-18″ pillow form

Thread for hand quilting, if desired.  I prefer to use an 8 wt. Perle Cotton.

Cutting Instructions

From the background fabric cut:
(3) 1″ x width of fabric strips, subcut into (36) 1″ x 2 1/2″ rectangles
(3) 1″ x width of fabric strips, subcut into (36) 1″ x 3″ rectangles
(2) 1″ x width of fabric strips, subcut into (2) 1″ x 15 1/2″ strips & (2) 1″ x 16 1/2″ strips
From the border fabric cut:
(2) 1 1/2″ x wof strips, subcut into (2) 1 1/2″ x 16 1/2″ strips & (2) 1 1/2″ x 18 1/2″ strips
From the pillow backing fabric cut:
(2) 12 1/2″ x 18 1/2″ rectangles
From the binding fabric cut:
(2) 2 1/8″ x wof strips, trim selvages and sew together to create continuous binding


Piecing Instructions 

Notes:
-Use a scant 1/4″ seam allowance

-You will need (36) mini charms from the charm pack.  I opted to remove several of the solid colors.
1.  Sew a 1″ x 2 1/2″ background rectangle to the side of each of the 36 mini charm squares.  Press toward the rectangle.
2.  Sew a 1″ x 3″ background rectangle to the side of the units made in Step 1.  Press toward the rectangle.
3.  Layout the squares as pictured.  Sew the squares together in horizontal rows.  Press seams in adjoining rows in opposite directions.  Sew together the rows.  Press seams in one direction.

Adding the Borders:

(Press all seams away from the center)
-Sew the 1″ x 15 1/2″ background strips to the sides of the pillow top.
-Sew the 1″ x 16 1/2″ background strips to the top and bottom of the pillow top.
-Sew the 1 1/2″ x 16 1/2″ border strips to the sides of the pillow top.
-Sew the 1 1/2″ x 18 1/2″ border strips to the top and bottom of the pillow top.
This completes your pillow top!
Layer the pillow top, 20″ batting square, and 20″ pillow backing square to create a pillow sandwich.  Quilt as desired.

Finishing the Pillow

1.  Hem (1) 18 1/2″ side of each of the 12 1/2″ x 18 1/2″ pillow backing rectangles.  To do so, fold the edge in(wrong sides together) approx. 1/4″ and press into place.  Fold in an additional 1/4″ and press.  Top stitch into place.

2.  With the pillow top facing down, place the hemmed rectangles as shown.  The finished pillow backing edges will overlap in the center of the pillow and all raw edges will be aligned.


3.  Pin the backing pieces into place.  Use a long stitch and baste 1/8″ around the perimeter of the pillow top.
4.  Sew the binding onto the pillow to complete your pillow.  The scalloped fabrics in Bonnie & Camille’s fabric lines are perfect binding fabrics.


1 beautiful 18″ x 18″ Pillow which, incidentally, is the perfect companion to my Ruby, Pearl, & Opal quilt which I shared on MBS several years ago when Bonnie & Camille’s Ruby line of fabric was released.

You can find the tutorial for this quilt here.

I hope you have enjoyed this tutorial!–I hope you’ll stop by my blog, Little Miss Shabby, for a visit!

Corey Yoder
{Little Miss Shabby}

Trifle Dish: Brick Borders

Today is the last instructional post in the Trifle Dish Sew-Along. Oda May will return with a full pattern download and a giveaway opportunity on July 7. She’s going to ask to see some of your blocks for the giveaway so start sewing!

 
To make the BORDERS, use charm packs and Moda candy to mix and match for a scrappy version. Layer cakes will yield more repetitive blocks and introduce a secondary pattern.
For EACH brick border block, you will need:
Fabric:
    • ( 6) 4½” x 2½” rectangles
    • (4) 2½” squares
    Block Dimensions: 8″ x 8″ (finished) / 8½” w x 8½” h (unfinished)
    The brick borders are the perfect opportunity to use up the scraps from the rest of the quilt.
    You will need an additional (2) strips of fabric measuring 2″ x 8½” to complete the side borders to the appropriate length.
    Suggested precuts: Charm packs, layer cakes, Moda Candy
     
    1. Arrange fabric pieces as shown below and sew rows together, pressing each seam as you go. 
     
     2.  Join rows to create the block.  Because there are no seams to match, press seams open or to the side (whichever is your preference).


    You will need 8 blocks each for the top and bottom borders and 12 blocks each for the side borders (total of 40 blocks).

    3.  Join 8 blocks to create the top border. Repeat to create the bottom border. Attach to the quilt top.

     
    4. Join 12 blocks to create one side border. Add 2″ strips to each end of the border and attach to quilt side. Repeat to create the other side border.
    4 borders: 
     

    {Top Border}

    8 blocks measuring 8½” square + 0 sashing strips = 64½” x 8½” 
    {Bottom Border}
    8 blocks measuring 8½” square + 0 sashing strips = 64½” x 8½”
    {Side Borders}
    12 blocks measuring 8½” square + (2) 2″ x 8½” end sashing strips = 99½” x 8½”
    {per border}
    Block design by Cheryl Brickey of {Meadow Mist Designs}

    Trifle Dish: Butterflies and 4-Patches

     
    To make LAYER 8, use charm packs, Moda candy, and layer cakes to mix and match for a scrappy version. Fat quarters will yield more repetitive blocks.

    For EACH Butterfly and 4-Patch block, you will need:

    Fabric 1/Background

    • (1) 6″ square
    • (4) 2¾” squares

    Fabric 2/Butterflies

    • (1) 6″ square

    Fabric 3/4-Patch A

    • (2) 2¾” squares

    Fabric 4/4-Patch B

    • (2) 2¾” squares

    Block Dimensions: 9″ x 9″ (finished) / 9½” w x 9½” h (unfinished)

    Note that the above fabric requirements won’t yield a completely scrappy block. Mix and match the block components in the row for a truly scrappy look.

    You will need an additional (5) strips of background fabric measuring 2½” x 9½” to complete the row.

    Suggested precuts: Fat quarter bundle, charm packs, layer cakes

     
    1.  Create quarter square triangles/hourglass blocks for the butterflies. Mark a pencil line along the diagonal of 1 background 6″ square. Place right sides together with a butterfly 6″ square. Sew a ¼” seam on each side of the pencil line. Trim along the opposite diagonal and then trim each piece on the pencil line to create 4 hourglass units.

    Piece hourglass units together to create (2) 5″ unfinished butterfly blocks. (Mix and match butterflies between blocks in the row for a scrappier look.)

    make 2 per block

    2. Make 4-patch units. Join 1 background 2¾” square with 1 print 2¾” square to create a 2-patch unit. Press to the darker fabric. Repeat to make one additional 2-patch unit. Flip one 2-patch unit so the background fabric is opposite the print fabric and sew a ¼” seam. Press to the darker fabric.

    Make (2) 4-patch units for this block. They should measure 5″ unfinished.

    3. Join butterfly and 4-patch blocks to complete the block as shown.

    4. Make 5 more blocks to complete the row. Add (5) 2½” x 9½” sashing strips between blocks to make the row measure 64″ wide (finished)


    1 row, measuring 64″ x 9″

    Block design by Trish Poolson of {Notes of Sincerity}

    Tips & Tricks: Moda Candy Storage

    Oh, Moda Candy! Those irresistible, tiny nibbles of fabric in perfect 2 1/2″ square stacks…They are a dream for mini quilts and a joy to give and receive.

    Carrie Nelson of {Miss Rosie’s Quilt Co.} and designer of the ever-popular Schnibbles patterns shared a cute way to package up those little darling crumb cakes we call Moda Candy. It keeps them tidy, easy to store, and easy to see. No more lint bombs!

    The cellophane bags measure 3″ x 11″ and fit two Moda Candy pieces. Seal with a bit of washi tape and it makes the perfect gift! The bags can be found online (search for 3 x 11 pretzel bags) and in the food prep sections of some big box craft stores.

    Thanks for sharing, Carrie and Rosie!

    Jelly Turnover Quilt


    Hello! I’m Shannon from Modern Tradition Quilts.  It’s an honor for me to be with you today on Moda Bake Shop.  I love working with pre-cut fabrics.  When it comes to creating quilts, the possibilities are endless!  When designing this quilt, I thought it would be fun to use a jelly-roll for the sashing and candy squares for the gem-stone corners–after all, they are already pre-cut to the same width.  All that was left was to decide what type of blocks to use.  Since charm squares create half-square triangles so readily, this quilt came together like “Peanut-butter & Jelly”–hence its name, the Jelly Turnover Quilt.

    To create this project you will need:
    • One packages of 5″ charm squares.  (I used Grant Park)  This quilt uses 40 print squares.
    • One packages of 5″ bella solids charm squares.  This quilt uses 40 white squares.
    • Three packages of 2 1/2″ candy squares for the gem stone corners on the sashing. (I also used Grant Park).  This quilt uses 99 squares.
    • One 2 1/2″ jelly roll for the sashing (I also used bella solid white).  This quilt uses 23 strips.
    • One yard navy blue fabric for the binding. 

      To create the half-square triangles (HSTs):

      • Draw a diagonal line on the wrong side of each white Bella solid charm square.
      • Layer one white charm square on top of one print charm square with right sides facing.
      • Sew down both sides of the drawn line.

      • Cut down the drawn line and press seams towards the darker print fabric.
      • Square all HSTs to measure exactly 4 1/2 inches. 
      Use your favorite method of choice for this.  I like using a small square ruler.  Basically, you are trimming off the factory-created pinked/serrated edges.
      • Yield: 80 HSTs.

        To create the sashing:

        • Select twenty-three 2 1/2 inch jelly roll strips.
        • Cut the 2 1/2 inch white strips from the jelly roll into 4 1/2 inch sections.  Yield: 16 sashing rectangles measuring 2 1/2 inches by 4 1/2 inches per jelly roll length.
        Quick tip:  It is easy to cut several jelly-roll strips at once by laying 5 or 6 strips on your cutting board at a time.  Then, simply make the same rotary cuts that you would doing just one strip at a time.
        • This quilt requires 178 of these rectangles.

          To sew the vertical sashing units:

          • Select five 2 1/2 inch by 4 1/2 inch strips and five 2 1/2″ candy squares.  Sew these end to end to create a vertical sashing strip.  Press all seams towards the sashing to reduce bulk.  Create 18 of these strips.

          • Sew one horizontal sashing row for the bottom of the quilt.  It is comprised of nine 2 1/2 inch candy squares and eight 2 1/2 inch by 4 1/2 inch sashing strips.

          Note: This quilt is sewn in four quadrants–one quadrant at a time to ensure the proper placement of the HST unit to make the echo effect.  Each quadrant uses 20 HSTs.

          General directions for sewing all four quadrants:

          • Take twenty HSTs and  twenty 2 1/2 inch by 4 1/2 inch rectangles.
          • Chain-sew the 2 1/2 inch by 4 1/2 inch rectangle to the top of the HST.  Check the orientation of the HST you are working on as they differ in all four quadrants.  Press all seams towards the sashing to create less bulk.

          Note, the HST rotates depending on which quadrant of the quilt you are working on.
          • Sew this units into four columns of 5 units down.  Press all seams towards the sashing to create less bulk.
          • Add four vertical sashing strips to the side of each of the four 5-unit columns.  Refer to the quadrant diagram to check if it is the right or left-hand side.  If pressed correctly, these seams should nest.  Pin-match the intersections and sew with the HSTs on top to avoid blunting the points.  Also press these seams towards the sashing.  This will enable the quilt top to lie flat.
          Sew the columns together with HSTs on top so their points do not get blunted.
          • Sew these four columns together to create one quadrant.

            The upper left-hand quadrant HST orientation is: 

            The upper right-hand quadrant HST orientation is:

            The lower left-hand quadrant HST orientation is

            The lower right-hand quadrant HST orientation is:

            Use this assembly diagram to add the four quadrant panels together.

            • First, add the top left-hand quadrant to a center vertical sashing strip, then add the right-hand upper quadrant.
            • Second, add the bottom left-hand quadrant to a center vertical sashing strip, then add the right-hand lower quadrant.
            • Third, sew the top and bottom halves together.
            • Fourth and final, add the long horizontal sashing strip to the bottom to finish your quilt top.
            Assembly Diagram

            The finished quilt top diagram:


            The finished quilt top measures 50 inches by 62 inches.

            I quilted this using a lasso edge-to-edge style.

            Shannon Mower
            {moderntraditionquilts.blogspot.com}

            Candy Flowers Pillow


            1 Mini Charm Pack – Print / Chance of Flowers
            2 Mini Charm Packs – Solid / Bella Solid in Snow
            3 Coordinating Fat Quarters
            21″ Pillow Form


            22″ Square of batting for quilting the pillow top
            22″ Square of scrap fabric or muslin

            Pull 40 printed charms and 64 solid charms.

            Pair up 40 prints with 40 solids, right sides facing.  Finger press a a diagonal crease on one side.

            Chain stitch the 40 pairs of prints and solids on the diagonal crease.

            Optional: 
            Without breaking the chain, run the the charms back through and stitch a 1/2″ over.  Rather than throwing the trimmed fabric away, this quick step will create 40 little HST’s for future projects.

            Cut. The pictures below show both options.

            Open and press.

            You should have a stack of 40 Half Square Triangles (HST) and 24 Solids.

            Layout:
            Using 12 HST’s and 4 solids, create a star.

            Add the next row around – double check to make sure your HST’s are going in the right direction.

            Add the points on the top and bottom.

            Fill in with the remaining solid charms.

            Piece:
            Feel free to use your preferred method, I’ll show mine.

            Some people like to stitch from the inside out, others in rows or even quadrants. This is how I piece several small squares that I want to keep in a certain layout and direction.

            Going in vertical rows:  Fold the squares on the right column onto the squares on the left.

            Chain stitch – do not cut the thread between squares.

            Feel free to press the seams, I don’t find it necessary and I will press later on.

            Using the set of chained pairs, fold the first two pairs right sides together and stitch.  Open. Fold the next pair up onto the previous pair and stitch. Repeat until all 8 pairs are pieced together.

            Leaving them chained is nice because they stay in the right order and direction.

            Open and press the seams all in one direction.  When you complete the next row, press those seams in the opposite direction. This will make it easier to piece the rows together.

            Stitch the two completed rows together.

            Stitch the other two rows using the same method, and sew the halves together.

            If your edges are raggedy, feel free to trim a little and straighten them out. Just be careful not to cut off the HST points along the edge and leave a seam allowance.

            Take a Fat Quarter and cut four 2.5″ strips down the length of the fabric.  You will have four strips approximately 21″ wide.

            Attach one strip to the top and one to the bottom of your block.

            Press open and trim.

            Attach the other two strips to the sides.

            Press open and trim.

            Optional:  Using the batting and scrap fabric, quilt as desired. Trim.


            Double fold:

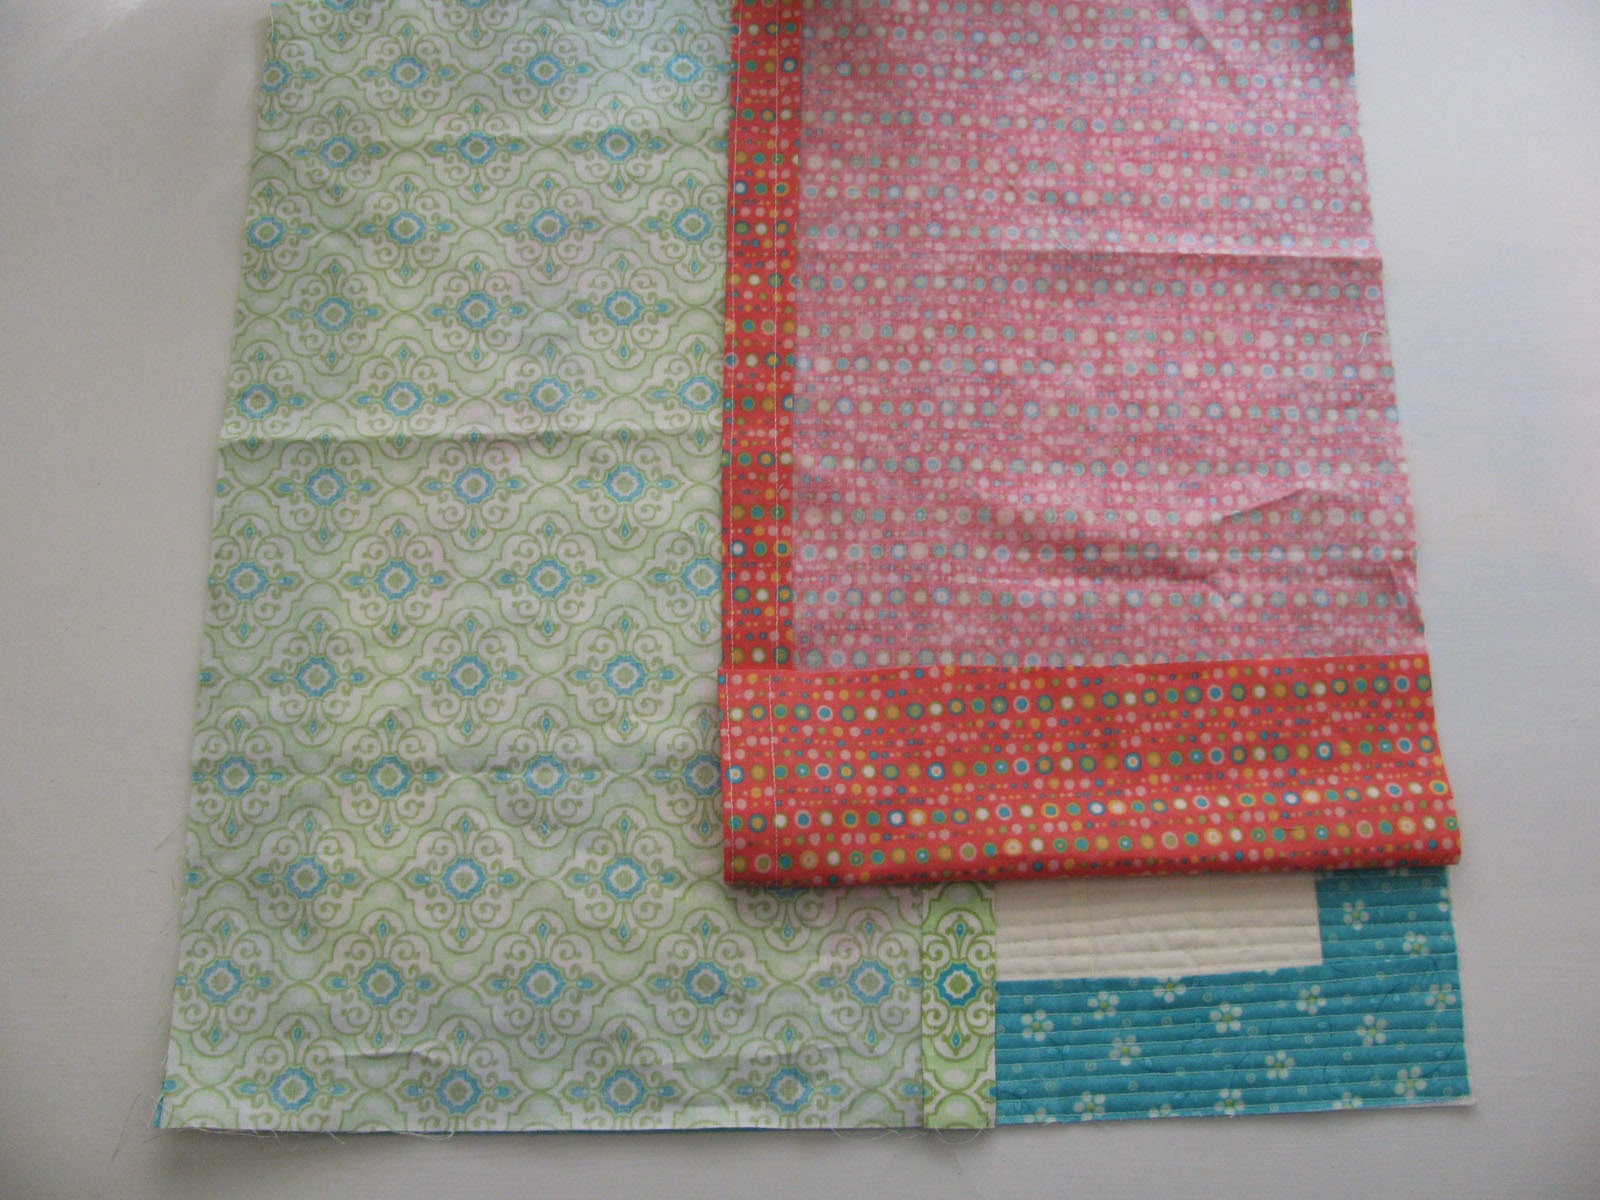
            Take your remaining 2 Fat Quarters and along the 21″ side,  fold over 1″ and press.  Fold over another 1″ and press.

            Top stitch along the top and bottom of the fold.   Repeat with the other Fat Quarter.

            The Math:

            The two back pieces will create an envelope style enclosure and they need to overlap about 4″.  Since everyone sews 1/4″ seams a bit different, we may have slightly different sized pillow tops.

            Take the width of your pillow top and divide by 2.  
            Add 2″. 
            You should be somewhere near 12″. 

            Trim both Fat Quarters to that measurement. Trim the raw edge opposite your double edge fold, leaving the 21″ width intact.

            Example:  My pillow top is 20″.  20 divided by 2 = 10. Add 2 = 12″.  I now have two fat quarters that measure 21″ x 12″ each. (21″ side has the double fold)

            Part 2:

            Trim both Fat Quarters so they don’t hang off pillow top. Instead of being 21″ they will probably around 20″.

            Layer:  
            Pillow Top right side up
            Fat Quarter #1 right side down – lining up raw edges along the side
            Fat Quarter #2 right side down – lining up raw edges along the opposite side

            Pin or clip edges in place. Stitch along the edge all the way around.

            Zip Zag or Serge the seam you created. This will help prevent fraying in the future.

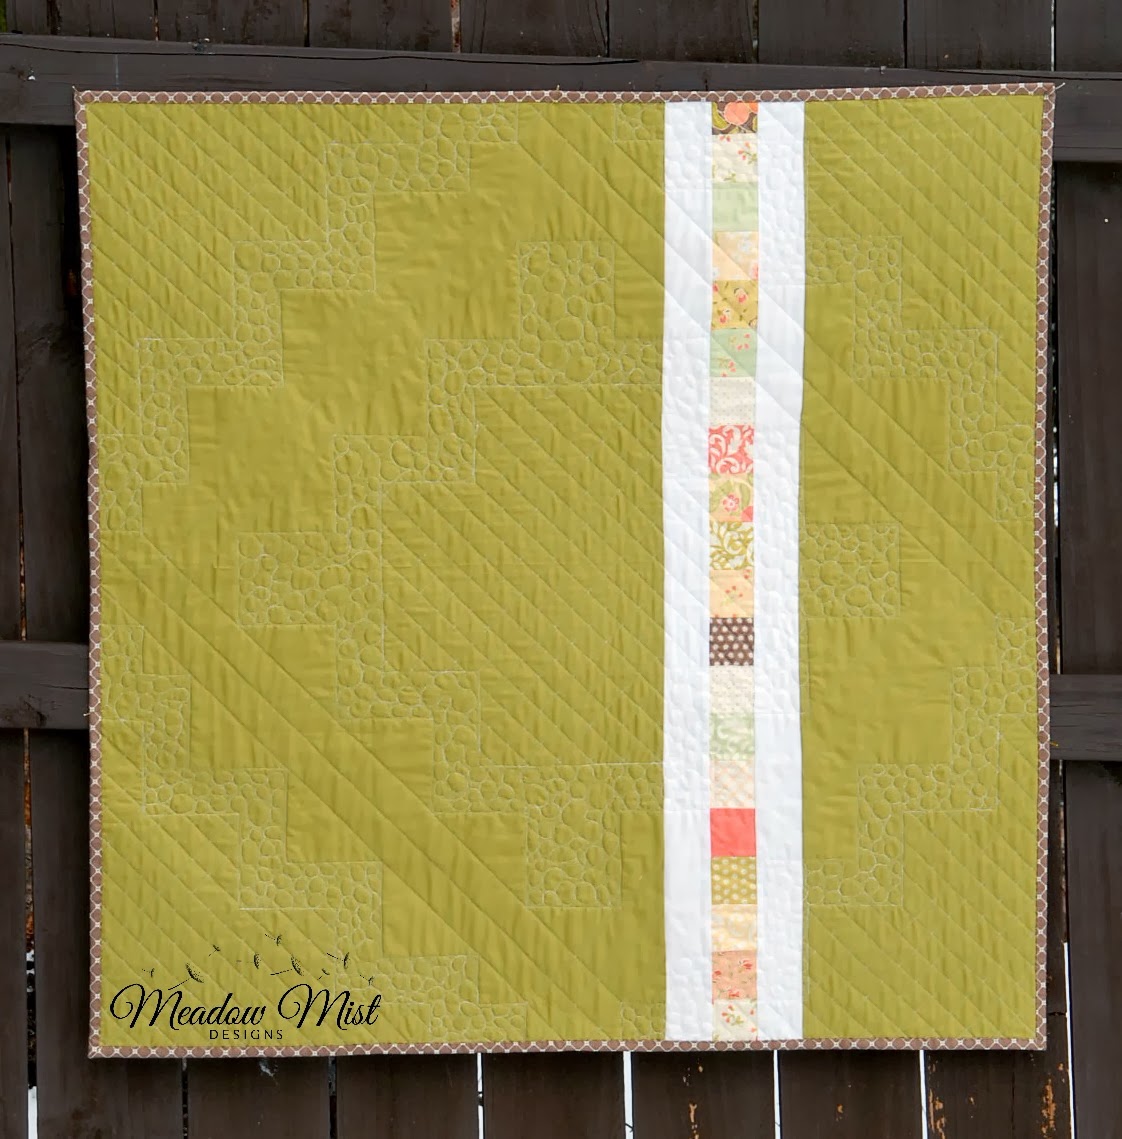
            Turn right side out and you are done!

            I’m using a 21″ pillow form.


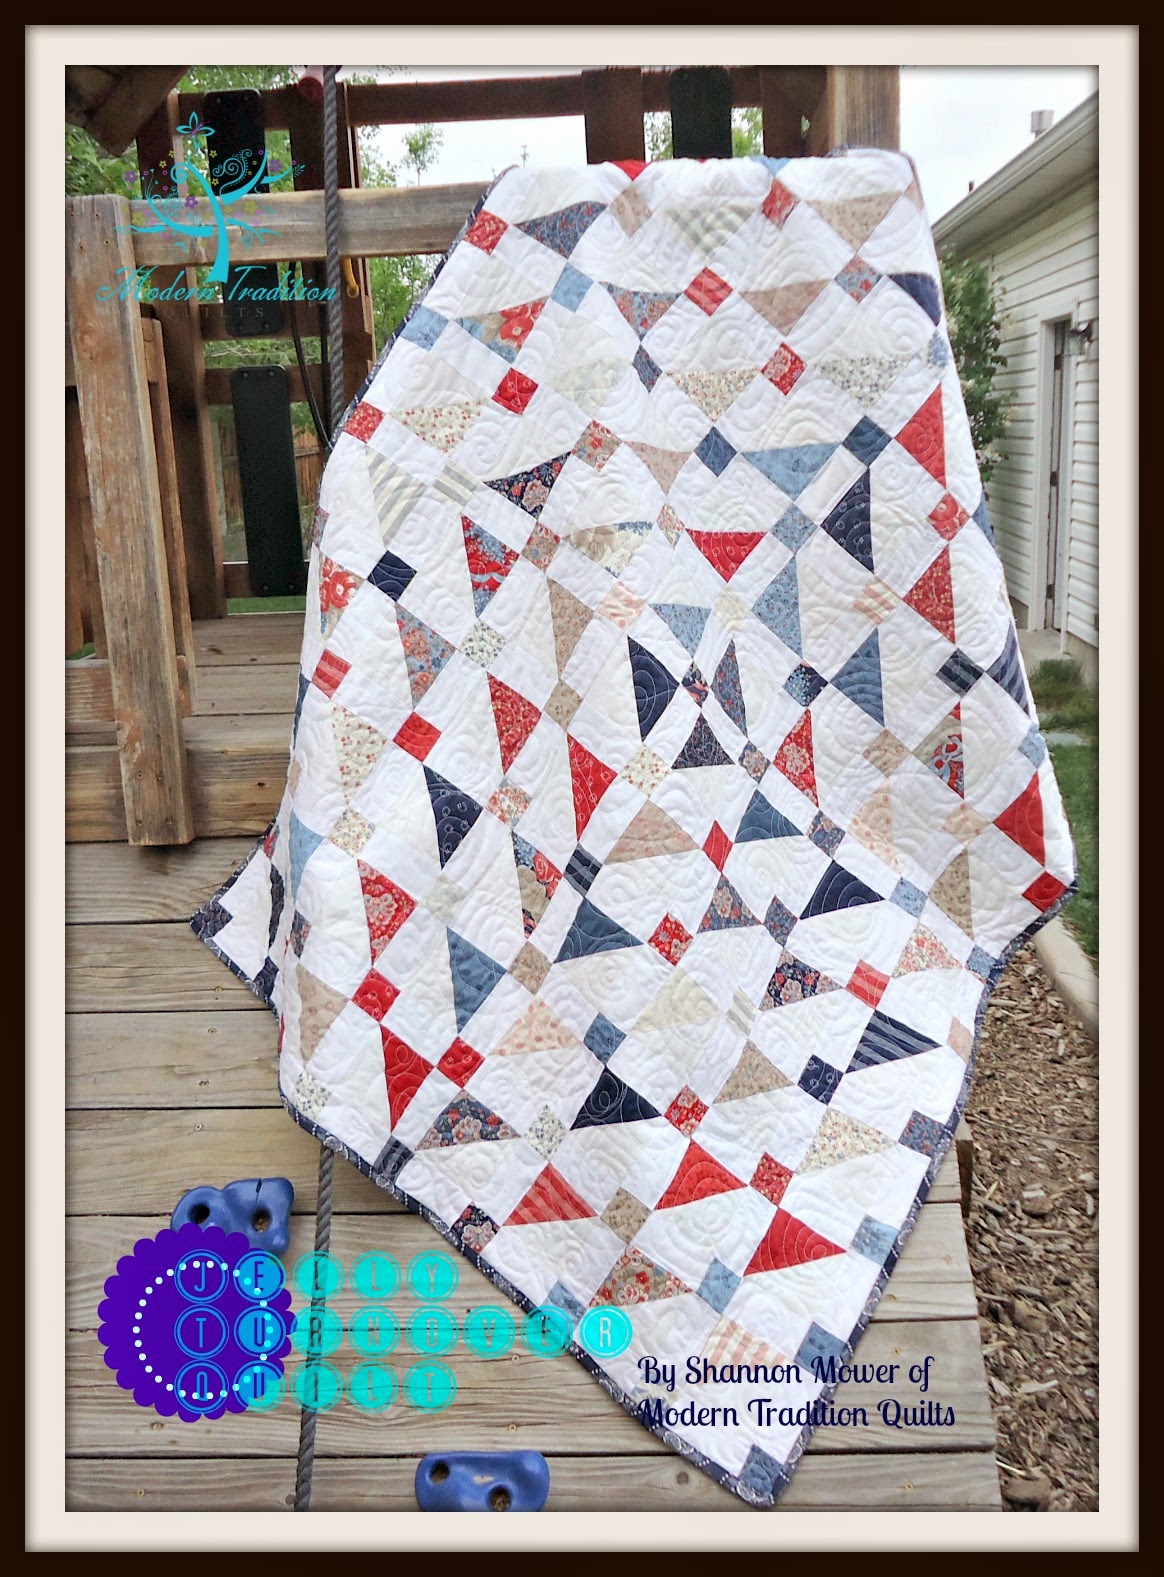
            One pillow cover.  If you make a Candy Flowers pillow cover, I would love to see it.

            Julie Hirt
            {627handworks.com}

            Candy Circle Quilt


            Hi there, this is Cheryl from Meadow Mist Designs and I am so excited to share my first project for Moda Bake Shop!  I love the cute Moda candy packs and all of Fig Tree & Co.’s fabric lines so I was thrilled to combine them to make the Candy Circle baby quilt.  With just four mini charm packs (or just one charm pack), a focal print fabric, and some background fabric, you can have a cute baby quilt ready to gift.


            4 mini charm packs (also called candy packs) or 1 charm pack:  Mirabelle by Fig Tree & Co.

            3/4 yard of a focal print: Mirabelle Breeze 20225
            5/8 yard of a background fabric (3/4 yard if you include the optional pieced backing): Bella Solids White Bleached
            3/8 yard for binding: Mirabelle Bark 20227
            1 and 1/4 yards for backing: Bella Solids Green Olive (for a 2″ overhang)


            Step One – Cutting the Fabrics
            *Note: if you cut each strip in each step you may have a few extra pieces cut.

            Candy Squares

            1)      If starting with a charm pack, cut each (5” x 5”) charm square into 4 (2.5” x 2.5”) patchwork squares for a total of 168 squares (2.5” x 2.5”) (if starting with candy packs, skip to step 2)

            2)      Select 132 of the 168 squares (2.5” x 2.5”) to use in the front of your quilt.  Pick squares with good contrast with the background.  You can use the leftover squares for a pieced backing.


            Focal Fabric
            1)      Cut 3 strips 4.5” x WOF strips

                  a)      Cut each strip into 4.5” x 4.5” squares (9 per strip) for 24 squares (4.5” x 4.5”)
            These 4.5” x 4.5” squares are the “full focal blocks”.


            2)      Cut 4 strips 2.5” x WOF
            a)      Cut 2 strips into 2.5” x 4.5” rectangles (9 per strip) for 12 rectangles (2.5” x 4.5”)
            b)   Cut 2 strips into 2.5” x 2.5” squares (16 per strip) for 28 squares (2.5” x 2.5”)
              

            Background Fabric (abbreviated bg in this pattern)
            1)      Cut 8 strips 2.5” x WOF
            a)      Cut 4 strips into 2.5” x 4.5” rectangles (9 per strip) for 28 rectangles (2.5” x 4.5”)

                  b)      Cut 4 strips into 2.5” x 2.5” squares (16 per strip) for 64 squares (2.5” x 2.5”)

              
            Step Two: Assembling the Blocks

            The Candy Circle quilt contains 6 types of blocks.  Using the following amounts of fabric pieces and following the sewing pictures, sew pieces into rows and then rows together into blocks.  Press all seams open.

            Full Focal Blocks:
            24 focal print squares (4.5″ x 4.5″)

            1/4 Focal Blocks
            Using 16 bg squares (2.5″ x 2.5″), 16 bg rectangles (2.5″ x 4.5″), and 16 focal print squares (2.5″ x 2.5″), make 16 1/4 Focal Blocks

            3/4 Focal Blocks
            Using 12 bg squares (2.5″ x 2.5″), 12 focal print squares (2.5″ x 2.5″), and 12 focal print rectangles (2.5″ x 4.5″), make 12 3/4 Focal Blocks

            Full Patchwork Blocks:
            Using 48 focal print squares (2.5″ x 2.5″), make 12 Full Patchwork Blocks


            3/4 Patchwork Blocks
            Using 72 patchwork print squares (2.5″ x 2.5″) and 24 bg squares (2.5″ x 2.5″), make 24 3/4 Focal Blocks

            1/4 Patchwork Blocks
            Using 12 bg squares (2.5″ x 2.5″), 12 bg rectangles (2.5″ x 4.5″), and 12 patchwork squares (2.5″ x 2.5″), make 12 1/4 Patchwork Blocks


            Step Three: Assembling the Quilt Sections

            The quilt contains 4 quilt sections, each section containing 25 blocks in a 5 rows x 5 columns arrangement.  Each section contains the following number of blocks:


            Arrange the 25 blocks in a 5 by 5 block arrangement as shown below:


            Sew blocks together into rows (pressing seams open) and then sew rows together pining at each intersecting seam (pressing seams open).


            Repeat 3 more times for a total of 4 quilt sections.  (Alternatively, you may layout the full 10 x 10 block arrangement for the whole quilt, sew the blocks into rows, then sew the rows together).

            Sew the 4 quilt sections together (pressing seams open).

            Optional Pieced Backing

            Select 22 patchwork squares
            Cut 2 additional strips 2.5″ x WOF of the background fabric

            Sew the 22 patchwork squares into a row, then sew the 2.5″ x WOF background strips onto either side of the patchwork row.

            Slice the backing yardage (I made my cut about 2/3 of the way across the fabric) and sew the patchwork section into the background yardage.  


            Step 4: Finishing the Quilt

            1)    Layer the quilt top, batting, and backing and baste the quilt.

            2)    Quilt as desired.  I quilted the focal fabric areas in a straight line lattice, quilted the background areas using a small pebble design, and quilted the patchwork squares with straight line quilting.

            3)    Bind the quilt using 5 strips 2.5” x WOF (for straight, not bias binding).  More information on binding can be found here.

            Thank you so much for joining me in my first Moda Bake Shop tutorial.  I would love to see what you make with the pattern, please add your quilts to the Moda Bake Shop flicker group and the Meadow Mist Designs flicker group.  Visit this page on my blog (www.meadowmistdesigns.blogspot.com) to see the quilt pattern rendered in other colors including a holiday version.

            Cheryl Brickey
            {
            Meadow Mist Designs}


            Applique Hearts Pillow


            Hi All! This is Jera from www.QuiltingintheRain.com bringing you this simple Applique Hearts Pillow tutorial just in time for Valentine’s day. Depending on what fabrics you use, the pillow can be used year round. This pillow has an easy envelope enclosure, making this a quick and fun weekend project that you can complete in a few hours.

            Also, I wanted to share that I have a quilting book coming out this year, so come check out my blog for details (or for some great tutorials!), or follow me (and my corgi, Paige) at Quilting in the Rain’s Facebook to see my latest quilts and projects. Thank you so much for stopping by! Let your creativity rain!

            • 1 yard Moda Solids Prairie Cloth in Buff (this material is home decor weight but has a linen/canvas feel to it) 
            • 1 Bella Solids charm pack in Porcela, plus one scrap for the colored heart
            • Clear glue that works on fabric
            • Coordinating thread
            • 20″ square pillow insert


            1. From the prairie cloth, cut one 21″ square. For the back of the pillow, cut two 15″ x 21″ rectangles (these will be made into the envelope closure).

            From the charm squares, cut hearts of varying shapes and sizes. I think the variety and imperfection of the heart shapes adds character to the pillow. To cut a big heart, simply fold a charm square in half and crease it with your finger so it stays folded. Then, use fabric scissors to cut the arch of ‘half of a heart’ along the folded edge. When you unfold it, you will have a heart shape.

            To make smaller hearts,  repeat but cut two hearts from one charm square. 

            I started by cutting approximately 8 big hearts, and then filled up the pillow with smaller and medium sized hearts. Also, from your scrap fabric cut one medium-size colored heart.
            2. Next, arrange the hearts on the 21″ square.
            3.Use clear glue that works on fabric to temporarily hold the hearts in place. Use very little glue as this is just an alternative to using pins and is meant to be temporary. For each heart I put the tiniest drop of glue and then spread it with my finger to make a very thin layer.
            This is the glue I ended up using but i’m sure Elmers would work just as well. I just recommend getting a clear adhesive.
            4. Sew the hearts in place using a regular presser foot. I simply guided the edge of my presser foot along the heart to sew a 1/4″ seam allowance, using a straight stitch setting.
            If you’ve never done this before, to get around the curves of the heart you will need to stop and pivot the fabric quite often. To do this, simply stop sewing with the needle in down position, lift the presser foot and pivot the fabric underneath to follow the curve. You’ll get the hang of it. 🙂 
            5. Along the length of a 15″ x 21″ rectangles,  turn the edge 1/4″ under, press, then turn under 1″, then press again. Stitch along the fold to keep in place as shown below. Repeat on the other rectangle as well.

            6. With right sides facing together, take one rectangle and align it along the left side of the pillow cover. The finished seam you created from the previous step should be facing toward the right. Pin to keep in place, then sew a 1/2″ seam allowance along the perimeter as illustrated by the dashed line below. Start and end your stitch with a back-stitch.

            Repeat with the other rectangle, but align it on the right side of the pillow.

            Clip the corners to rid of bulk and then turn right side out through the envelope opening.

            7. Lastly, rub your hands up and down the pillow to help ruffle-up the edges of the hearts. The semi-freyed and ruffled hearts adds texture to the pillow. The freying will not go beyond the stitch. 

            And there you have it! A beautiful, applique heart pillow!


            One fabulous 20″ x 20″ pillow

            Thanks again for checking out my tutorial! Come visit me at www.QuiltingintheRain.com or follow me on Facebook at QuiltingintheRain. You can also find me on Instagram.

            Let your creativity rain! 🙂

            Jera Brandvig
            {www.QuiltingintheRain.com}

            Candy Scraps Quilt


            Hello all!–I am excited to be sharing another quilt pattern with you here on Moda Bake Shop.  My name is Corey; you will usually find me blogging over at Little Miss Shabby.
            I am always drawn to a great scrap quilt–they are probably some of my favorite quilts.  Moda’s mini charm packs are a perfect way to create a scrap quilt.  If you prefer a less scrappy quilt, this quilt could also be made using one regular charm pack and one mini charm pack.  Check out the end of the tutorial to see the quilt made using Mirabelle by Fig Tree Quilts.


            *5 Moda Candy packs (I used From Outside In, Ducks in a Row, April Showers, Mixed Bag, & Daydream)
            1 White Solid Jelly Roll
            2 1/4 yard Linen Mochi Dot Unbleached Linen (32911-11)
            3 1/8 yard Backing
            1/2 yard Binding (I used April Showers, Teal Stripe, 55083-12)
            56″ x 72″ batting

            *For a less scrappy version choose one regular charm pack & one Moda Candy pack, cut each 5″ square into (4) 2.5″ squares


            (48) 8 1/2″(trim a regular sized piece of paper to the correct size) pieces of copy paper; draw a diagonal line from one corner to another

            A variety of 8 wt. Perle Cotton if hand quilting

            Cutting Instructions

            From the Jelly Roll:
            Use 22 strips, cut (192) 2 1/2″ x 4 1/2″ rectangles (cut 9 from each strip)

            From the Linen cut:
            (16) 1 3/4″ x WOF strips; subcut (48) 1 3/4″ x 14″ strips
            (7) 6″ x WOF strips; subcut (48) 6″ squares, cut diagonally once to make 96 triangles

            Block Construction

            ~All sewing is done right sides together using a scant 1/4″ seam allowance~
            Begin by sewing together the mini charm pack squares in pairs.  You will need a total of 96 pairs.  Press toward the darker fabric.

            Sew a 2 1/2″ x 4 1/2″ rectangle onto each side of the units made above as pictured below.  Press to the white.
            Center a 1 3/4″ x 14″ linen strip across the unmarked diagonal.  Tip: use a little bit of temp. spray adhesive to keep it in place.
            Place a mini charm strip right sides together with the linen strip.  Center as illustrated.  Using a small stitch length, sew the strips together.  You will be sewing the strips onto the paper.  Press away from the center.
            Sew another mini charm strip to the other side of the linen strip in the same manner.
            Sew a triangle onto each side.  Center as illustrated.  Press away from the center.
            Your block should now look like this:
            Trim the block even with the 8 1/2″ paper.  Remove the paper to complete the block.
            Make a total of (48) 8 1/2″ blocks.
            Layout the blocks 6 blocks x 8 blocks.  Sew together, pressing the seams of adjacent rows in opposite directions.
            Your quilt top is now complete and you can baste, quilt, and bind using your preferred methods.  For my quilt, I opted to big stitch, hand quilt using a variety of 8 wt. Perle Cotton threads.
            A striped binding is the perfect addition to any quilt.
            And, of course, as promised here is the quilt using all Mirabelle by Fig Tree Quilts:


            One scrappy 48″ x 64″ Candy Scraps Quilt.  Perfect for snuggling under–my kids will attest to this! =)

            For other fun quilts, tutorials, quilt alongs, and stitch alongs, visit my blog at Little Miss Shabby.

            Corey Yoder
            {www.littlemissshabby.com}

            Big Hearted Quilt


            Hello again from Robin at Craft Sisters. It’s great to be back sharing a quick and easy project. This one could be fun for your February table or wall. And… adorable tucked around your littlest Valentines in the car or the stroller. I’ve made two so far in two different Moda lines but both in luscious pinks and reds. One from Sandy Gervais’, Table for Two and the other using Deb Strain’s, Surrounded By Love. The idea for this was to make a big, modern, Log Cabin-ish looking block. One Moda Candy or Charm Pack makes the heart and two half-yard pieces are used for the backgrounds.


            1            Moda Candy or Charm Pack – Table For Two – heart
            ½ yd.     Diamond 1775611 – Table For Two – background 1
            ½ yd.     Rose 1775513 – Table For Two – background 2
            ⅜ yd.     Rose 1775613 – Table For Two – binding
            1 yd.      Backing fabric
            1 yd.      Low loft batting


            Layout the heart
            Place the 42 – 2.5″ squares from the Moda Candy or Charm Pack on a design wall or floor. 

            If you are using a Charm Pack, cut 42, 2.5″ squares (obviously more color choice with charm pack). 

            Audition color placement of squares until you get the color arrangement that you like. It’s fun to play with it. I ended up using darker squares to outline the heart so it would stand out in the photograph. Make the heart more subtle and pixelated looking, by mixing up the colors more.


            Cut background squares, strips and complete quilt layout

            Cut the squares and strips from background fabrics 1 and 2 as shown on the quilt layout map (it’s at the end of this post). 

            Following quilt layout map, add background squares and strips to design wall around the heart. It always looks completely wrong to me when laid out like this, but feels great when it all comes together after sewing.


            Sew squares and strips to form horizontal rows
            Use a ¼” seam allowance throughout this project. It really helps in matching up squares if you sew a consistent seam width, ¼” or scant… 

            Press seams in opposite direction. This avoids bulk and makes it easy to nest seams when sewing everything together.


            Sew the rows together
            Start sewing the rows together in the order you like, top to bottom, from center out, bottom to top. Whatever makes sense to you.

            Press seams in one direction.


            Make a quilt sandwich
            Layer backing, batting and quilt top. Baste using pins, spray, or use fusible batting. Quilt simply or more dense, whichever you prefer. This is a good one to try your free motion quilting on because of the size.


            One small but Big Hearted quilt for February or anytime. Mine finished at approx. 28.5″ x 29.5″. Hope you try this one and have fun doing it. And please stop by my blog over the weekend. www.craftsisters.com/robins-blog.html There’s a giveaway for some Table for Two background fabrics to use in this project. – Robin

            Robin Nelson
            {www.craftsisters.com}