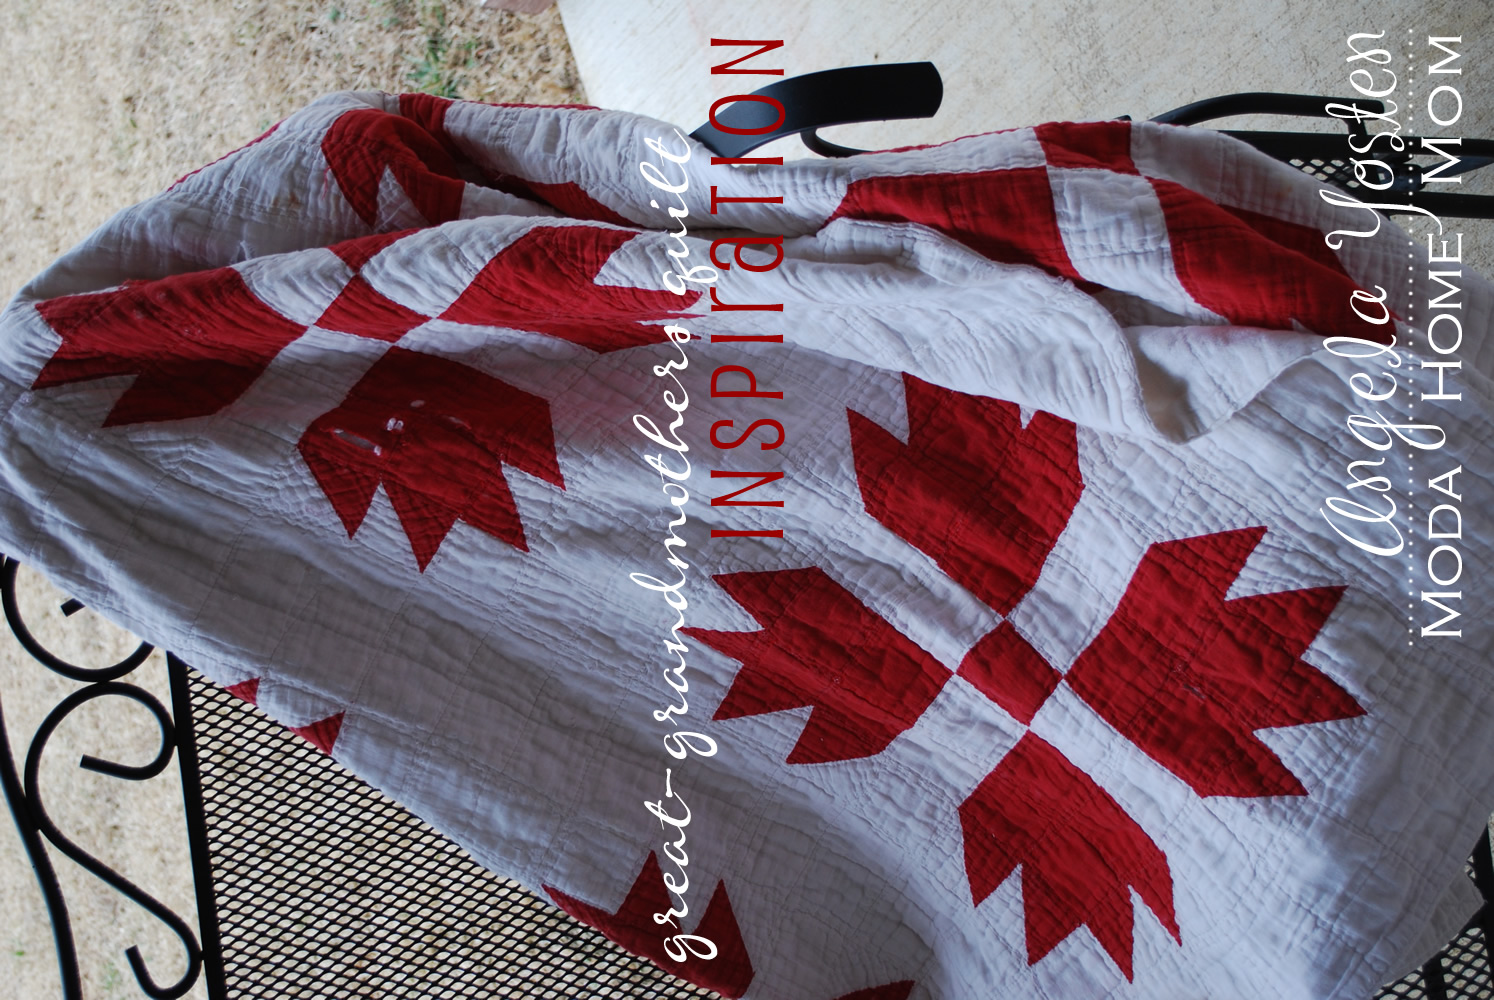
I was inspired by this Bear Paw quilt made by my great-grandmother to make my own version of this very special quilt. You can even see by the worn spots how much this quilt is loved. I didn’t know my great-grandmother very well, but I know she was a very special lady by the way my mom talks about her and the fact that she taught my mom how to quilt when she was young. I love this quilt! I am thankful to be able to share this tutorial with all of you, so you too could make a very special heirloom piece for you and your family. Enjoy!

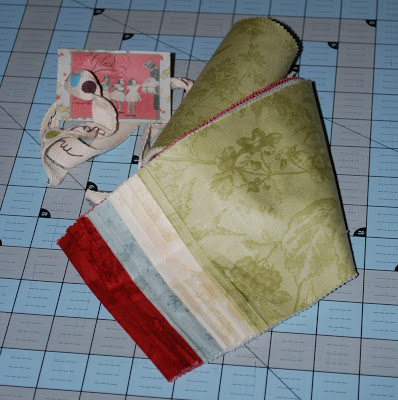
Fabric featured in tutorial is Glace by 3 Sisters
2 Charm Packs
1 Turnover
1 Basic Jelly Roll in Snow #9900JR-11
1 yard Bella Solid in Snow #9900-11
5 yards coordinating fabric for backing and binding
Coordinating Thread
Luna Batting by Moda

Cutting the Pieces…
1. Select 12 Charm Squares and 12 Turnover slices from 4 different color ways. You will need a total of 48 Charm Squares and 48 Turnover slices.
2. You will need to trim your 48 charm squares down to 4 1/2″ square.
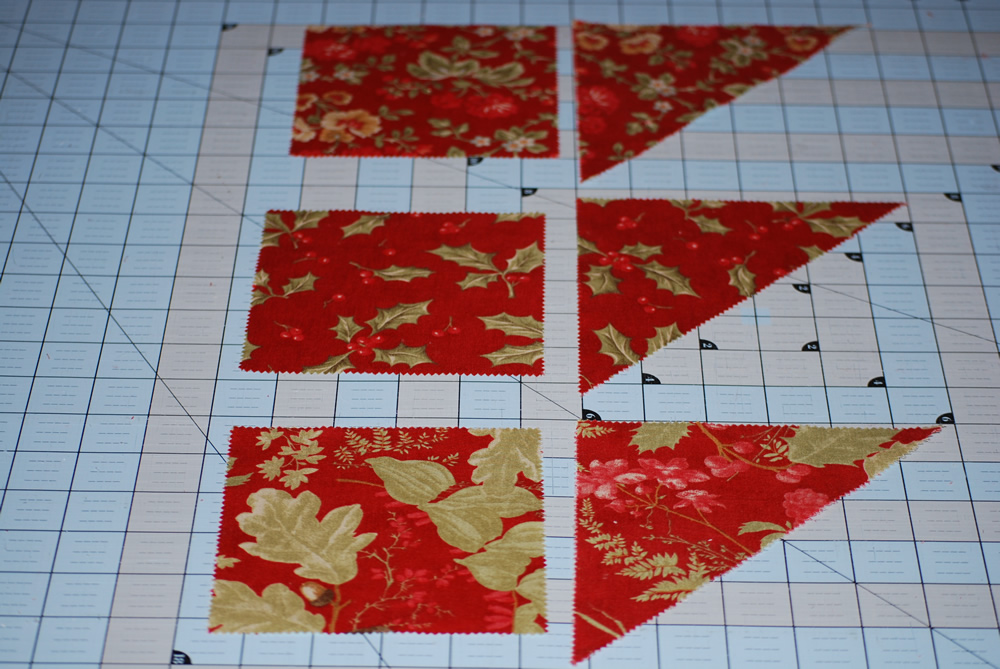
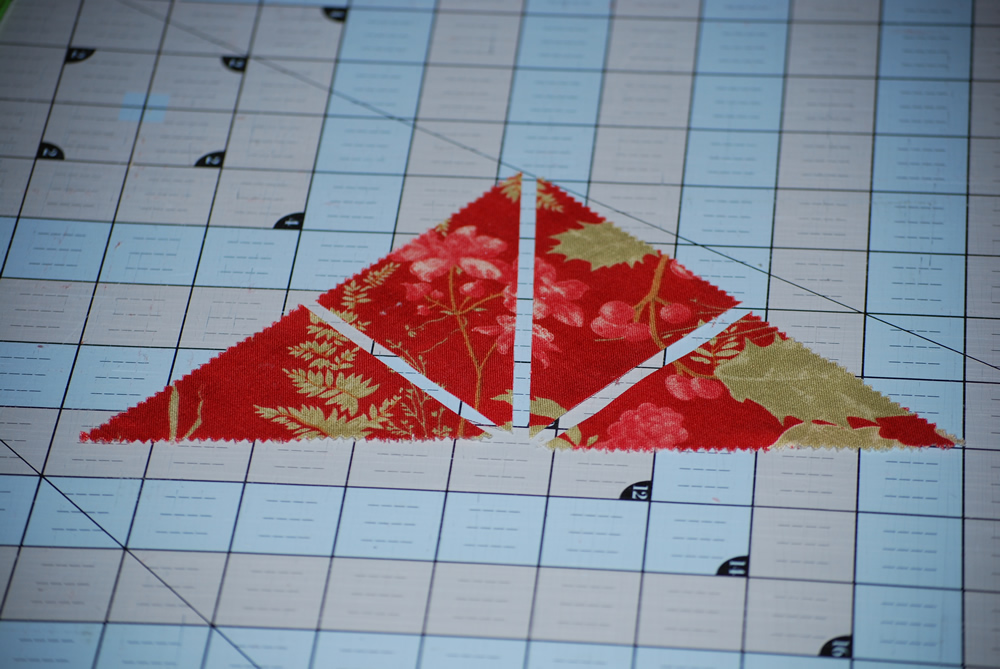
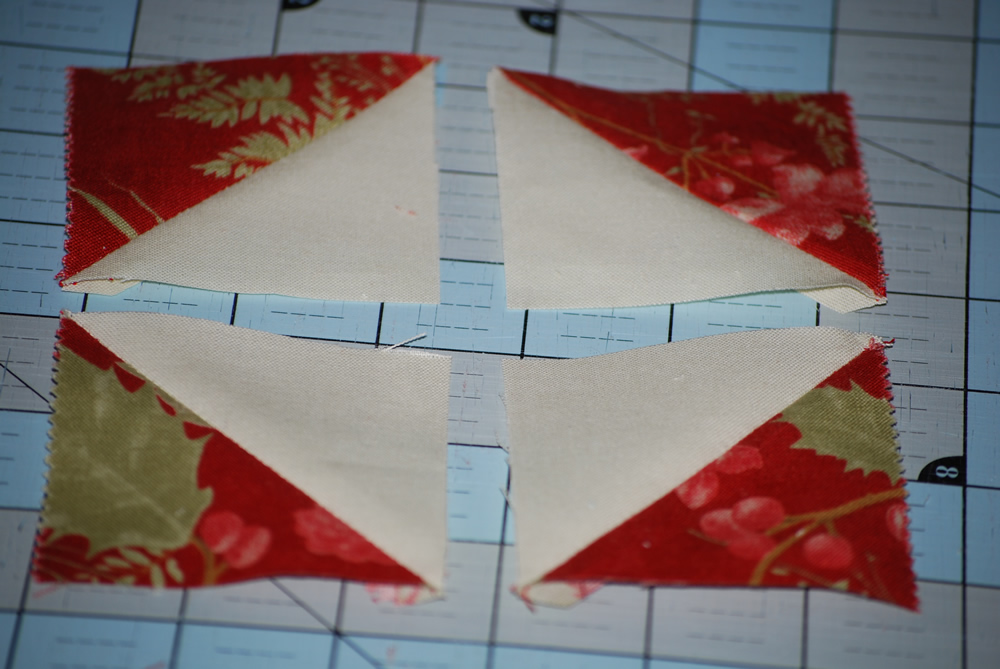
3. From the Turnover slice, cut the triangle down the center creating 2 triangles.
4. From the two smaller triangles, cut them in half creating two more smaller triangles.
5. You should now have 4 little triangles from your 1 original Turnover slice.
Repeat these steps for all 12 of your triangles selected.
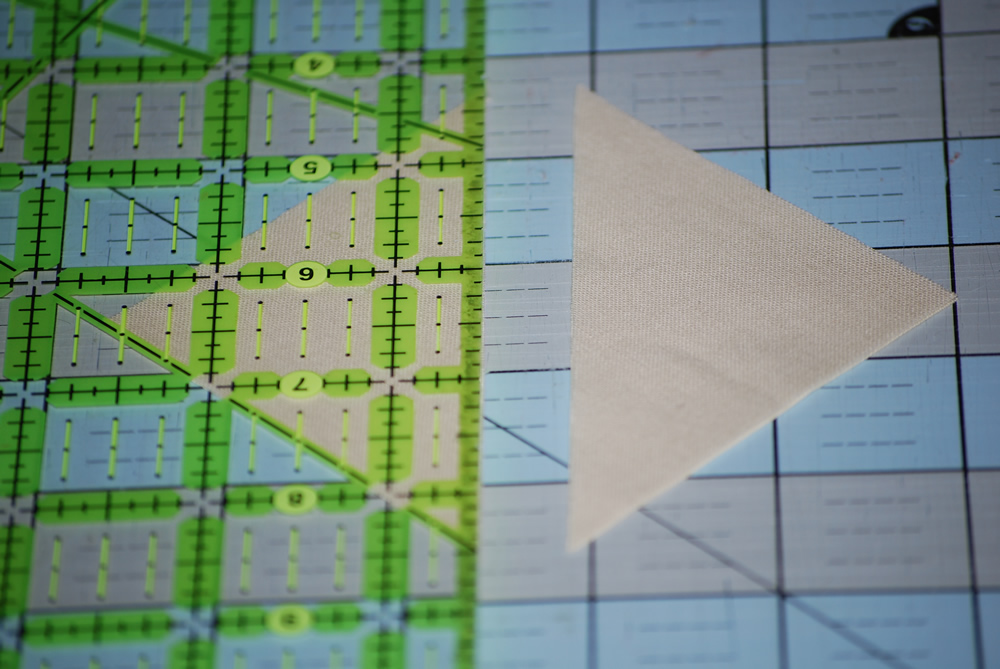
6. From the 1 yard of Bella Solid cut 96 – 3″ x 3″ squares.
7. Cut them in half diagonally creating two triangles. Do this to all 96 squares.
8. From the Solid Jelly Roll…
Cut 48 – 14 1/2″ strips for borders.
Cut 48 – 6 1/2″ strips for sashing.
Cut 96 – 2 1/2″ squares. 48 of these squares will be used for each bear paw. The other 48 squares will be used on the borders.
Sewing the bear paw…
All seam allowances are 1/4″
9. Lay out your triangles and squares as shown below to create a bear paw. I used all the same print for each individual bear paw.
10. Begin by sewing all the triangles RST (right sides together)
11. You should now have four squares that look like the picture below.
12. Lay out all your pieces again for your bear paw to get proper placement. 1 trimmed Charm square (4 1/2″), 4 sewn triangle squares and 1 – 2 1/2″ square from your solid jelly roll.
13. First sew two of the triangle blocks together on one side of the charm square as shown. Press all pieces as you go.
14. Next sew the other two triangle blocks and the plain solid block together in a row as shown. press.
15. Sew the row of the two triangle blocks RST to one side of the charm square. press.
16. Align your seams and sew the other row of the three blocks to the other side of the block as shown. press. Trim your bear paw to 6 1/2″ square.
17. Repeat steps 9-16 for all 48 bear paws. You should now have 12 bear paws of 4 different color ways.
18. From your left over charm squares and/or turnover slices, cut a total of 12 – 2 1/2″ squares. 3 squares for each of the 4 color ways.
On a charm square, simply slice in half in both directions.
On a turnover slice, cut 2 1/2″ from one one of the shorter sides as shown.
Then turn and cut 2 1/2″ from the other short side of the triangle.
Constructing the Bear Paw Clusters…
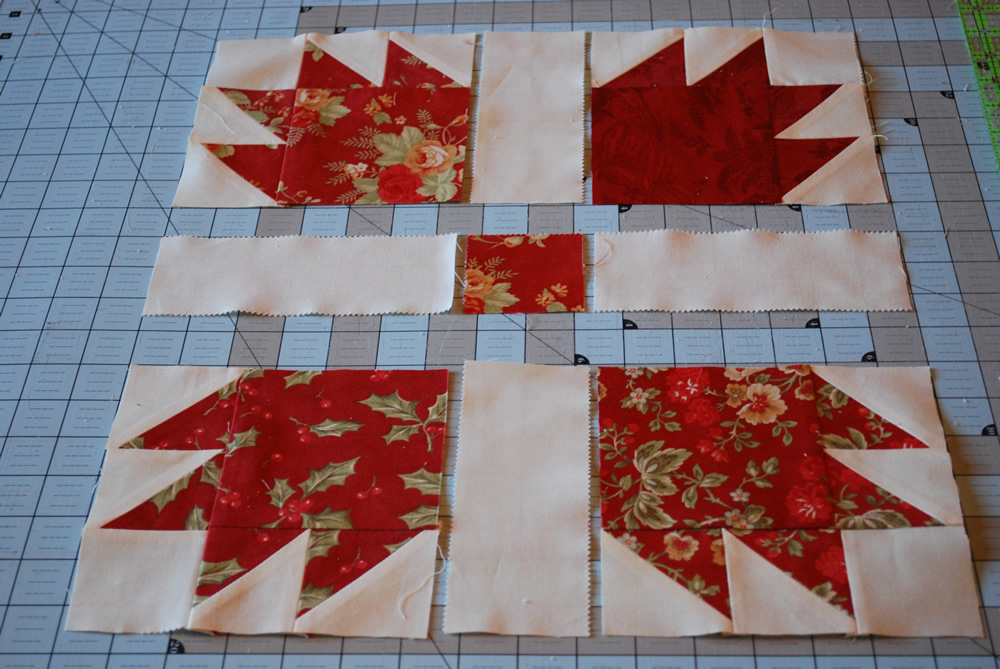
19. Lay out 4 bear paws of the same color way, 4 – 6 1/2″ sashing strips, and 1 – 2 1/2″ middle square that coordinates with your bear paws as shown below.
20. Sew the rows together as shown below and press your seams opposite from another as shown to reduce the bulk when sewing.
21. Sew the three rows together RST creating a bear paw cluster. press.
22. Lay out your bear paw cluster block and 4 – 2 1/2″ squares and 4 – 14 1/2″ squares as shown below.
23. Sew the pieces together creating three rows as shown. press.
24. Sew the three rows RST as shown. press.
25. Repeat steps 19-24 for all the other bear paw blocks. You should now have 12 bear paw cluster blocks, 3 of each of the 4 color ways.
Assembling the Quilt…
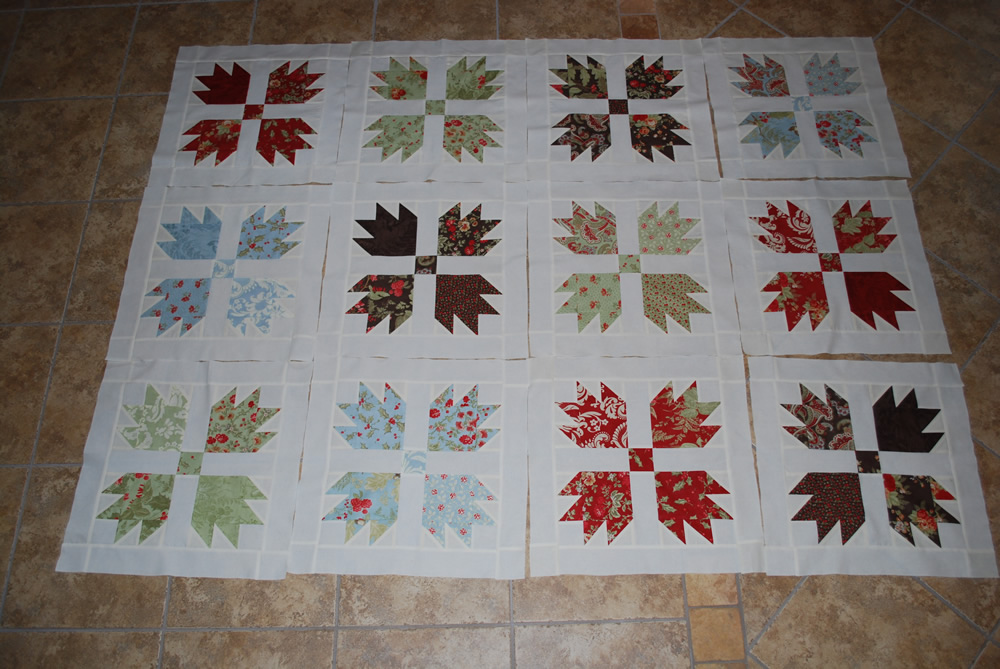
26. Lay out all your blocks as you see fit.
27. Sew the blocks together in rows.
28. Sew the rows together to complete your quilt top.
29. Quilt, bind, ENJOY!


