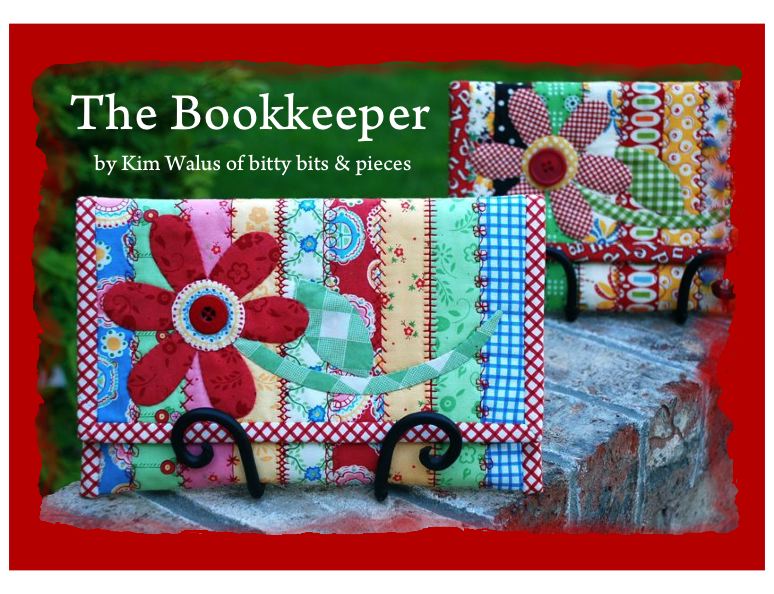
This is my FIRST project for Moda Bake Shop and I’m really excited to share it with you.
One of my favorite things to do besides QUILTING and CRAFTING is READING! So, for Mother’s Day this year my DH bought me an Amazon Kindle. I was sooo excited to get it early and I’ve already read three books and I’m in the middle of two more books. I just love this new technological wonder. It’s amazing. It holds over 1,500 books in one place and weighs less than a pound. Wow! So, I made this handy little pouch to protect it. If your purse is anything like mine, it needs protecting!
The BOOKKEEPER can also hold any paperback book that measures less than 9 ” x 6″ and isn’t too thick. If the book is thicker it needs to measure approximately 5″ x 7″ inches. If you need a bigger size you can customize the pattern to fit whatever size book you have. Just measure the circumferences of the book and add at least an inch to the width and length to allow for the seam allowances and flap.
The BOOKKEEPER could also be used as a handy little purse or sewing pouch. You could even throw in your make-up for an overnight quilt retreat.

Here goes. . .

- 1 Moda Honey Bun (I used Mary Englebreits Baskets of Flowers for tutorial. I also used fabrics from a few of American Jane Collections for the additional Bookkeeper Sample)
- 10″ x 18″ piece of Warm and Natural Cotton Batting
- 10″ x 18″ piece of fabric for lining.
- 2 1/2″ x 42″ strip of fabric for binding.
- 1 1/2″ x 18″ Scrap of Red for Petals
- 4″ x 7″ Scrap of Green for Stem and Leaf
- 2 1/4″ x 2 1/4″ Scrap of any Color you choose for Center of Flower
Applique Pattern Templates: Click Here then print the pattern templates.
Note: You can download the PDF file by hitting the download button located on the tabs above the pattern. The SCRIBD print button is hidden under the MORE button in the top left corner of the pattern box. I’m hoping this makes sense when you click on the CLICK HERE link above.
Optional: Perfect Circles by Karen Buckley

You may garnish the center of your flower with a button, if desired.

1. Begin by opening you Honey Bun and picking out 9 different strips. To vary the colors and patterns you may want to lay the strips out and preview your choices before you sew them together. Now cut your 9 strips in half on the fold line. Set aside the other half of the 9 strips you just cut. You can use them later to make a second Bookkeeper for a friend.

2. There is no right or wrong way to combine your strips just use the fabrics and colors that appeal to you. You will definitely have enough fabric to make more than one Bookkeeper, so have fun playing with the different combinations of fabric. Line them up from Left to Right.

3. Take the first strip on your left and line it up along the left edge of the batting. Make sure to allow a bit of fabric coverage on both ends of the strip. You will trim excess when you’re done. Now lay your second strip on top of the first strip with right sides together (RST). Sew using a 1/4″ seam. Press seam open toward the opposite long edge (right side).

4. Continue sewing on the strips and pressing open until you’ve used all nine strips.

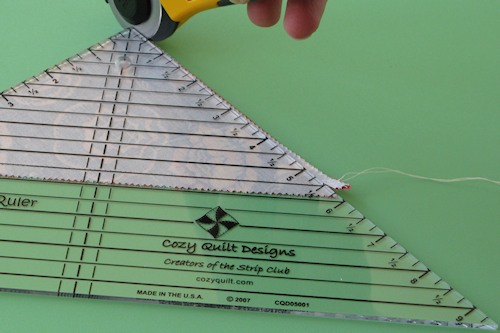
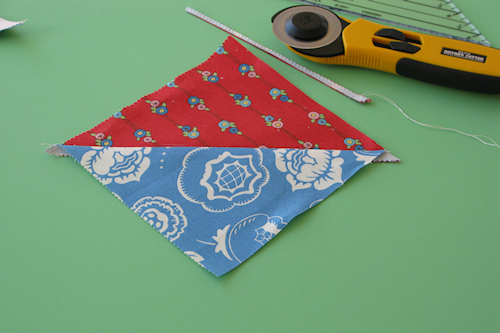
5. Turn project over and trim excess fabric on both short ends.

6. This is a great opportunity to use your sewing machines decorative stitches. Of course, it may be hard to pick just 8 of your favorite stitches but have fun picking. You may want to test your choices on a piece of scrap fabric with batting underneath it, especially if you’ve never used your decorative stitches before. Make sure to use your walking foot when sewing, it will help keep it flat. You will also want to keep your presser foot in the middle of each seam.
Note: If your machine doesn’t have decorative stitches you may stitch in the ditch.


9. Next, take the 2 1/2″ strip and fold it in half, press the fold. This is your binding.
10. You will use 9 1/2″ of the binding you just prepared. Sew the binding to the bottom edge of the BOOKKEEPER then fold the bottom up toward the center of BOOKKEEPER and sew an 1/8″ seam to secure both sides (Refer to picture below).
11. Now attach the binding to the back of the bookkeeper using a 3/8″ seam. Start at one side making sure to leave an inch of fabric at the beginning and at the end. Press binding outward and fold over and around to the front of bookkeeper. Hand sew the binding making sure to fold the binding into itself at the beginning and ending points.

12. You are now ready to begin the applique process. There are many methods you can use to apply one piece of fabric to another but in this particular case I will use the following method. It works really well for this project.
NOTE: Remember, you may use any method of applique that work’s best for you.
13. For the flower petals: I like to use lightweight cardboard (cereal boxes work great, it’s cheap and easily accessible) or you can use heat resistant template material. Trace the pattern on your cardboard or template plastic and then cut it out.

14. Now take one of your Honey Bun strips and trace around the petal pattern using a pencil (as seen in the picture above).
15. Cut out the petals a little more than a 1/4″ outside of the pencil line (as seen in picture below).

16. For the flower center: Using the 1 1/2″ Perfect Circle Template trace the circle on the 2 1/4″ x 2 1/4″ piece of fabric. Then cut a little more than a 1/4″ outside of the pencil line.
17. Now you’ll want to sew a running stitch around the circle and the petals as seen in the pictures above and below. Make sure to knot one end of the thread.
My Tip for You: When using starch I like to use a scrap of Warm and Natural batting to soak up any excess starch when I spritz small pieces of applique. When the batting has been used to the point of needing to be tossed I just throw it away and pull out another one. This helps to keep my ironing surface starch-free. You can also spray your starch into a small container and then apply it with a paintbrush. That work’s really well too!

18. Spritz your pieces with a bit of starch and then place your plastic washer in the center of your circle and pull the string to gather the edges into the center. Press. When the starch is dry and stiff you’ll then pop out the circle template and press again. Let cool.

19. You will repeat the same process for your 6 petals.

20. Repeat the same process for your leaf.

21. For the stem you will spritz the fabric with a bit of starch and pull the outside curve over the cardboard pattern. Then pull the opposite side over and press. Trim any excess fabric. You will tuck in the point of the stem as you applique it on to your fabric. The other side of the stem will be hidden under the petals.
22. You are now ready to arrange your applique pieces on your bookkeeper. With the flap closed you will arrange the flower petals and stem as seen in the picture above. Secure pieces in place with a few applique pins. Sew pieces down being careful not to go through to the lining. It was pretty easy keeping the stitches from going through to the lining because of the batting. I did the applique after the Bookkeeper was made so there was no worries about it being in the right position or not.

For every 9 strips of fabric you can make the outside of two BOOKKEEPERS. So that means, if your Honey Bun had 45 strips you could make 10 Bookkeepers. Wow! You could make one for you and at least nine other friends.

Until next time . . . Happy Quilting!
http://bittybitsandpieces.blogspot.com/


 Press seams open.
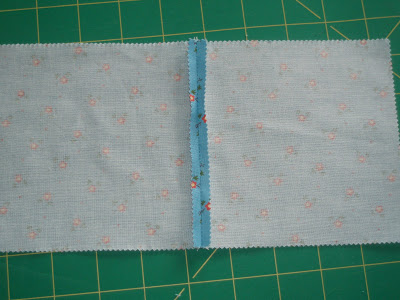 Fold wrong sides together. This is unit A.
 Sew along one side.
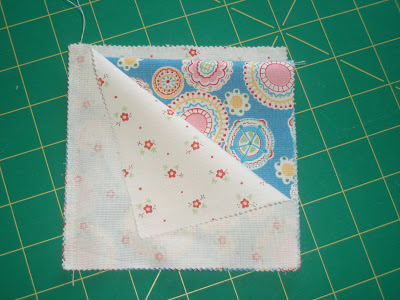 Open….
 pull the center portion so your block looks like this.
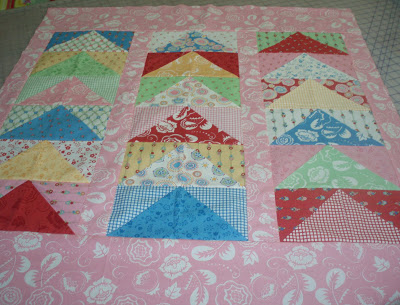
 I pinned the bottom corners and the center and finger pressed the seam open – repeat to make 18 flying geese units.
  Sew into 3 rows of 6.
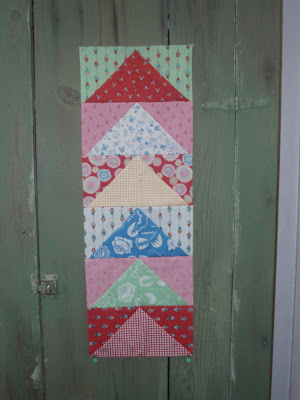 Press seams open to prevent bulk.
  Cut 4 strips at 2 1/2″ for sashing and side borders.
 Cut 2 strips at 6 1/2″ for the top and bottom borders.

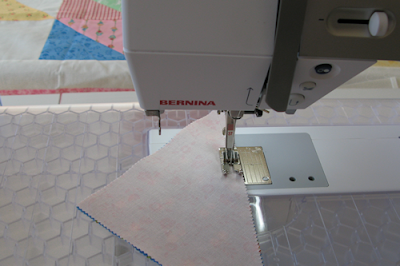
 Quilt.
 Bind: we cut 4 strips at 2″ for the binding. You may prefer your binding a little wider.
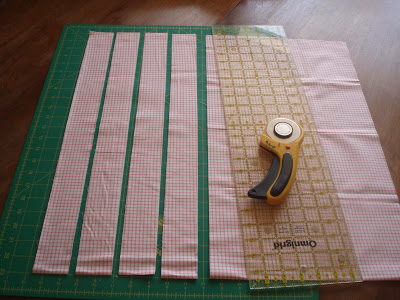 Here are some other finishing ideas. A tablerunner,
 this is using Miss Jump fabrics for a boy quilt


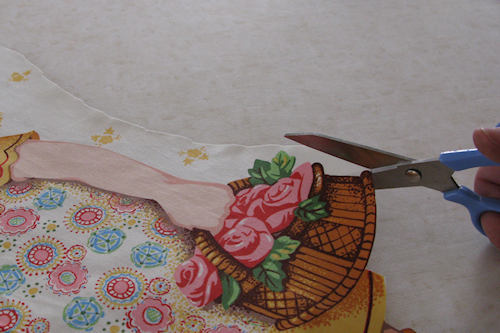
 With the paper still on the fusible, I carefully fussy cut the girl out of the panel. (This was my favorite part because I left like a little girl playing with paper dolls.)