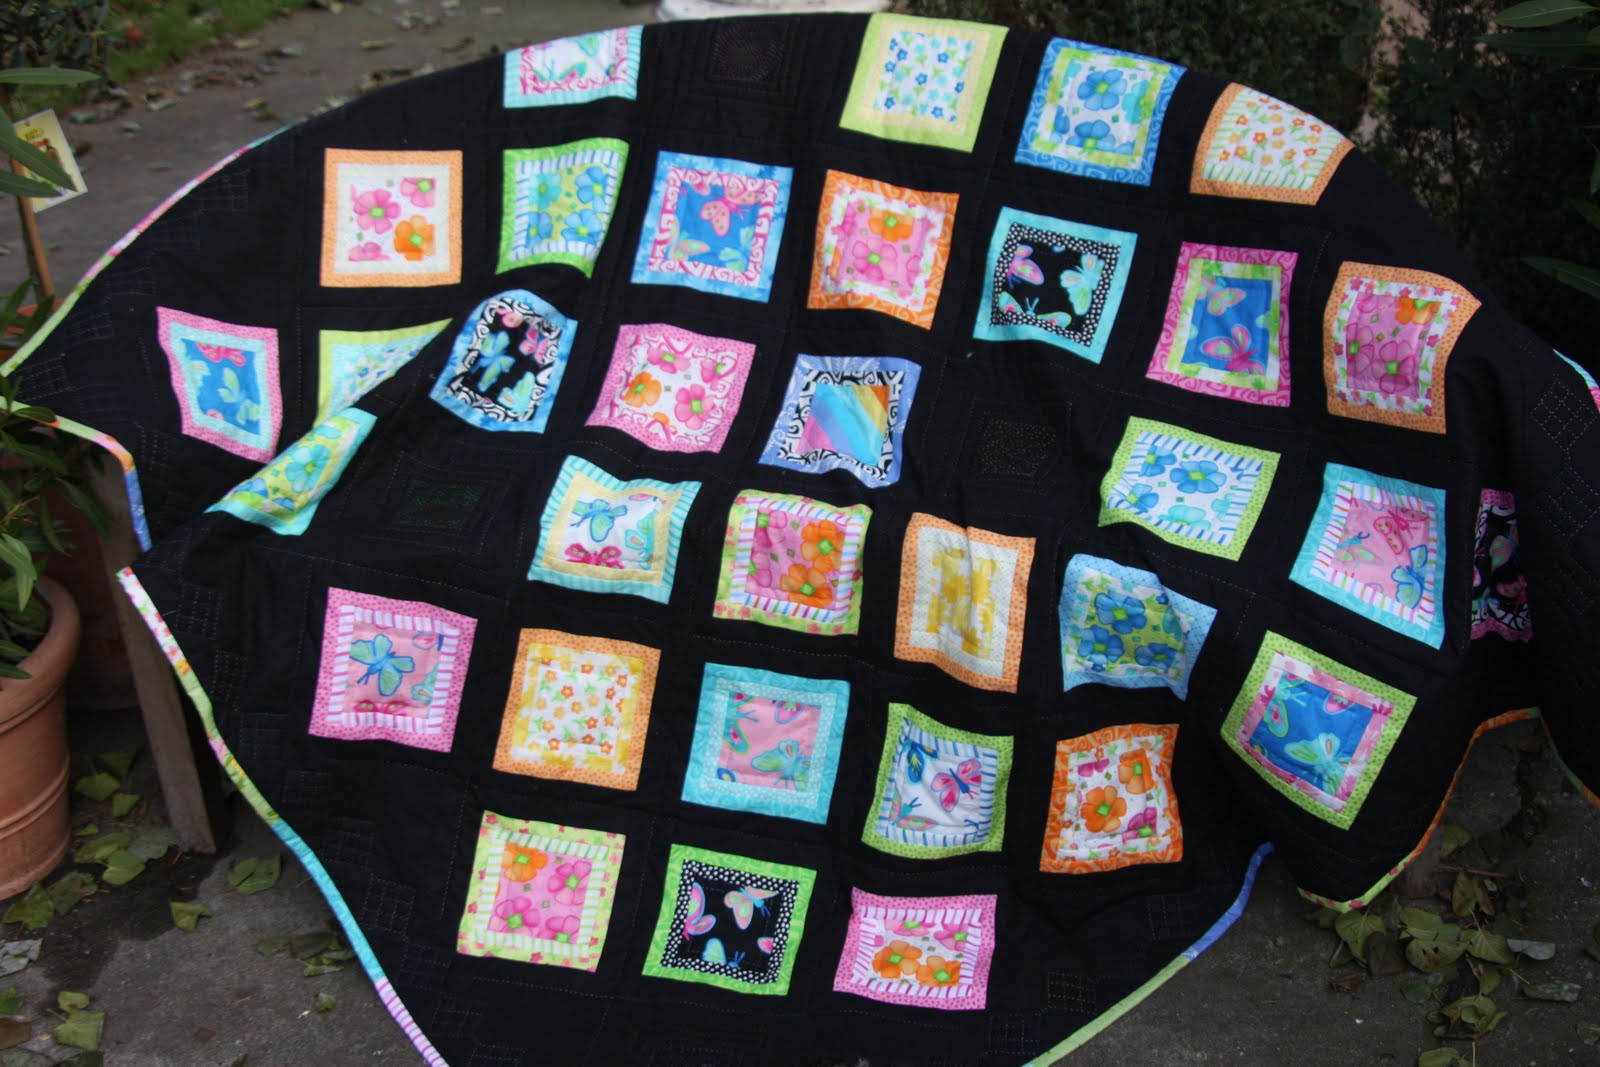
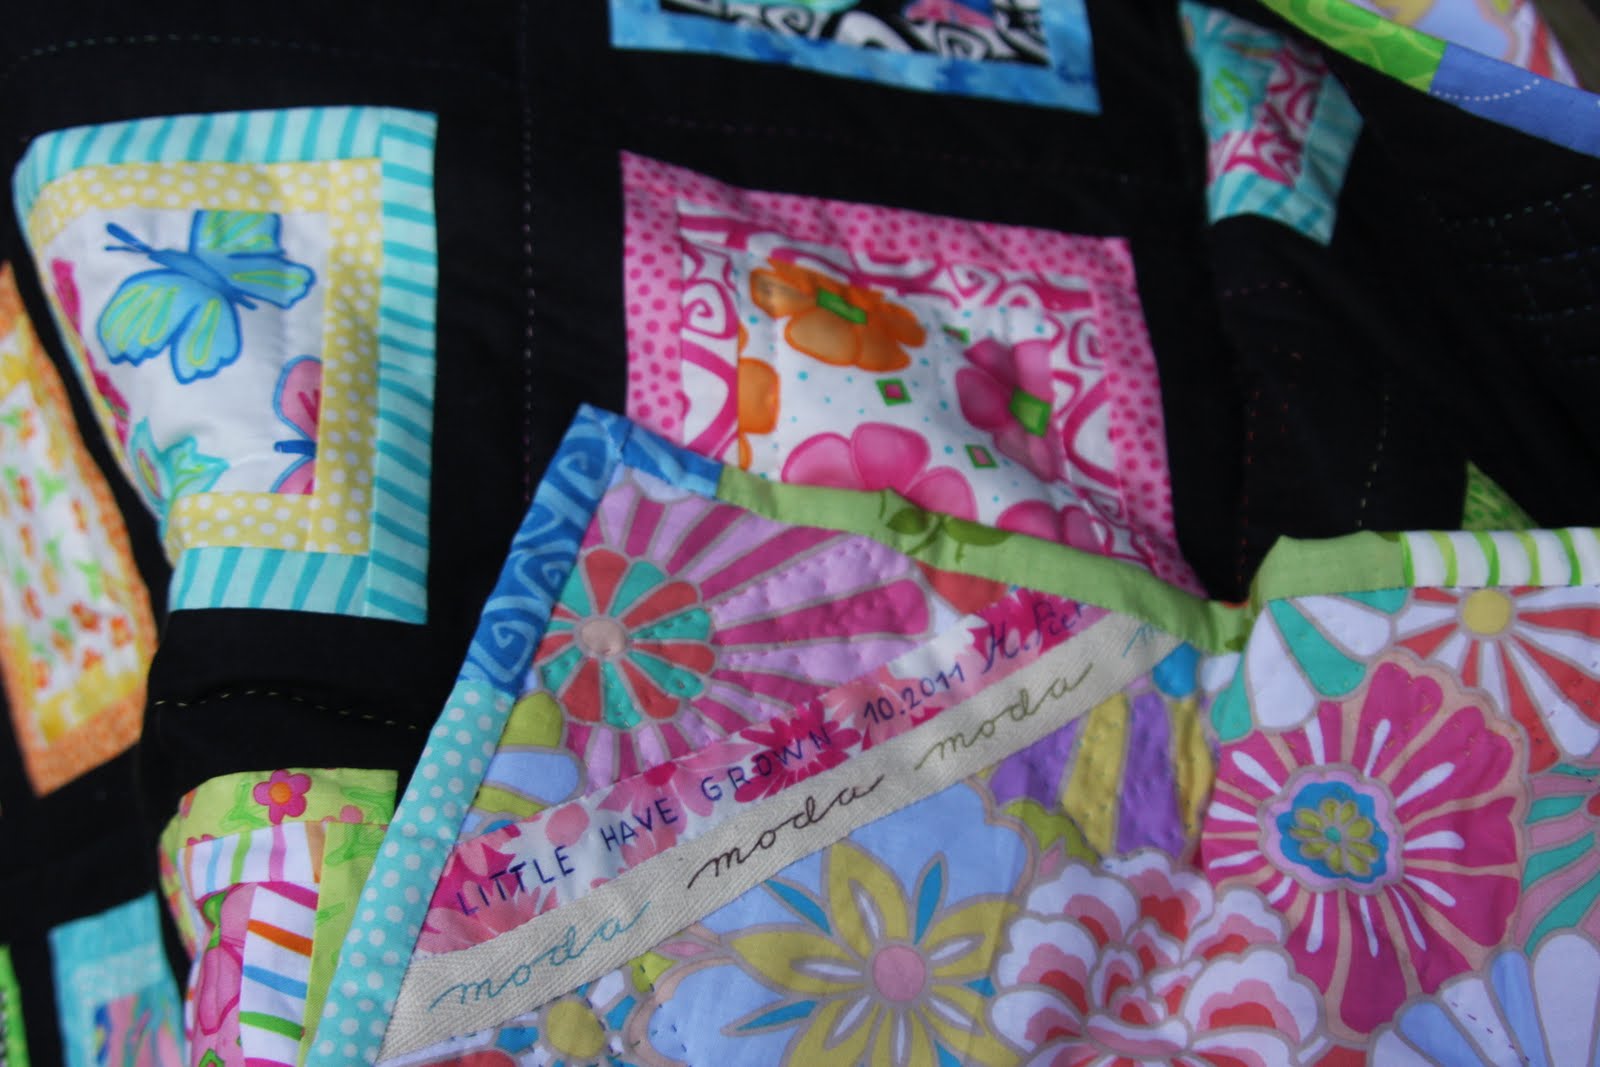
Oh My, Shabby Butterflies was designed with the young girl {who is not the princess type} going into her first twin bed. The rough edge applique gives these whimsical butterflies their shabby chicness. This project gives the beginner quilter a way to dip her toes into applique.

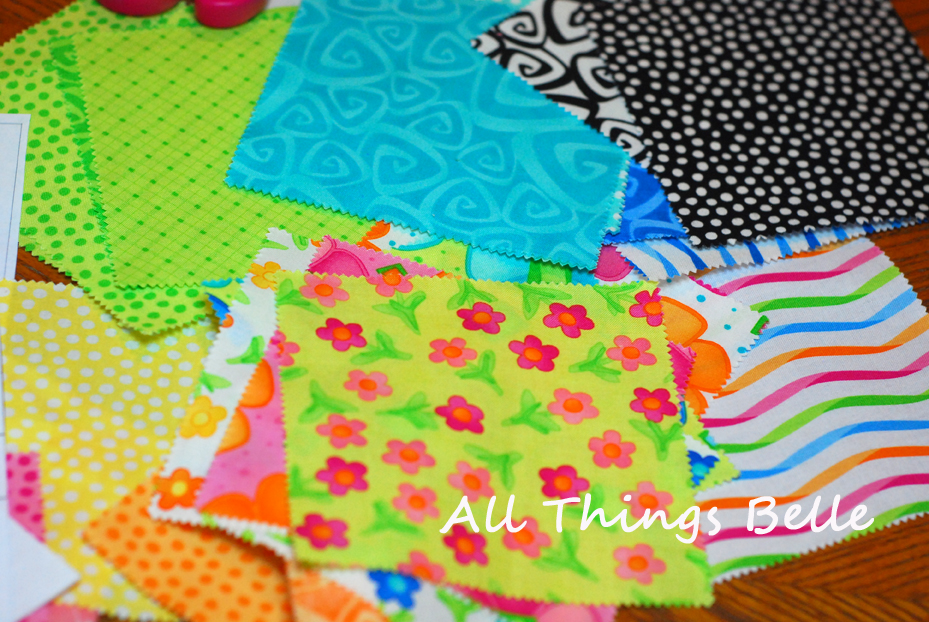
1 Twirl Layer Cake
1 White Bella Solid Layer Cake
5 yards 22176-19 (green) for inner rectangles and boarders
3 1/2 yards of 108 in wide muslin for backing
1 yard 22175-19 (rainbow strips) for binding
4 1/2 yards of one-sided fusible interfacing (light weight)
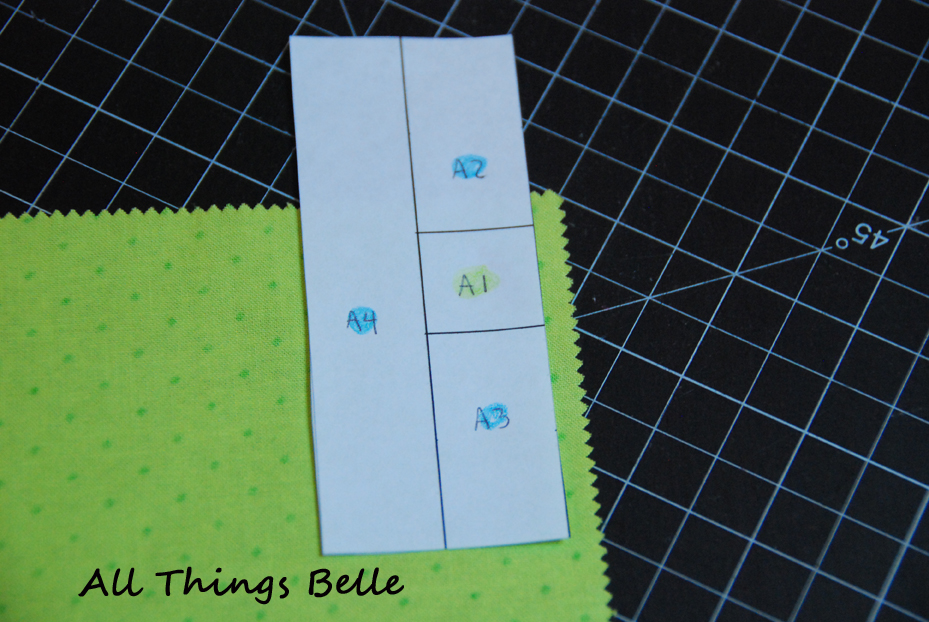
Cut out butterfly wings and bodies templates (added in the PDF of this pattern.) Must print out pattern to get them. You will have a choice of different sizes and varieties to work with.

All seams are 1/4″ unless indicated otherwise.
Please read all directions and instructions prior to constructing this quilt!
wof – Width of Fabric
lof- Length of Fabric
Quilt
Cutting Directions:
- From the 5 yards of 22176-19 (green) cut into strips of 4 1/2 in x wof (19 total strips)
- Cut the 4 1/2″ x wof strips into 4 1/2″ x 8 1/2″ rectangles. You will get 2 cuts per strip with a total of 4 rectangles. You will need a total of 74 rectangles.
- From the remaining 5 yards of 22176-19 (green) cut 2- 10″ x lof. You should have 4- 10″ x lof strips for your boarders.
- From the White Bella Solid Layer Cake cut 2- 4 1/2″ x 8 1/2″ rectangles. You will need a total of 70 rectangles.
- Set aside leftover material for the scrap bin or the trash bin.
White Bella Solid Layer Cake Cutting Sample

Quilt Assembly
- Take the green and white rectangles and alternate them 7 rectangles wide. Start by placing a green rectangle with right sides together with a white rectangle.
- Stitch on the 4 1/2″ edge.
- Make sure to press seams as you go.
- Keep alternating colors until the end of the row.
- The next row start with a white rectangle, stitch with right sides together with a green rectangle in the 4 1/2″ edge and alternate until the end of the row.
- Keep alternating rows until you reach a total of 20 rows.
- Once all 20 rows are completed, start stitching alternating rows together. Make sure right sides are together while stitching.
- When center of quilt is finished add the 10″ x lof strips to all four sides. Be sure to start stitching on with the length of the quilt first. Trim off any excess material then add the width to the quilt. Trim off any access material and set quilt top aside.
Finished Quilt Top Before Butterflies

Butterflies
-
Choose 32 Twirl Layer Cake Squares of your liking.
-
Line up 2 squares side-by-side on ironing board, rights side facing down.
-
Take the 4 1/2 yards of single-sided interfacing and place over the squares (fused side to the fabric).
-
Press until fabric and interfacing are fused.
-
Continue adding squares until finished.

-
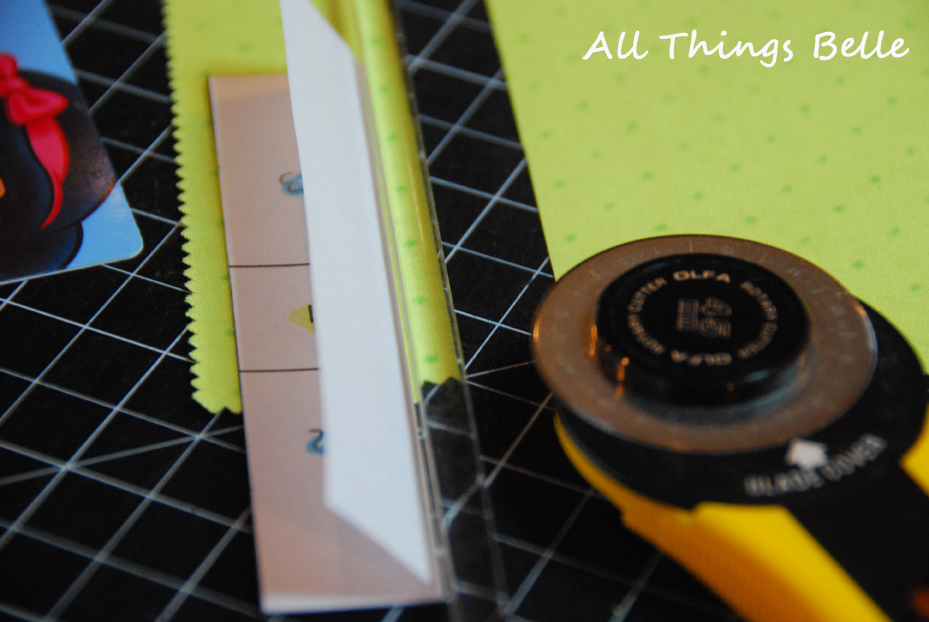
Cut out the butterfly wings and bodies template from the PDF print outs of this pattern.
-
Arrange desired templates on the interfacing side of each block.
-
Trace each desired template.
-
Be sure to flip templates over if you want to alternate colors to match the butterfly’s body and wings.
-
Cut out traced wings and bodies.

-
Once butterflies are arranged, start placing then on the quilt top.
-
It is optional to have butterflies placed where ever you want them.
-
Templates can be used as a guide to place butterflies anatomically correct if desired.
-
Once in place, pin each wing and body to the quilt top with safety pins.

-
If placing wings on the outside be sure to cut a curve at the end of each wing. This will give the effect that butterfly is working hard to flutter those wings!

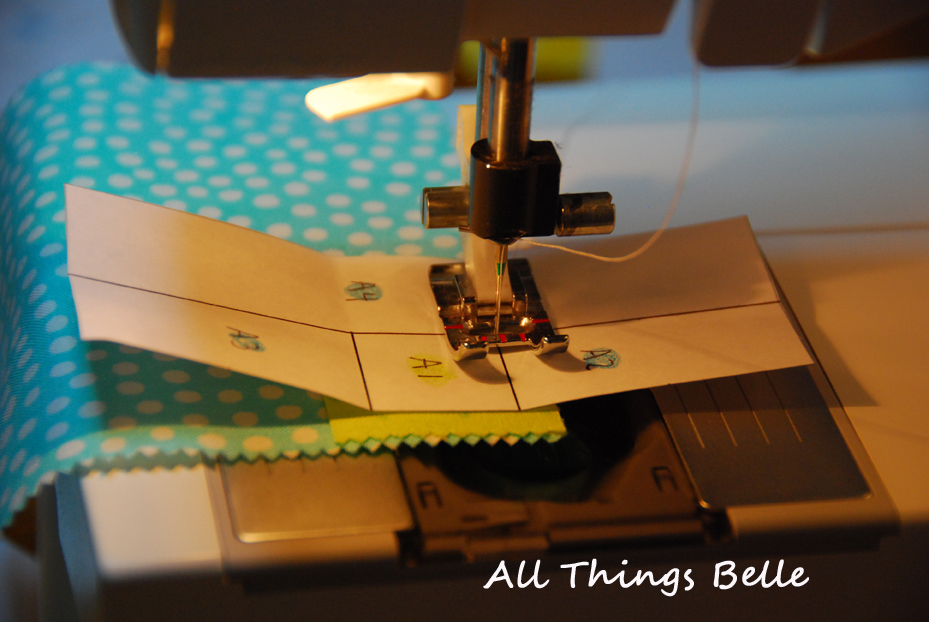
- With a darning foot, stitch each butterfly wing and body with a free motion technique.
- Be sure to start with the bottom layers first.
- Best to stitch around the body/wing first then go for the decorative stitching.


- Once all butterflies are stitched on, prep for quilting. Quilt and bind the quilt.

One Twin size quilt 78 in x 102 in
Thank you!
Jennifer Overstreet
![]()