1 Arcadia Layer Cake or a different equally cute Layer Cake!
1/2 yard Binding
3 yards backing fabric

6 1/2″ Acrylic square ruler
Mary Ellen’s Spray Starch or other spray starch product

1. Separate your Layer Cake into two stacks of light and dark fabrics. Some may not be considered a ‘dark’ fabric, but if the color has a strong contrast to the light fabrics it will work great.
2. Choose 12 of the light fabric 10″ squares, and 12 dark fabric 10″ squares. Set aside.
3. The remaining 16 squares will be used for the outer border.
4. Take one light and one dark square and place them with right sides together. Pin around the squares in several places to secure the squares.

5. Sew the squares together on one side with a 1/4″ seam.
Then continue to sew around the squares until all four sides have been sewn.

 6. Spray both sides of the square with Mary Ellen’s Spray Starch and press the block. This will help keep your bias edges from stretching or moving in the next steps.
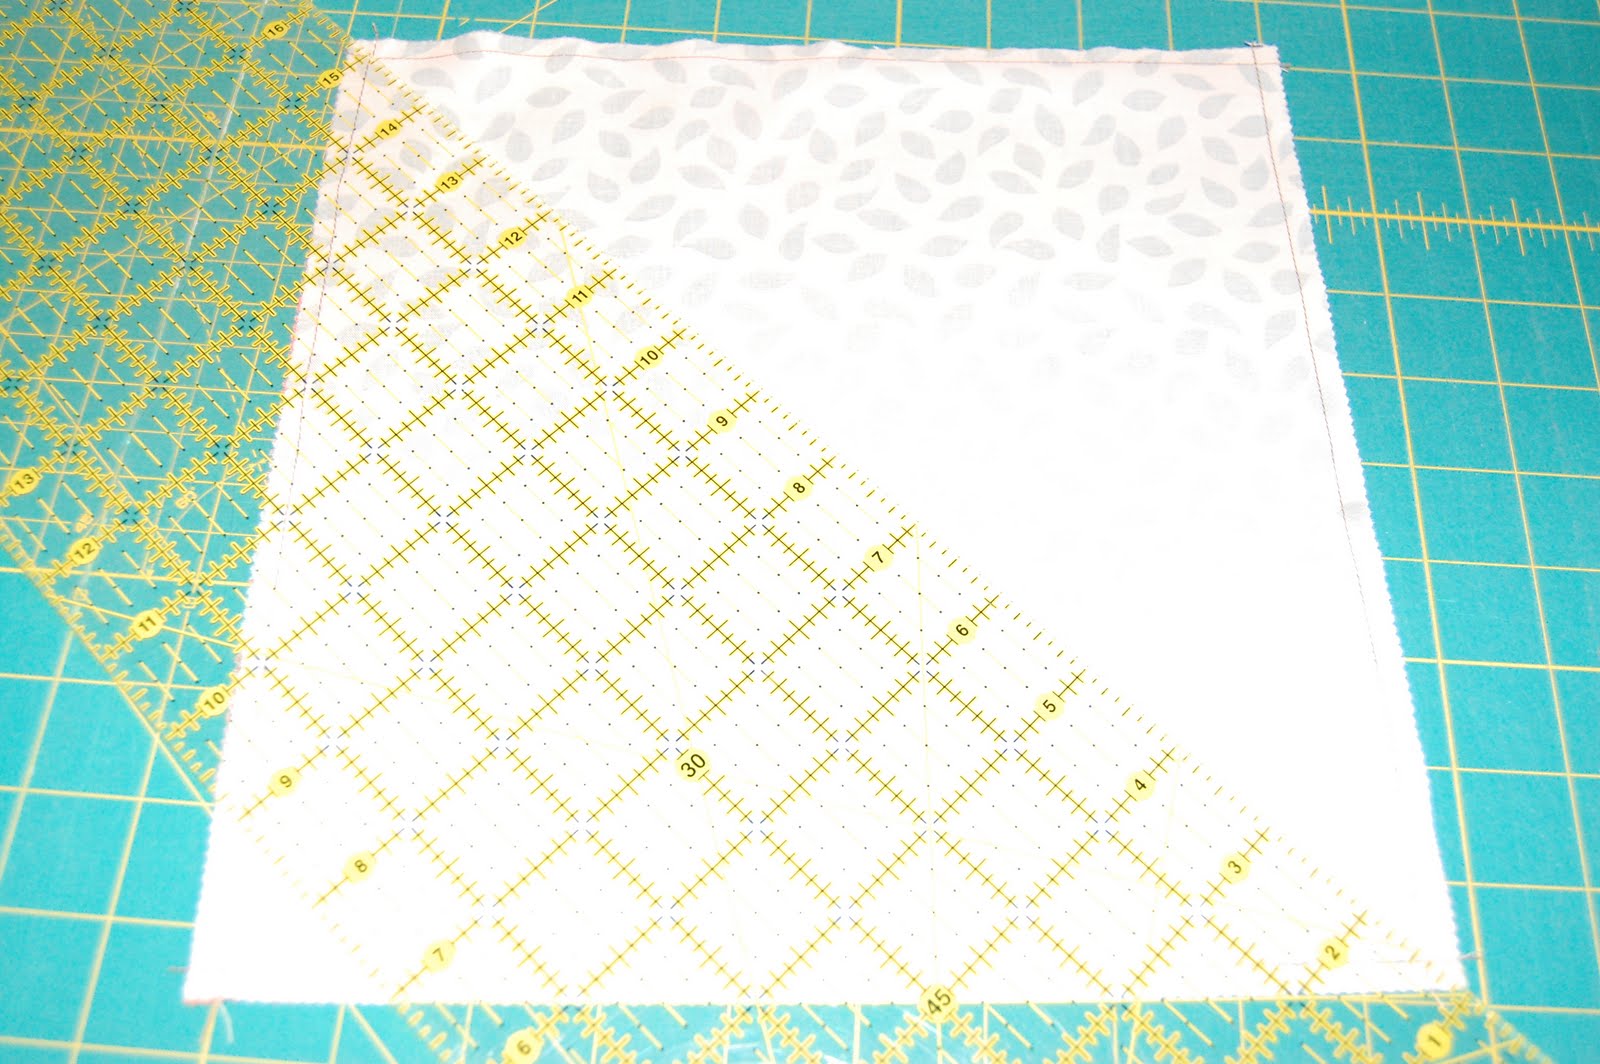
7. Take your long acrylic ruler and line it up to cut the square block diagonally from corner to corner. Then make one more diagonal cut from the opposite corner to corner. This will yield four Half Square Triangles that are identical.

 Press the seams toward the darker fabric. Repeat steps 4-7 with the remaining squares.
8. Trim the Half Square Triangles (HST’s) to 6 1/2″ square if necessary. (I did not trim mine and all of the blocks came out just right for me.)
9. Choose 4 different Half Square Triangles. Place two of the HST’s with the right sides of the darker fabric facing. Pin into place. Sew a 1/4″ along the raw edge. Repeat with the remaining two HST’s. Press the seams in opposite directions.
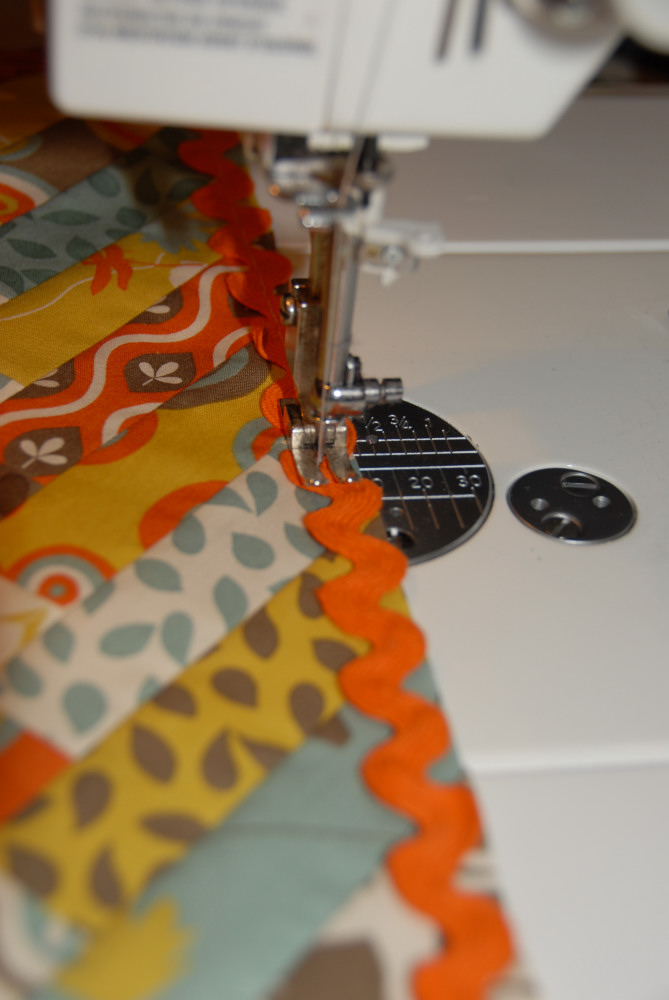
Be careful not to push or pull on the triangles when they are moving through your machine. Let your feed dogs do all the work and you won’t have any trouble with the fabric stretching. Also, be sure with these blocks not to use your thread cutter on the side of your machine- that will stress the fabric in the wrong directions.


 With these blocks you will be placing all of the darker fabrics to face the center of the block.
10. Place the two halves of the block with right sides together and pin in place along the raw edge. Sew the two halves of the block together. Press the seam.
11. Repeat with the remaining HST’s to create 12 blocks measuring 12 1/2″ square.
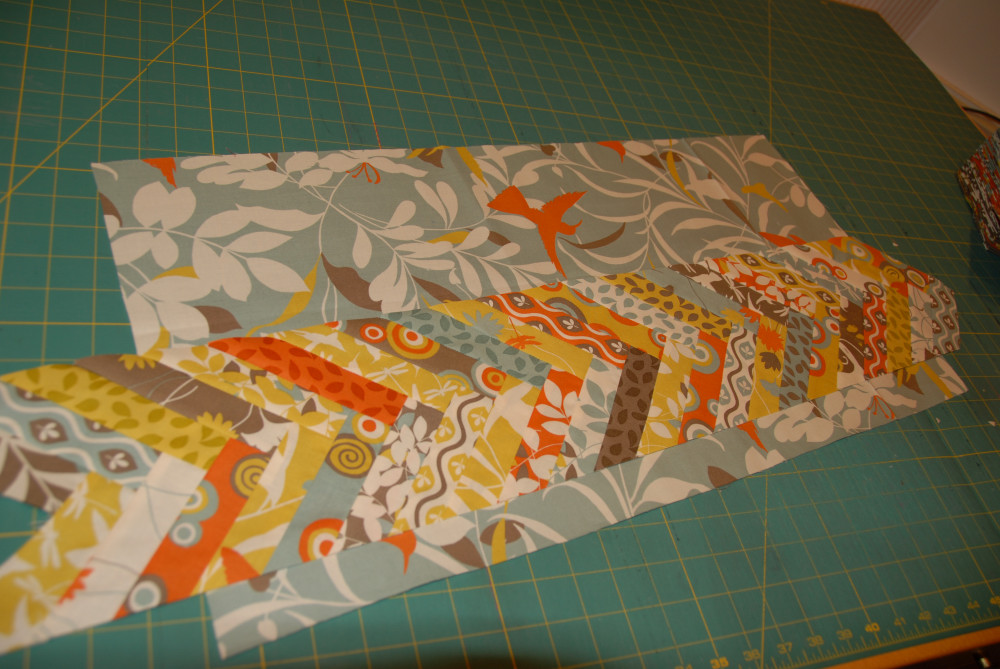
12. Sew the blocks together into 4 rows of 3 blocks each.
13. Take the 16 squares set aside for the border and cut each square into (4) 2 1/2″ x 10″ pieces.
 14. Pair up different border pieces and sew them together along the 10″ length of the pieces. Press the seam.
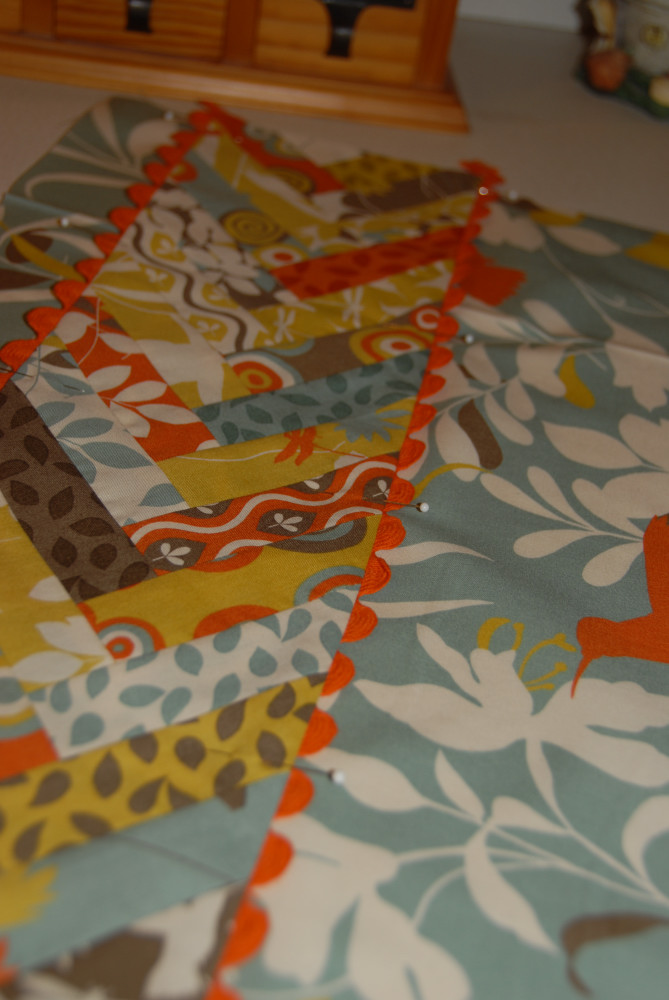
15. Sew 5 of these border segments together on the 4 1/2″ side end to end to create one long border piece. Repeat and make one more with 5 border segments, and two more with 7 border segments in each. These are your borders. 16. Measure the quilt horizontally from side to side to determine the top and bottom border lengths. Cut the two borders with 5 segments to that length. Pin and sew them to the top and bottom of the quilt top.
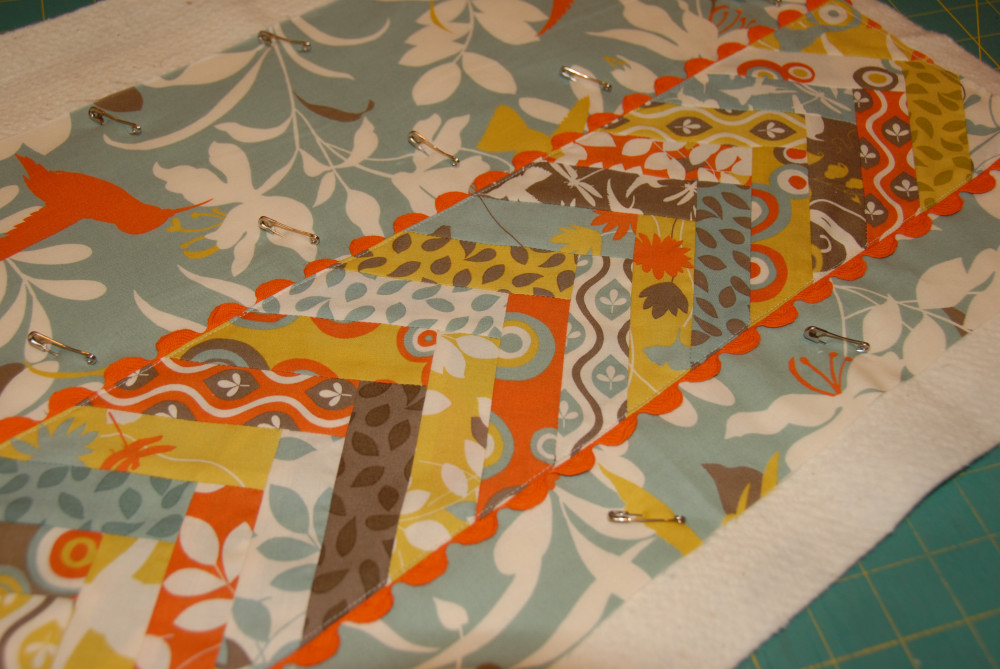
17. Measure the quilt top through the center vertically to determine the side border measurements. Cut the remaining two borders to that length and pin and sew them to the quilt top. Press the seams and you are all done with the piecing! Quilt and bind and enjoy!


1 Lap quilt measuring 45″ x 58″
Thanks for checking out my tutorial and if you want to check out my blog or website, that would be great too!
A special thanks to the great folks at Moda/United Notions for all of your support! ![]()