
I’ve had this idea running around in my head for a few years now and I’m just getting around to making a Valentine Sweetheart Mailbox for the back of my chairs. I thought it would be a great place to hold all of the Valentine Cards and Love Notes that we like to give each other. I definitely plan on making one for every chair in my kitchen.
If you’ve been following me on my blog, you’re probably thinking that this looks familiar. We’ll you’re right. I’ve actually made a smaller stuffed version to hang on a doorknob or peg. You can have a look at it HERE.

- 5 Fat Quarters from the “Sent With Love” Collection by Deb Strain
- Freezer Paper (for making patterns)
- 20 inches of Peltex Stabilizer by Pellon (for making Sweetheart Mailbox)
- 1/2 yard Fuse-A-Shade (for making Love Letter Envelopes)
 Sent with Love Collection
by Deb Strain

- 1/2 yard of Red Ric Rac
- Kanzashi Flower (Find the Tutorial HERE) My squares are cut @ 3 1/2″ x 3 1/2″
- Covered Button (I used one 5/8″ covered button)

1. Print the paper patterns. It’s a larger pattern and is printed in sections. The pattern will print on 3 pages of 8 1/2″ x 11″ paper. Two pages for the heart and one page for the envelope.
2. Cut out the paper patterns and tape or glue the pieces together.
3. Tear a few pieces of Freezer Paper to make the patterns.
4. Transfer and trace both halves of the heart pattern, pocket pattern, and scallop pattern onto the freezer paper, as seen in the picture below.

5. Fold one side of your pink polka dot FQ with right sides together (18″ side). Place the top straight edge along the top edge of the fabric. Trace the scallop edge and sides. Trim off the excess fabric above the pattern, as seen in the picture.

6. This is a VERY important step. Make sure to SEW along the pencil line that you just traced in the previous step. When you are done you will trim a 1/4″ beyond the sewn line, as seen in the picture.

7. Clip the curves and valleys, as seen in the picture.

8. Next you will sew the scallop into the top edge of the pocket. To do this, you will center the scallop on one side of the fabric pocket along the top edge. Then place the back fabric pocket piece on top making sure that the right sides of the fabric are together with the scallop sandwiched in between.
Here’s the order you will stack the pieces for the pocket.
- Peltex (for stability)
- Back pocket piece with right side facing up
- Scallop
- Front pocket piece with right side facing down
9. Then sew a 1/4″ seam. Open the pocket pieces to expose the scallop edge. Press.
10. Baste the pocket to one of the fabric hearts using a 1/4″ seam.

11. Next make the Ties by cutting four pieces of fabric that measure 3 1/2″ x 22″ in length.
12. Fold the ties in half, lengthwise with right sides together. Sew a 1/4″ seam along the long edge and one short end. Clip corners.
13. Turn the ties right side out and press.
14. You now have the pieces you’ll need to assemble the Sweetheart Mailbox.
15. Make sure you have the following pieces:
- One peltex heart shape piece for the inside
- Front and back fabric pieces
- Front pocket with scallop already sewn in
- Four fabric ties (make sure they are secured in the right place)
16. Here’s the order you will stack the pieces.
- Peltex Heart
- Front of Heart with the right side facing up. Make sure to pin down center scallop so it doesn’t get sewn in to the seam of heart. Secure and pin ties.
- Back of Heart with the right side facing down. Secure with pins.

17. Now sew a 3/8″ seam making sure not to catch the outside edges of the scallop. Leave at least a 5 inch opening along one of the straight edges of the heart.
18. Clip the curves.
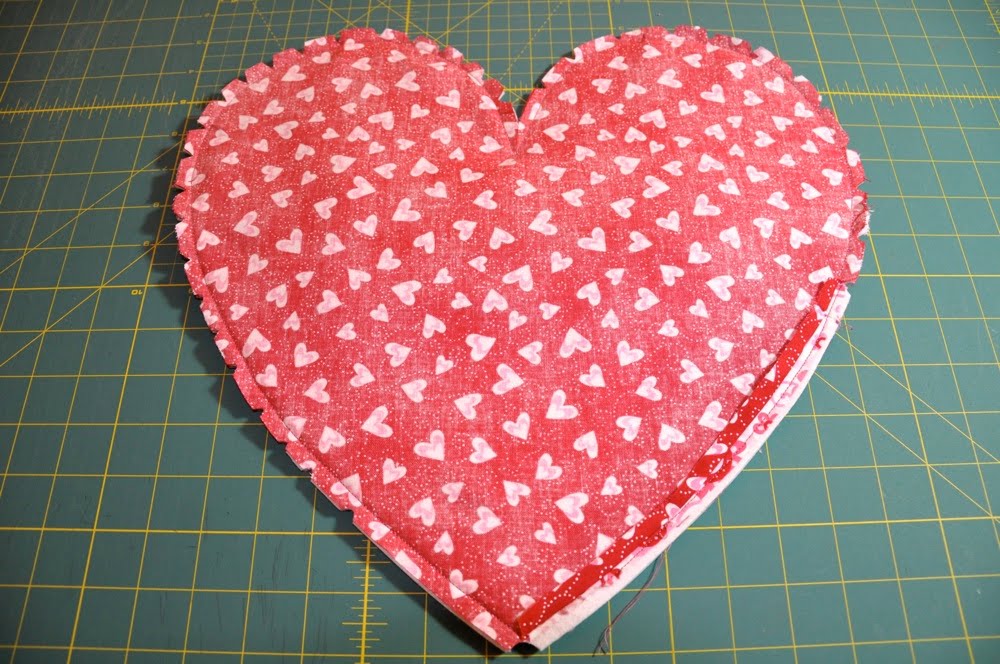
19. Turn the heart right side out and press the seams.
20. Sew on the red ric rac just below the top edge of pocket, as seen in the picture.

21. Yippee! You’ve finished making your Sweetheart Mailbox. Tie it to your chair and you’re ready to recieve some Valentine Mail!
 Finished Size: 14″ x 14″
I thought it would be fun to make a fabric envelope to go with the Sweetheart Mailbox. I wanted a traditional looking envelope so this is what I came up with. Hope you like it.
1. Start off by taking an 8 1/2″ x 11″ piece of cardstock and popping it in your printer before copying the envelope pattern.
2. Cut two fabric pieces that measure 6″ x 12″ and one piece of fuse-a-shade that measures 6″ x 12″ then press the fuse-a-shade to the wrong side of one of the fabric pieces following the directions on the printed material that comes with the product.
3. Trace the envelope on the wrong side of the other piece of fabric that measures 6″ x 12″ as seen in the picture below.
 4. This is a VERY important step. Make sure to SEW on the pencil line that you just traced. Remember to leave at least a 3-4 inch opening to turn the envelope.
5. Then cut a 1/4″ outside of the pencil line making sure to clip the corners.
6. Turn and Press the seams.

7. You can make a heart sticker to seal your envelope by cutting out two fabric hearts and one heart out of batting. With right sides together and the batting on the outside. Sew on the pencil line and then cut out a 1/4″ beyond the line. Clip curves. Turn and press.

8. Fold the bottom part of the envelope and sew the side seams. Make sure the flap opens.
9. Place the heart on the flap of the envelope and sew around the edge of the heart to secure it.
 Finished Size of Envelope: 4″ x 6 1/2″
10. You are now done making your envelope and you can pick other fabrics to make more of them.

11. You can also make homemade Valentine Cards by cutting a piece of cardstock that measures approximately 3″ x 6″ and decorating it with stamps, stickers and scrapbook paper. Be creative and have some fun with it.


1 Heart Mailbox
1-2 Love Letter Envelopes

Hugs & Kisses, Kim
![]()
