Vintage Brick Doll Quilts


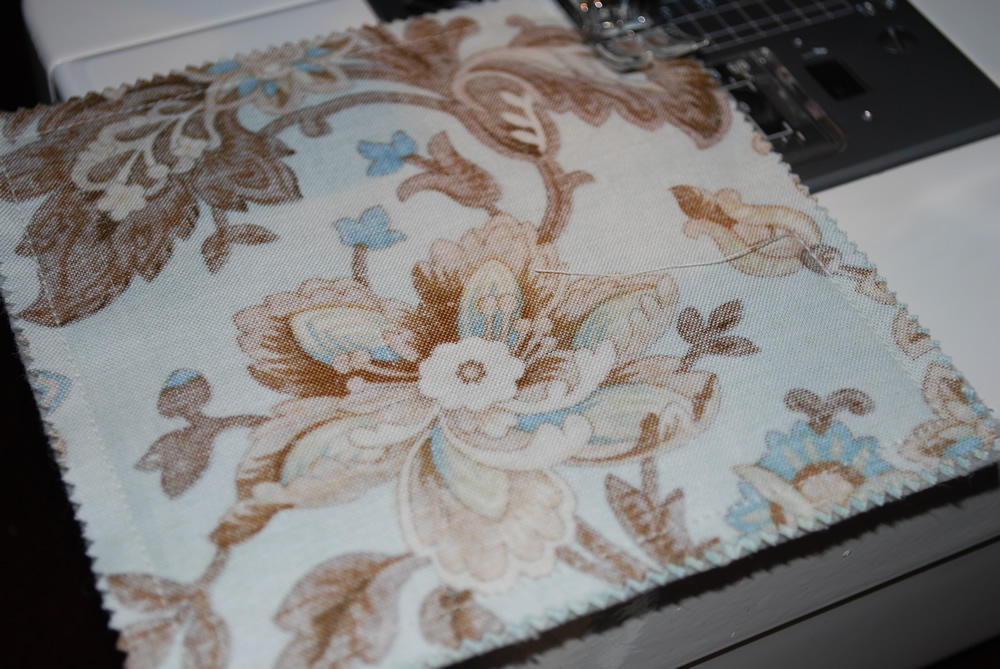
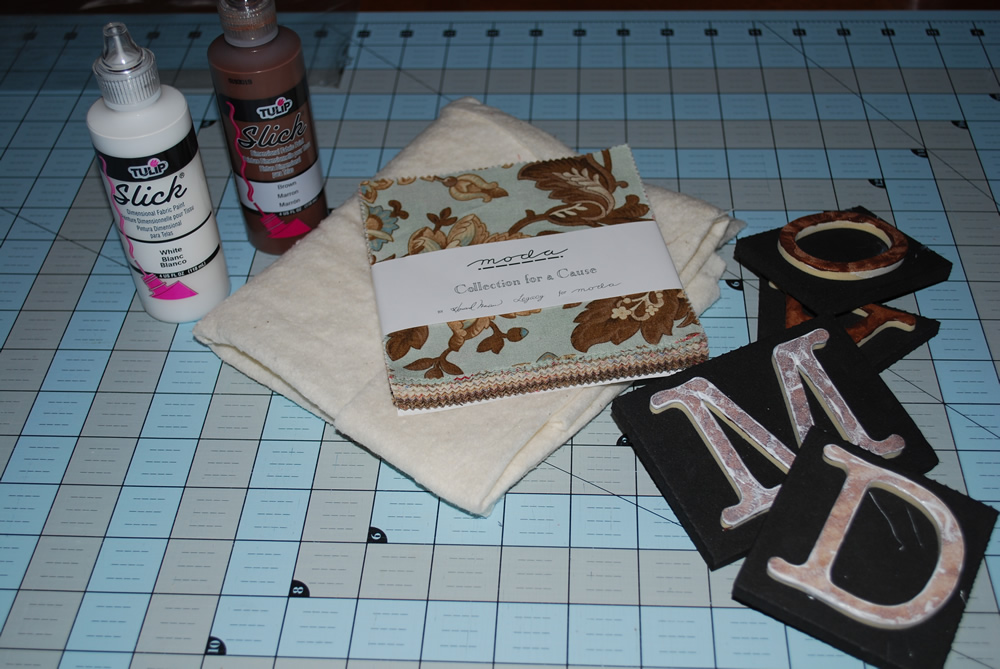
1 Charm Pack – I used Legacy – Collection for a Cause
You will need at least 12 light and 12 dark charm squares
2 Fat Quarters – One light and one dark for background
2 Fat Quarters – Backing and binding


If you are making two quilts separate charm squares into two piles – light and dark

Cutting: Cut each charm square two – 2″ x 4″ rectangles.
For a total of 23 light and 23 dark 2″ x 4″ bricks
From each of your light and dark fat quarters cut the following:
6 – 2″ x 19″ strip
18 – 2″ squares

Piecing instructions will be for one quilt – repeat if you are making both.

Piecing:
Step One – Attach a 2″ background square to 18 of your 2″ x 4″ bricks.
Piece rows together as follows:
3 rows with 5 bricks
2 rows with 4 bricks


Step Two – Assemble quilt top alternating and offsetting 5 brick row and 4 brick row with
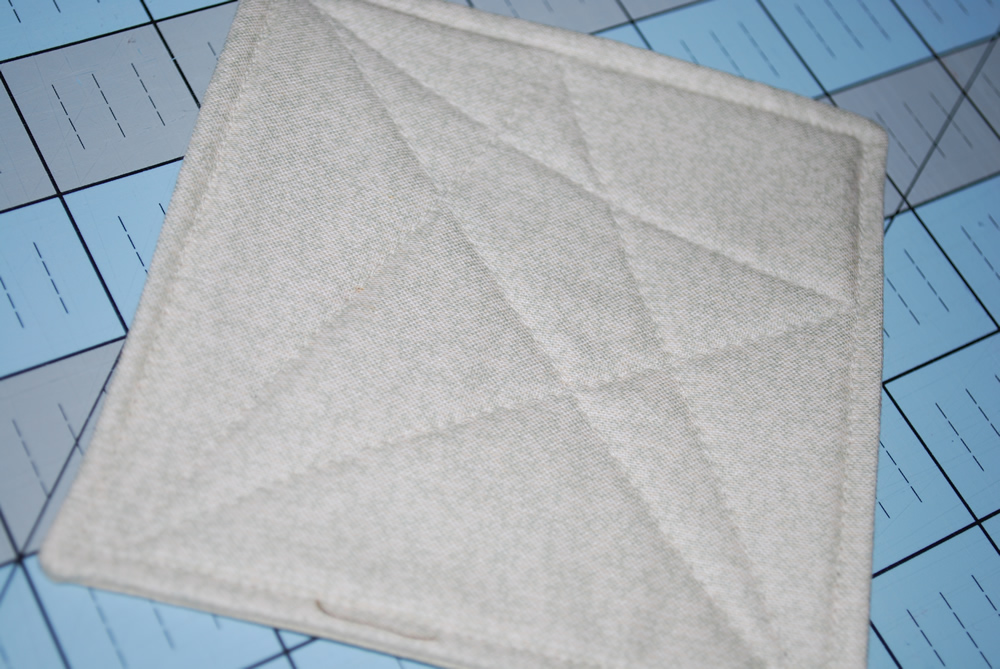
2″ x 19″ strips background fabric separating each row.
Step 3 – Quilt as desired using your remaining two fat quarters.
– – – – – – – – – – – – – – – – – – – – – – – – – – – – – – – – – – – – – – – – – – – – –
Bind using left over backing fabric or another favorite
from the collection.

Two Vintage Brick doll quilts –
Not sure what to do with them? Here are a few ideas. Find more at Temecula Quilt Co.


Enjoy!

Charming Coasters


1 Charm Pack (8 – 5″ x 5″ squares) – featured here is Collections for a Cause – Legacy by Howard Marcus

Batting – 4 – 5″ x 5″ squares (great to use up your scrap batting left over from another project)
Coordinating Thread

Fabric Paint
Alphabet Stamps

Step One:
Gather all your ingredients.
Step Two:

Pick out two coordinating charm squares for each coaster.


Step Three:
From your scrap batting, cut one 5″ x 5″ square for each coaster.


Step Four:
Put two fabric squares right sides together and then align on top of a piece of batting.


Step Five:
Sew a 1/4″ seam around the coaster, leaving about 2-3″ opening so you can turn the coaster right side out.

Step Six:
Clip the corners of the coaster before turning right side out so there is no bunching in the corners.


Step Seven:

Turn the coaster right side out and press. Stitch a 1/8″ seam around all four edges of the coaster. This will close off the opening… no need to whip stitch closed.
Quilt the coaster as desired.


Step Eight:
This next step is optional. Determine what letters you want to place on each of the coasters. If you want to spell out a word that is shorter or longer than shown, then simply make the number of coasters needed to spell your word.


Place a little bit of the fabric paint on a paper plate and stamp into paint until covered. Gently stamp the letter onto the coaster and remove. Set aside to let dry.

Coasters make great personalized gifts and pair up perfectly with the Travel Mug.

Enjoy!
Angela Yosten