
Make this charming pillow with your favorite selvages! It’s quick and easy.
Wouldn’t it look great in your quilt studio, or make a sweet gift for a quilter friend?
The back of the pillow could be simply a solid fabric, or you could sew leftover strips to a foundation as shown below. (Instructions are for the front of the pillow only.)


One Moda Scrapbag (containing selvages)
Foundation fabric, 16″ x 16″
Backing fabric, 16″ x 16″
Purchased pillow form, 16″ x 16″
Pen or pencil

Step One: Measure each side of your foundataion square placing a mark in the center as shown. Draw lines to connect these 4 marks. The lines will serve as a guide in placing your horizontal selvages. Cover these lines as you attach each selvage.

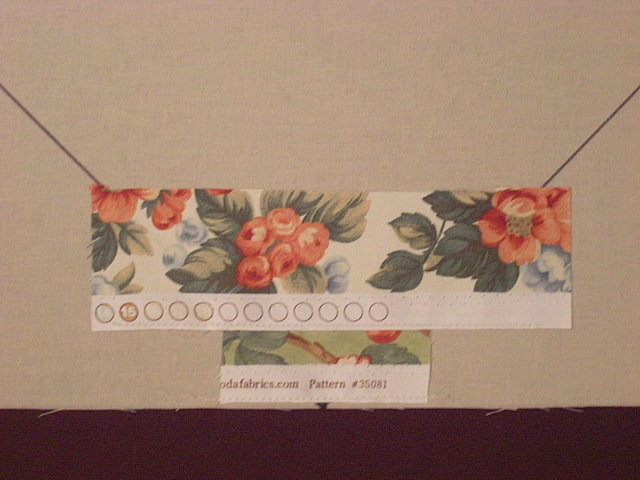
Step Two: Trim the selvages to your desired width as you work. I cut mine about 1.5 inches wide, so that some of the printed pattern shows. Some are wider because I wanted the cherries or something special to show. Starting at the bottom, lay your first selvage near the edge of the foundation and topstitch along the bound edge, as shown below. Perfection is not critical here, as you will see later.
Step Three: Lay selvage #2 on top of selvage #1, being careful to cover the raw edge of #1 with the bound edge of #2. Topstitch along the bound edge of #2.
Some selvage quilters like to arrange their selvages close together so the finished project is mostly white. Others prefer to show more of the printed fabric for a more colorful look. I like to “mix it up” a little. It’s up to you.
Step Four: Continue adding selvages, making sure you cover the guidelines that you drew. If they are longer than necessary, that’s okay. The extra length will be covered up later. Sometimes I pin the selvages to keep them from shifting as I sew.

Continue on, arranging the selvages as you please. Curiously, this gets to be so much fun. I really like those cherries, so I placed some in the middle, and more at the top.

Step Five: Now (peeking behind your foundation to see where your center marks are) arrange selvages on the diagonal and topstitch.

Continue on, adding selvages on all four corners.
Step Six: Trim to 16″ x 16.”

Step Seven: Place your selvage block and your backing right sides together and sew along the outer edge using a quarter inch seam allowance. Leave an opening along the bottom edge about 7 inches long, reinforcing your stitching at each end of this opening. You may want to round the corners as shown below (so your pillow won’t have little points sticking out). Trim the corners. Turn right side out. Insert pillow (it helps to have another pair of hands at this point). Hand sew the opening closed. You’re done!


For more on selvage quilts and many other incredible selvage items (a selvage lamp, a selvage dress…), visit Karen Griska’s
http://www.selvageblog.blogspot.com/ and
http://www.selvagequilts.com/. Also see the new AQS book, “Quilts from the Selvage Edge,” by Karen Griska. It has fabulous photos and directions for stunning selvage quilts. There are helpful tips too. You can see before and after photos showing what happens when you wash a selvage quilt. (Spoiler Alert: Nothing bad happens! You can wash these!) Join the selvage revolution and become an extreme scrap quilter, a dumpster diva, a “green” quilter.
Happy quilting to you!
Karen Griska


 Continue on, arranging the selvages as you please. Curiously, this gets to be so much fun. I really like those cherries, so I placed some in the middle, and more at the top.

 Continue on, adding selvages on all four corners.


