
![]()
Hi! This is my first project for Moda Bake Shop, so I’m a newbie! My name is Kaelin Telschow, and I blog over at The Plaid Scottie (aptly named after my Scottish Terrier Sir Whiskers MacTavish, who oversees [read: sleeps on] all my craft projects).
The top of this quilt requires nothing but jelly rolls, and the large blocks come together easily to make a good size quilt in a short amount of time. The soft, sweet colors make it perfect for little ones. If you choose to make your quilt the same size as mine, you’ll also have about half of your jell roll left over, so you could actually make two of these quilt tops from one printed jelly roll (you’d need an extra solid jelly roll though).

- 1 Print Jelly Roll (Walk in the Woods)
- 1 Solid Jelly Roll (or 2 3/4 yards) (Zen Grey)
- 5 yards of Backing Material (Girl & Tree in Whisper)
- 1/2 yard of Binding Material (Line Print in Poppy Whisper)
- Cotton Batting (I used prepackaged Twin size batting which is 72″ x 90″)

Step 1: Pull out 24 strips from your print jelly roll and group them in pairs. I tried to group mine according to color and scale (one large scale + one small scale print per pair…if I couldn’t find a good large/small pairing, I tried to pair a novelty print with a coordinate).
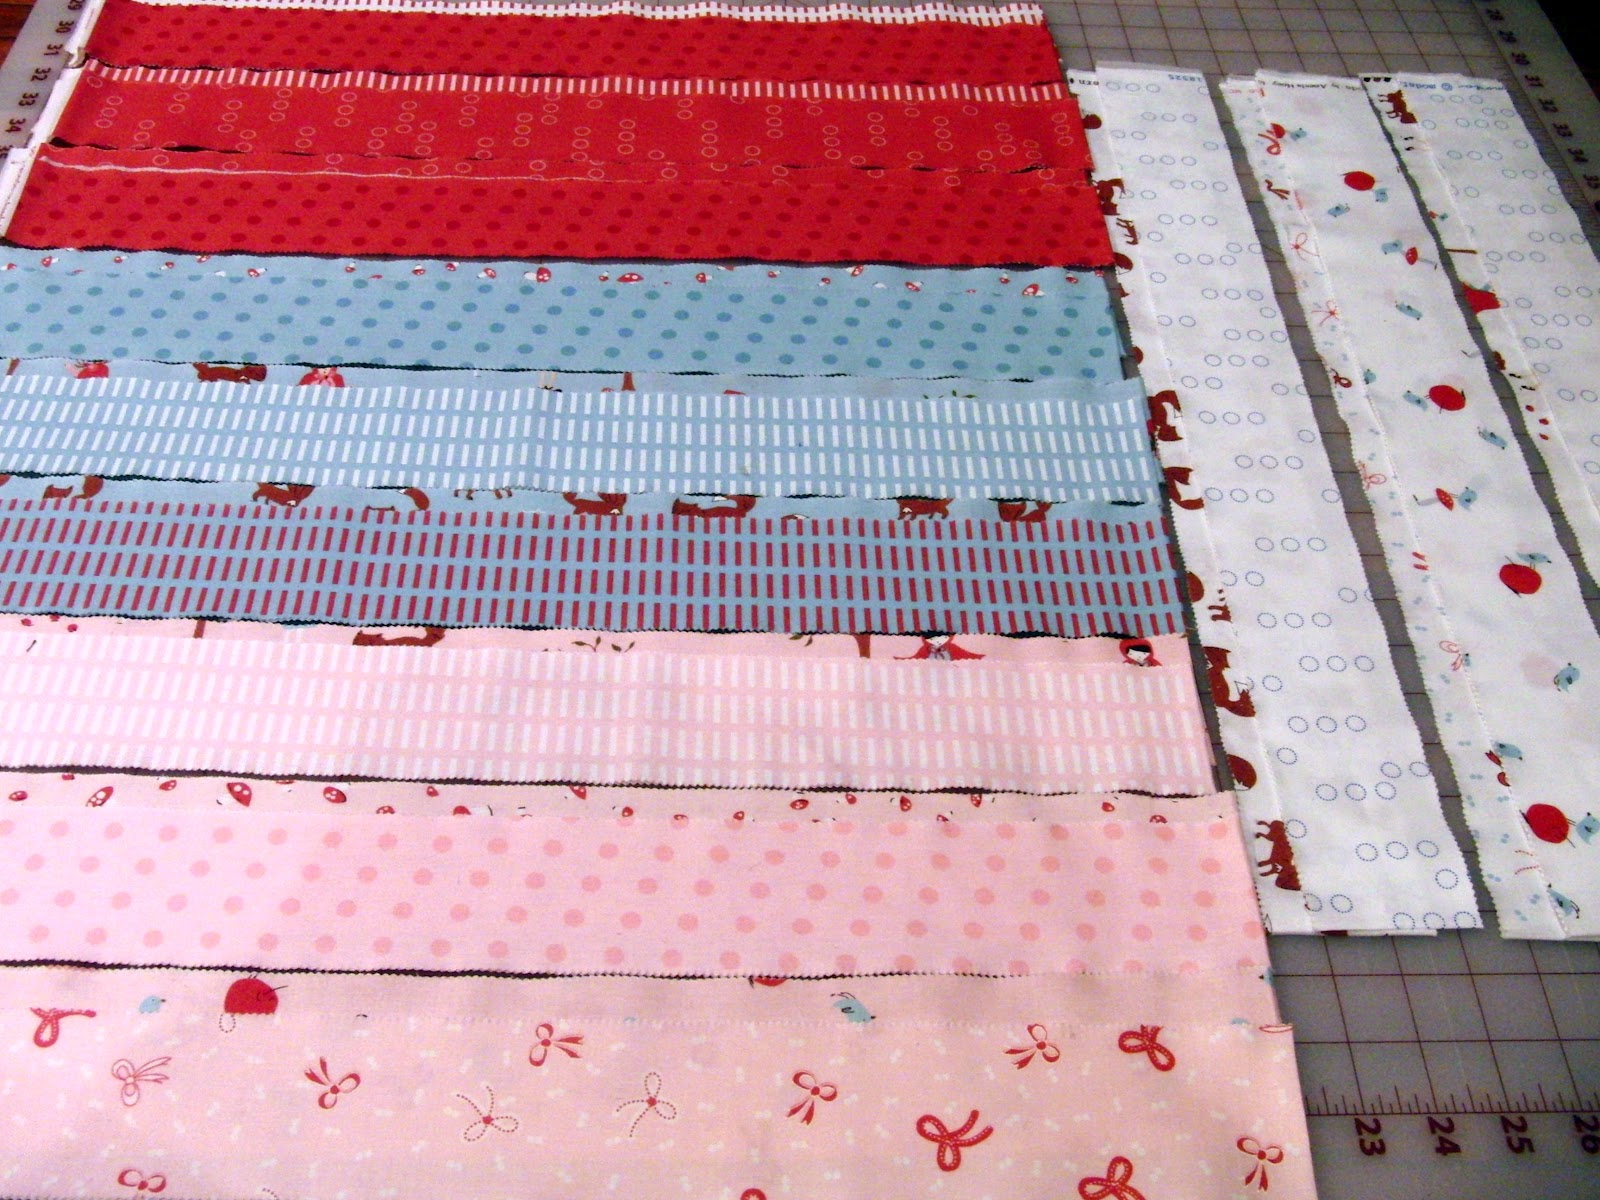

Step 2: Take your 12 large-scale strips (or whichever printed strips you want toward the outside of each block) and leave them folded in half. Trim the ends off so it’s exactly 21″ long, and then cut in the center so that you have two 10.5″ sections (once you peel the cut pieces apart, you’ll have a total of four 10.5″ pieces per jelly roll strip)

Step 3: Find your 12 (small-scale) strips and, leaving folded in half, cut a 6.5″ section from the end. Pull apart your two pieces, and set aside the remainder of the jelly roll strip.

Step 4: If you’re using a jelly roll of solid material, cut the strips as follows (if you have yardage of your solid instead, cut into (38) 2.5″ strips first and then follow the instructions below):
- Using 12 strips, cut into 18.5″ pieces (2 pieces per jelly roll strip, for a total of 24).
- Using 12 strips, cut into 14.5″ pieces (2 pieces per jelly roll strip, for a total of 24).
- Using 12 strips, cut into 10.5″ pieces (4 pieces per jelly roll strip, for a total of 48)
- Using 2 strips, cut into 6.5″ pieces (6 pieces per jelly roll strip, for a total of 12)
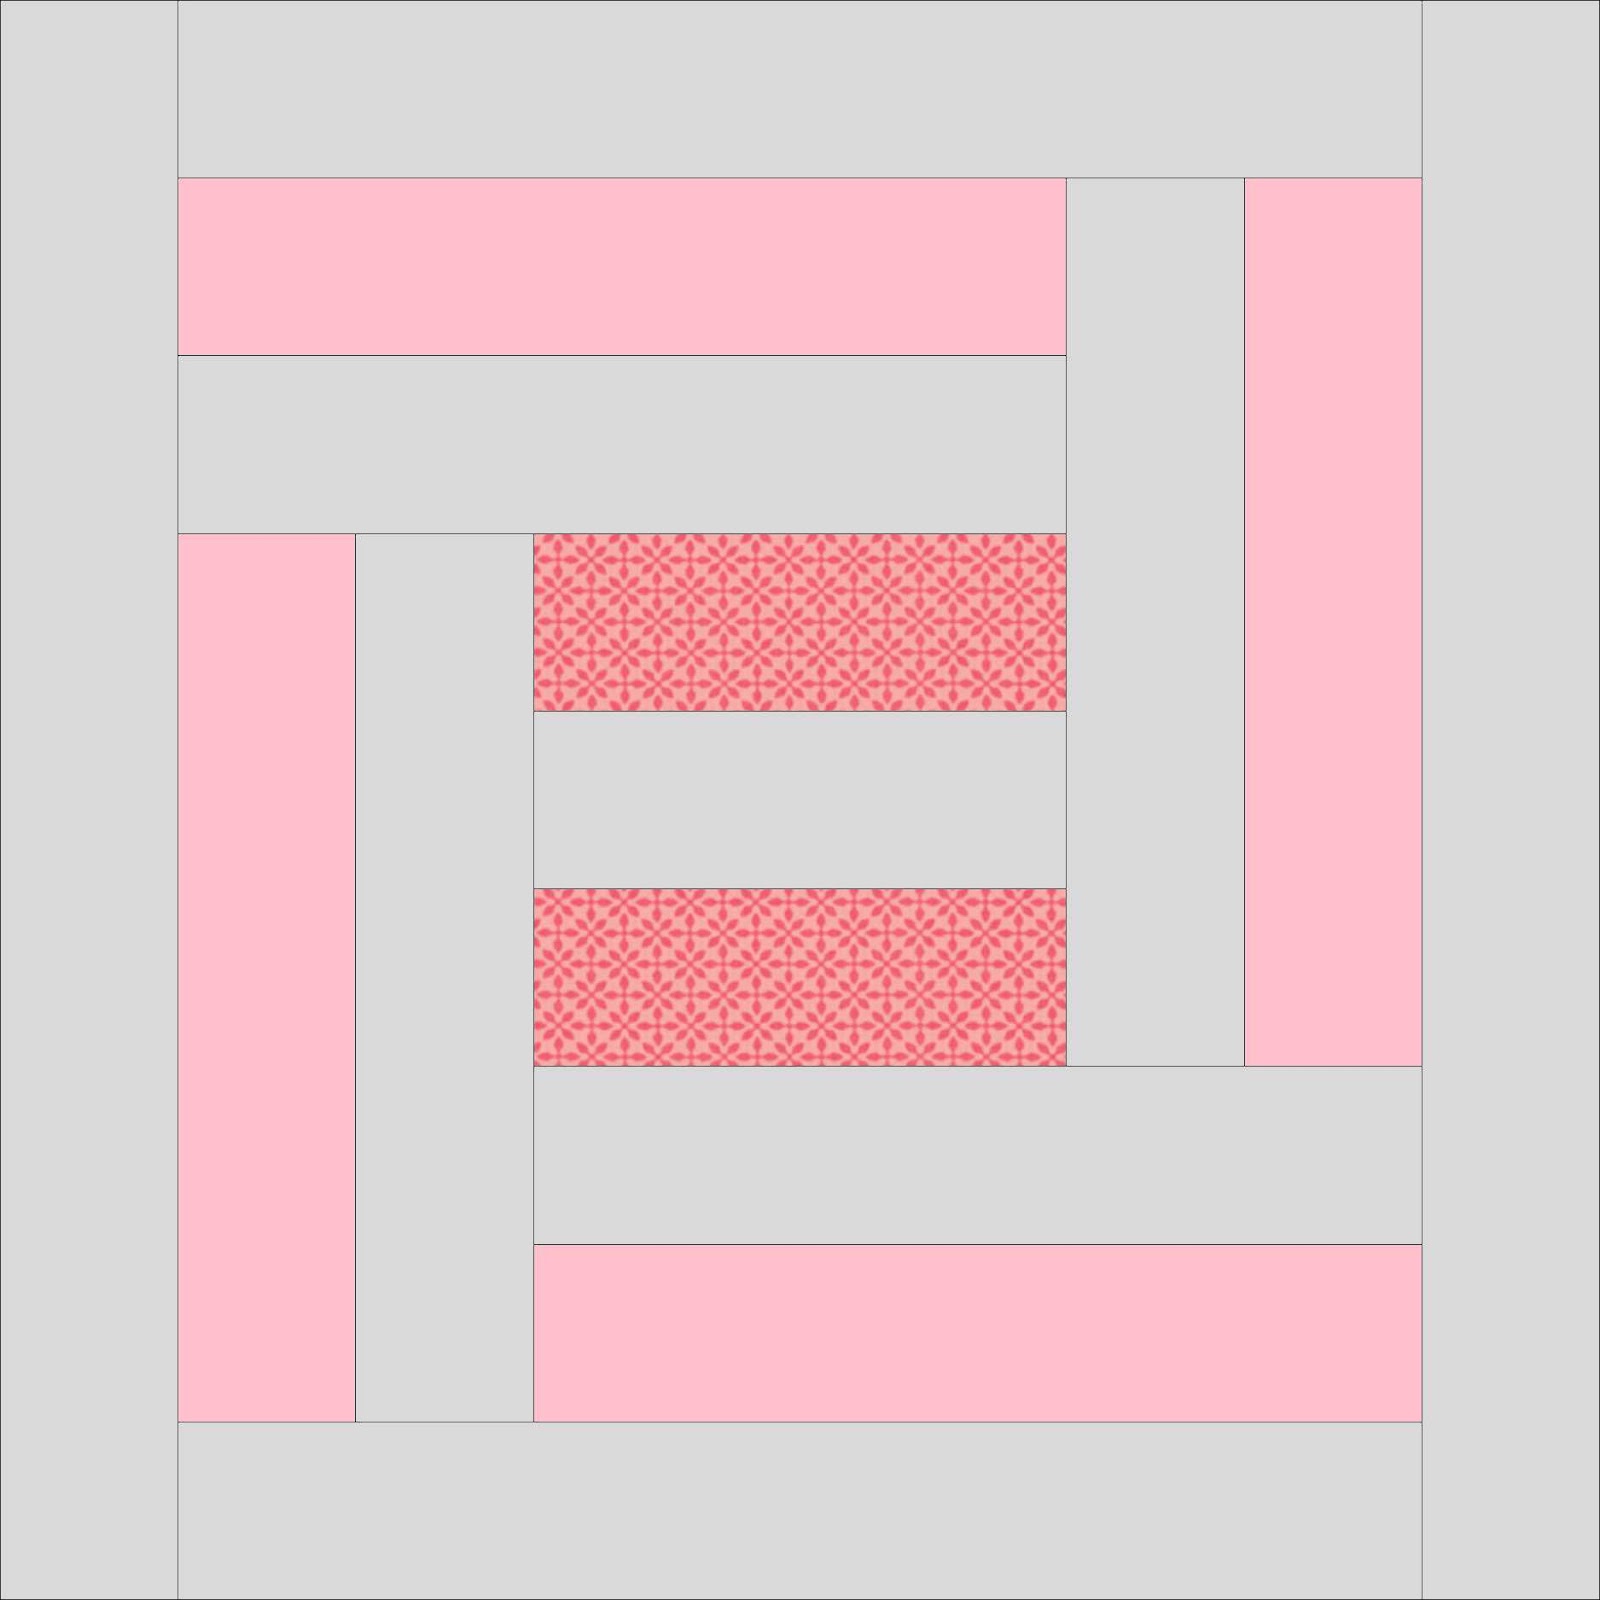
Step 5: Once all the fabric is cut, it’s time to start assembling the blocks. Below is a diagram of what a finished block will look like.
Find your 12 sets (2 per set) of 6.5″ printed pieces, and twelve 6.5″ solid pieces.
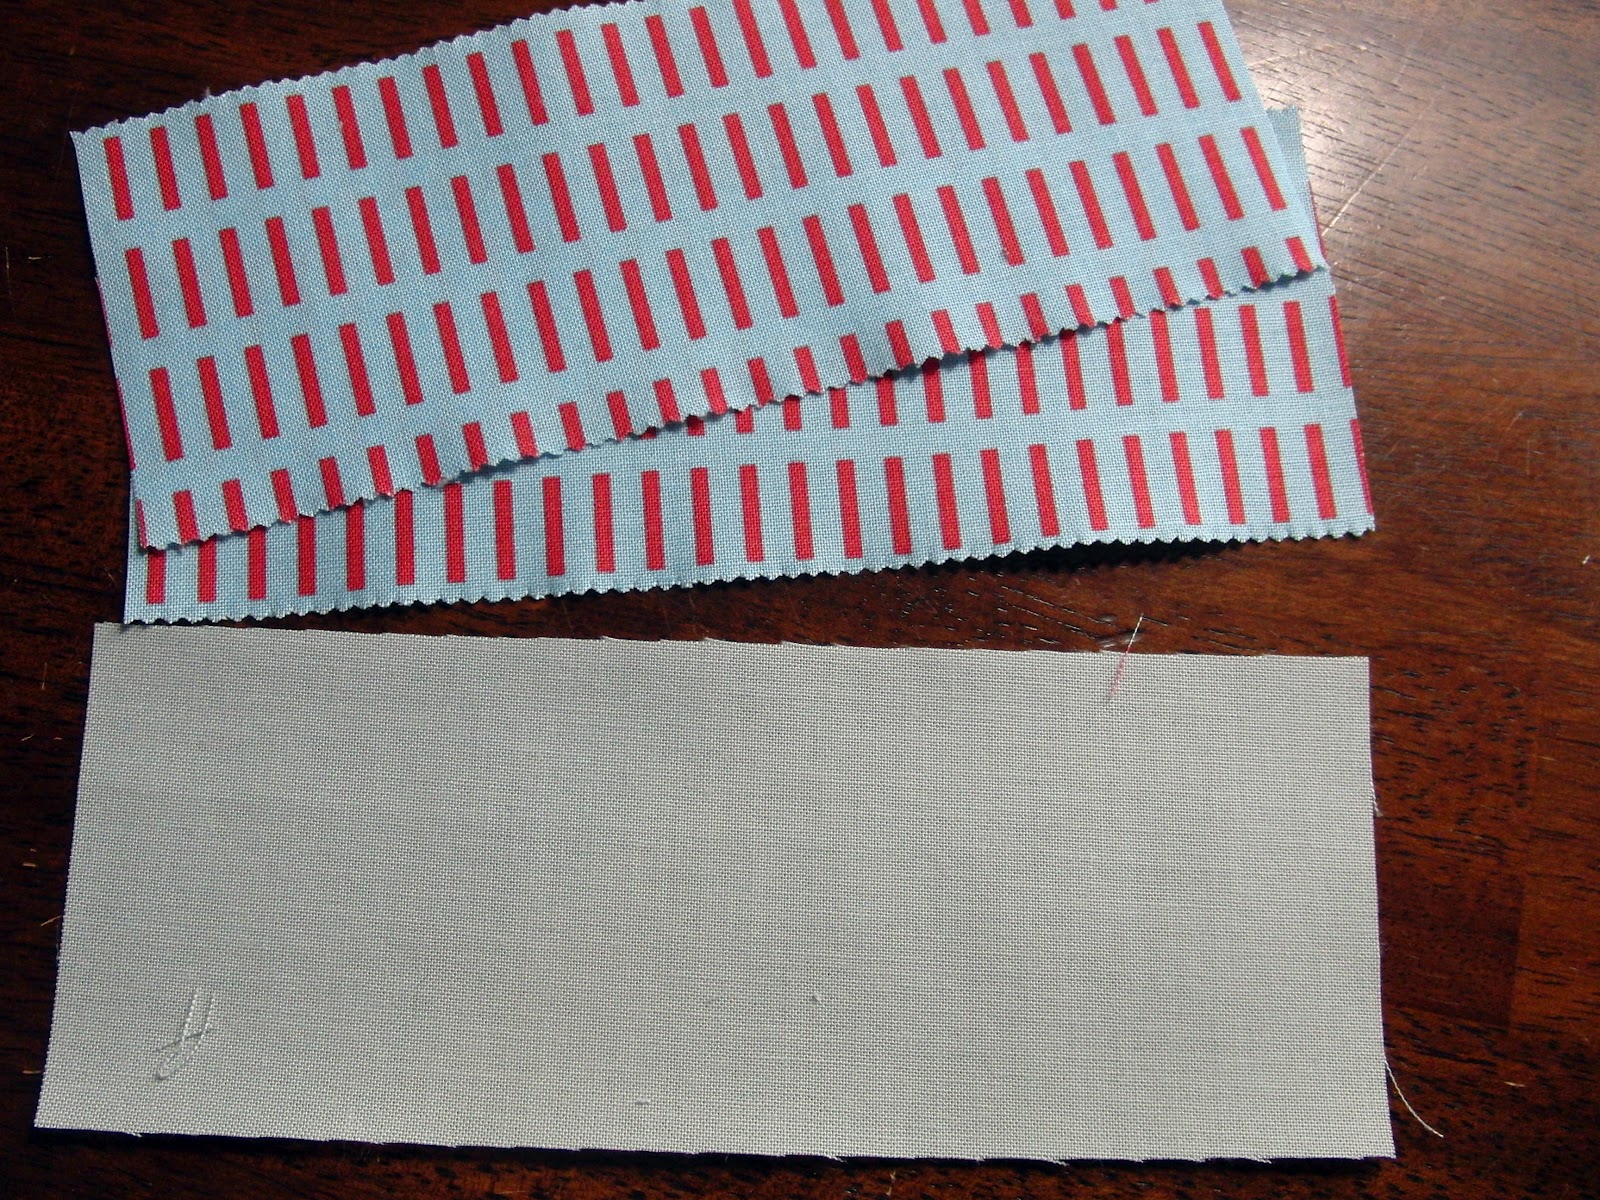
Step 6: To make the center pieces for your blocks, sew the printed pieces to either side of the solid strips.

Step 7: Find your (48) 10.5″ printed pieces (12 sets of 4), and (48) 10.5″ solid pieces. Pair up one printed piece with one solid piece, and sew together along the long edge.
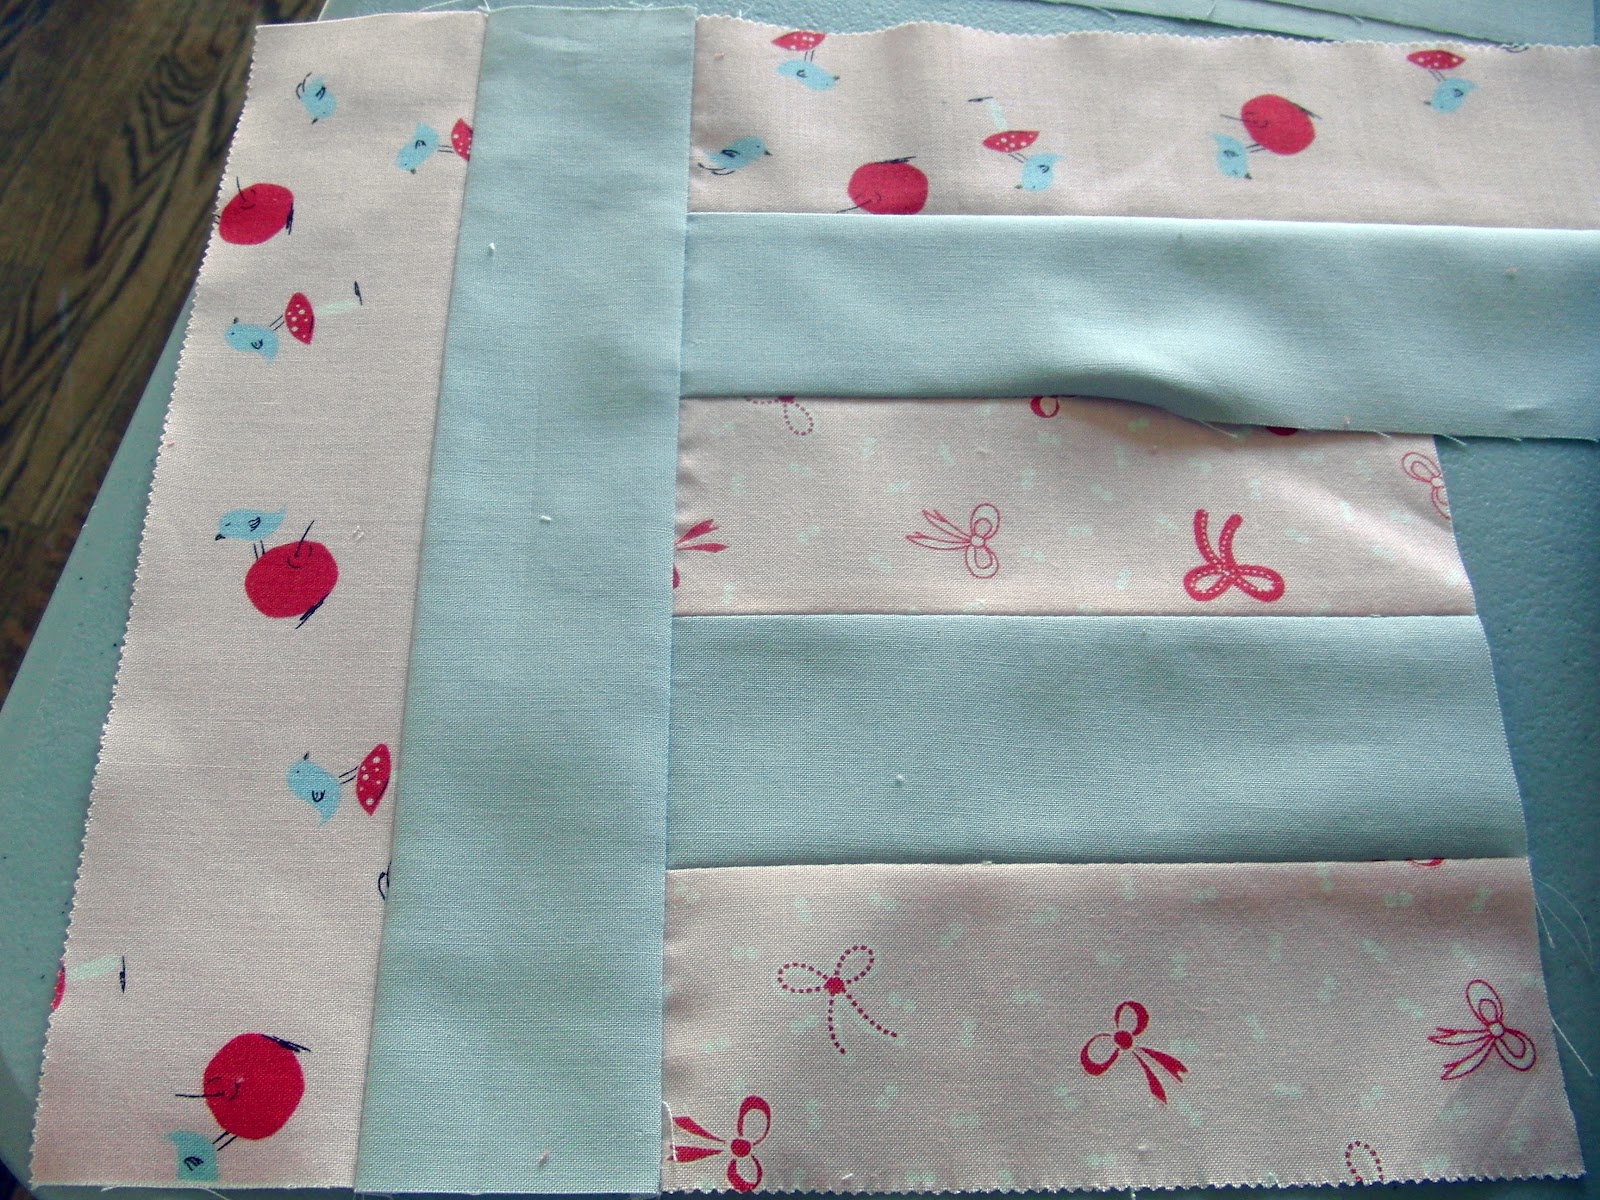
To make each block, you’ll need one of the 6.5″ centers, and four of the 10.5″ pairs that you just sewed. Before you begin sewing your blocks, group the centers & 10.5″ pairs based on the groupings you made in Step 1 (see photo below).

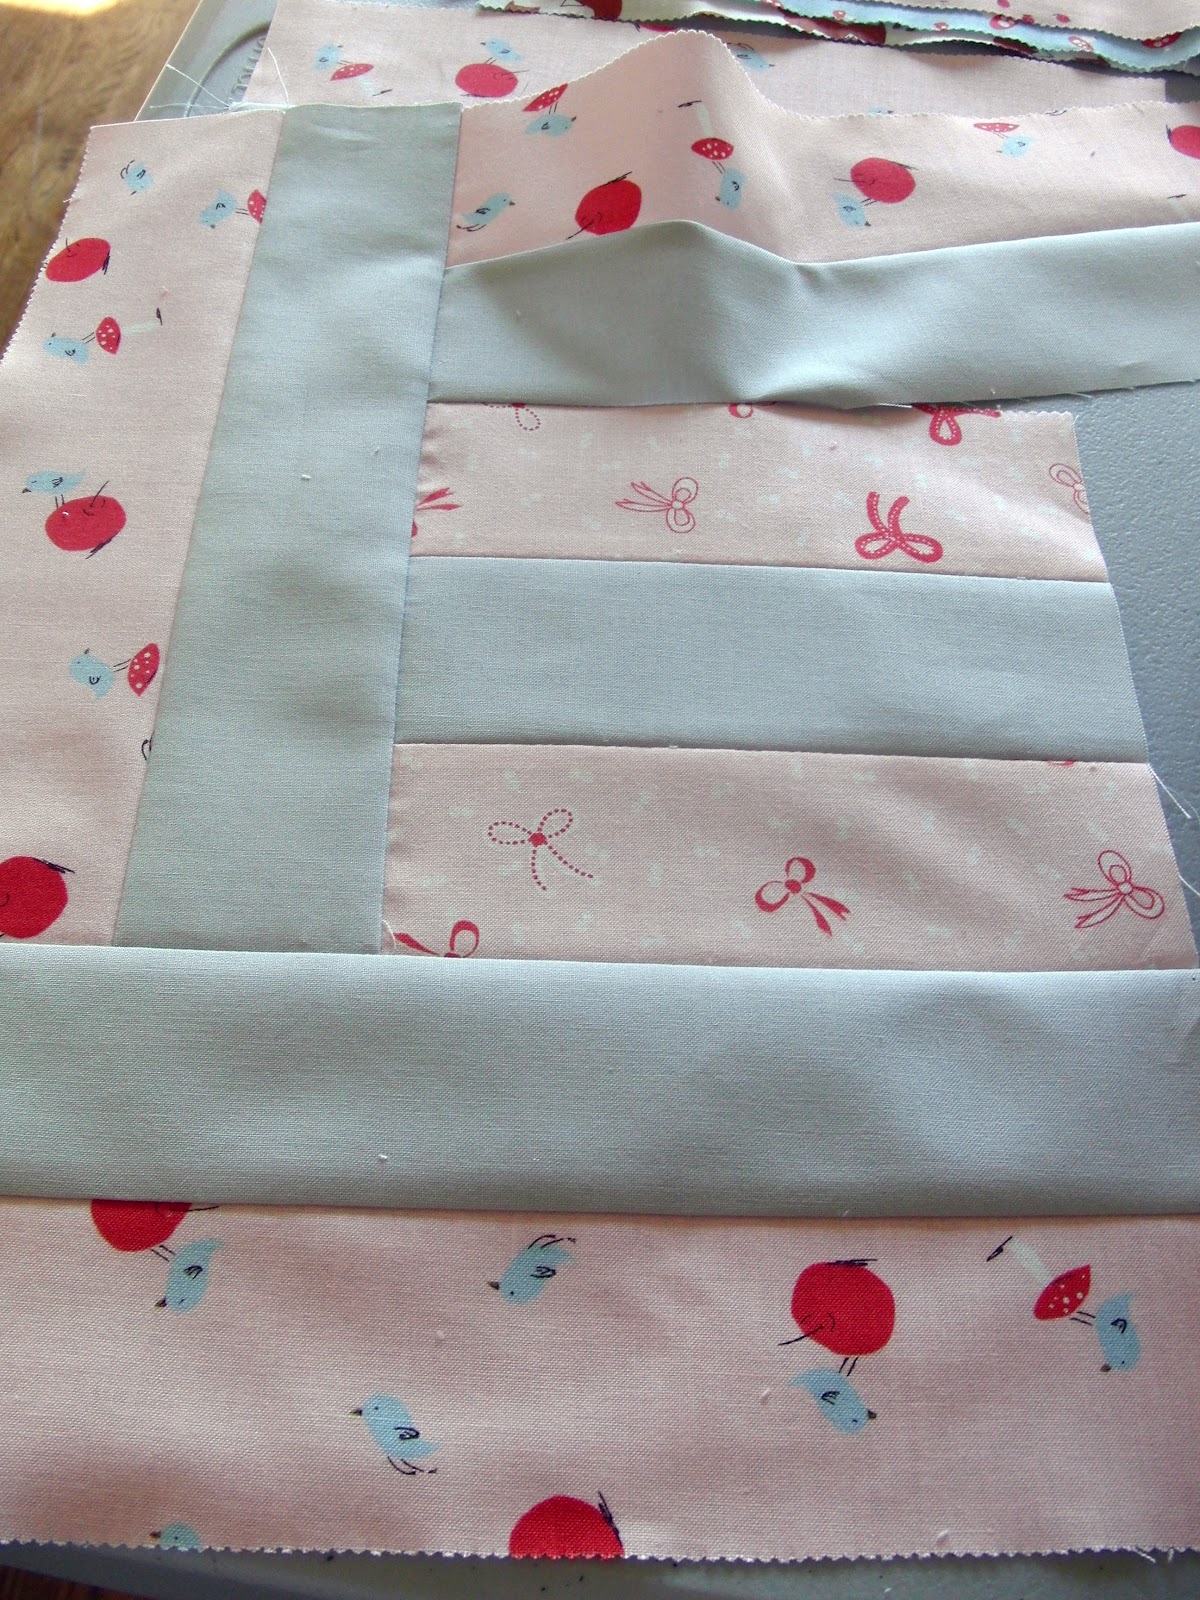
Step 8: To make your first block, take a 6.5″ center piece and one of the four coordinating 10.5″ pieces. Line up the end of the 10.5″ piece (solid side at the top) with the top left corner of the center piece.

Pin in place, and sew a partial seam between 3″ to 4″ long.


Open at the seam and press only the area where they’re attached.

Step 9: Grab a second 10.5″ piece, and line it up with the left edge of the pieces you just sewed together. They should line up perfectly. Sew, open, and press.

Step 10: Find your 3rd 10.5″ piece, and line it up with the bottom. Pin, sew and open to press.

Step 11: Fold back the loose end of the top 10.5″ piece so that it’s out of the way, and pin your last 10.5″ piece along the right side. Pin, sew and open to press.

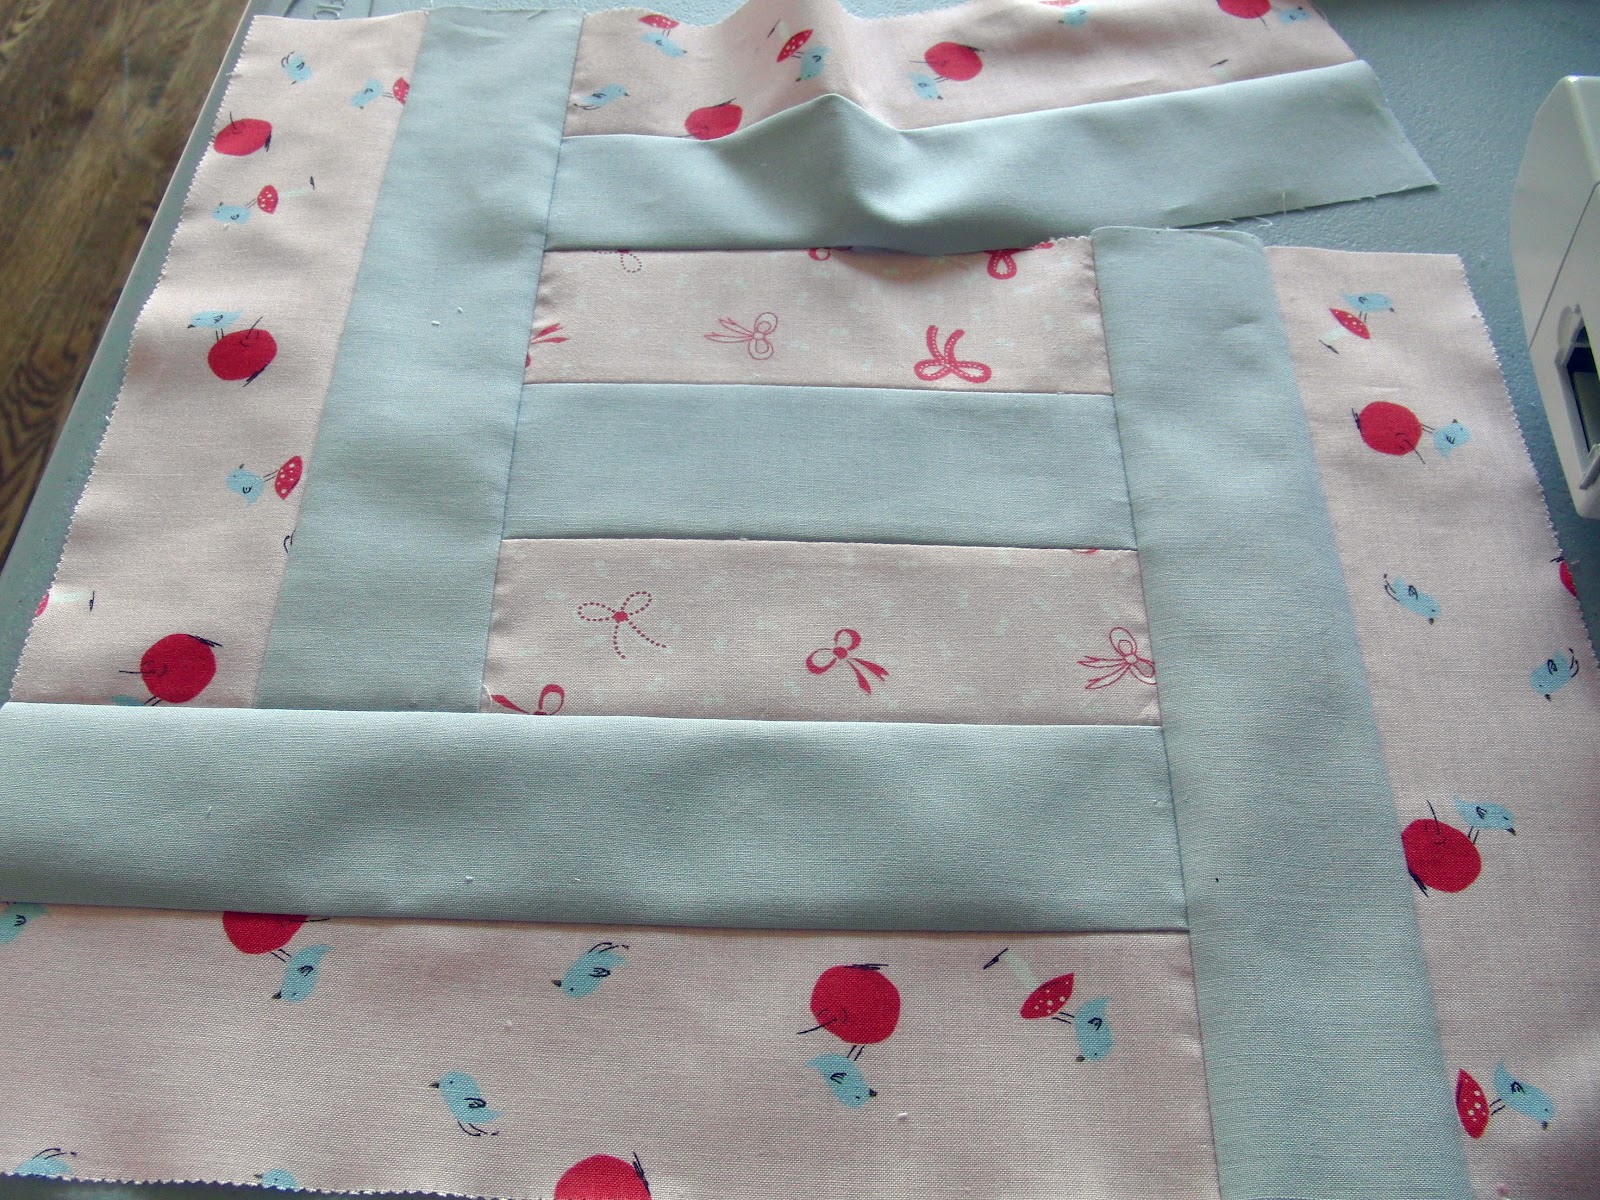
Step 12: Now we can go back and finish off that partial seam. Fold the top piece down and pin the loose ends together.


Sew together, open and press the side you just sewed (the other half has already been pressed).

The interior of your block is now finished, and all you have to do is add the sashing!

Step 13: Pull two 14.5″ pieces and two 18.5″ solid pieces from your stacks. Sew the two 14.5″ pieces to the top and bottom of your block, and then add the two 18.5″ pieces to the sides.

Ta da! Now you have your first finished block! Each finished block will measure 18.5″ square, and you have enough fabric to make 12 blocks total.

You can organize your blocks however you like. For this particular quilt I grouped mine into rows by color….

…and then sewed the quilt top together.

But here’s a photo of an alternate layout I did before sewing the top together – you can scramble up the blocks for a more random color distribution if you’d like to mix things up a bit 😉

For the backing, cut your yardage into two equal pieces, trim the selvages, and sew together down the long edge. Baste, quilt and bind.


Kaelin Telschow
{www.theplaidscottie.com}
![]()
