![]()
Christmas Gift Bag designed by Cathie Richardson of Country Garden Stitchery

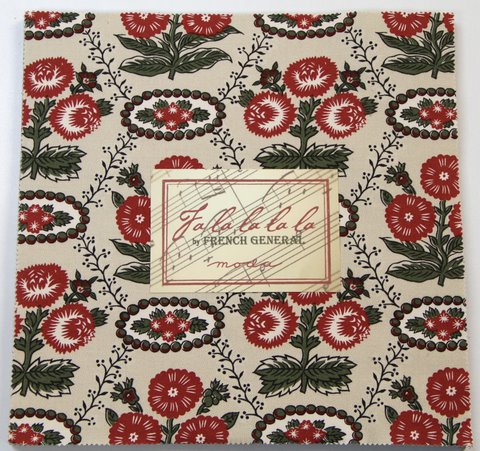
~One charm pack of Fa-La-La-La-La by French General
~Three different fat quarters, two red and one natural, by French General
~Low Loft Batting
~Sewing Thread – I used a coordinating variegated red sewing thread.
For the embroidery:
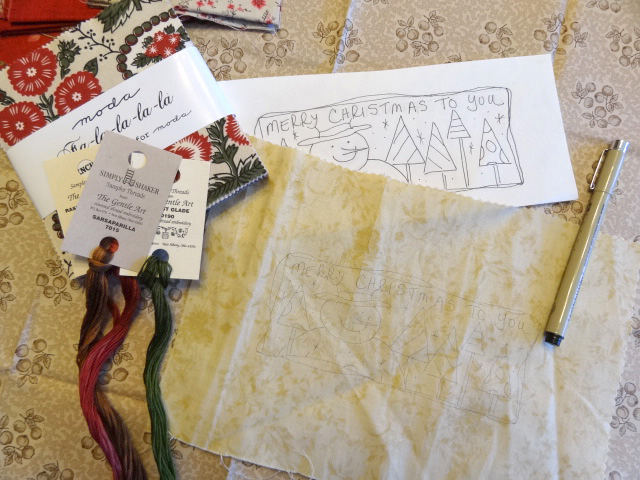
~6″ x 9 1/2″ piece of coordinating quilting fabric for the embroidery design.
~Embroidery pattern (included in PDF print out)
~Three skeins of embroidery floss: one brown, one red, and one green. I used hand dyed flosses by
The Gentle Art in Sarsaparilla #7015, Raspberry Parfait #0380 and Forest Glade #0190
~#02 Micron black ink pen.
~Tracing method of your choice.

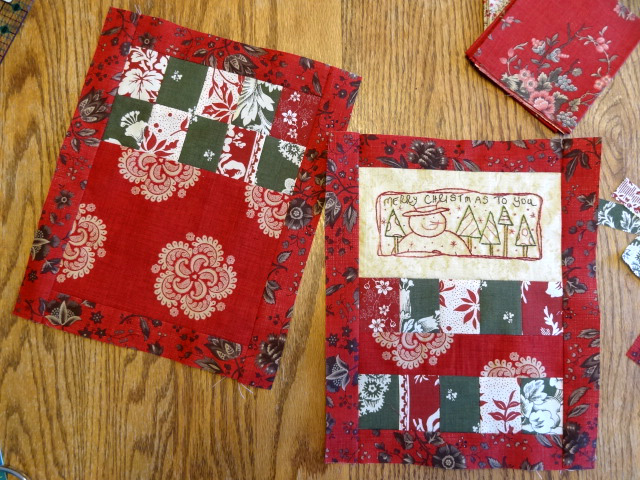
For the embroidery trace the design onto the 6″ x 9 1/2″ piece of fabric using the method of your choice. You can embroider the design in all one color for a redwork design or change the flosses to your favorite colors! I will include here how I made the model. Use two strands of floss except as noted. Raspberry Parfait and stem stitch for the border lines, the snowman outlines and his hat. For his face I used one strand of floss and stem stitch for his nose and mouth. I used very small cross stitches for his eyes. I alternated one and two strands for the stars in the sky. For the dots use two-wrap French knots. Sarsaparilla and back stitch for the lettering. Stem stitch for the tree trunks. Forest Glade and stem stitch for the outlines of the Christmas trees. For the tree decorations Raspberry Parfait and back stitch. When embroidery design is complete press lightly and trim the design down to 8 1/4″ x 4 3/4″ to where it has a 1″ border.
Use 1/4″ seams throughout. Select five charm squares and cut five 2″ wide pieces. Alternate the pieces to red-green-red and sew. Press. Cut the sewn piece in half. Select five more and cut 2″ wide pieces. Alternate pieces to green-red-green and sew. Press. Cut sewn piece in half.

From one of the red fat quarters cut a 2″ x 8 1/4″ strip. Sew the embroidered design to a red-green-red patchwork strip, then add the solid strip, then a green-red-green patchwork strip. Press. From the same fat quarter you cut the strip cut a piece for the back measuring 6 1/2″ x 8 1/4″. Sew a green-red-green patchwork strip then a red-green-red. Press.

From the other red fat quarter cut two 1 1/2″ x 8 1/4″ strips for back and front pieces and sew to the top and the bottom. Press. Cut two 1 1/2″ x 12 1/2″ for each side of front and back and sew. Press.
Cut two batting pieces the same size as the front and back and quilt as desired. I used the variegated red sewing thread and a decorative machine stitch to sew around the edges of the embroidered piece and in between the strips on front and back continuing down the bottom of the back.

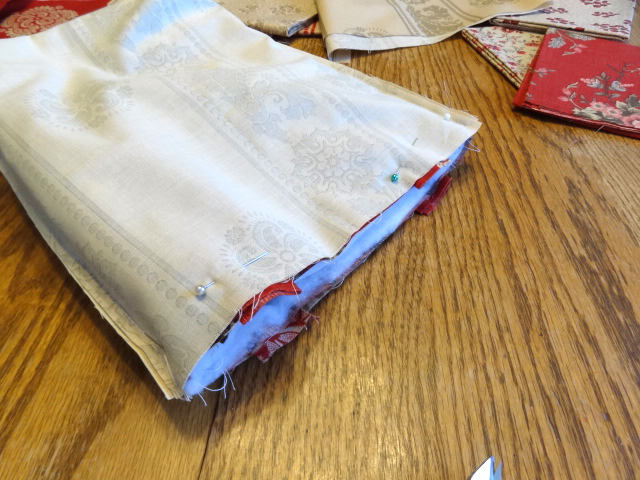
With the third fat quarter cut two pieces the same size as the front and back for the lining. Sew the outer bag front and back together. For the lining sew the front and back together leaving a 3″ opening in the middle of the seam on one of the sides for turning. From one of the red fat quarters cut two handles measuring 3 1/2″ x 18″. Press the fabric strips in half lengthwise and then press down 1/4″ along the long side. Sew the pressed edges together with the variegated sewing thread.

To make the bottom edges turn the outer bag and the lining wrong side out. Line up the bottom and the side seams on each side of both bag pieces. Measure in two inches and put a pin in the spot until you have it lined up with the machine needle. Sew a straight seam making a triangle. Cut off the triangle pieces leaving 1/4″ of fabric before the seam.

Turn the outer bag right side out and tuck it inside the lining so the right sides are together and the lining is on the outside. Place the handles about 1″ from the side seams matching front and back and making sure they aren’t twisted. Put the handle edges a little bit above the edge of the top of the bag to ensure they are included in the seam. Pin in place.

Line up seams, edges of lining and outer bag and handles and pin in place. Sew around the edge making sure to catch the handles.
Turn bag right side out through the opening. I always like to check to make sure my handles are secure and all fabrics were included in the seam before I sew up the opening. Hand sew or machine sew the opening closed after pressing.

With the variegated sewing thread on the top and neutral color for the bobbin thread topstitch around the top of the bag. Press.

One Snowman Embroidered Christmas Bag
9″ x 10″ x 3″ with 17 1/4″ handles.

Back View

A fun gift bag for the Christmas holiday! You can adjust the size by adding strips and patchwork pieces. Fill it with fun things for somone special then it’s useful after they’ve opened their gift! I’d love to see yours too ~ you can contact me with questions or comments through my website or facebook. Thank you!
Cathie Richardson
![]()