
![]()
This sweet little pouch is a fun way to store puzzles, books, and any other of your favorite knick-knacks!
(Vintage Modern by Bonnie & Camille)
- 1/2 yard Houndstooth in Pebble Gray
- One fat quarter Floral Dots in Aqua
- One fat quarter Floral Dots in Cream
- One fat quarter Floral Dots in Candy Apple
- One fat quarter Snickerdoodle in Melon
- One 20 x 36″ scrap of batting
- One pkg (3 sets) 7/8″ Velcro squares (non-stick)

- Doorknob embellishment (could be a button, fabric circle, fabric yo-yo, etc.)

Cutting
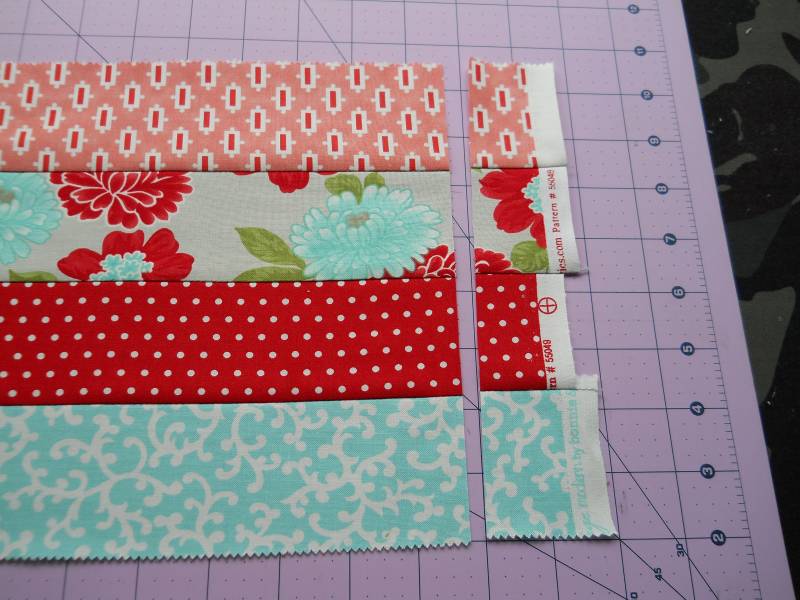
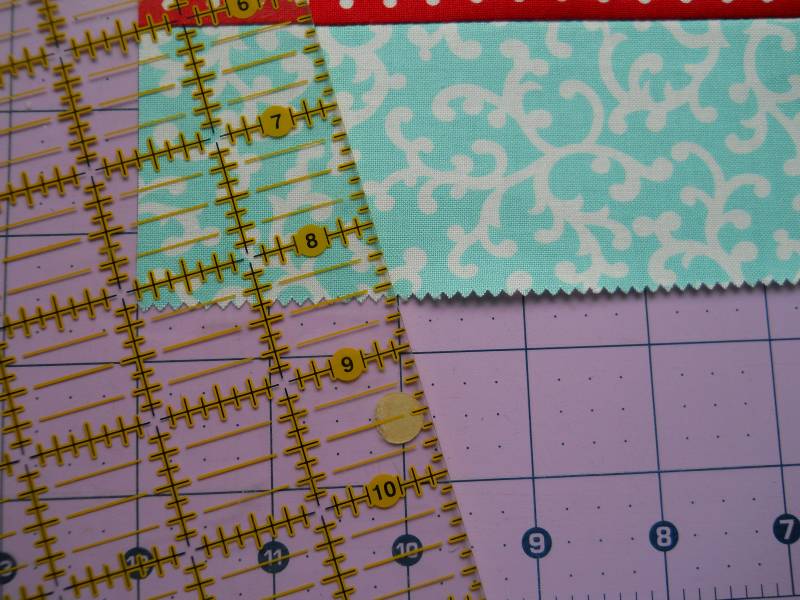
- From the Houndstooth in Pebble Gray, cut two 11.5 x 14″ linings, two 4 x 11.5″ blocks, four 4″ blocks, and two 2 x 4″ blocks.
- From Floral Dots in Aqua, cut one 1.5 x 11.5″ strip, five 2.5 x 3.5″ blocks, eight 1 x 5″ strips, and one 10.5 x 11.5″ block.
- From the Floral Dots in Cream, cut five 2.5 x 3″ blocks.
- From the Floral Dots in Candy Apple, cut ten 1 x 3″ strips.
- From the Snickerdoodle in Melon, cut one 4 x 11.5″ block, one 3.5 x 5″ block, and one 2 x 4.5″ block.
Assembly–Assume 1/4″ seam allowance unless otherwise stated.
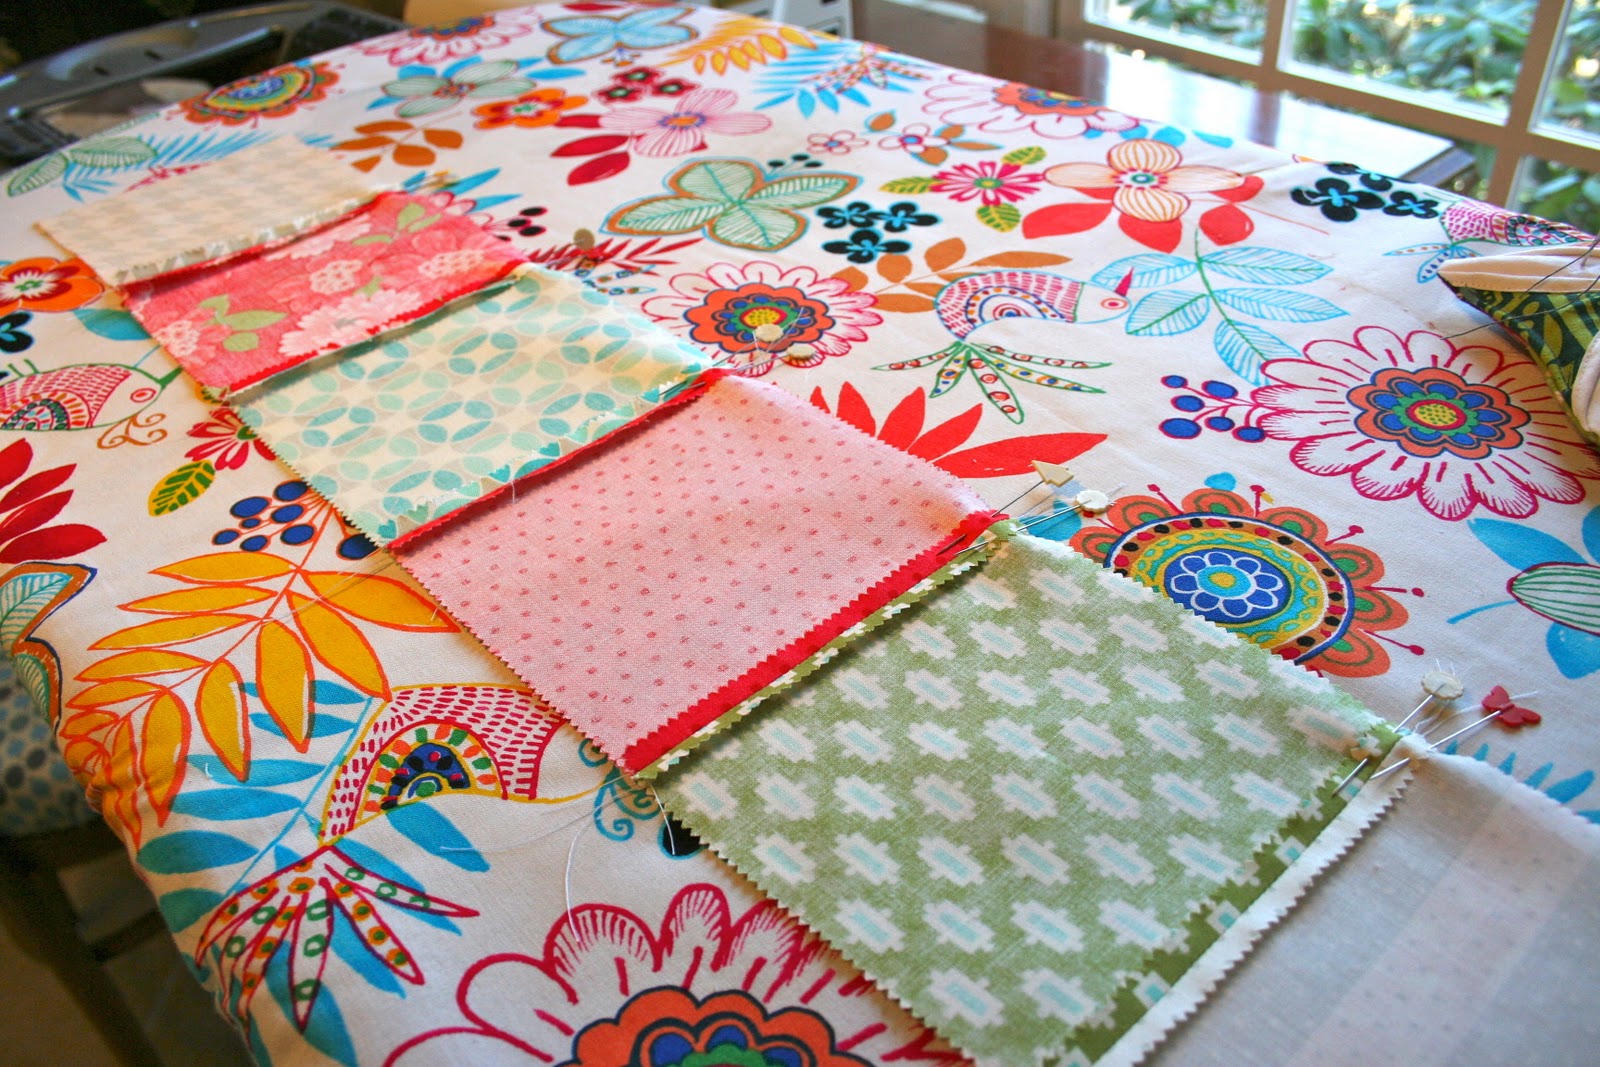
1. To create each window, sew a 1 x 3″ strip (Floral Dots in Candy Apple) on the left/right sides of a 2.5 x 3″ block (Floral Dots in Cream). Press open the seams.

Sew a 2.5 x 3.5″ block (Floral Dots in Aqua) below each window; press open the seams. Make five total.

2. Referring to arrangement below, lay out the completed window units, the 3.5 x 5″ block for a door (should be Snickerdoodle in Melon), and the eight 1 x 5″ strips (Floral Dots in Aqua) as sashing. Stitch the “top floor” row together; press open the seams. Repeat to stitch the “bottom floor” together, pressing open the seams afterwards. Sew the two rows together, lining up the seams and pinning in place beforehand.

3. To create each roof unit, you will need two 4″ blocks (Houndstooth in Pebble Gray) and one 4 x 11.5″ block (Snickerdoodle in Melon). Draw a diagonal line on the back of each 4″ block; pin right sides together with the 4 x 11.5″ block, as indicated below. Stitch along the drawn line; discard excess 1/4″ outside of the drawn line and press open the seams. Make two total (set one aside for step #5).


4. To finish the house facade, sew a roof onto the house with the 1.5 x 11.5″ strip (Floral Dots in Aqua) between them, as indicated below.

For the house backside, simply sew the 4 x 11.5″ block (Houndstooth in Pebble Gray) to the 10.5 x 11.5″ block (Floral Dots in Aqua).

5. For the flap exterior, first you will need to sew together the two 2 x 4″ strips (Houndstooth in Pebble Gray) with the 2 x 4-1/2″ block (Snickerdoodle in Melon) in the order indicated below. Attach the finished strip to the top of the second roof from step #3.

6. Baste the house facade, house backside, and flap exterior to the batting piece using a sticky basting spray (or fusible batting) and insert safety pins to prevent the layers from shifting during quilting.

7. Quilt as desired (mine was very minimalistic). Trim away the excess batting.


8. Time to add a doorknob embellishment. If it weren’t a choking hazard, I would have added a decorative button. Instead, I made a small fabric yo-yo from the Floral Dots in Candy Apple and stitched it on by hand.

9. To add a velcro closure, you will need the [quilted] house backside and the 4 x 11.5″ flap lining (Houndstooth in Pebble Gray), a measuring tape, the Velcro squares, and the Super Stik glue stick. (The reason I discourage Sticky Velcro is because it will ruin your sewing machine needle when you stitch it in place.)

Line up the measuring tape along the seam of the house backside. Apply glue stick to the back of the scratchy-half of the Velcro squares. Place the squares at the 3-1/4″, 5-1/4″, and 7-1/4″ points above the seam.

Apply glue to the back of the remaining Velcro pieces. To the flap lining: lay the measuring tape 2″ down from the top and place the squares at the 3-1/4″, 5-1/4″, and 7-1/4″ marks.

Stitch the velcro pieces in place using a zigzag stitch around the perimeter.

10. To finish the flap, bring the flap exterior and lining right sides together, the Velcro-end of the lining should be together with the widest part of the roof. Pin in place.


Stitch along the perimeter, leaving the non-Velcro side of the lining unstitched.

Trim at the corners and turn right-side out.


Press the flap with an iron. Lay the flap (Velcro-side up) onto the house facade, aligning raw edges and pin in place. The flap should be centered, about 1/2″ in from the sides.

Lay the house backside on top (right sides together) and sew along the sides using 1/2″ seam allowance. Be careful not to get the flap sides caught in the seam.

Press open the seams and turn right-side out.

Stitch the 11.5 x 14 lining pieces right sides together using 5/8″ seam allowance and press open the seams.


Slip the house into the lining, right sides together, making sure the side seams line up, and pin in place.

Stitch along the top using 1/2″ seam allowance.

Remove the pins and turn right-side out.

Tuck the lining to the inside and iron the pouch

Top-stitch along the top (flap out) using 1/4″ seam allowance.

Turn the whole thing inside-out again and pin the bottom closed. Sew along the bottom using 1/2″ seam allowance.

Remove pins and turn right-side out again. Voila!


Vanessa Goertzen
{lellaboutique.blogspot.com}
![]()


