
![]()
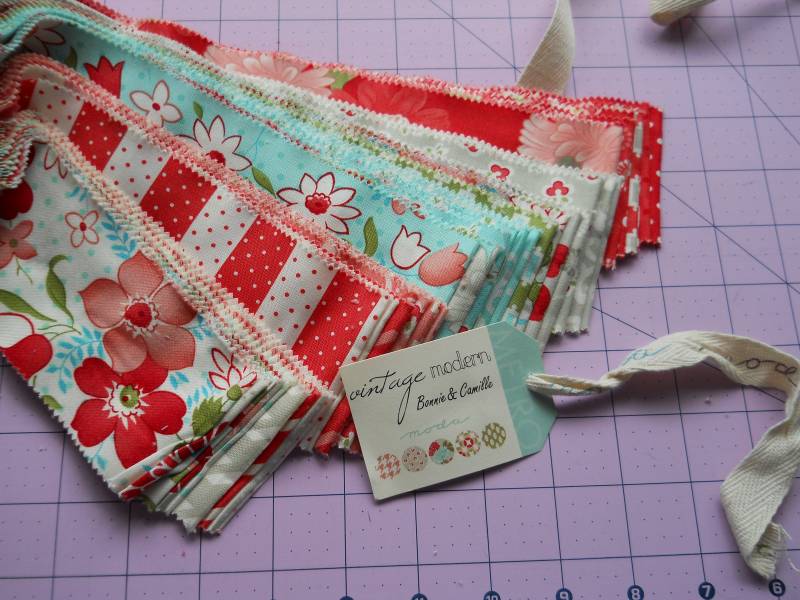
Hello! It’s Karin Vail from Cascade quilts, and I am so glad to be back with another Moda Bake Shop project! This was such a fun and easy quilt to make, that I’m going to be making another one right away with a mixture of another 2 Moda collections I’ve been hoarding saving (WeePlay with Pezzy Prints!) This one I made with Bonnie and Camille’s LOVELY line called ”Vintage Modern”. I just love Bonnie and Camille’s fabric collections, and this one is exceptionally beautiful! I am calling this one ”Vintage Modern Pinwheels” 🙂 Although the ‘pinwheels’ do kind of look more star-like than pinwheel-like.


2 ‘Vintage Modern’ jelly rolls by Bonnie and Camille
1 bella solids jelly roll ‘Porcelain’ (you will only use half of this jelly roll for the pinwheels AND binding, so save the other half for another quilt!)
4.5 yards (backing, I used #55046-15 in ‘candy apple’ color)

Unroll your jelly roll one at a time and sew strips together into sets of 4 using a 1/4” seam allowance (you will get 10 sets of 4 from each jelly roll). Try to vary the colors/pattern the best you can within each strip set.

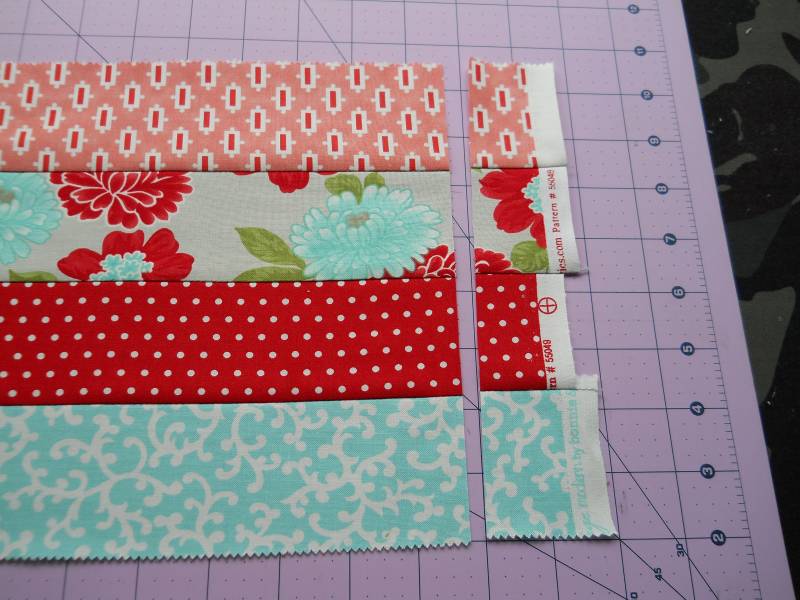
When you sew them together, try to keep one end lined up so you can get all 5 blocks from the strip set. After your strip sets are sewn together, trim off the selvage edge from one side, then subcut your strip set into 8.5” blocks. If your strip set is a touch wider than 8.5”, no need to trim that yet, we will work on that later.


You will get five 8.5” cuts from each strip set – and you will have VERY little waste at the end of the strip set, so cut carefully!
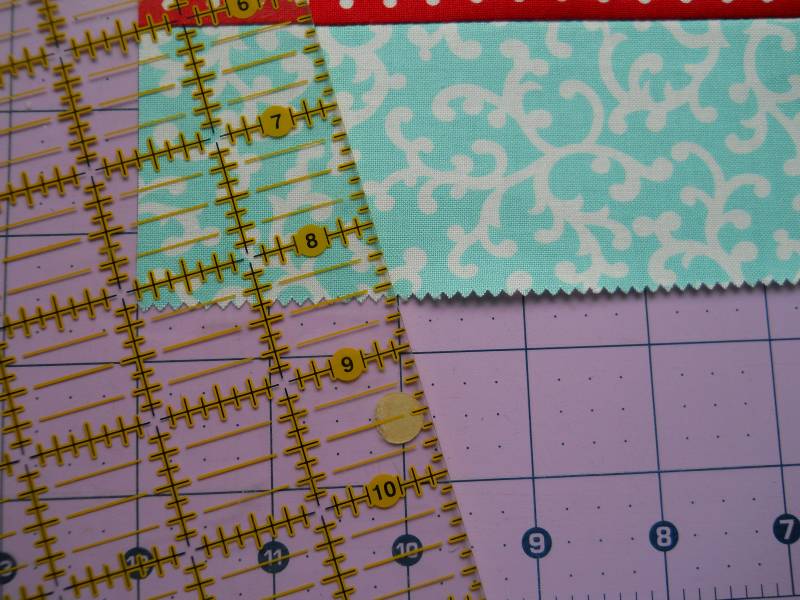
Take each block, one by one, and line the upper/left corner on your cutting mat lines. You will be cutting a triangle off the left side – the measurements are 1” down from the upper/left corner and 2” to the right on the bottom/left corner. There will be 50 blocks from each jelly roll (100 total from 2 jelly rolls). Cut each block the SAME as you did the first.


The small triangle cut-off is waste. Now we can prepare the solid jelly roll strips for the pinwheel. Each solid jelly roll strip will be enough for 8 blocks, so you will use 12 1/2 strips for the pinwheels. Cut just a little of the selvage off – don’t worry about the little holes, they will end up either trimmed off later or in the seam. Cut the strips into quarters. This will give you four 11” pieces from each strip. You will need 50 of these 11” pieces.


Now, take one of your solid strips and line it up on your strip blocks. You will be sewing from the edge where you cut 2” from the corner. Line the end of the strip up so it overhangs by about 1/4 – 1/2” on the very corner.


Press open.

Now, trim your square to exactly 8.5” square. Trim top and bottom now if you need to. I used a scant 1/4” seam, so I had a little to trim off.

Don’t throw away the solid wonky triangle to the right! You will use it in another block! Just line up the pinked edge with your strip blocks cut edge the same as you did before:

Sew your 1/4” seam:

and press open:

Now, you can do a final trim to 8.5” square on these too:

See how little waste there is! Yay!

So, now you have 2 blocks done. Just repeat until you have all 100 blocks done. This sounds like a lot, but it goes pretty quickly! The points of the pinwheels will be JUST shy of the corner of the block. This way, we will not have to worry about bulky seams and it will be easy to get nice sharp points on our pinwheels (no chopped off points!)

Now sew your blocks into 25 pinwheels using 4 blocks for each pinwheel:

Then, sew your 25 pinwheel blocks into 5 rows of 5 blocks to complete your 80×80 quilt top!

Layer quilt top/batting/backing, baste, and quilt as desired! Now, you can use 7 1/2 of your leftover solid jelly roll strips for your binding too! That should leave you with 20 solid strips from the solid jelly roll for another quilt 🙂

One generous sized 80×80 quilt!
I wanted to highlight the pinwheels by adding a little something extra by hand quilting inside them with some perle cotton with a nice chunky stitch. Try it, you’ll love it! The printed portions of the quilt I stippled with a medium gray thread.

Karin Vail
{cascadequilts.com}
![]()
