
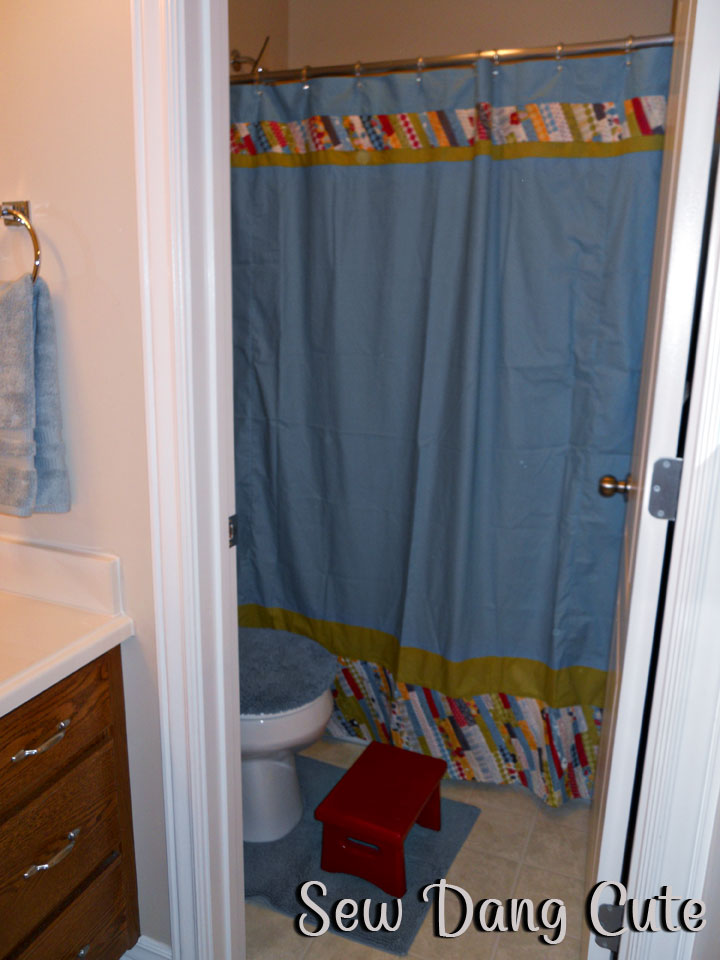
Hey everybody! I’m Tam from Sew Dang Cute, and I’m excited to be back here on the Moda Bake Shop to share another project with you – a shower curtain!
 If you like free fabric, hurry over to my blog to enter a HUGE giveaway I’m having right now. Let’s get started on that shower curtain, shall we?
*All seams 1/4″ unless otherwise noted.

– 1 honey bun
– 1/2 yd fabric
– 3 yds fabric
– Coordinating thread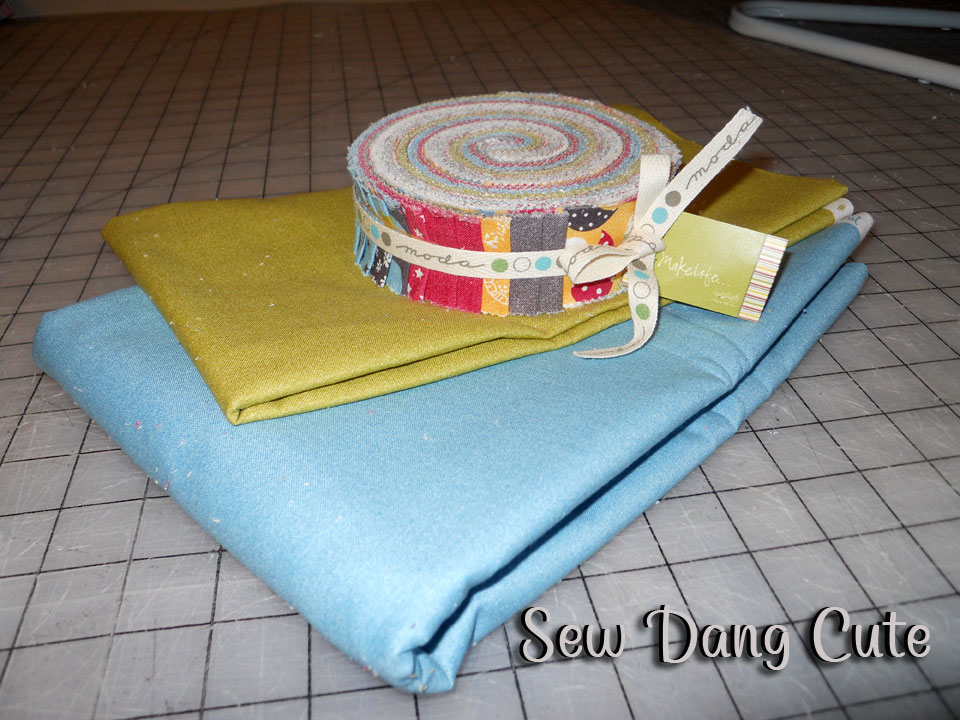

1. We are going to start with our diagonal stripwork. Randomly cut some pieces from your honey bun strips. Go ahead, just cut whatever sizes makes you happy. You’ll end up using the entire honey bun. I laid mine out on my cutting board and started in the corner. Once you’ve determined your angle, start laying pieces down like so, until you’ve reached 17″, which is as tall as we will go.  Sew your cut pieces RST (right sides together) along the 1 1/2″ sides to form a strip.
  Finish the seams by either serging or zig-zag stitching. From here you just keep cutting pieces to form strips, then we need to sew all the strips together. As you sew the strips together, start the next strip about a 1/4″ down like so.
  They should look something like this.
 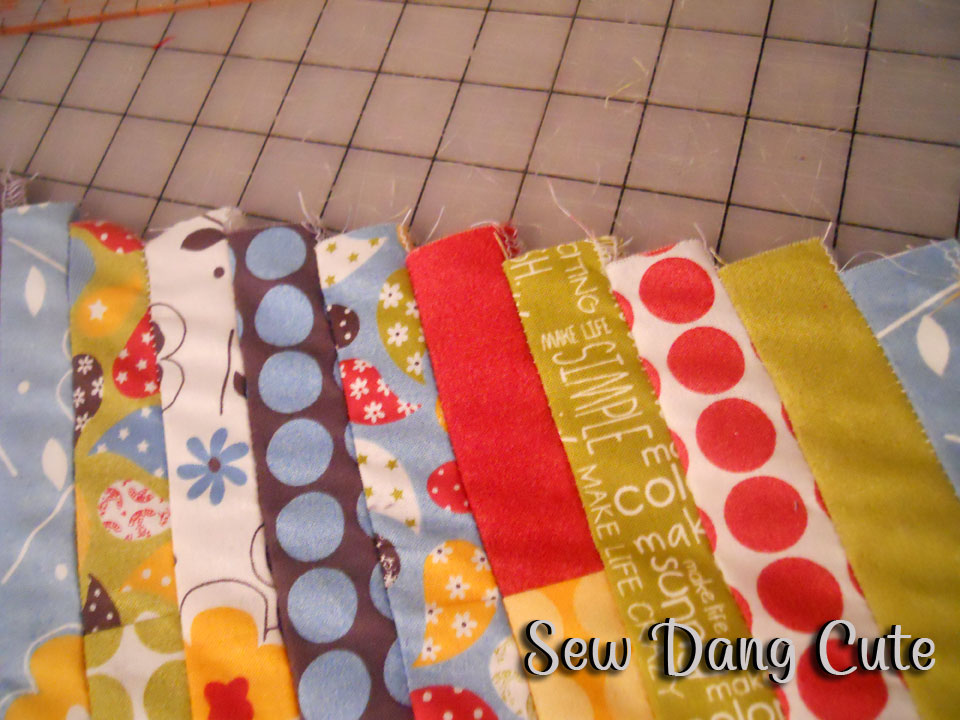 Finish the seams. Continue until your you have one big piece that is 74″ long. Press the seams all in one direction.
  Topstitch all the seams down.
  Trim the piece so you have one big rectangle measuring 17″ x 74″, then cut it into two pieces – 4 1/2″ x 74″ and 12 1/2″ x 74″.
2. From here I thought a pattern/diagram would be easiest to refer to instead of pictures. If needed, click on image to enlarge.
*Note: We are going to assume the width of the fabric is 42″.
Take your 1/2 yd of fabric (green), and cut (2) 5″ pieces and (2) 2″ pieces. From those cut them so you have the following pieces:
– (2) 18″ x 5″
– (1) 42″ x 5″
– (2) 18″ x 2″
– (1) 42″ x 2″
Sew the three 5″ pieces together to along the 5″ edge to form a row with the 42″ piece in the middle. (Refer to the diagram above). Finish seams and press. Repeat with the 2″ pieces.
3. Take your 3 yds of fabric (blue), and cut (2) 50″ pieces and (1) 7″ piece. From those cut the following:
– (2) 18″ x 50″ (You will need to get this first, then unfold to get the 18″ x 7″ pieces below)
– (1) 42″ x 50″
– (2) 18″ x 7″
– (1) 42″ x 7″
Sew the 7″ pieces together the same way as used in step 3. Finish seams and press. Repeat on the 50″ pieces. After pressing the 50″ seams, topstitch the seams down. (The other rows are so short that I didn’t bother topstitching them, however if you would like to, feel free to do so).
4. As a reminder, here’s the pattern again. 5. Now we are going to sew all our rows together as follows:
1. 7″ blue
2. 4 1/2″ diagonal strips
3. 2″ green
4. 50″ blue
5. 5″ green
6. 12 1/2″ diagonal strips
Finish seams. Press and topstitch. Trim all your sides up if necessary.
6. Let’s hem those sides and bottom edge. Fold a side edge 1/2″ towards the wrong side of the fabric. Press. Fold another 1/2″ and press. Stitch down. Repeat on the other side and the bottom.
7. Now for the top edge. I serged the top raw edge and folded it down 3″ and pressed.  If you don’t have a serger, fold 1/4″ down and press, then fold another 2 3/4″ down and press. Stitch that hem down. You should now have something that looks like this.
 8. The last thing we need to do is make some buttonholes for our curtain rings to go through. Lay your curtain out flat on the ground and mark where you want your buttonholes. I grabbed a shower curtain and laid it on top to mark mine. You should have 12 marks now, each about 1″ long and 6″ apart. Set your sewing machine to its buttonhole settings.
  Attach your buttonhole foot.
  **Check your machine’s manual for specific sewing instructions, because each machine can be different. My machine won’t sew buttonholes. In theory, you are supposed to be able to place a button of the desired size in the foot, then push down on the pedal and it should sew the buttonhole. I have yet to get my machine to do this. I used my mom’s. On hers you sew down as far as you need to go, then push the buttonhole button located by the stitch selection buttons and it sews the rest. You’ll end up with 12 marks that look like this.
  Grab your seam ripper and place it between the stitchings and rip about halfway up.
  Then switch to the other end and rip the rest of the way.
  You can just rip all the way with that first rip, but I like to switch so you can prevent accidentally ripping too much and going through the stitching. Repeat on all 12 buttonholes and it’s all done! Place your curtain rings through those buttonholes and hang up your new shower curtain!
One shower curtain measuring 72″ x 72″.
Tamarynn Bennet
Sew Dang Cute
![]()
