A sweet little quilt to use as a baby quilt, car quilt, table topper or adorn on a wall.
25 block finished quilt is 45″ x 45″
All seams ¼”


1 pkg. Chez Moi Swanky Turnovers (80 – 6″ triangles)
1¼ yd. Chez Moi Swanky – Highland Park PEACOCK (16034-13)
¼ yd. Moda Bella Solids – LEMON (9900-131)
1 yd. Flag Day Farm solid – IVORY (14620-11)
2¾ yds. backing fabric
51″ x 51″ batting

CUTTING:
From LEMON, cut:
4) 1½” strips for inner boarder
From IVORY, cut:
25) 6″ squares for waffle blocks
–> sub-cut each square diagonally to yield 50 triangles
From PEACOCK, cut:
5) 4½” strips for outer border
5) 2¼” strips for binding
ORGANIZE TURNOVERS
Each Turnover has a matching twin, and are conveniently paired together in the Turnover pack.
Gather 25 twins (50 total) of the small/medium scale prints for waffle blocks.
Gather 14 twins (28 total) of the large scale prints for setting triangles and corners.
WAFFLE (block) ASSEMBLY
1) Making one block at a time, gather one twin SWANKY triangle set and one IVORY triangle set.

2) Cut out a 3″ square from each triangle. You will yield two small triangles and one square.

3) Trim each 3″ square of the SWANKY and the IVORY to 2¾”.

4) To the IVORY squares, join the small triangle of SWANKY to each side. To the SWANKY square, join a triangle to IVORY to each side. Press to the Swanky for all four units.

5) Join one of each unit to make a secondary unit, and press in opposite directions.

6) Join secondary units to complete the block. Press. Trim off dog-ears. Make 24 more blocks. Mmmm, pass the strawberries and whipped cream… it smells like waffles!

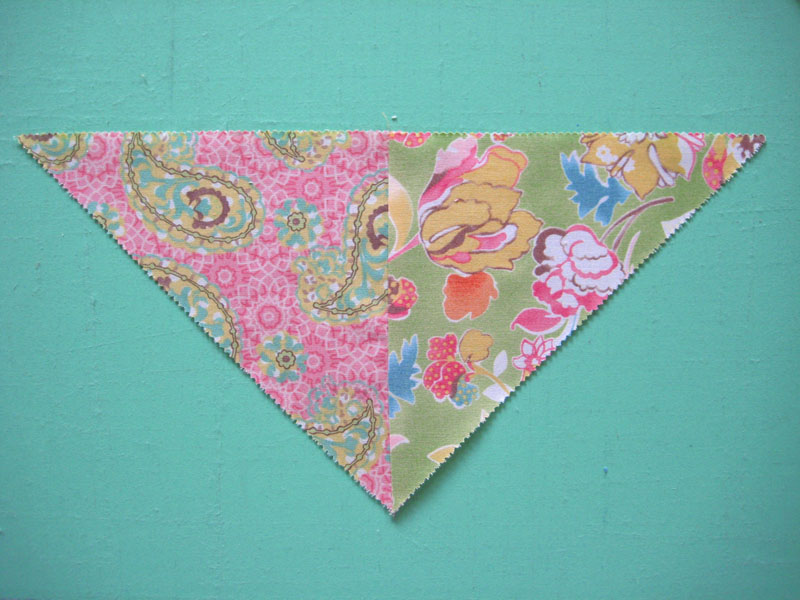
7) From the 28 large scale SWANKY Turnover triangles, join 24 of them (chop suey style… do not match them with their twin) – to make 12 setting triangles. Note: The remaining 4 triangles of the 28 – you will use for your setting corners.

8) From setting triangle unit’s tip, measure 5″ on center and trim off end. Use your seam as your guide.

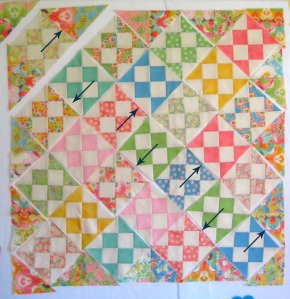
9) Lay out your blocks. Be sure to place blocks in alternating directions.

10) Place your setting triangle units and corner triangles.

11) Make quilt center by joining blocks, setting triangles and corners into rows. Press each row in alternating direction. Join rows to complete quilt center. Press.
12) Trim quilt center’s sides ¼” past the block’s tip.

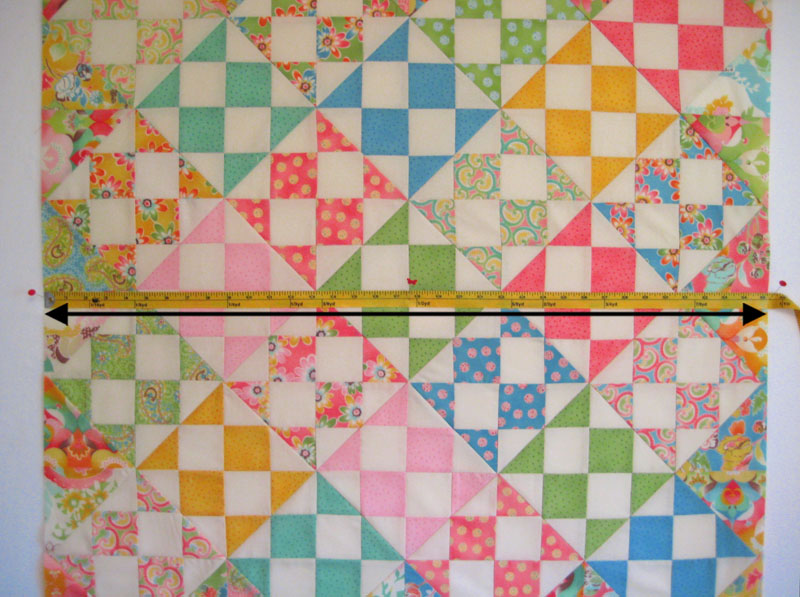
13) Because you are working with bias edges, everyone’s touch is a little different – and finished center quilt my vary a tad in size. Your finished quilt center will determine what size to cut your borders. From the center of your quilt center, measure horizontally. Cut your top and bottom LEMON inner border strips to this measurement. Pin to top and bottom. Join. Press.
14) On the quilt’s center, measure vertically from top to bottom. This will be your measurement for your side’s inner and outer borders. Join LEMON inner border to side PEACOCK outer border. Make two. Pin in place to quilt center. Join. Press.

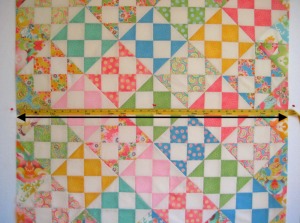
15) From the center of your quilt center, measure horizontally. Take 3 PEACOCK outer border strips and join end to end to make one long strip. Sub-cut long PEACOCK strip into two border strips to this measurement. Pin to top and bottom. Join. Press. Done!
 Layer with batting and backing, baste and quilt as desired. Bind. Snuggle.

The finished Belgian Waffle quilt measures approximately 45″ x 45″.
Strawberries and whipped cream optional – but highly recommended!
Monica/Happy Zombie
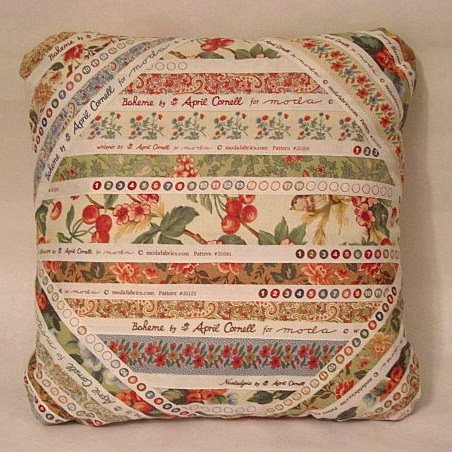


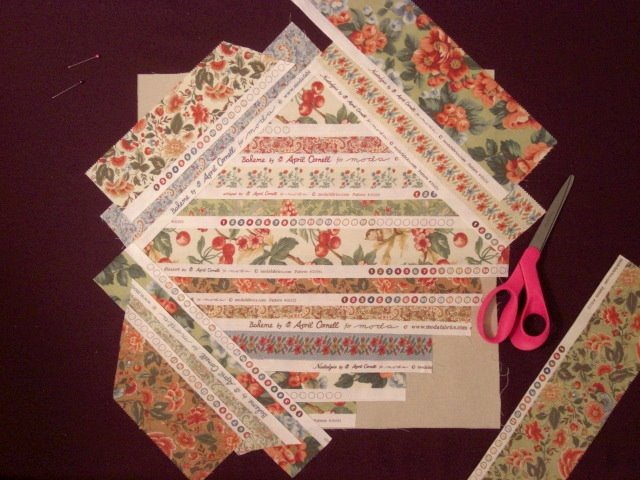
 Continue on, arranging the selvages as you please. Curiously, this gets to be so much fun. I really like those cherries, so I placed some in the middle, and more at the top.

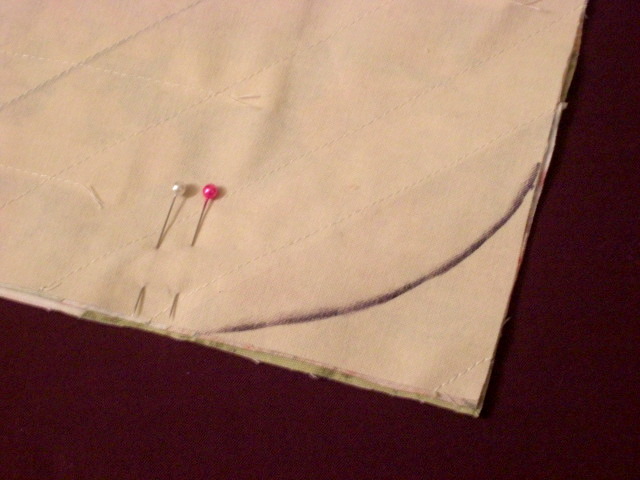
 Continue on, adding selvages on all four corners.


 1 charm pack – featured Neptune by Tula Pink for Moda
 Apply a
 Clip off excess fabric from each end.
 Smooth fabric up the bead and tuck into hole of bead.
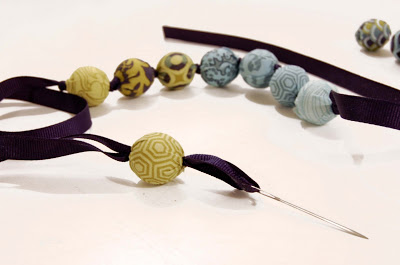 Thread grosgrain ribbon on to heavy duty needle.