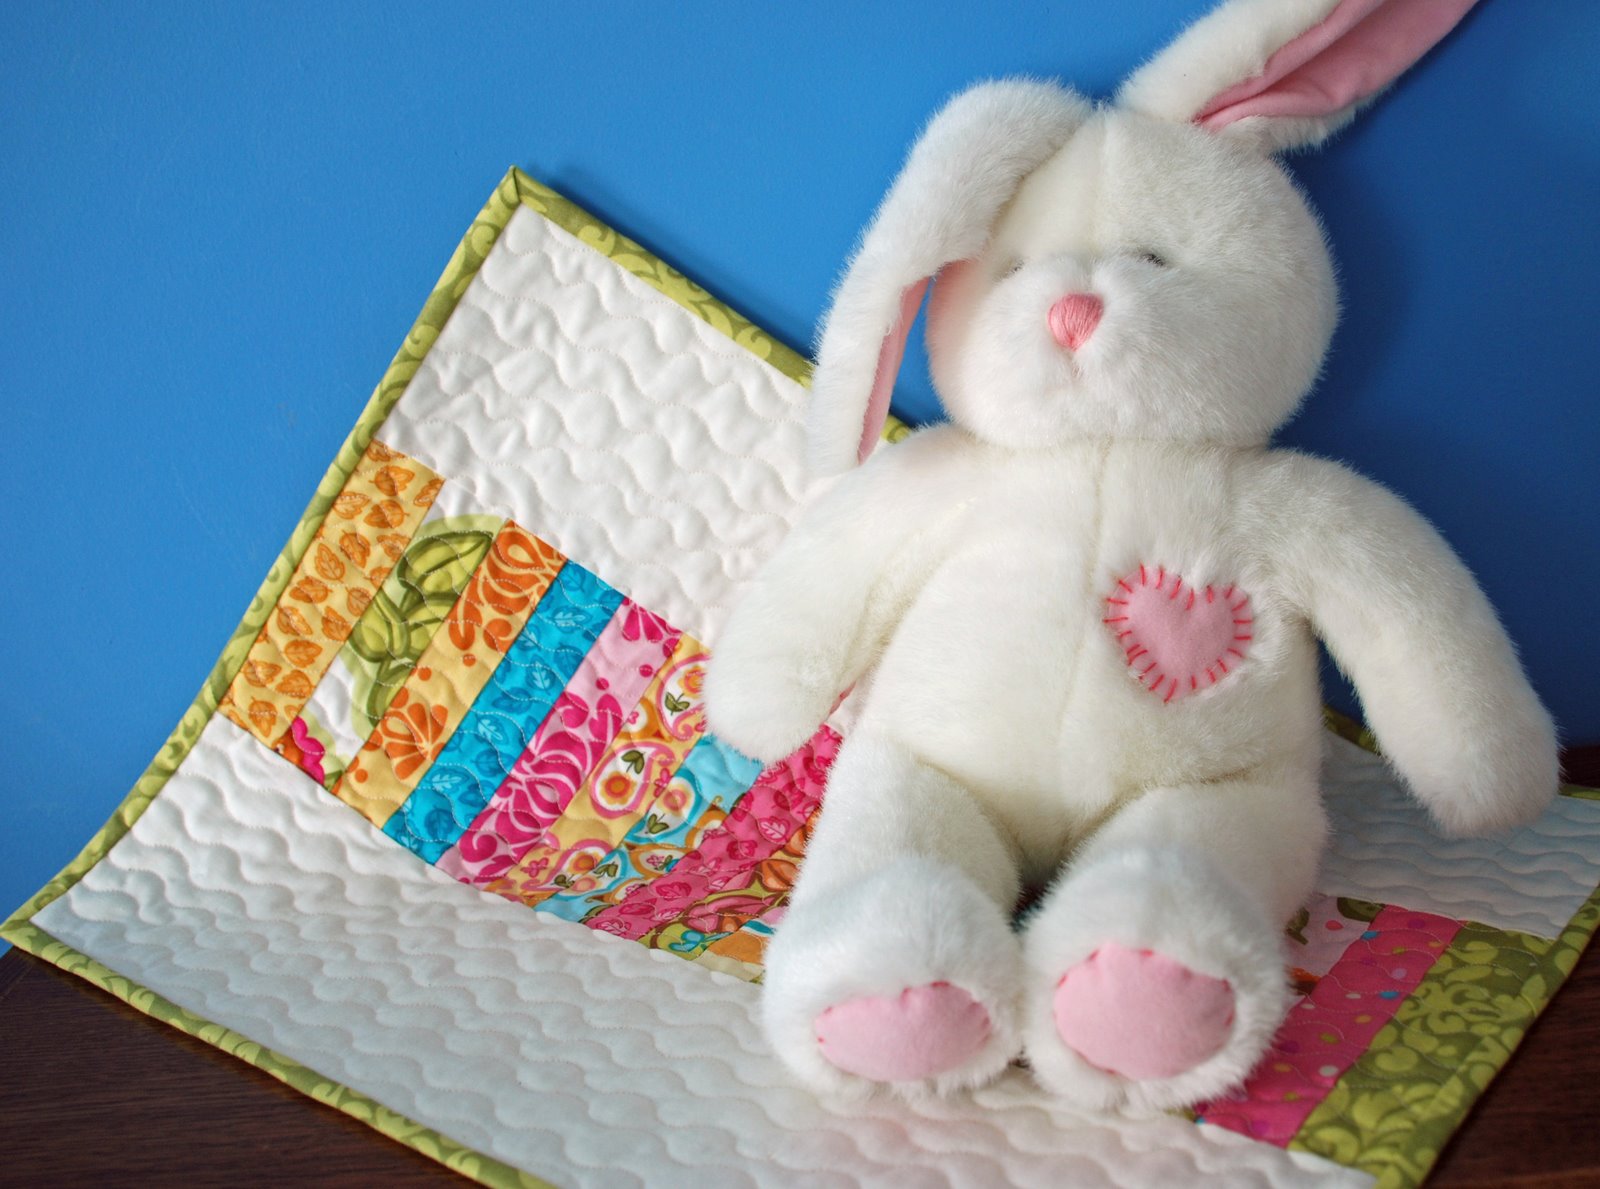
Doll Quilt
13″ X 19″

Soiree Honey Bun
1 Fat Quarter backing fabric
Batting at least 20 inches X 15 inches

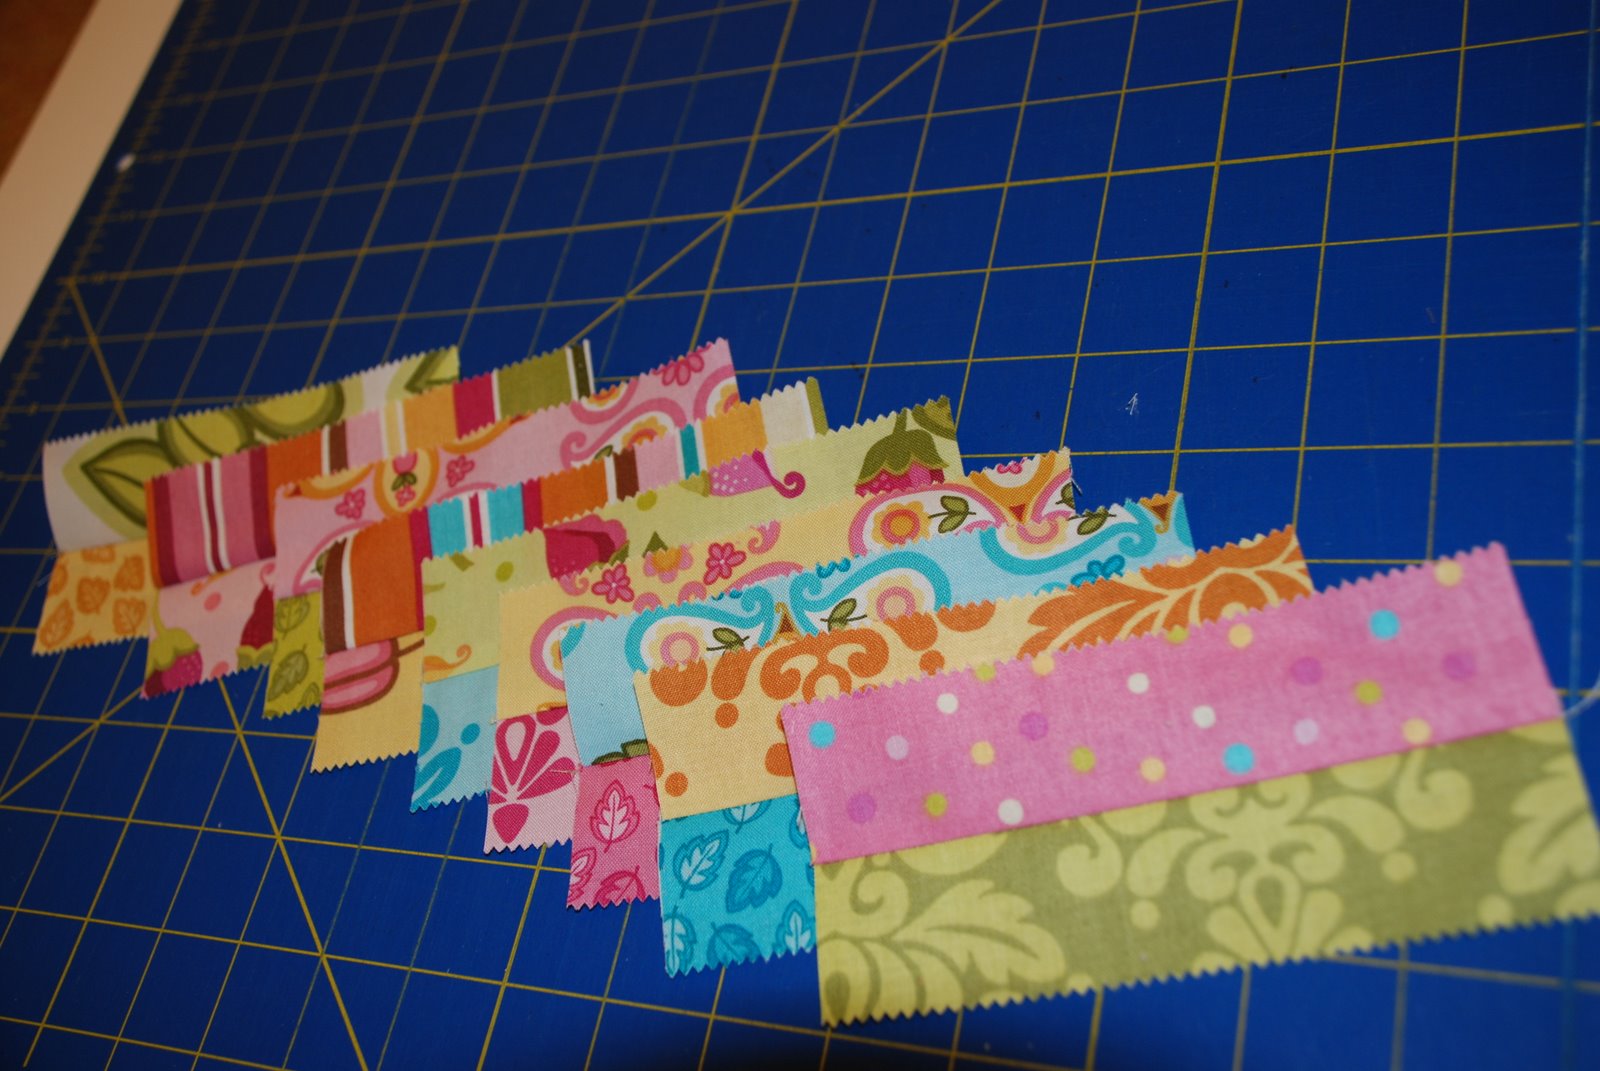
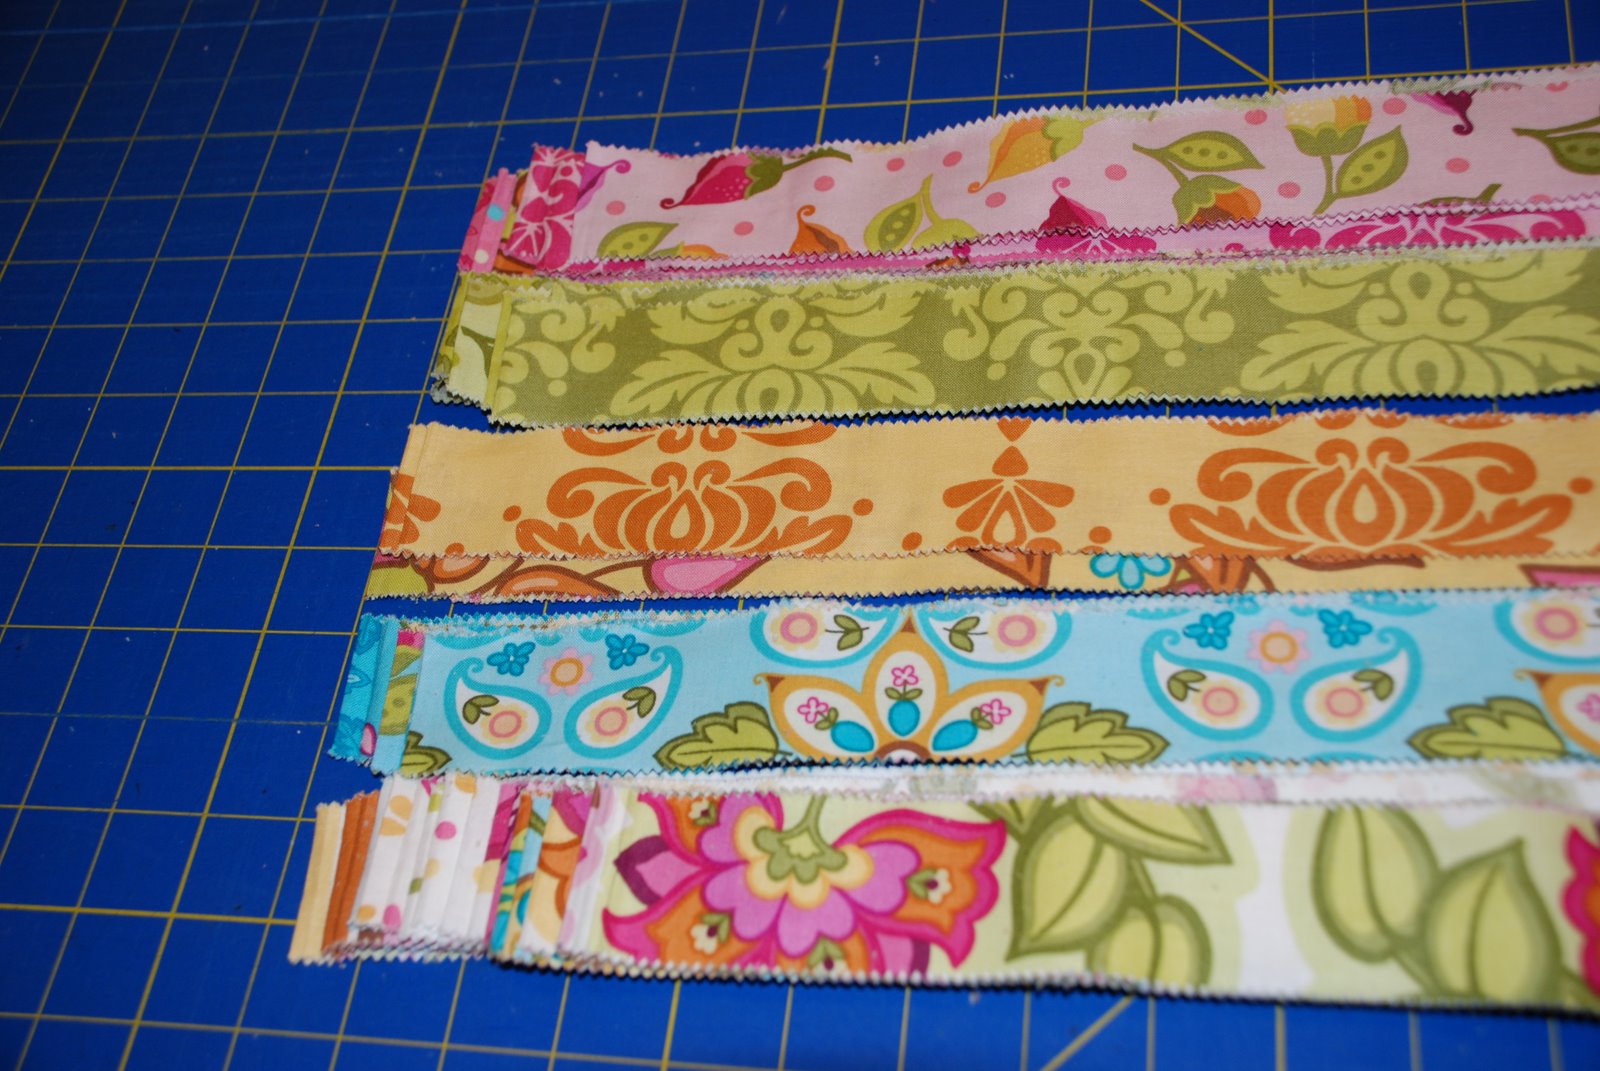 Layout your honey bun strips and choose 18.
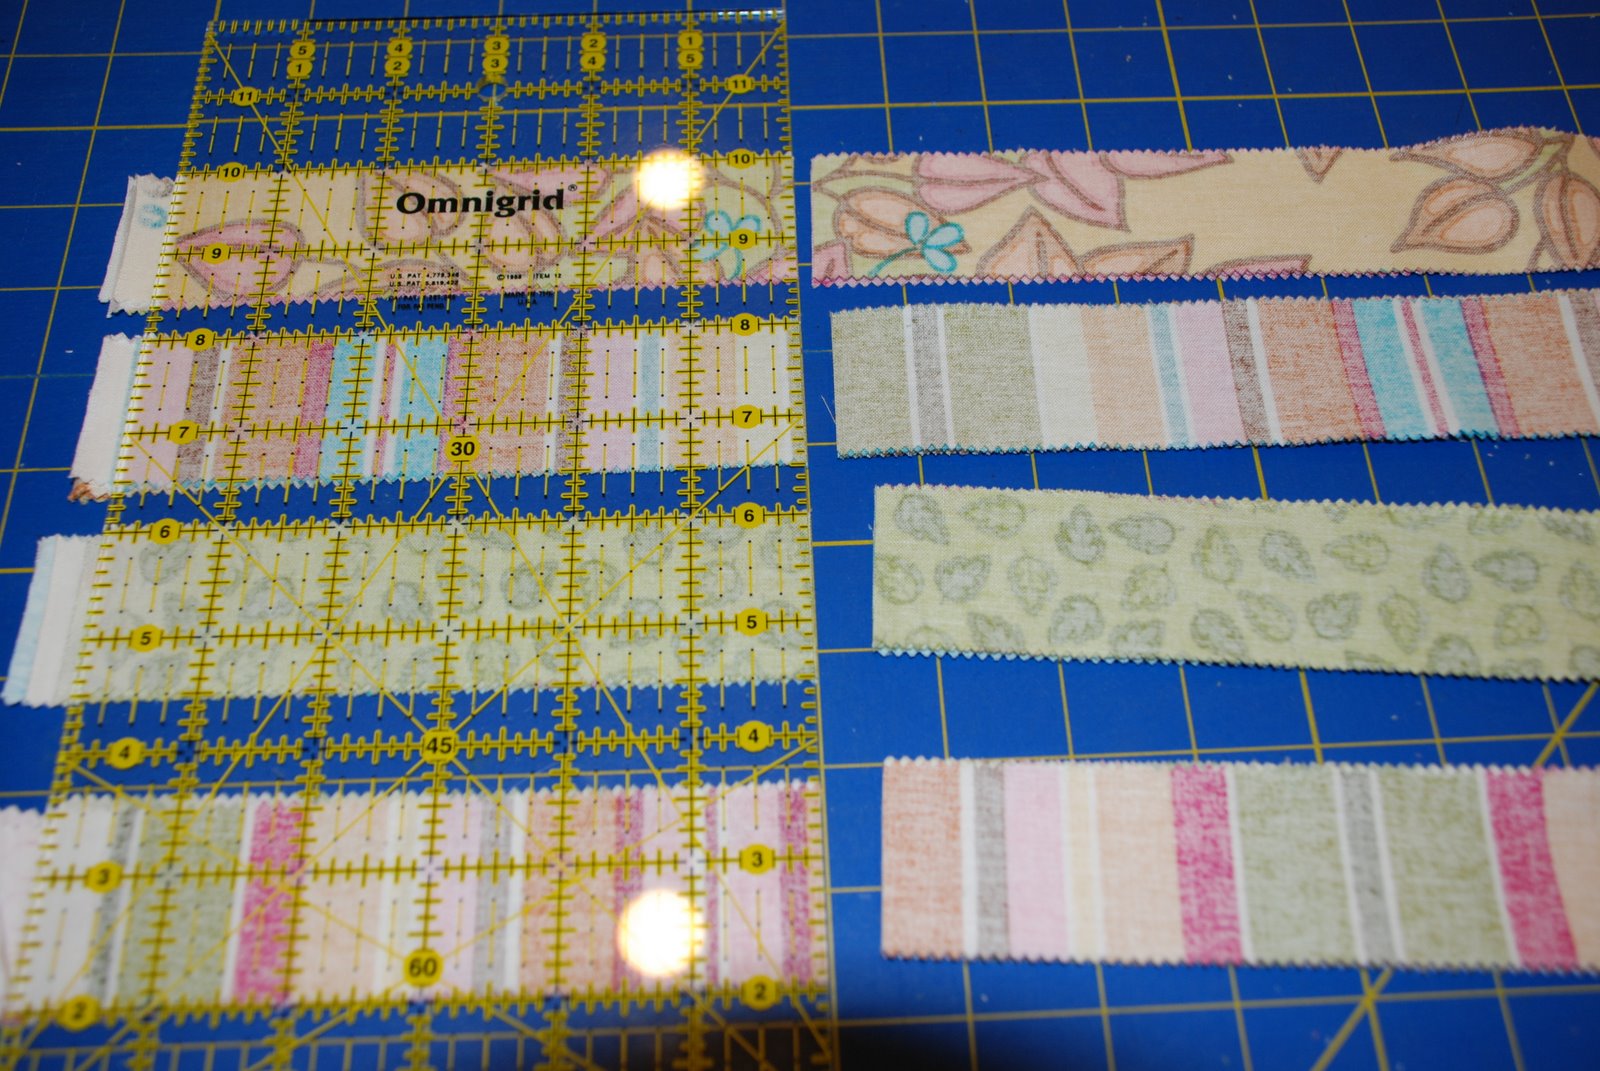 Cross cut the strips at 6 inches. Flip the strip and trim to 5 1/2 inches X 1 1/2 inches.
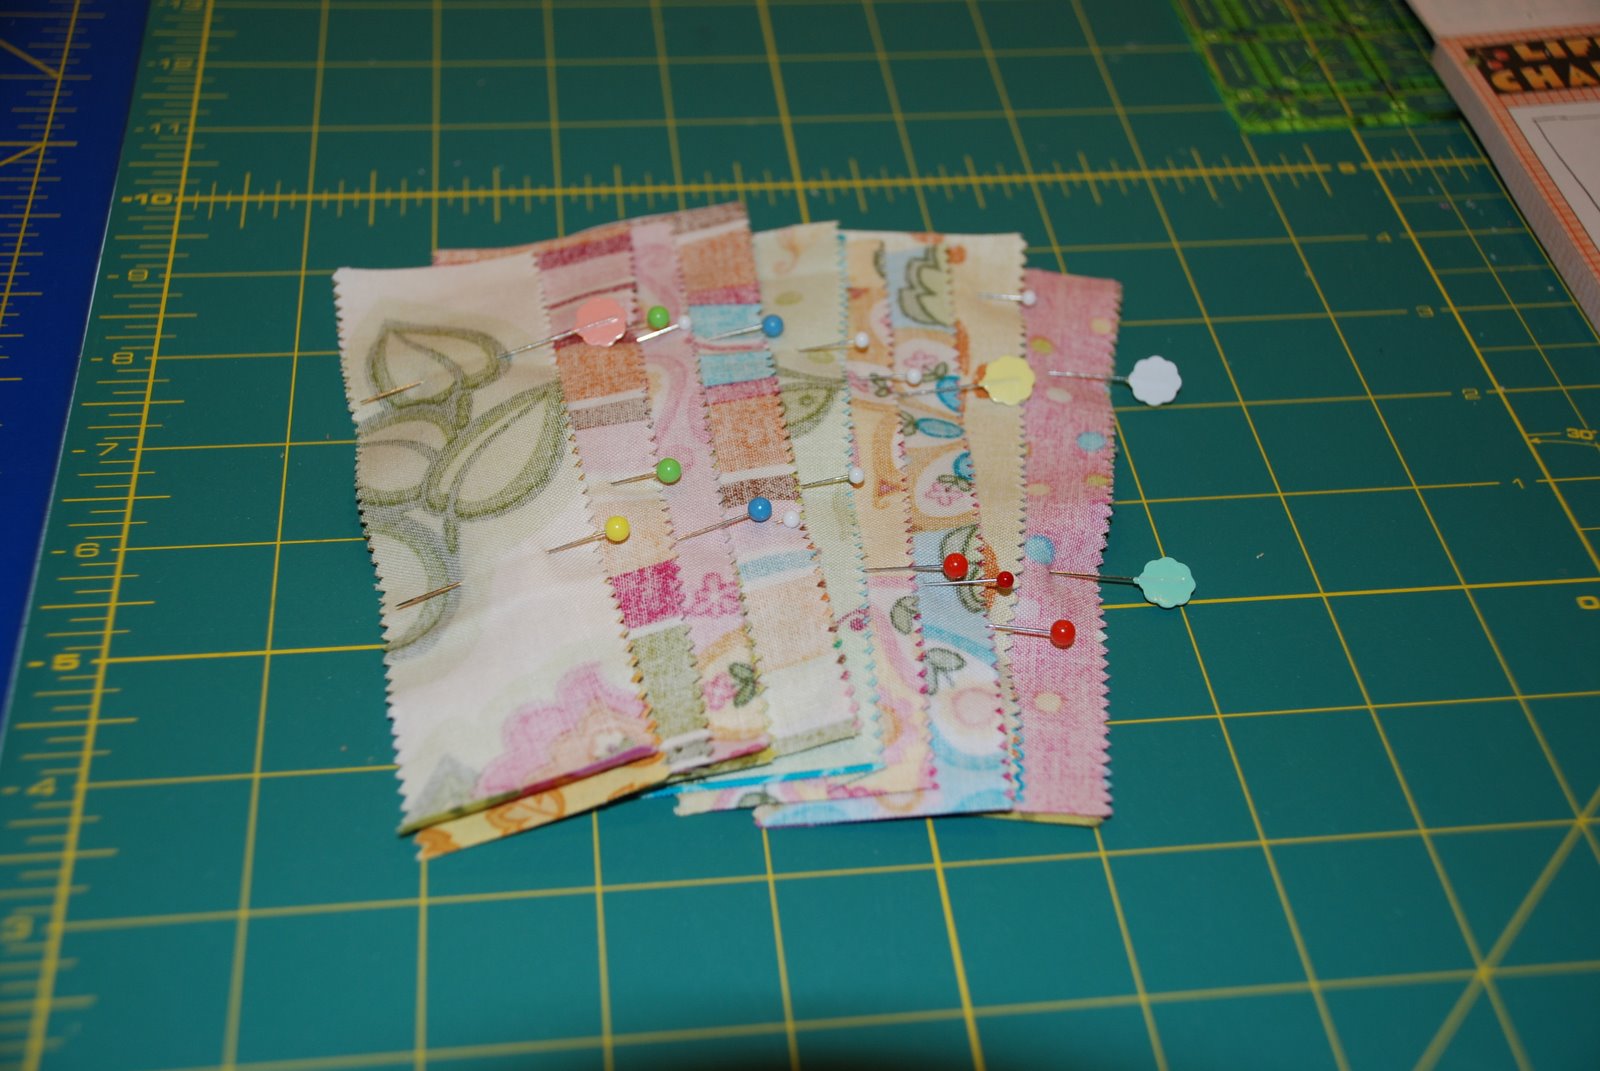
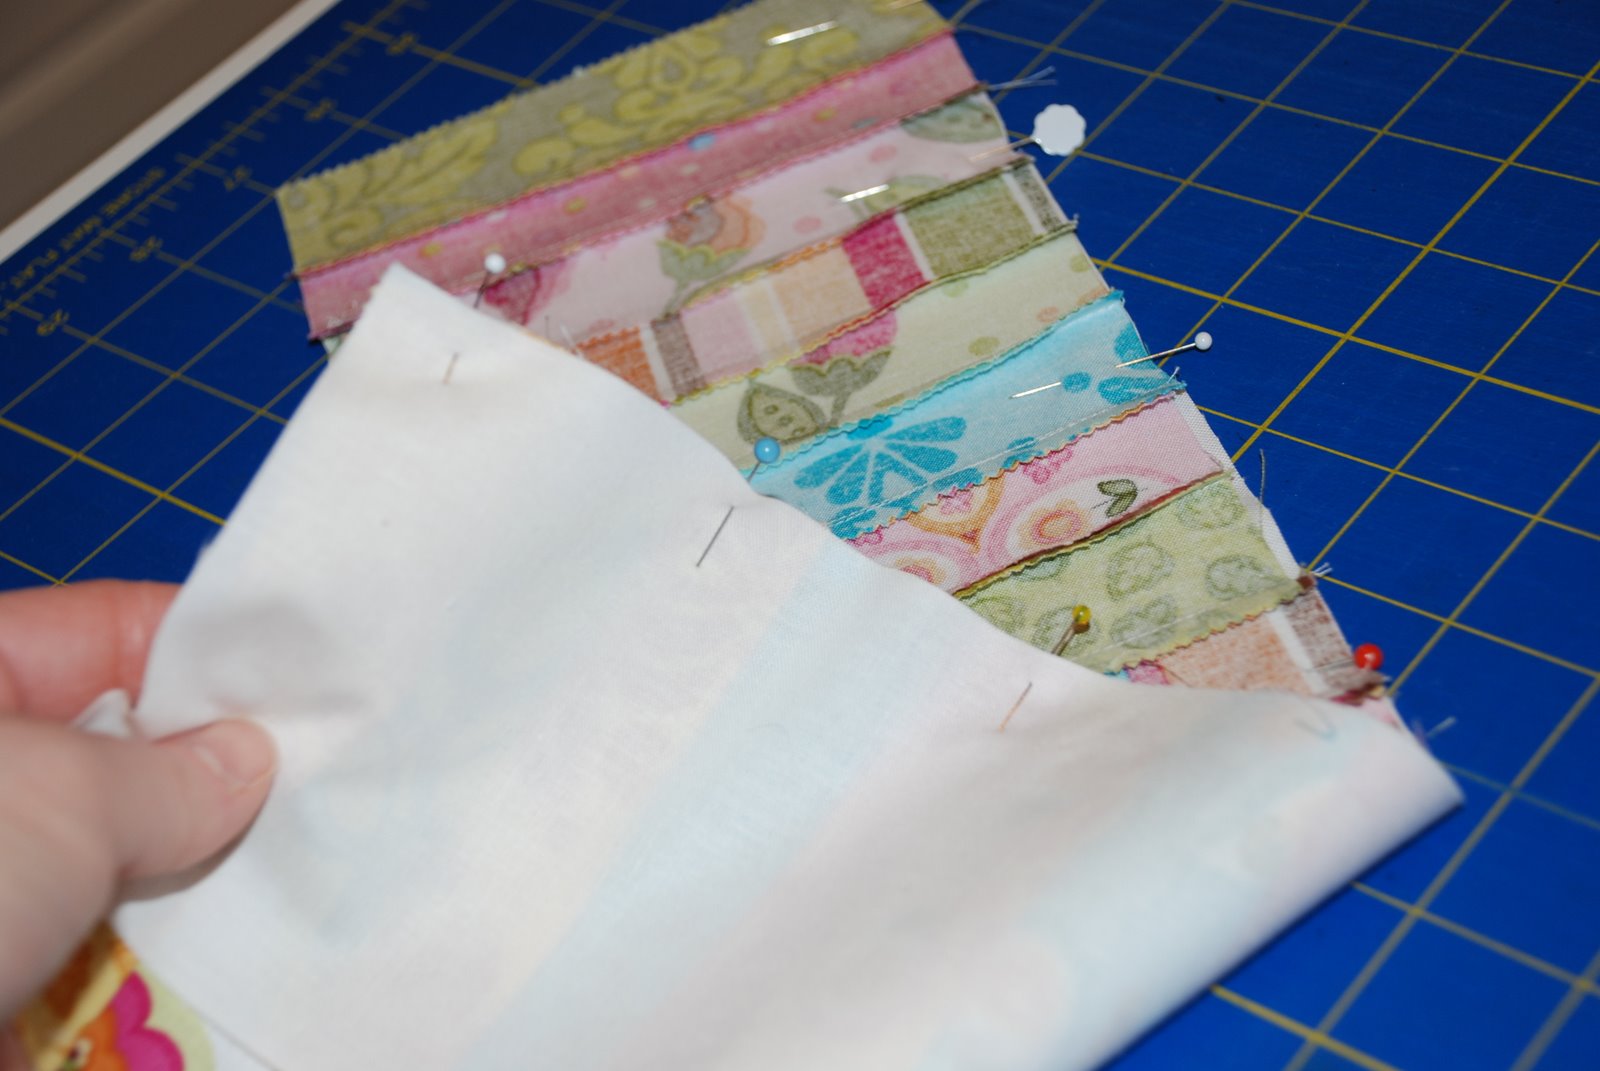
 I pin everything….I have better block construction this way. So I recommend pinning your strips as shown.
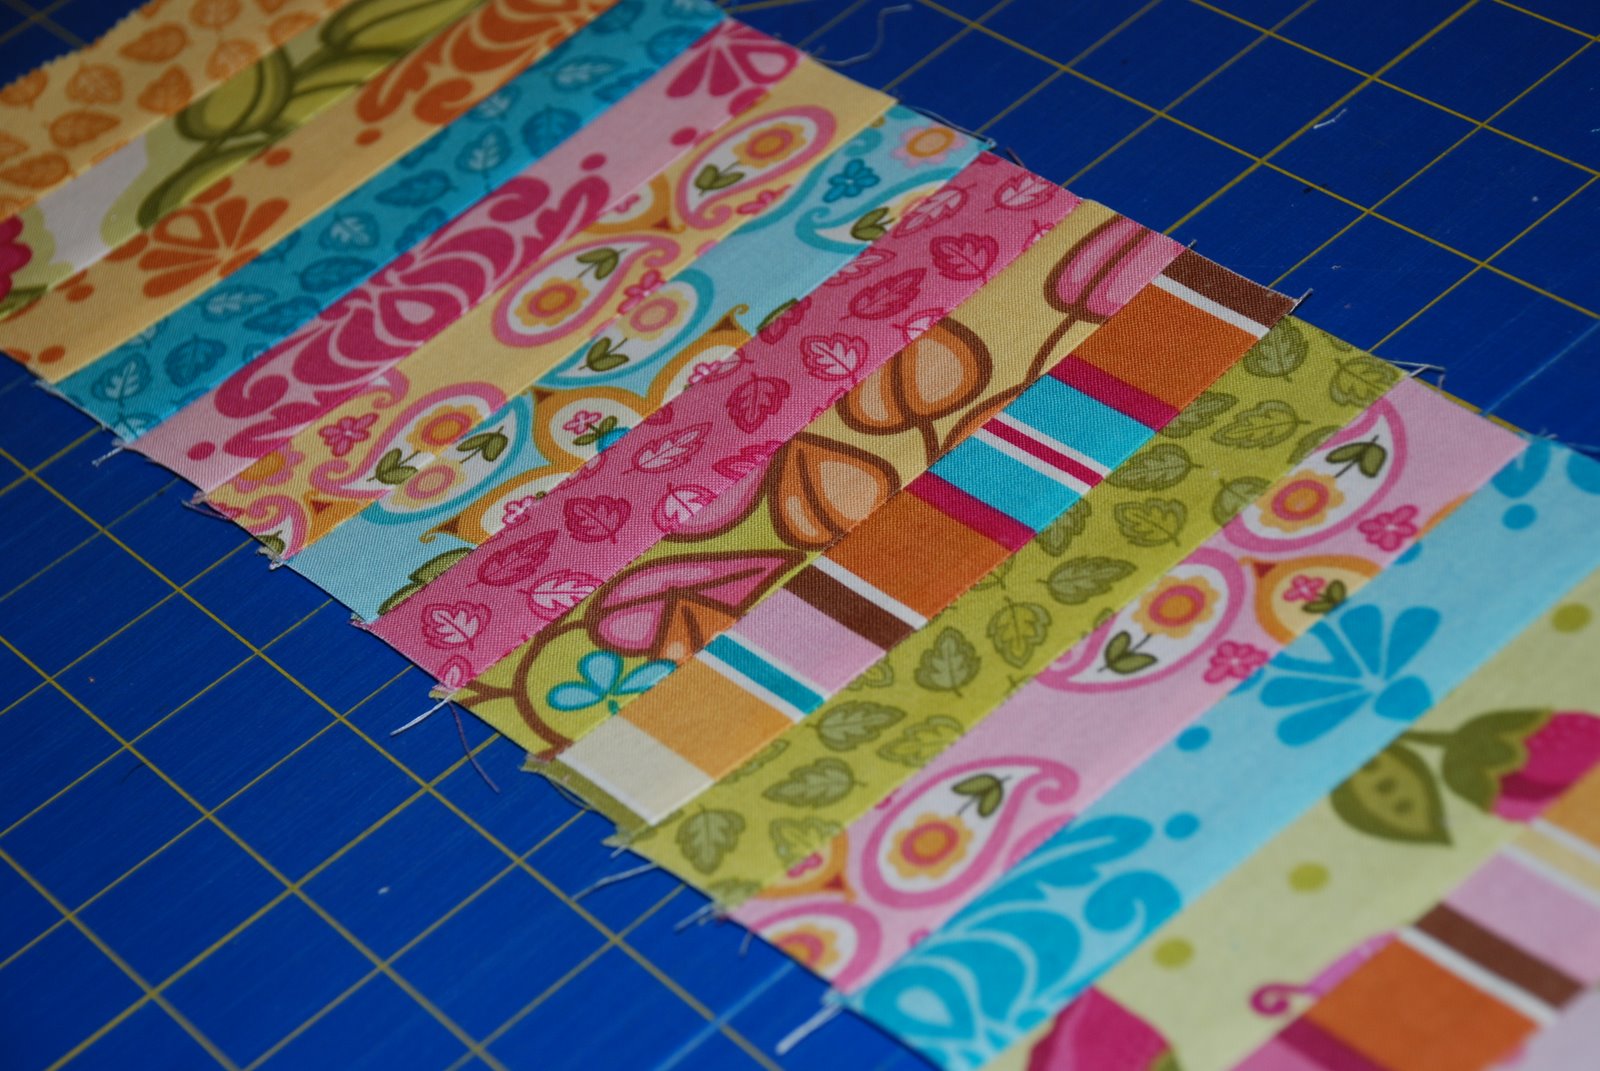
Sew and Iron….check your layout if necessary.
 Next, match up the pairs and sew down one side.
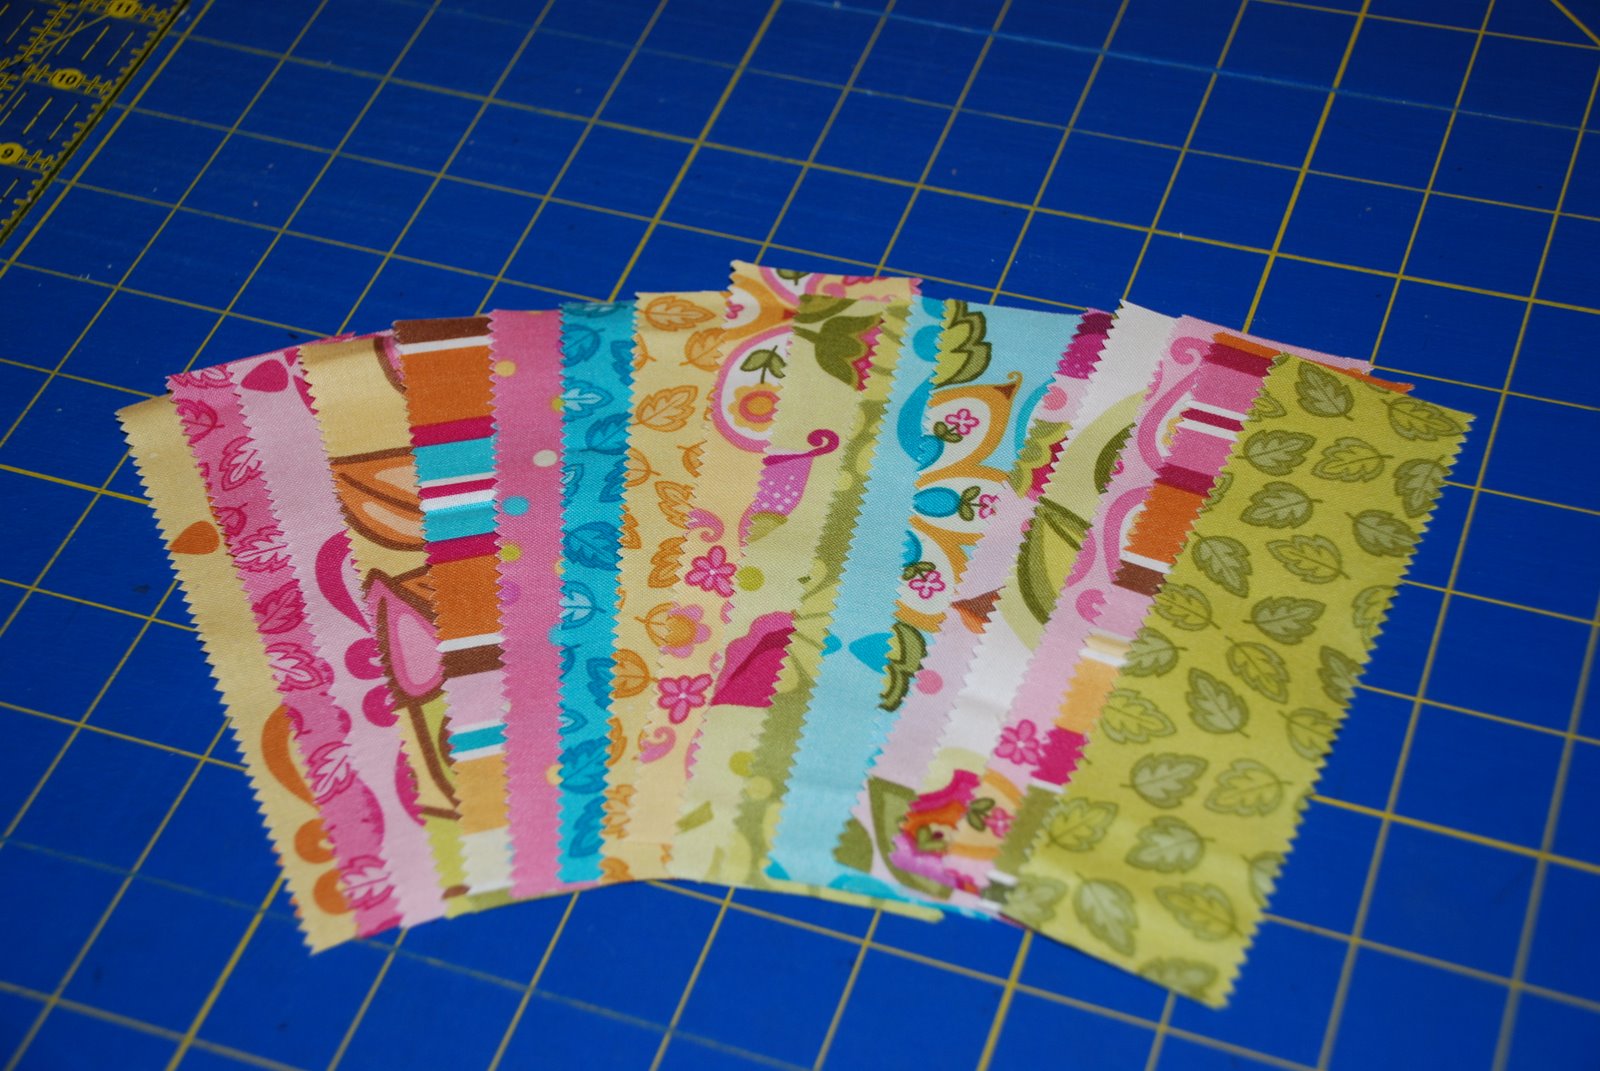
 Continue joining pairs until you a strip.
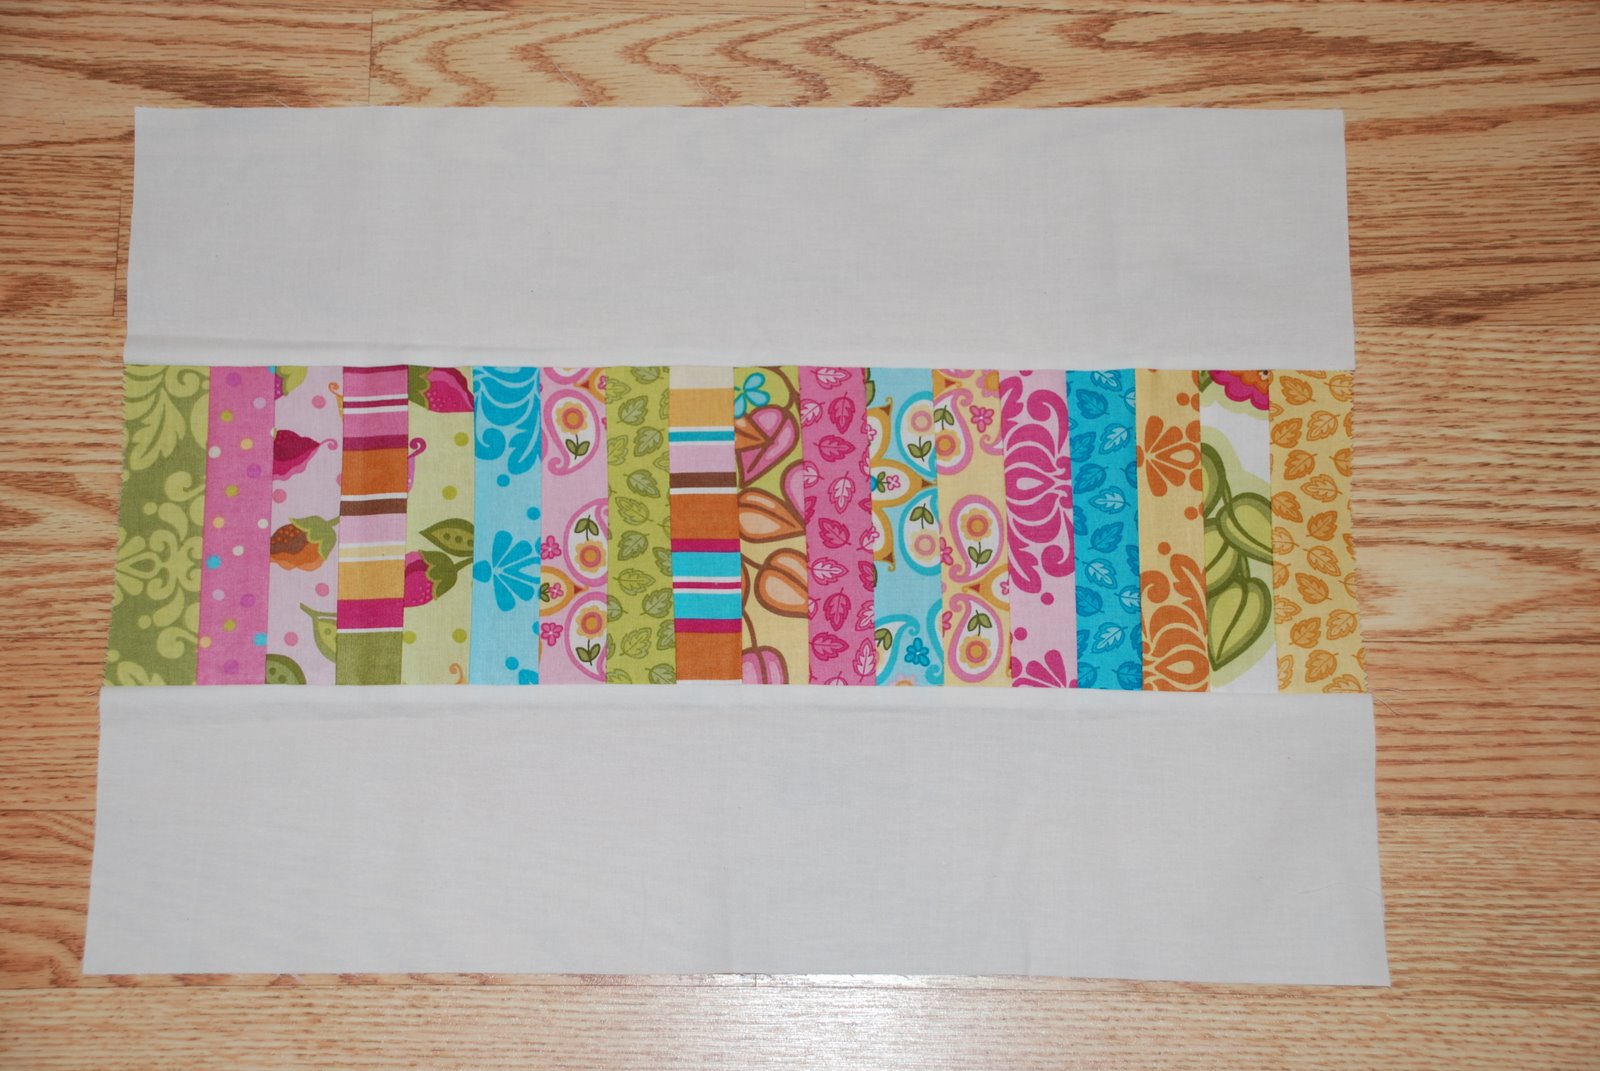
 It may be necessary to trim your “block”. Next take the Bella solid and cut a strip 4 1/2 inches the width of fabric.
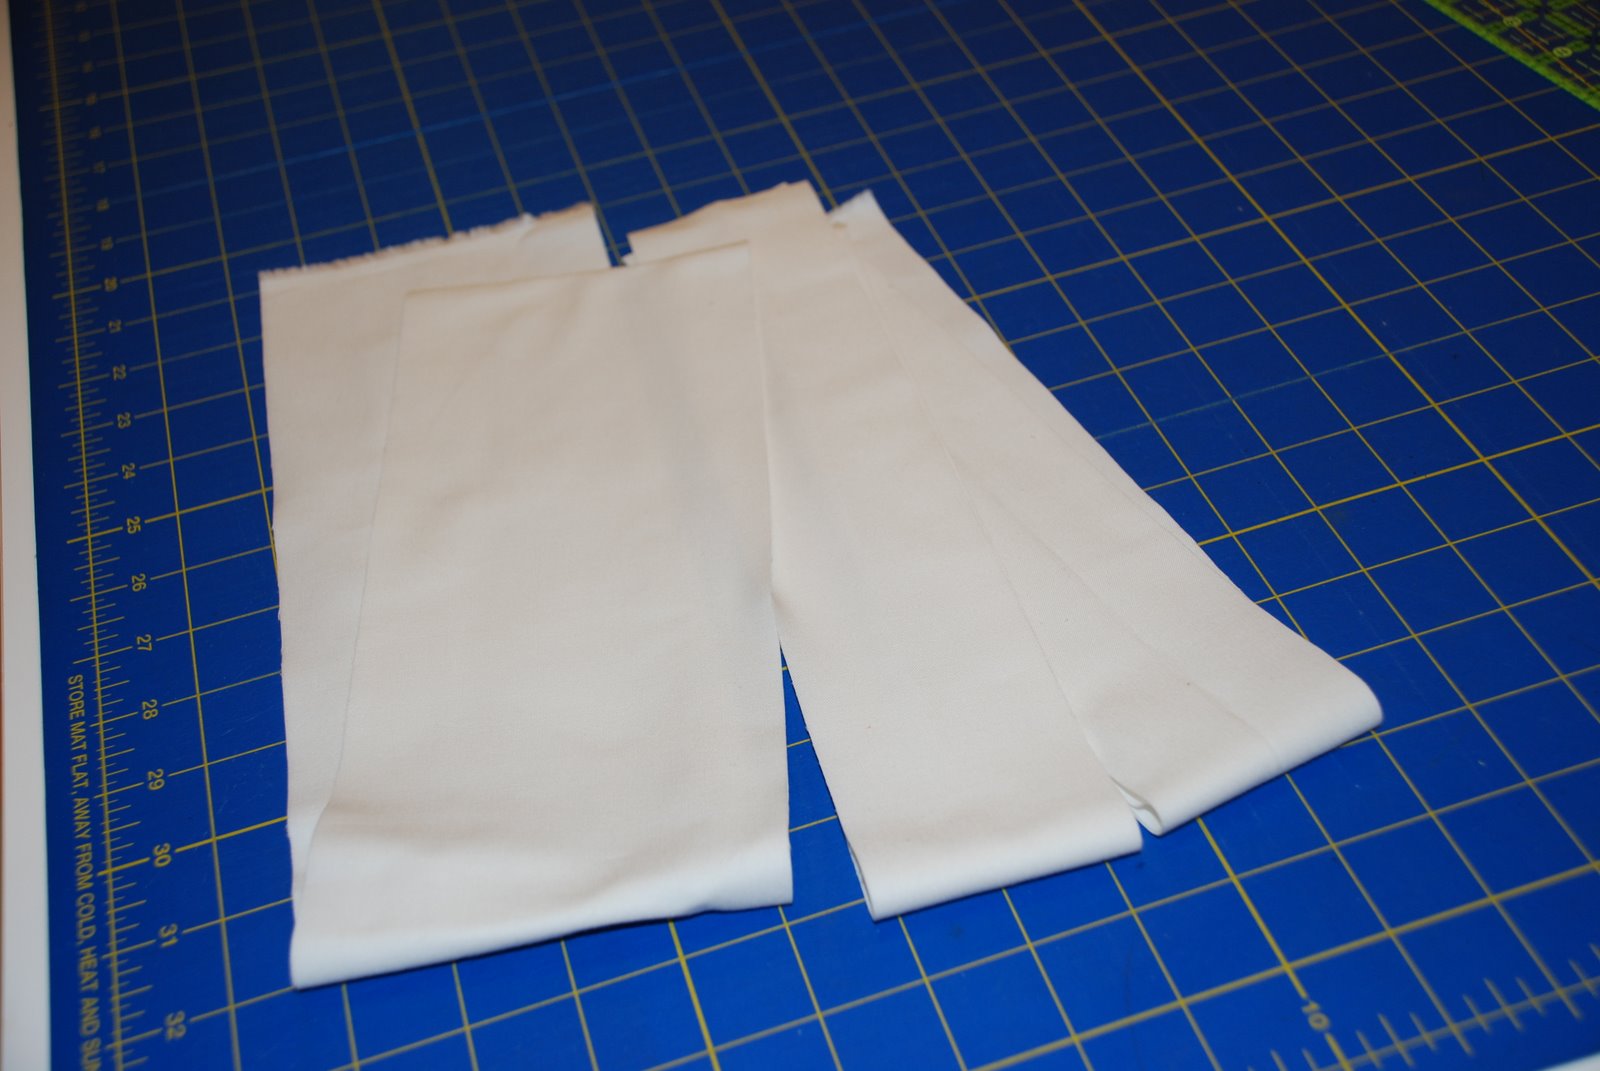 Trim to 19 inches. Sew a strip to each side of the block.
 The doll quilt top is ready to be quilted.
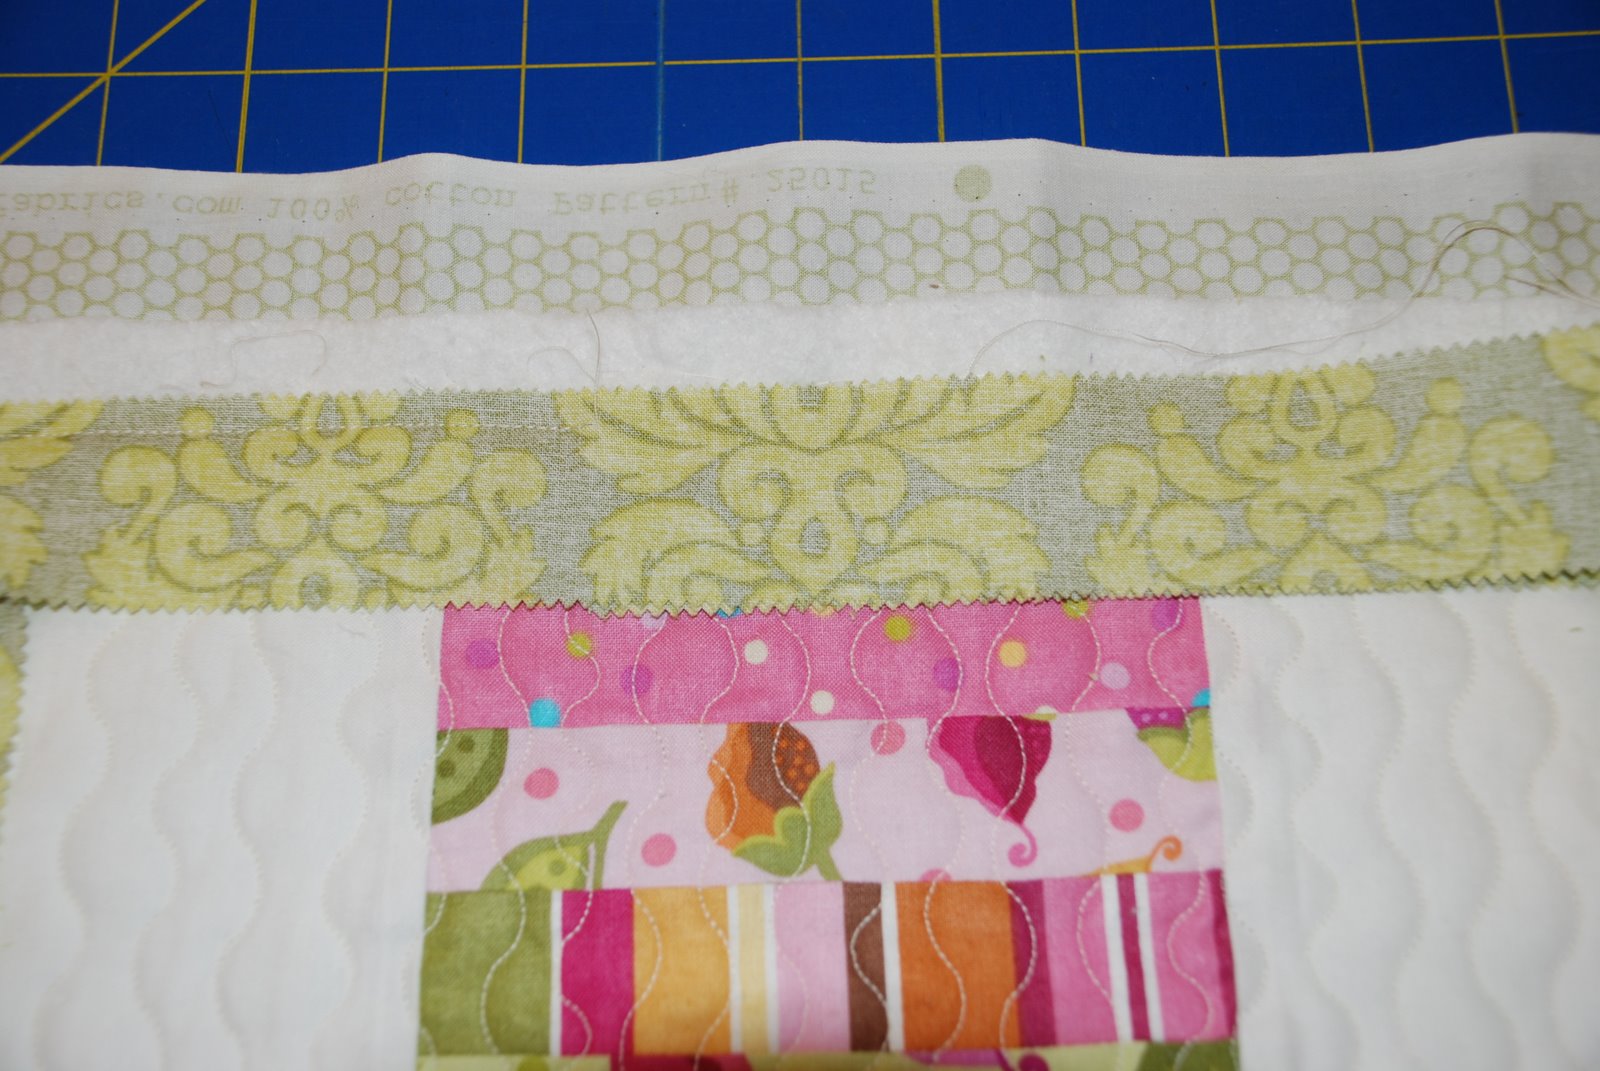
 Once you layer and quilt…it may look like this:
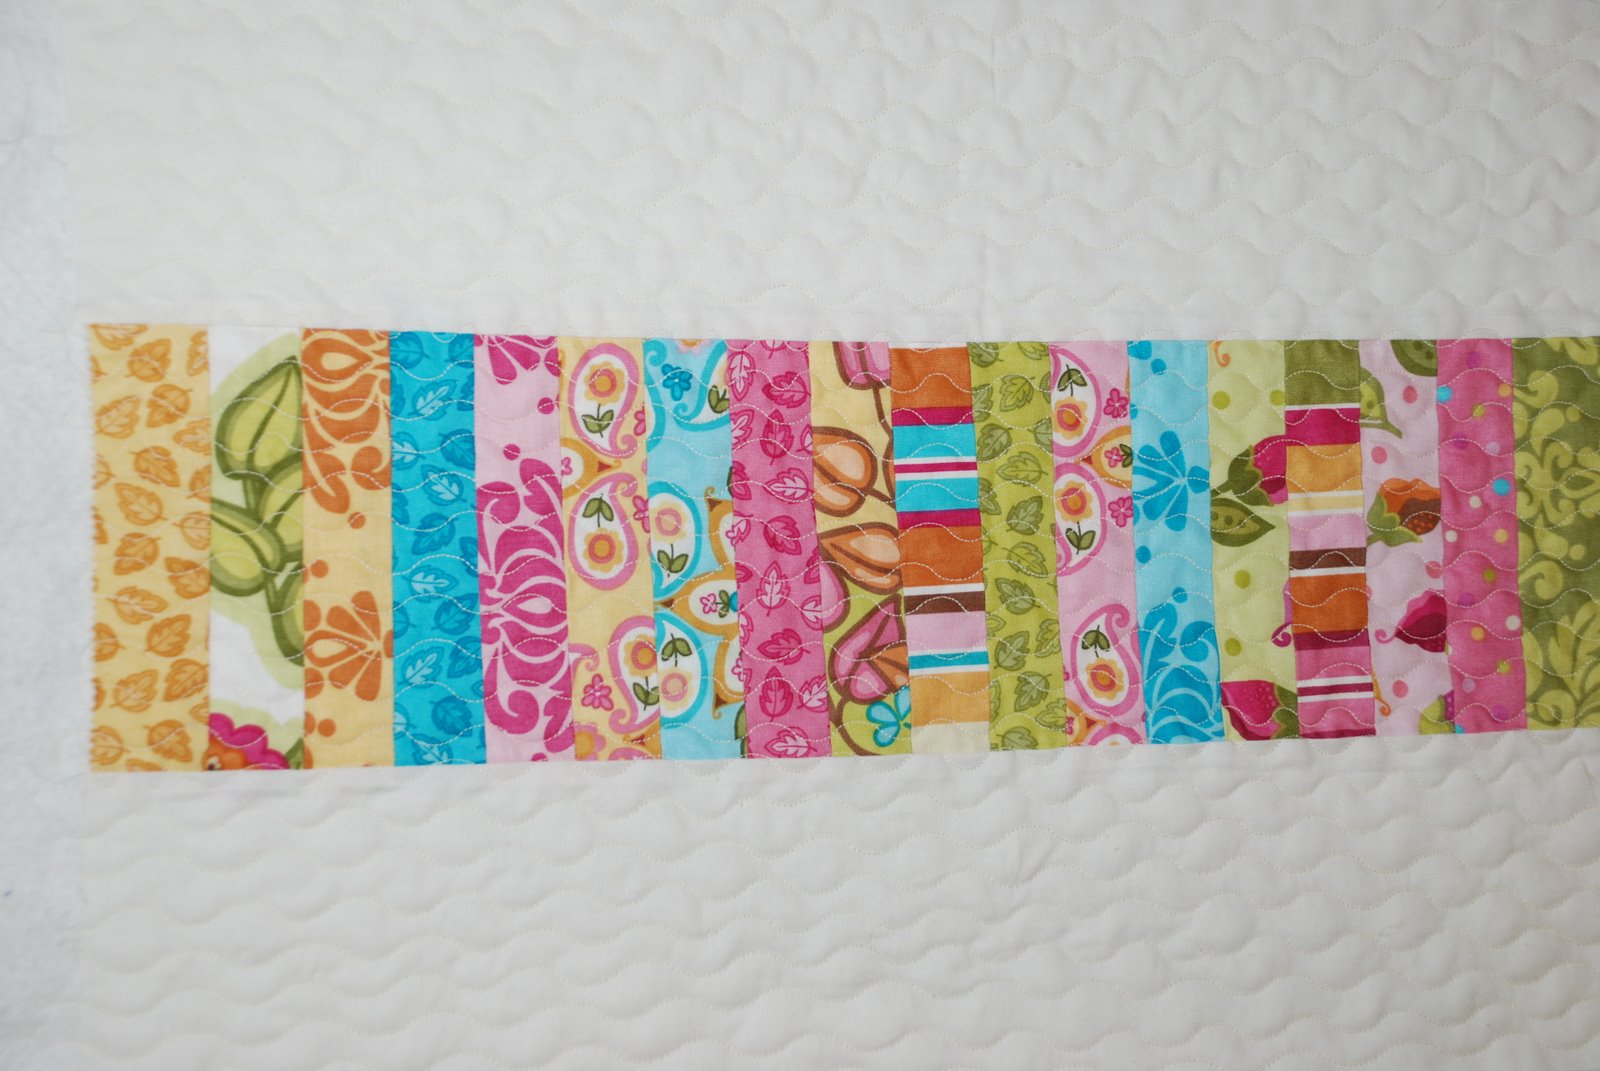 I chose a simple built in stitch on my machine and just sewed rows. It’s very simple but effective and breaks the monotony of stippling.
 Here is my binding…I used 2 honey bun strips for single fold binding. I mitered the strips as shown.
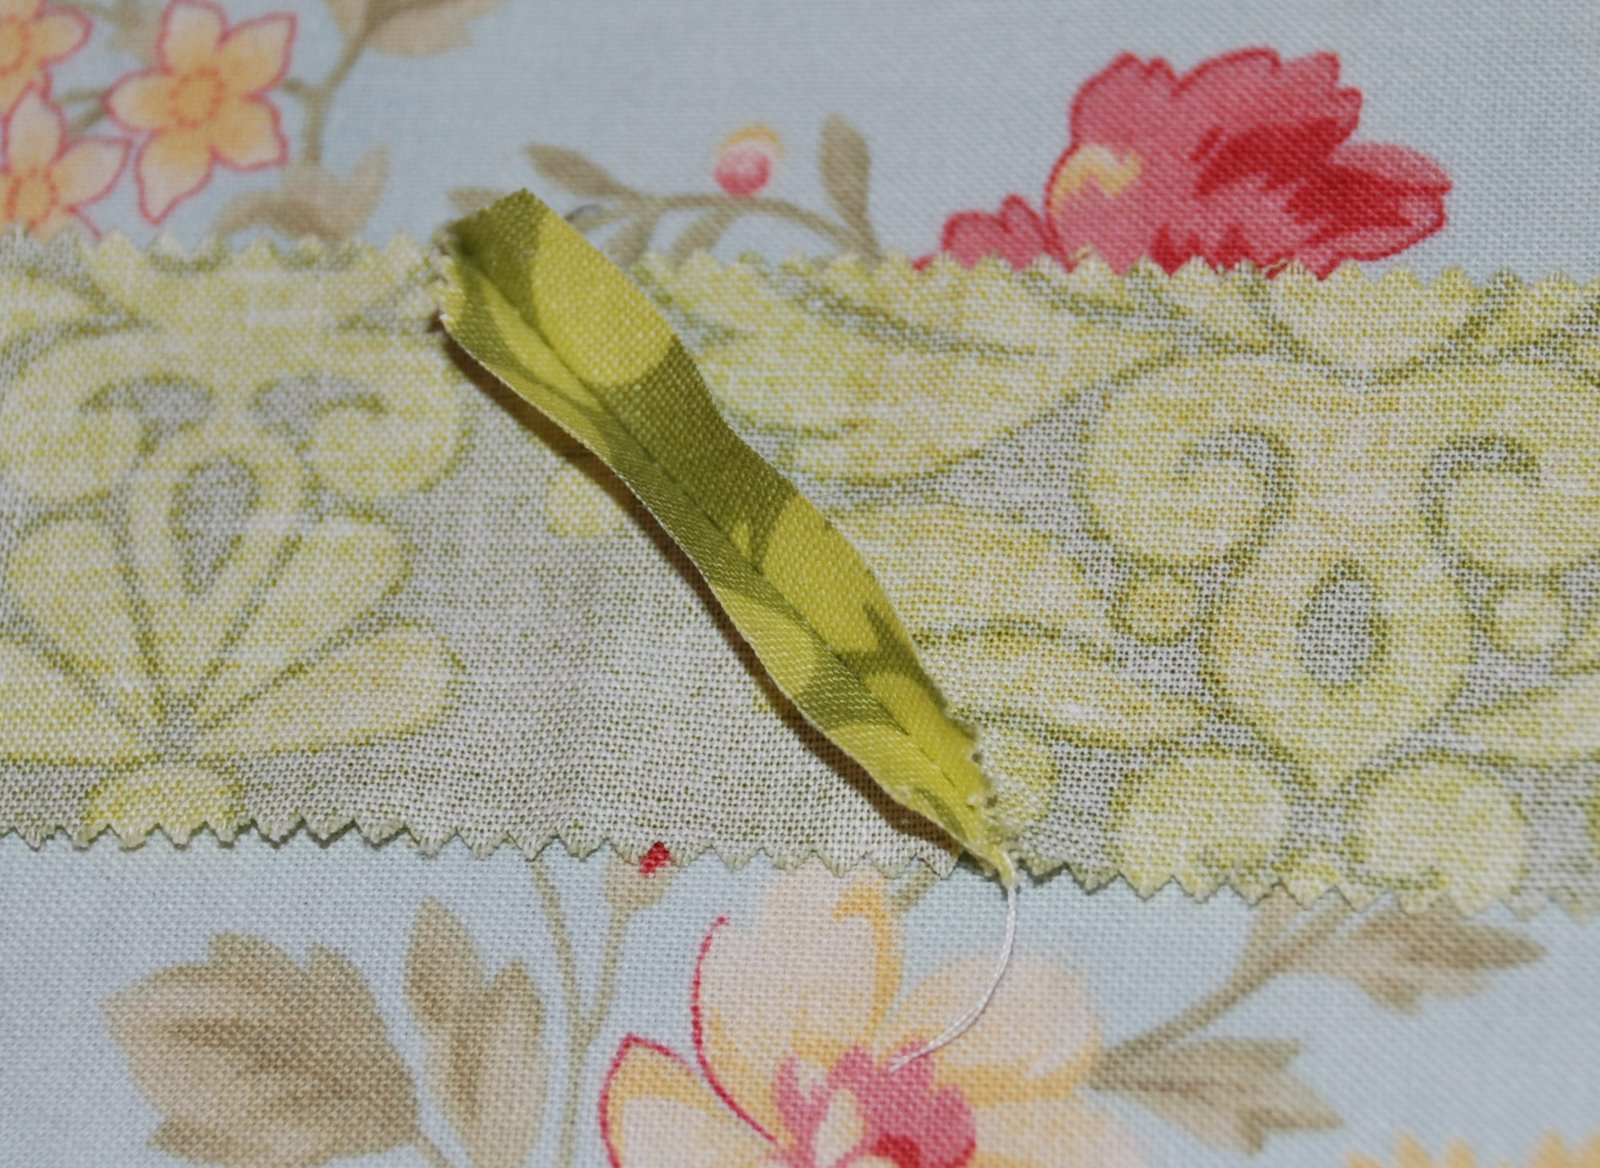
Start near the bottom middle…just because…and I leave a “tail” of about 3-4 inches.

When I reach a corner I stop sewing and flip the ‘loose’ end of the binding strip straight up and then fold it back down on itself.
 Continue to sew a 1/4 inch seam.
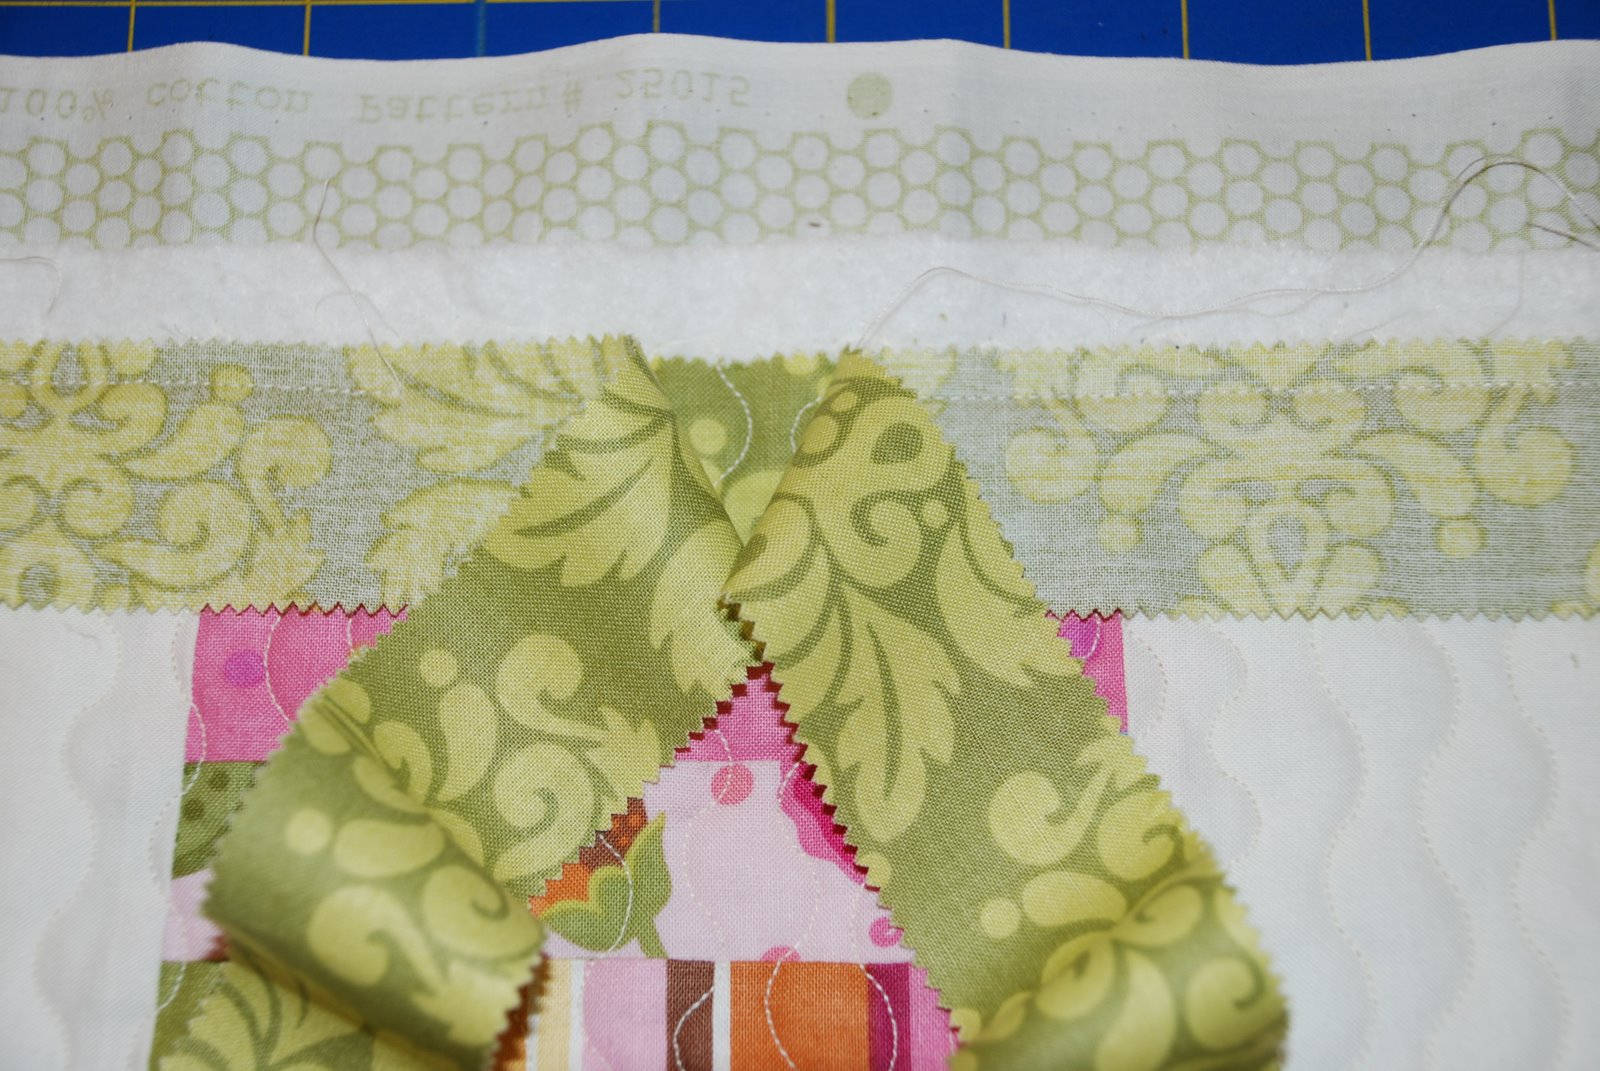
Joining the binding is a bit tricky. I also miter this junction. Here’s how:
Overlap the 2 loose binding strips and trim so that it overlaps the width of your binding. My overlap is 1 1/2 inches.
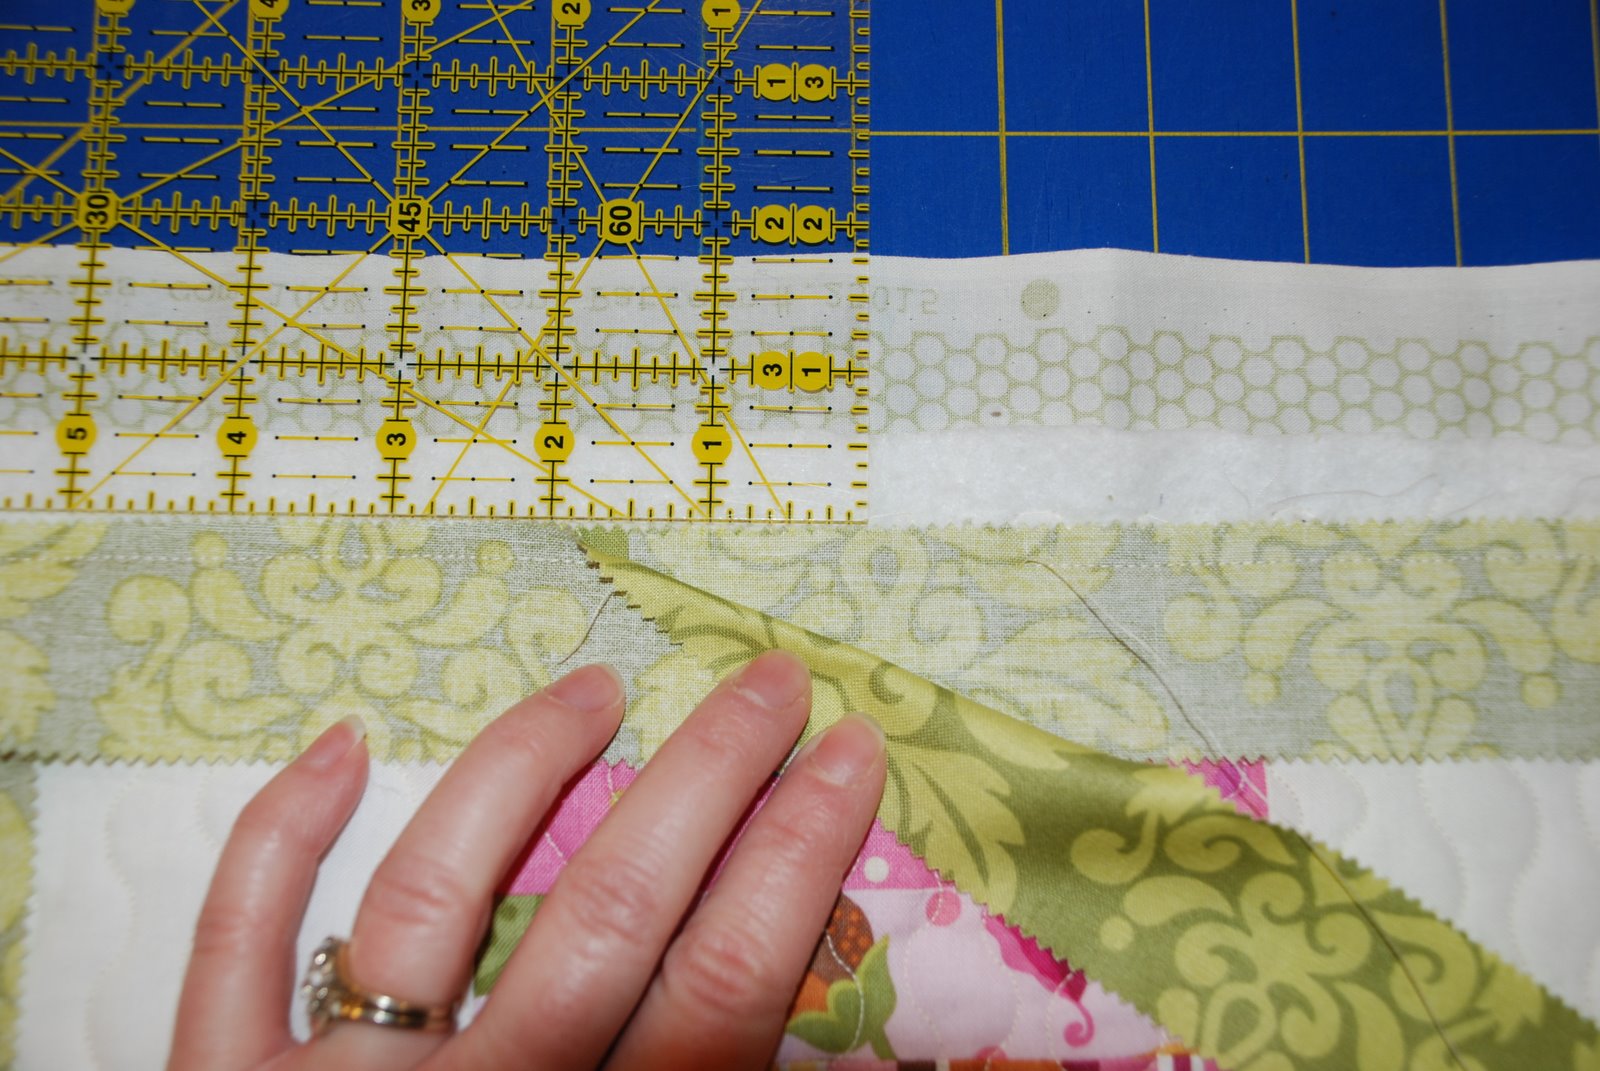 Trim the excess fabric.
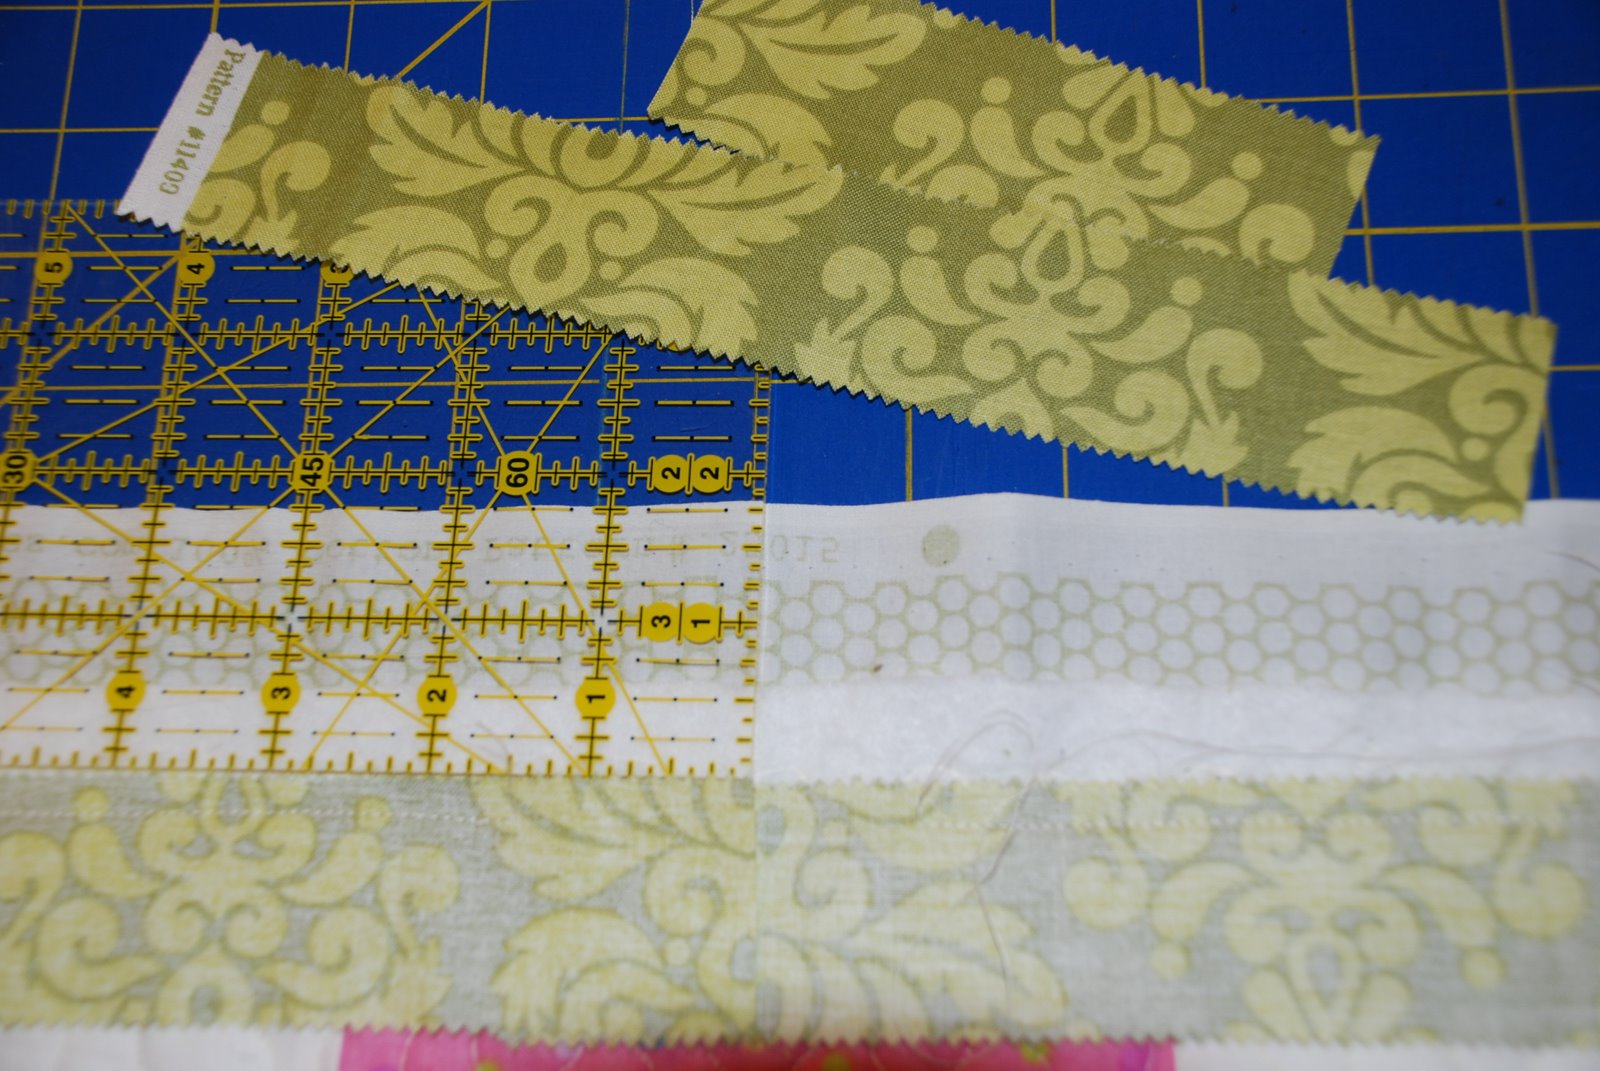
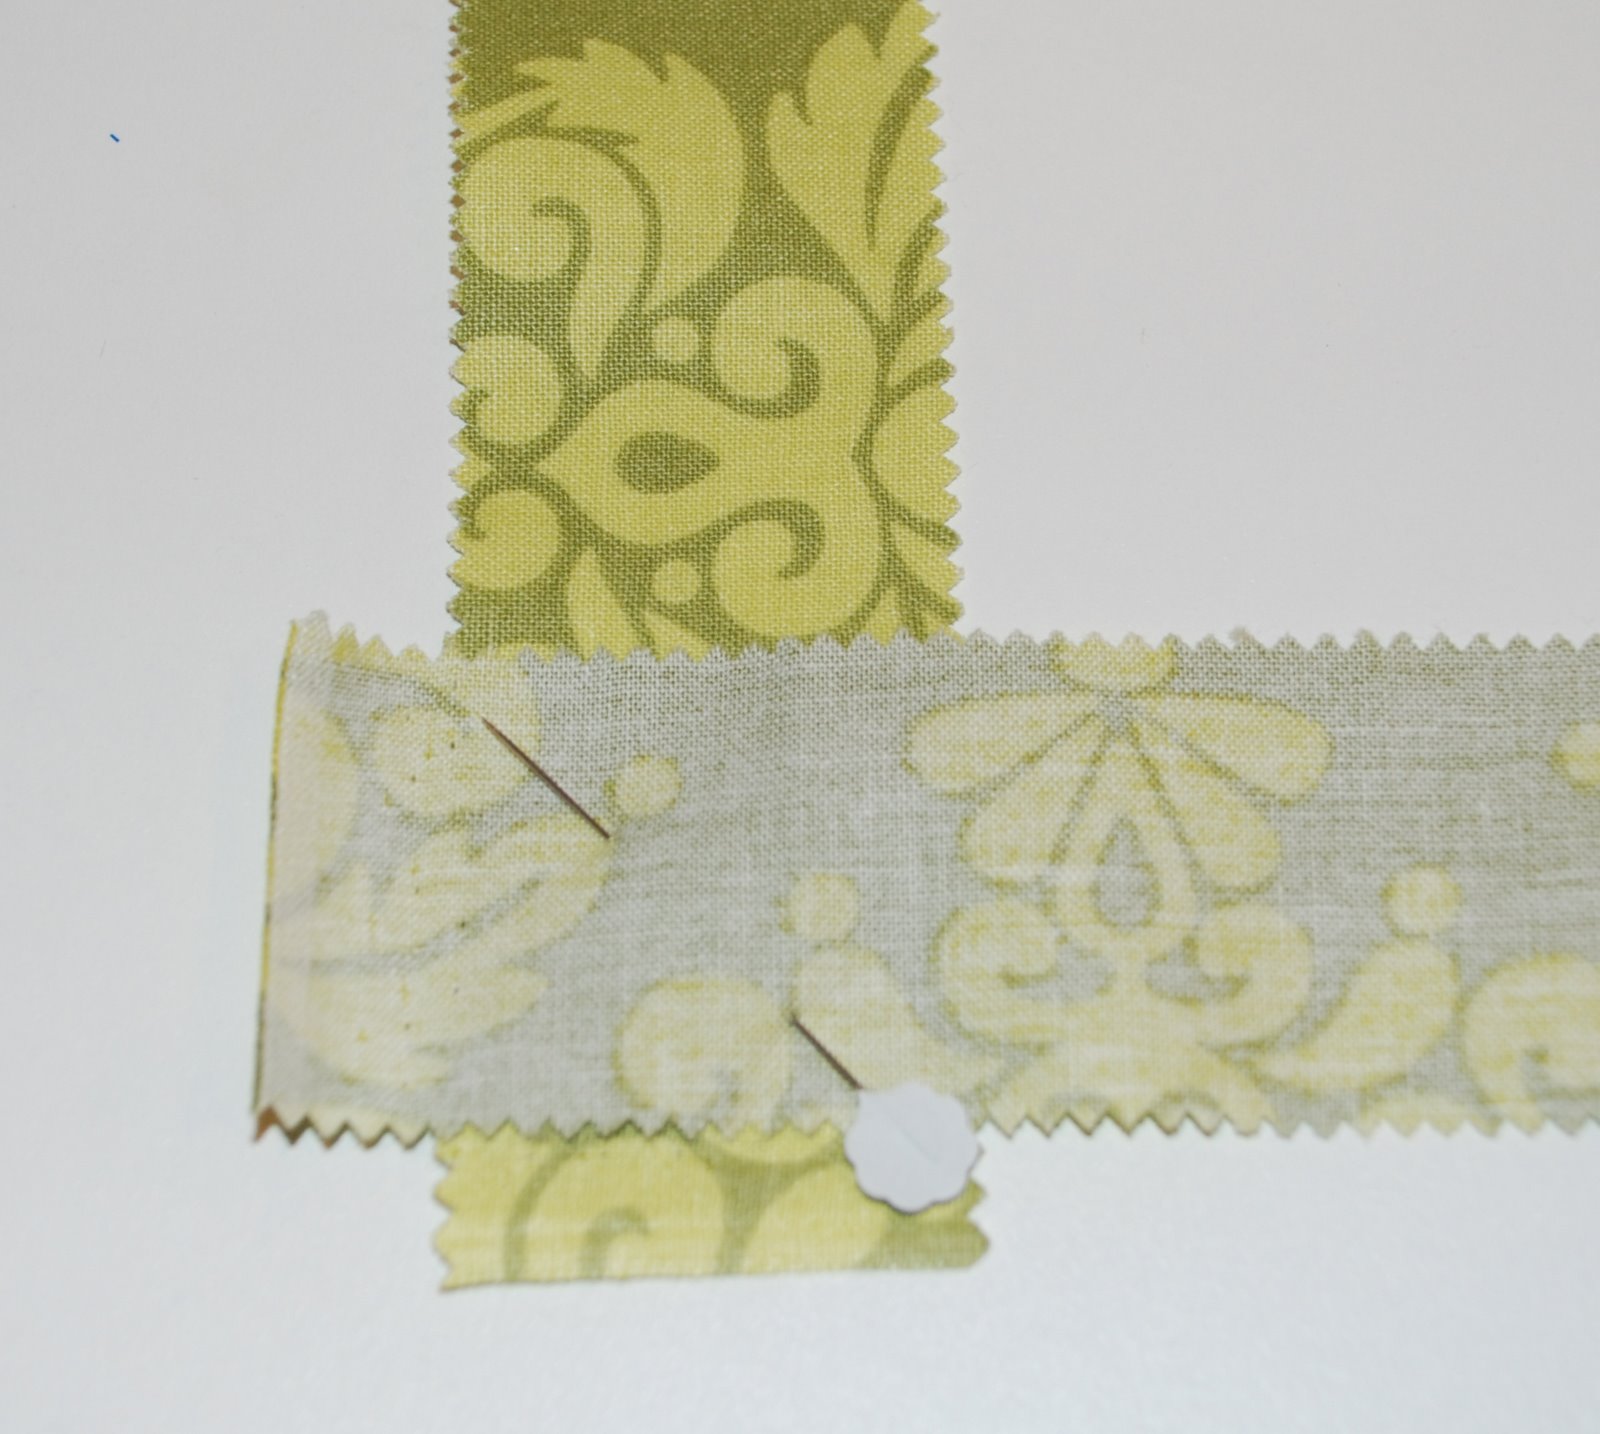
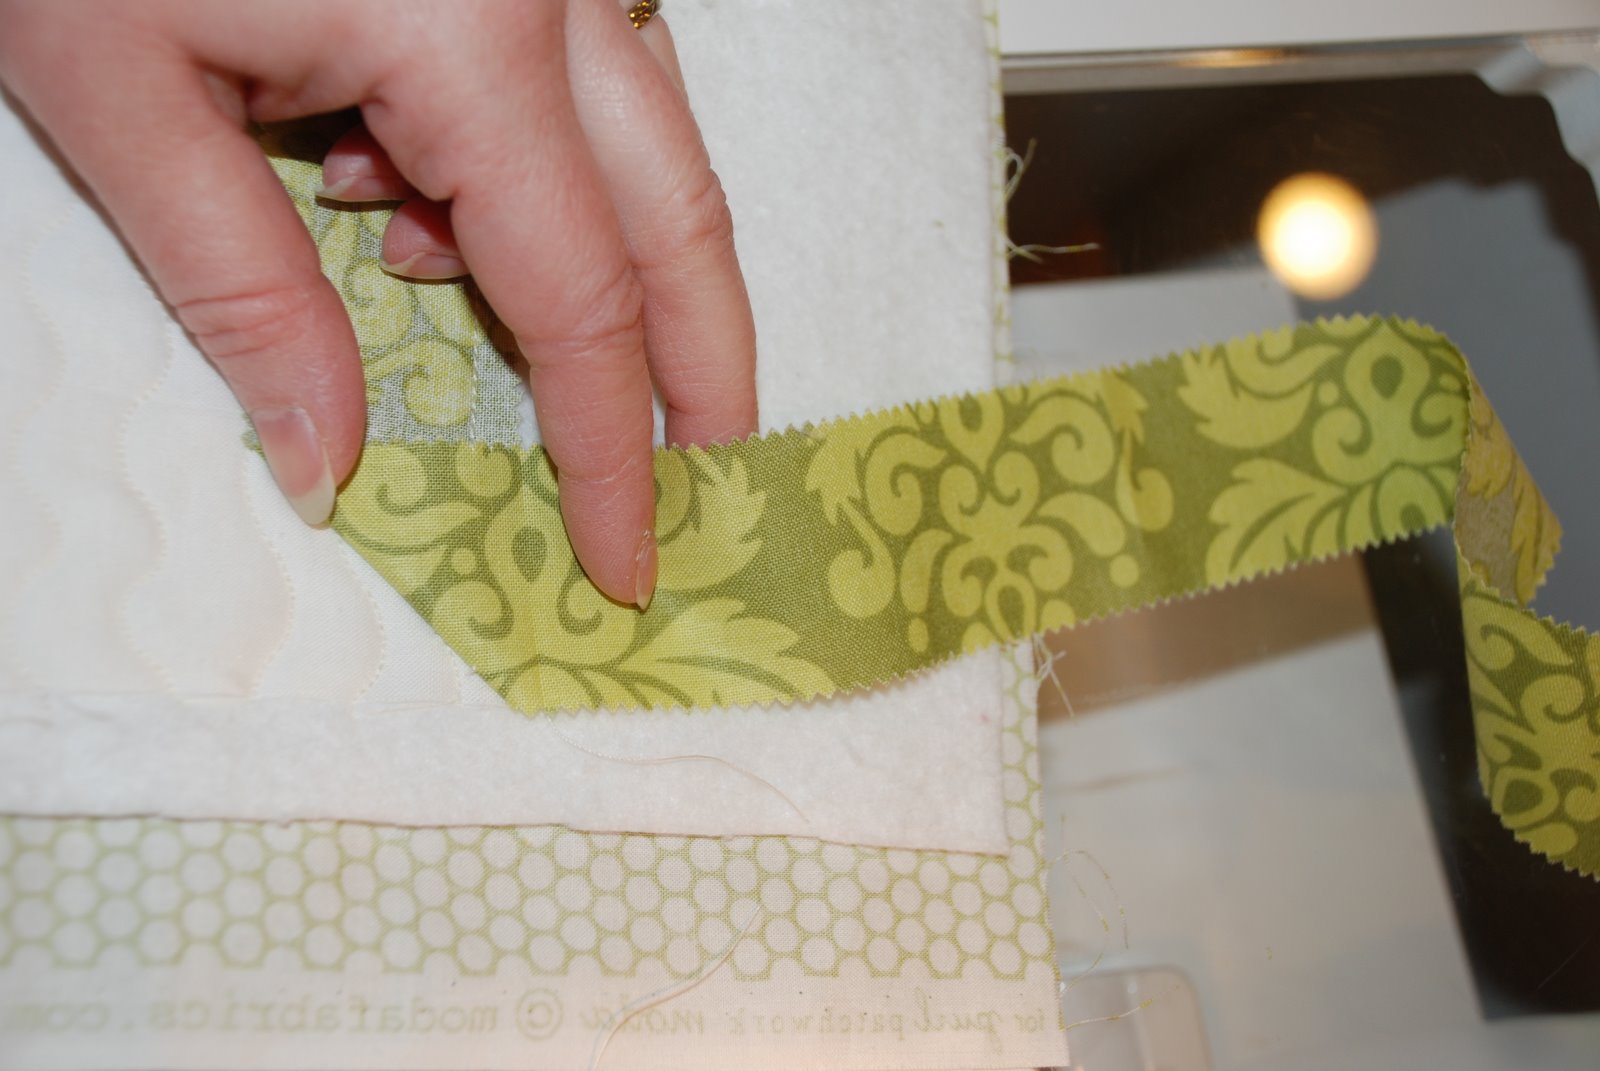
Now the tricky part. You must pin the loose portion of the binding strip correctly. I pick the strips up and hold them at a 90 degree angle to each other and pin.
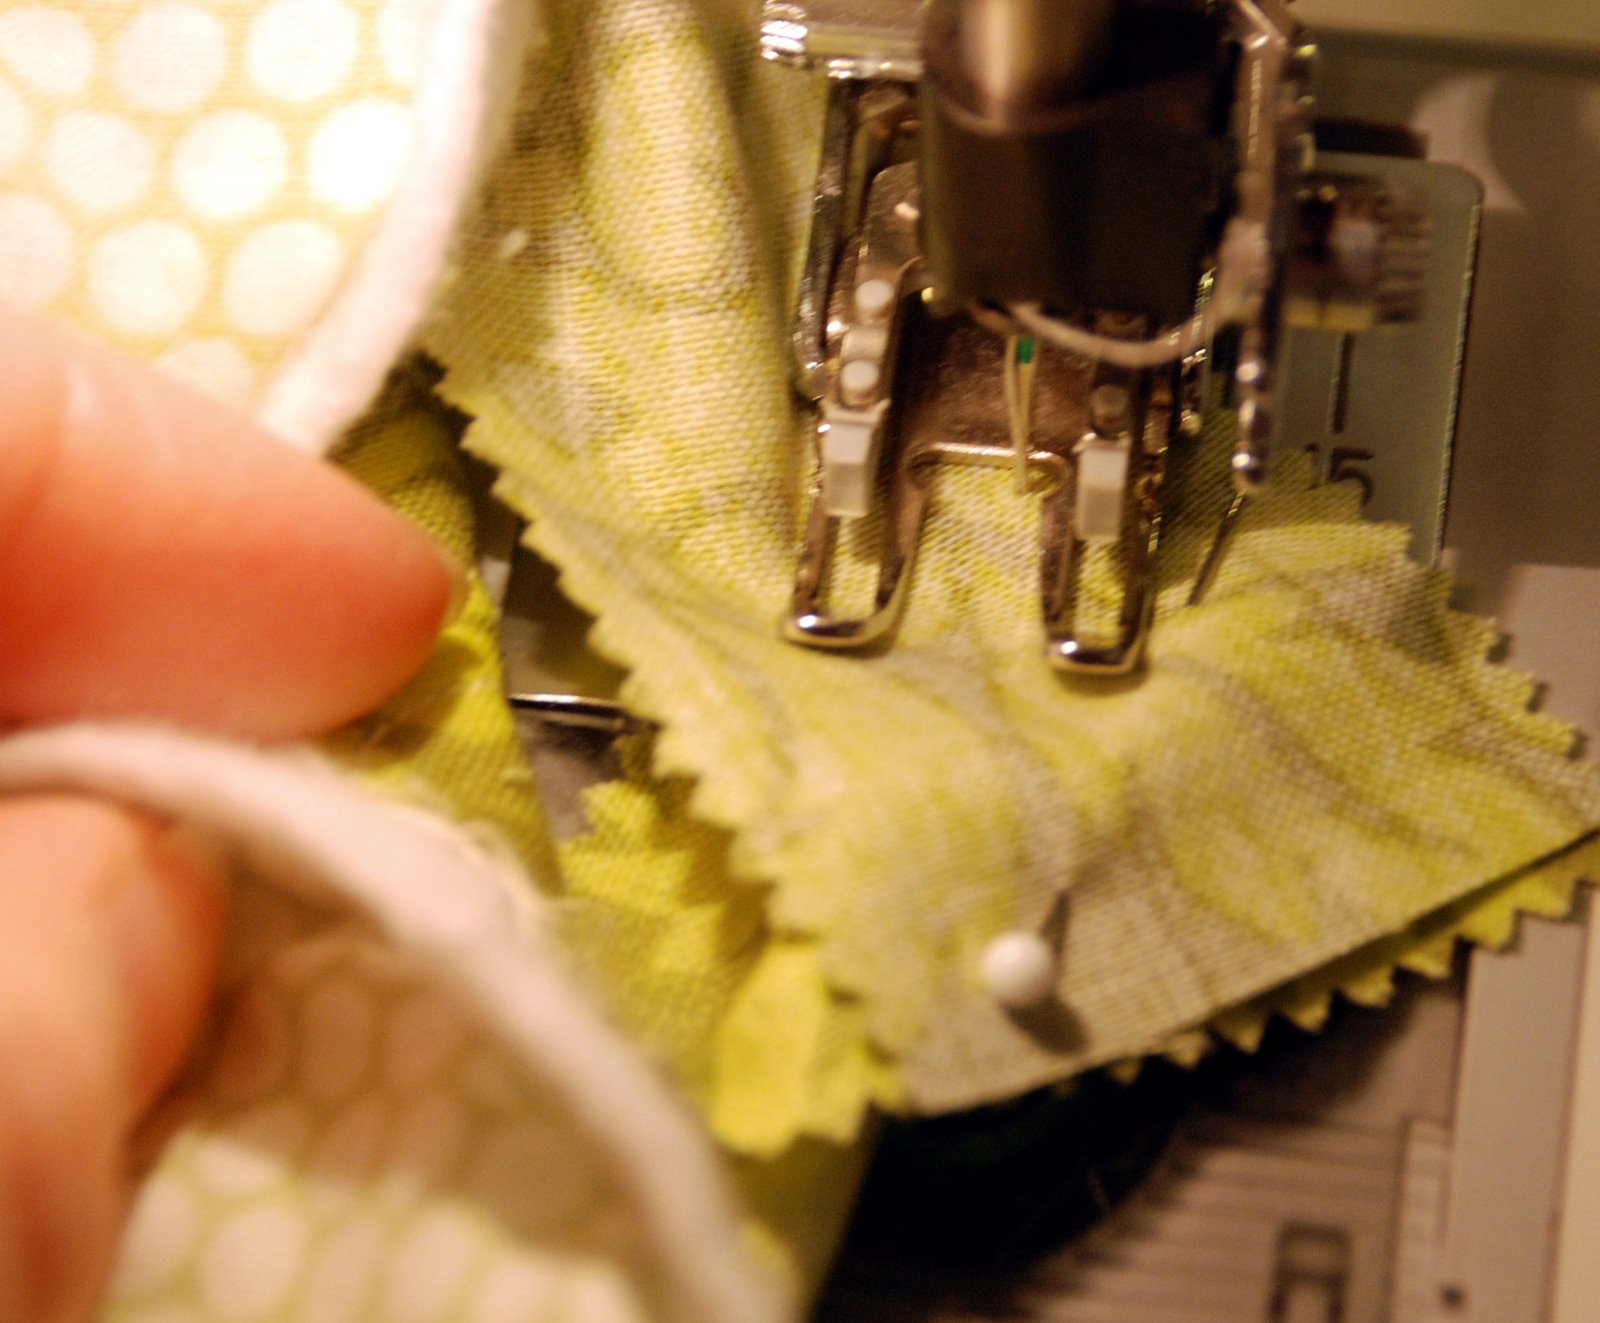
 Sew on the diagonal and if you feel it is necessary you could actually draw the sewing line to be more accurate. You can see my fabric slid to the side but I had to let go of the fabric to snap the picture…normally I am controlling both sides as it passes through the needle. After that is sewn, trim to 1/4 seam allowance. and press open the seam.
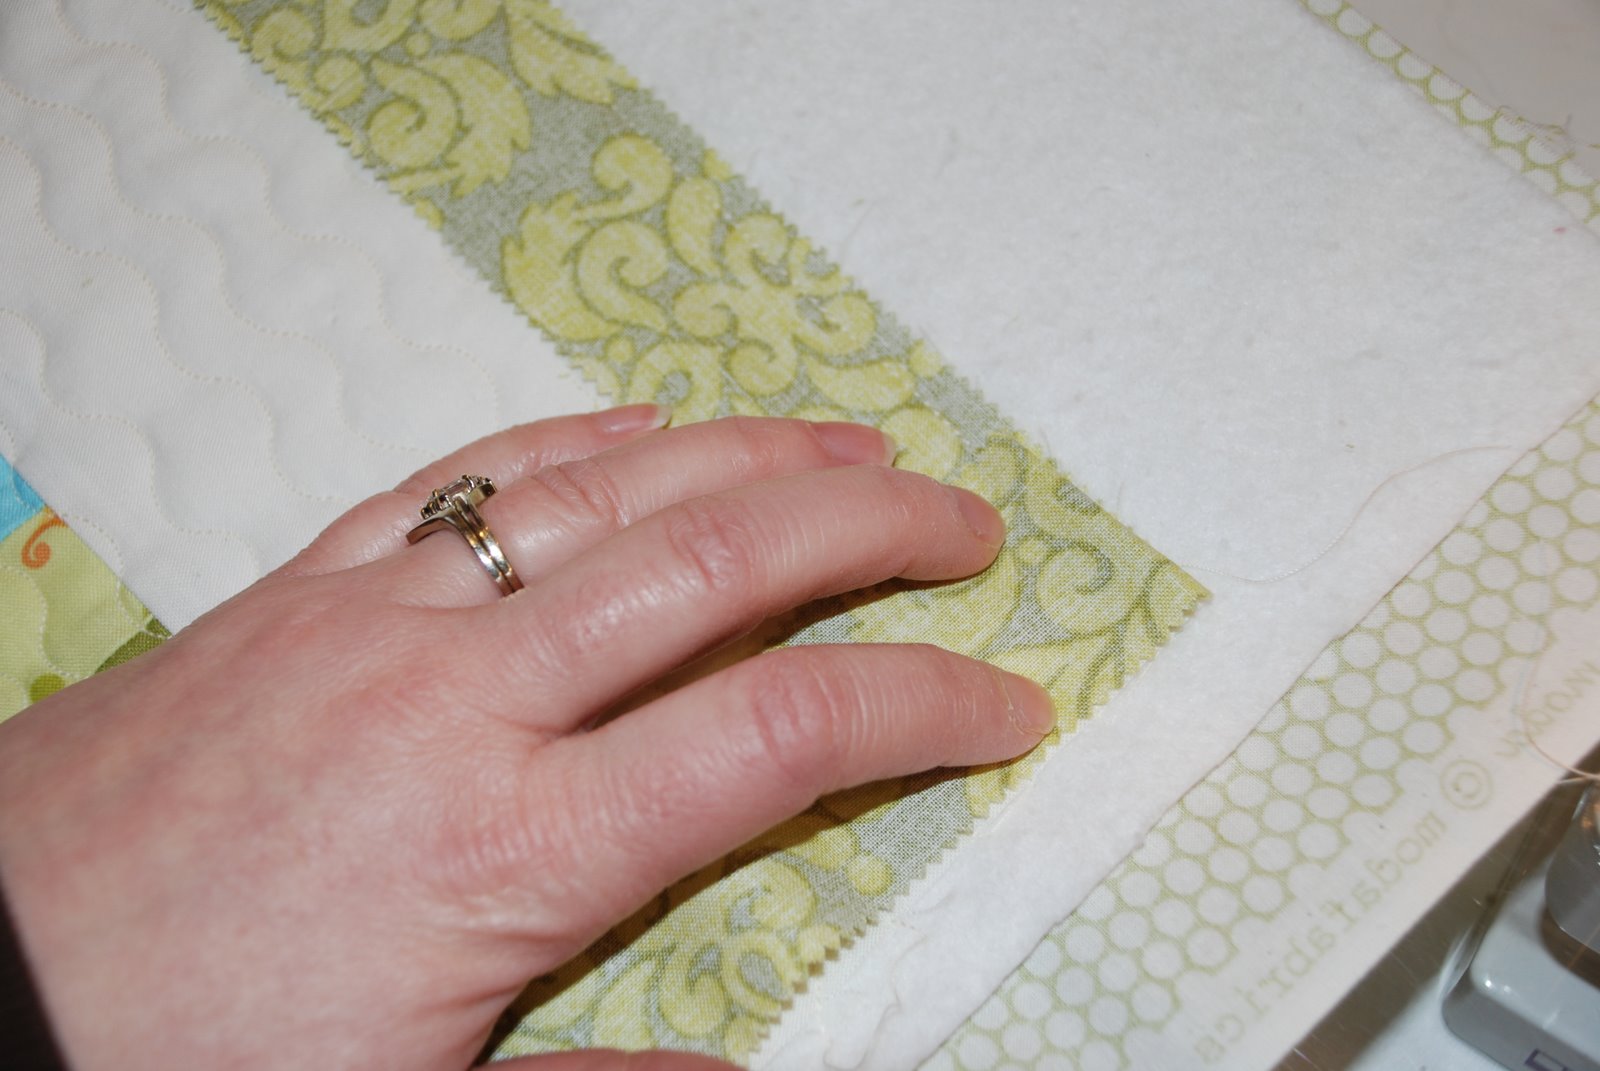
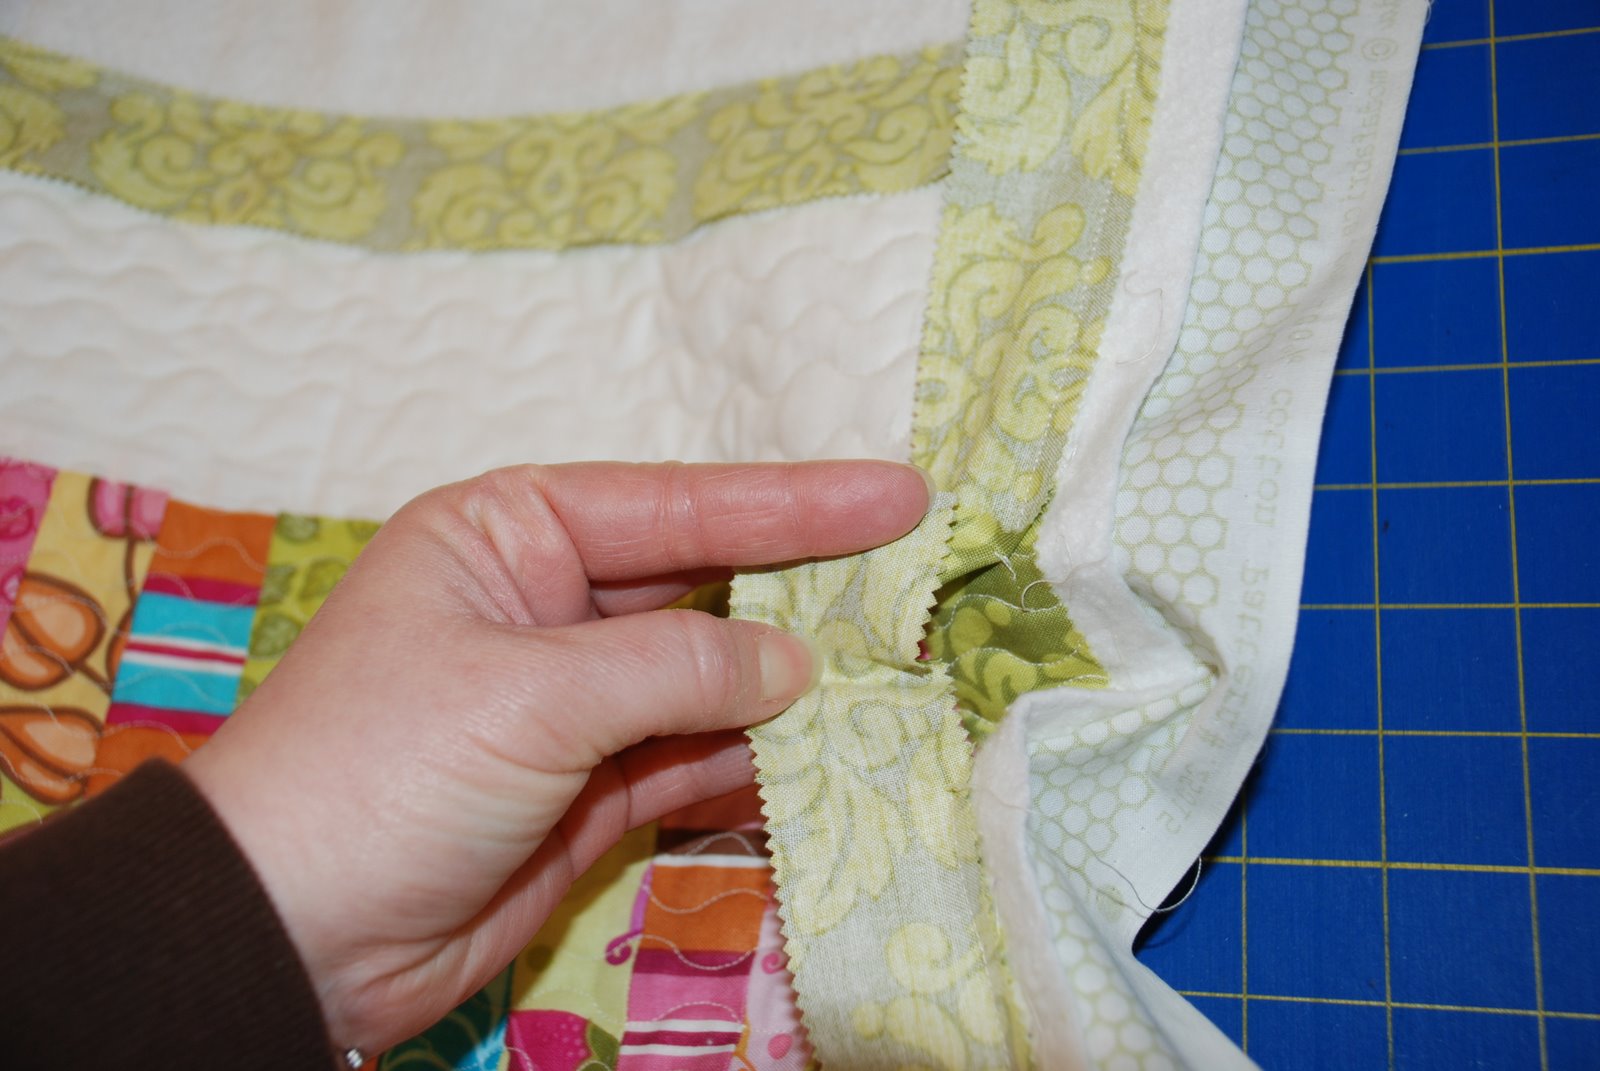
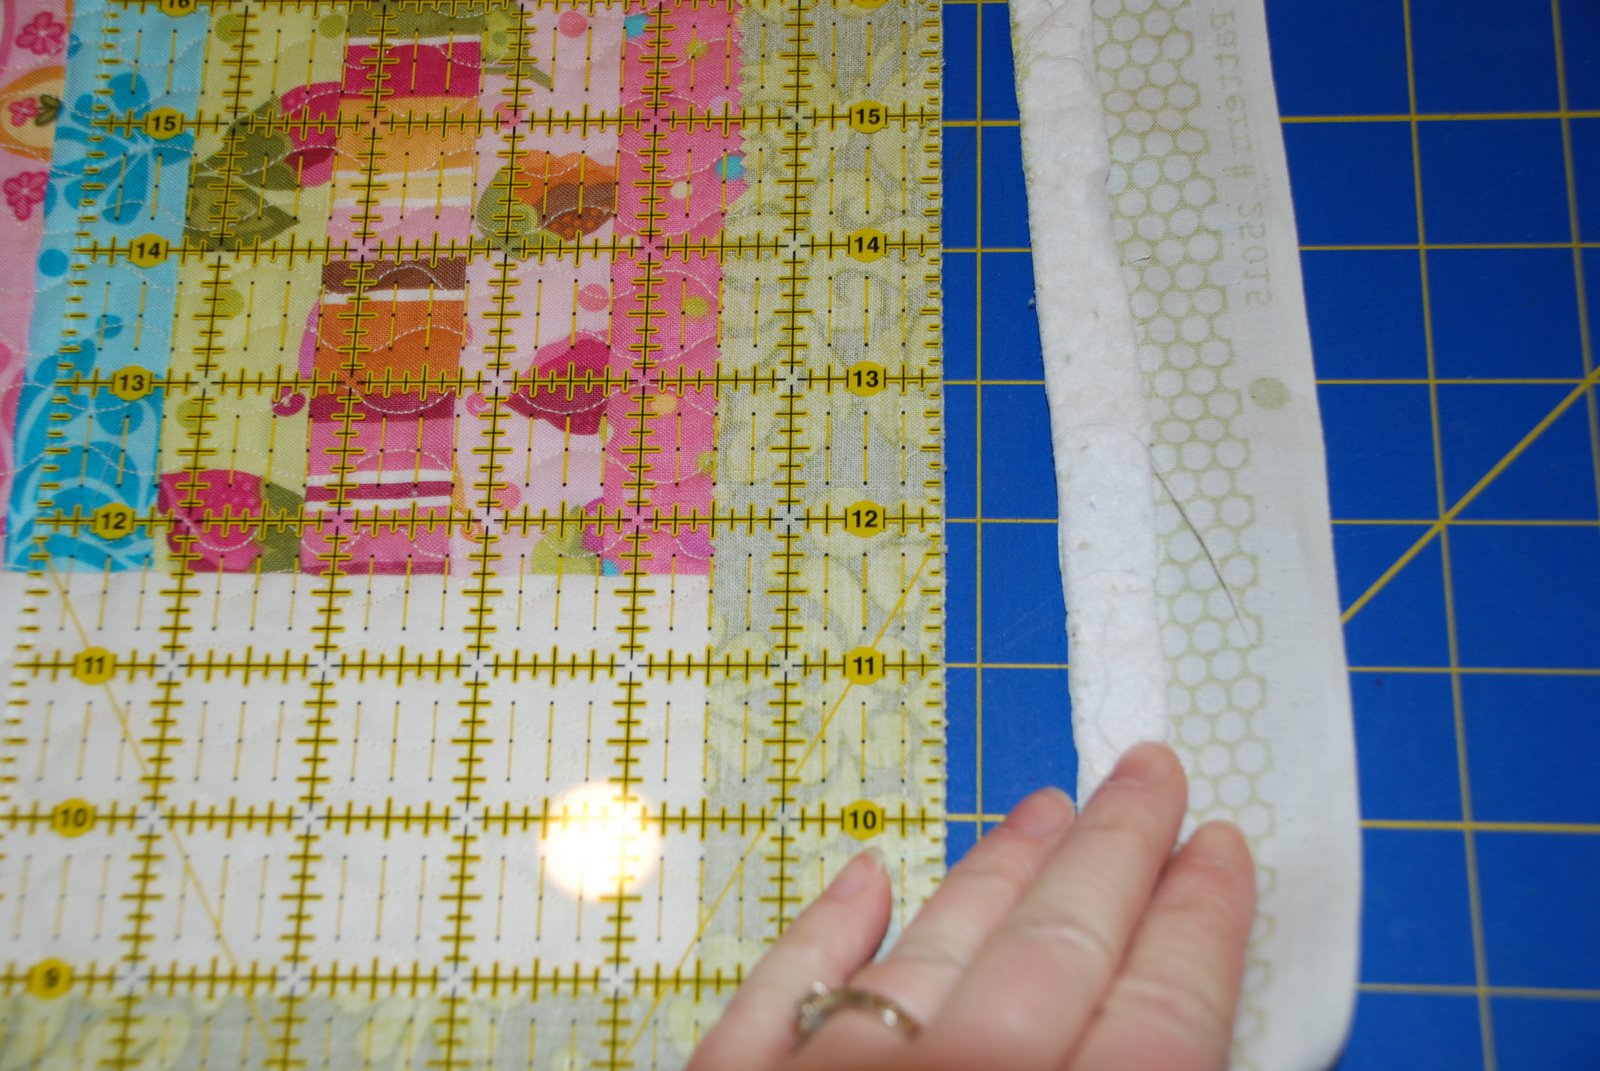
 Sew the ‘loose’ binding down. Once the binding is sewn on, then I trip the excess batting and border.
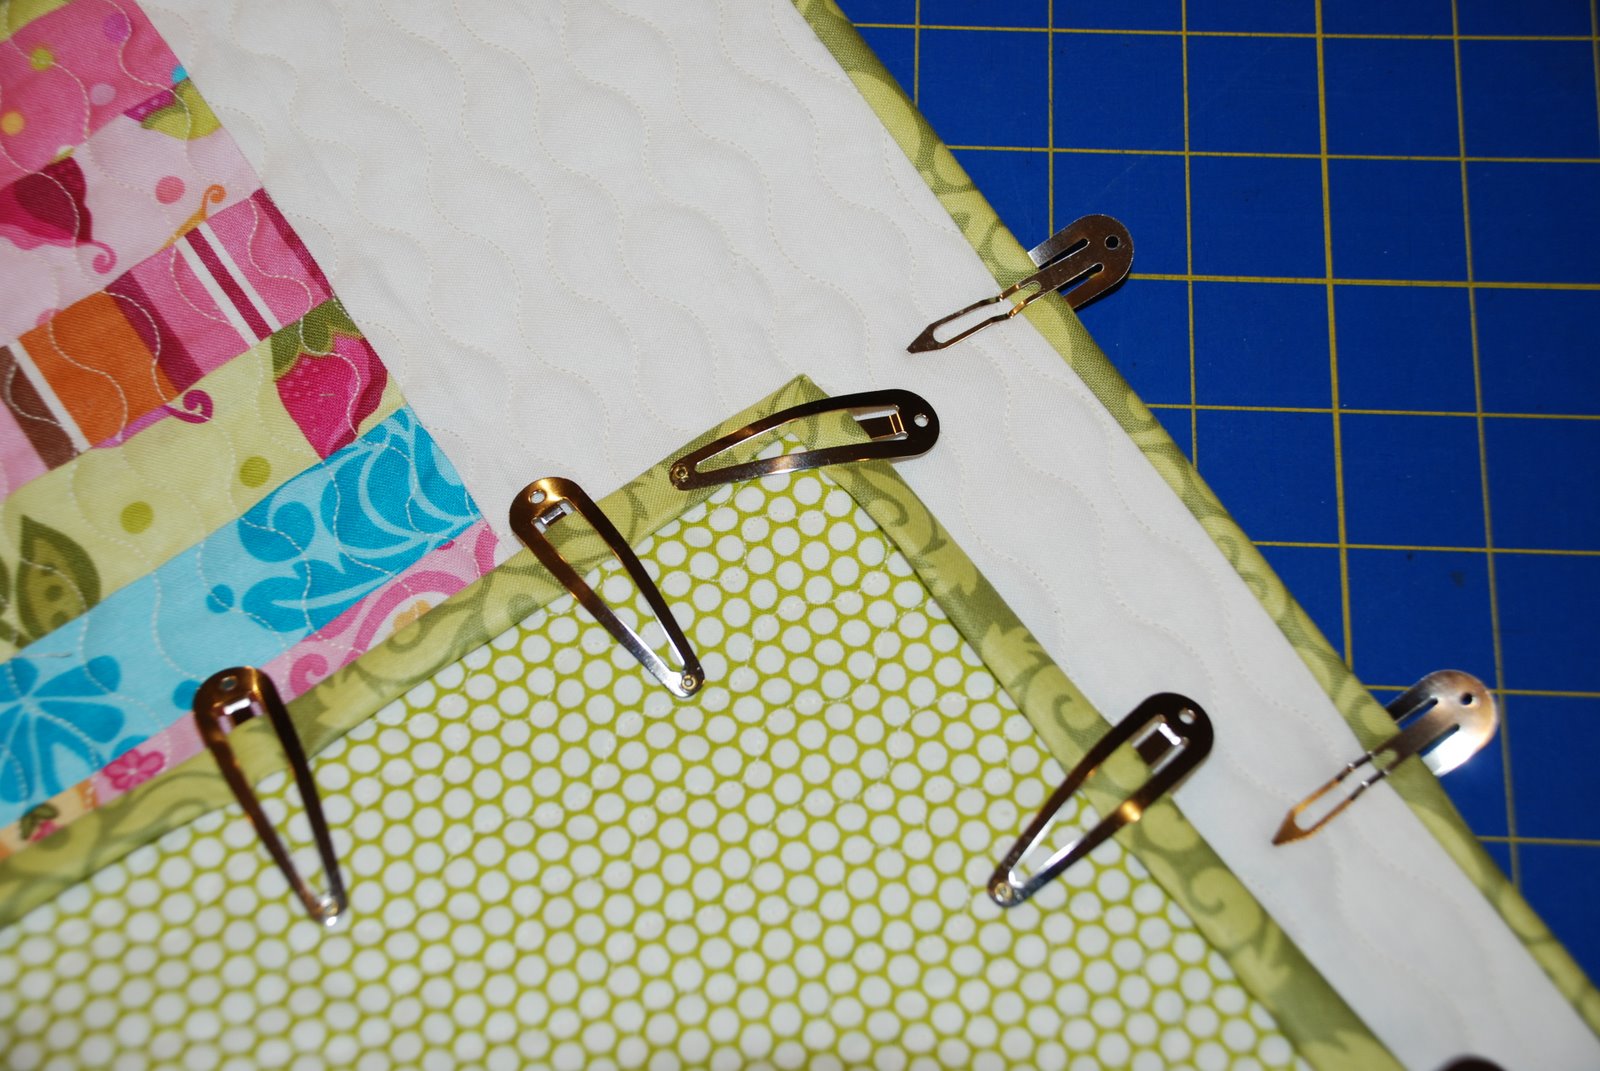
 Turn binding to back of quilt and hand slip stitch the perimeter. I use binding clips ALL the time.
 Again, that is my method of binding. I know there are several different ways that this could be done. I have just mentioned one in this recipe.
One doll quilt…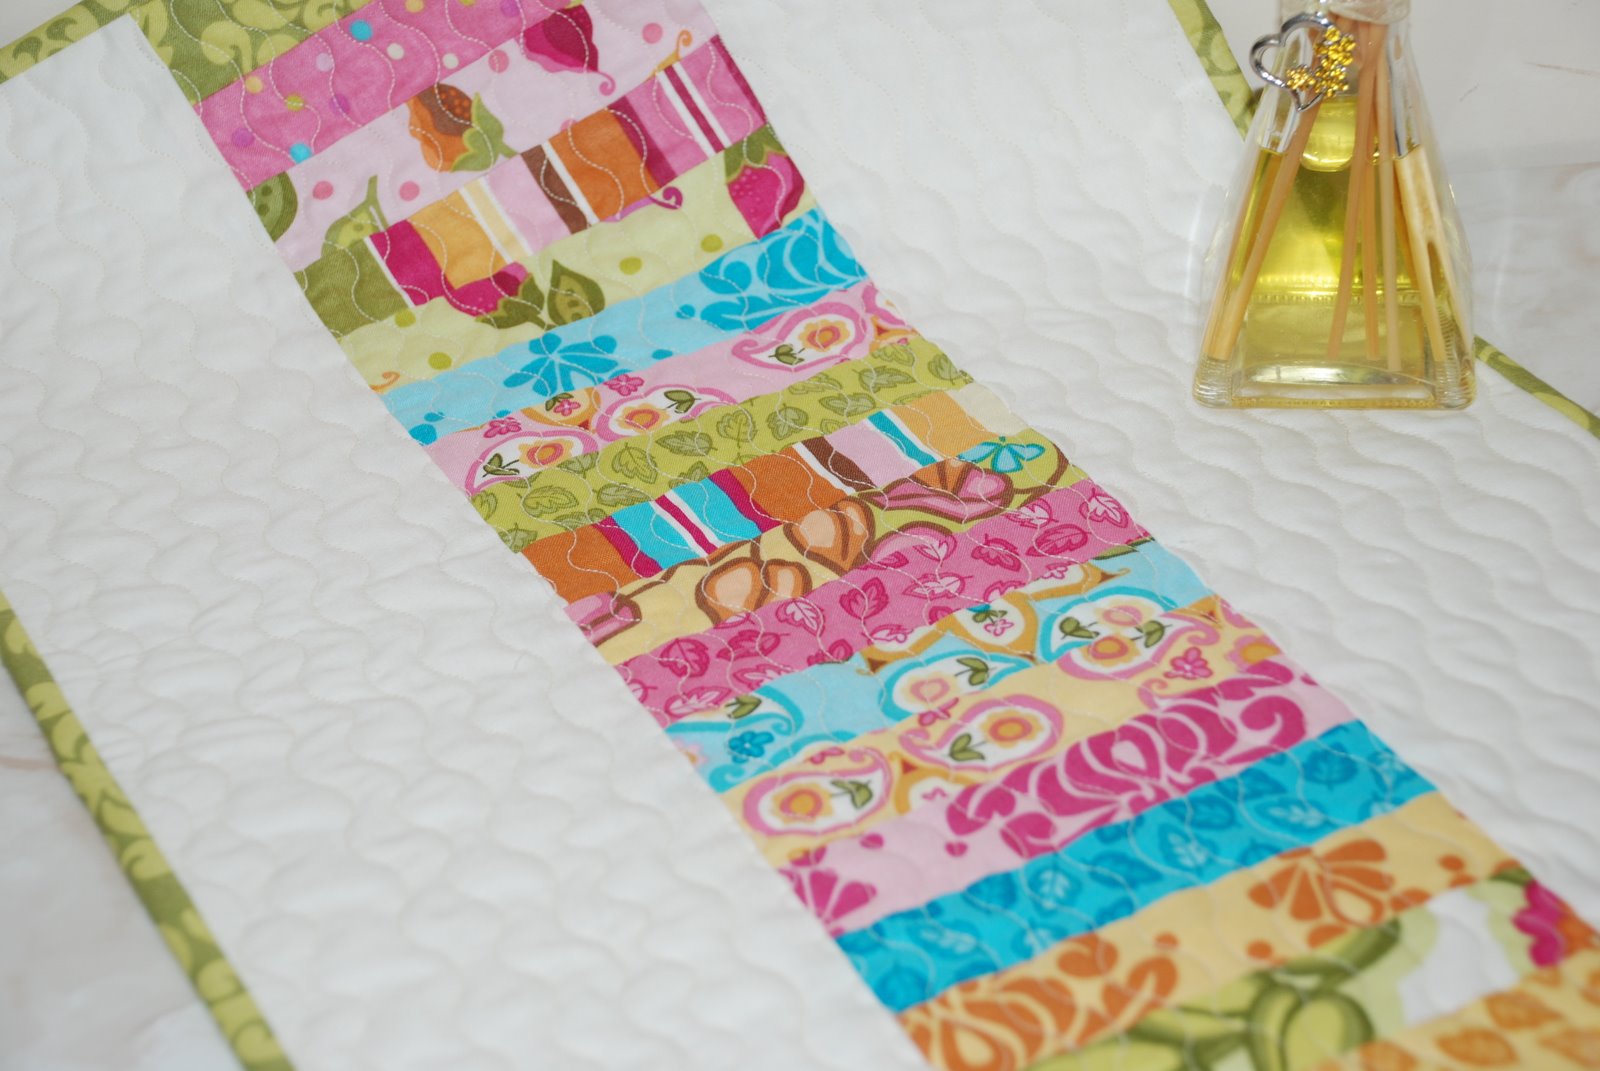 I sincerely hope that this will inspire all of you to quilt today! Vickie @ Mid-ohio knitter.

Very cute Vicki!!!
okay seriously i NEED to get some of that soiree fabric! very cute doll quilt!
Nice pages!we like your blogging style and we want to sponsor your blog. If you want us to link your blog in our site, put us in your blogroll and1.send us your site/blog address;2.send us a representative image of your blog (if you have one);3.send us a brief description of your site.we would be honored to advice your blog on ours!ilinkyoursite staff< HREF="http://ilinkyoursite.blogspot.com/" REL="nofollow" TITLE="free links your site">“I link your site”<>
I love this, Vicki!
Super, super cute, Vickie!
Love it! I think I need to make some for Easter baskets for the little girls in my family.
Geez, that is too cute!
SUPER duper cute vickie!!!😀i’m gonna have to make this.
Super sweet, Vickie! I love it1
Okay I have to use my soiree fabrics soon. Too cute. A big thanks for the quilting idea…I have all of these fancy stitches on my machine and it would have never crossed my mind to try something like that!!!
What a cute little doll quilt!
Love it Vickie!!!! Very cute.
So cute, and a perfect size for American Girl dolls.
it’s so so cute!!!