

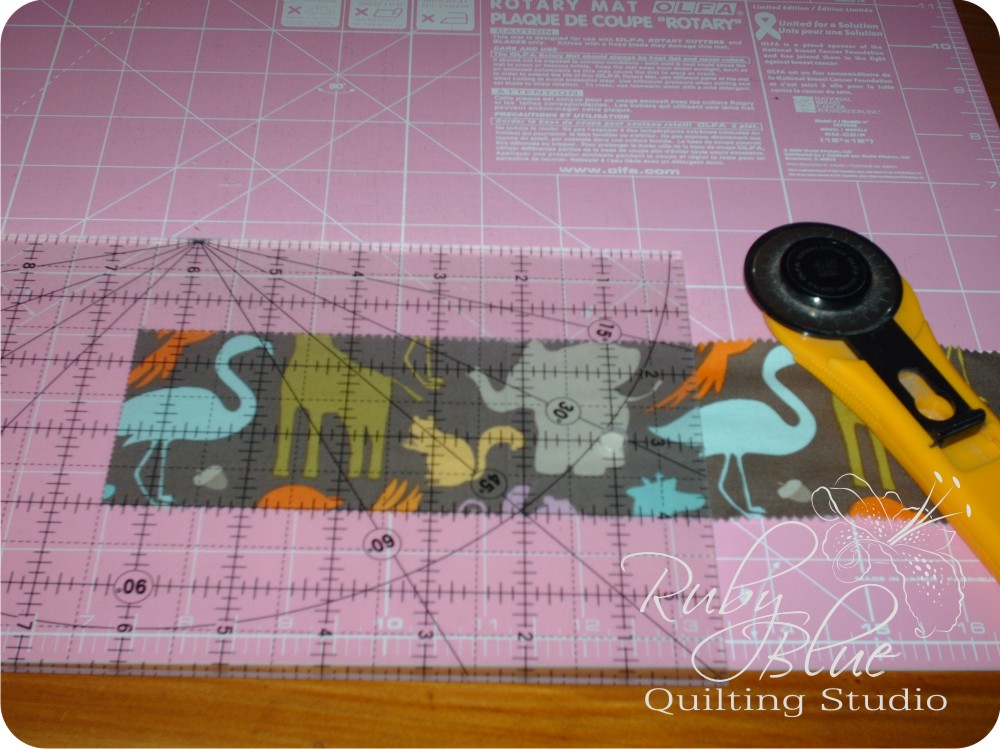
For an adult size scarf, trim each of your jelly roll strips into 6 1/2″ segments.
For a child’s scarf (or a thinner one) trim the jelly roll strips into 4 1/2″ segments.
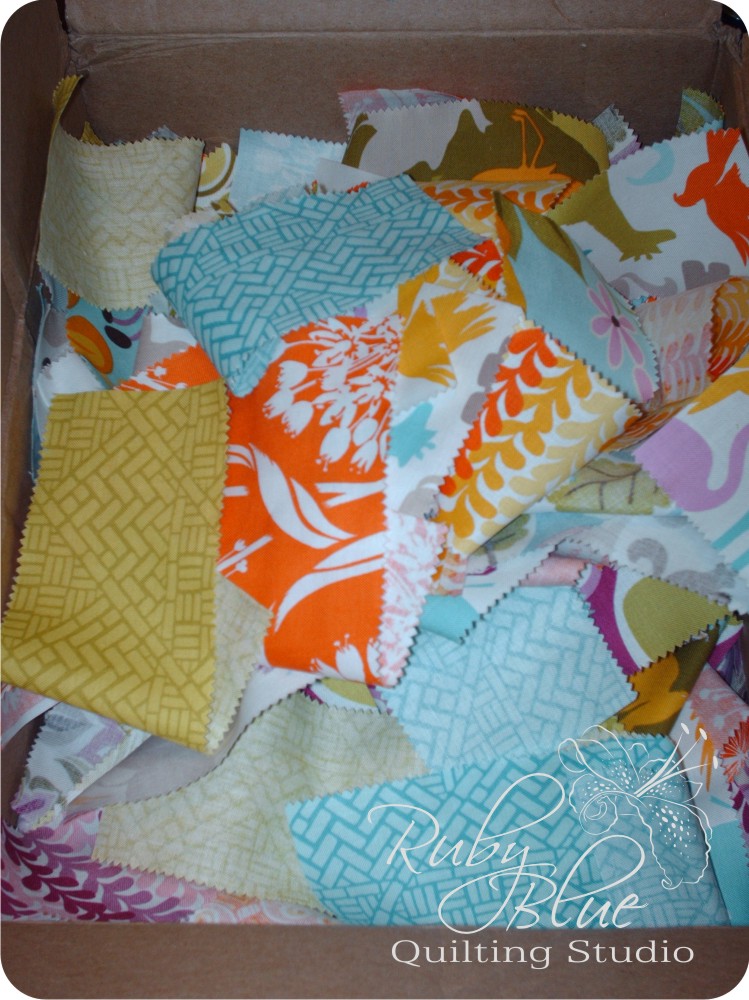
Mix up all of the trimmed pieces (one batch per size if you’re making both adult and child sized scarves).
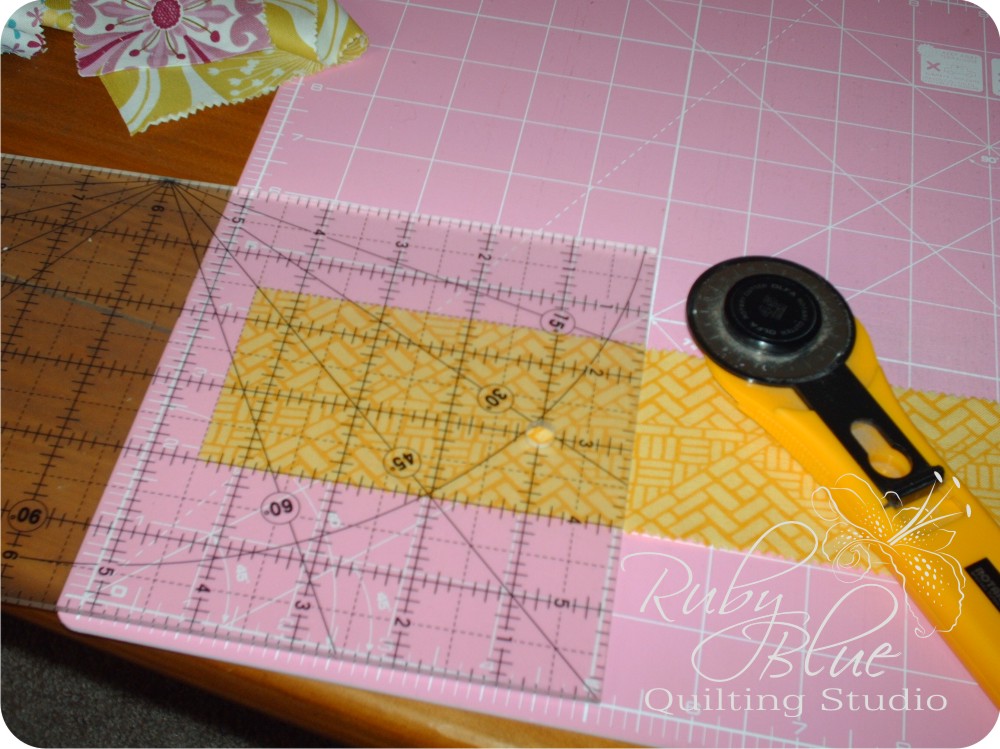
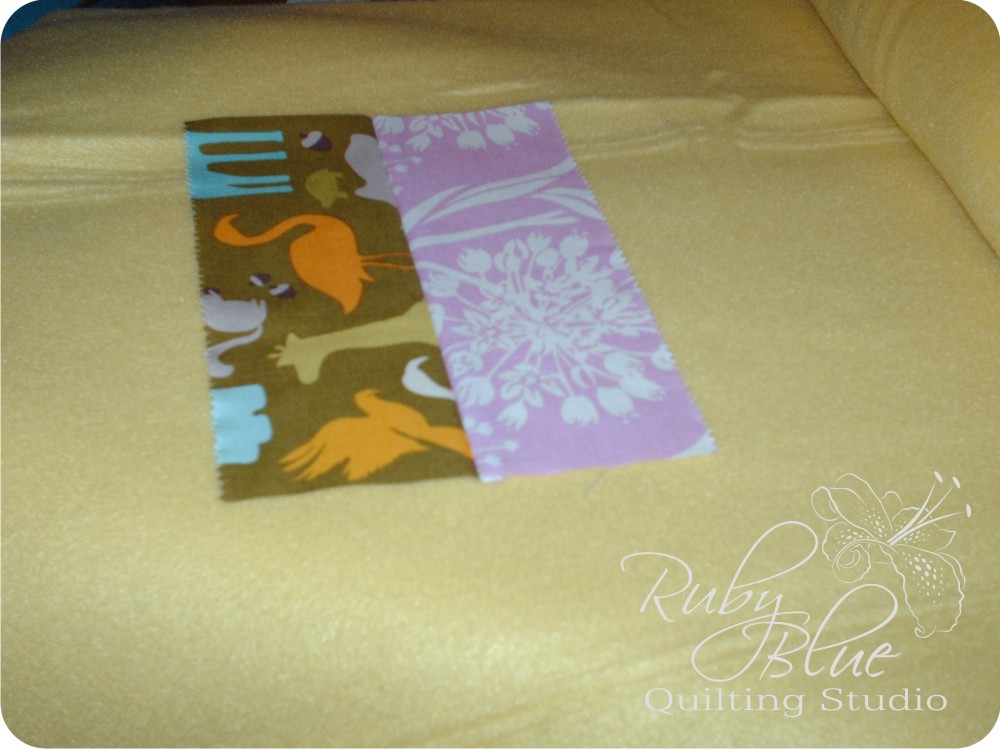
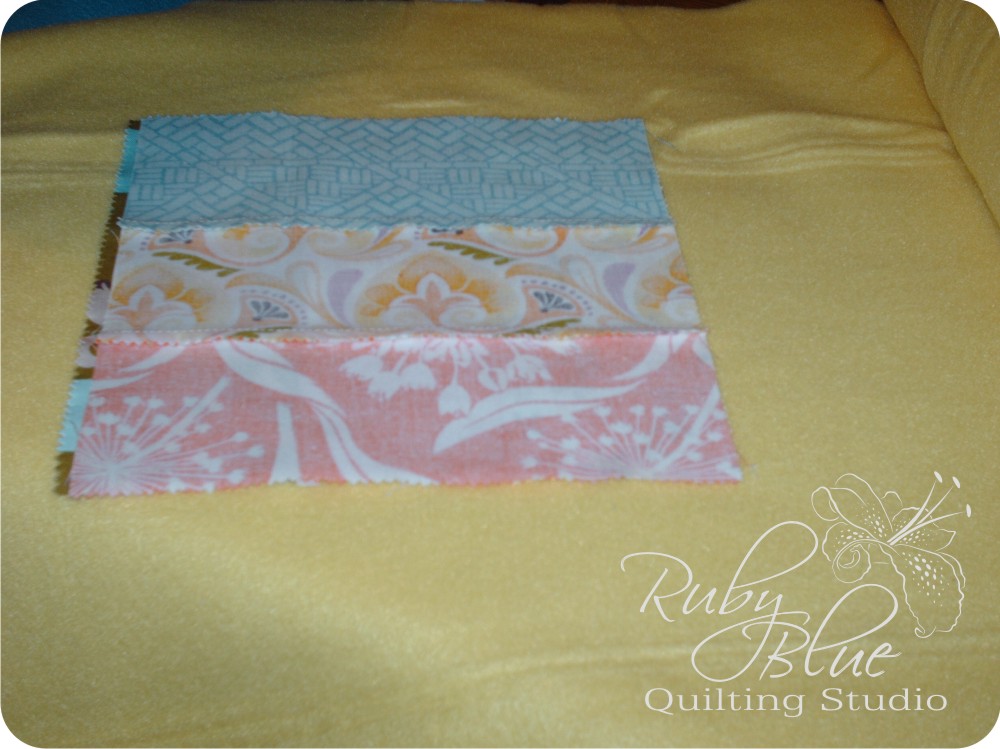
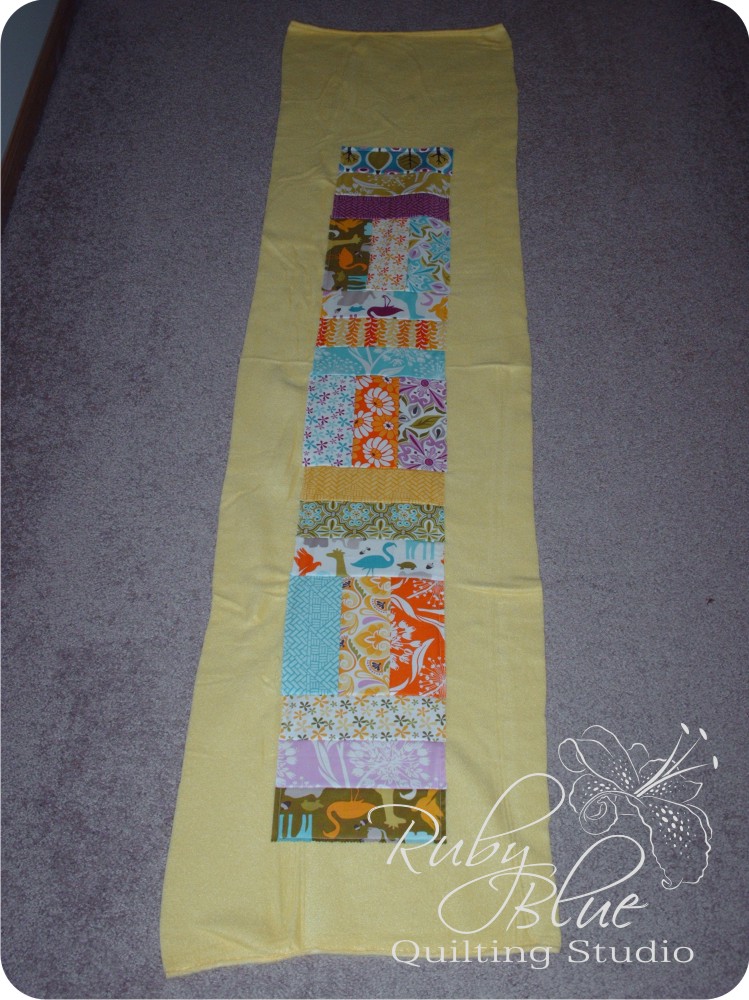
Randomly choose three segments (two for child size) and stitch them together to make a block. These blocks will be used for the horizontal striped blocks in the scarf. Depending on the length and style you choose, this will determine how many blocks you will need to create.
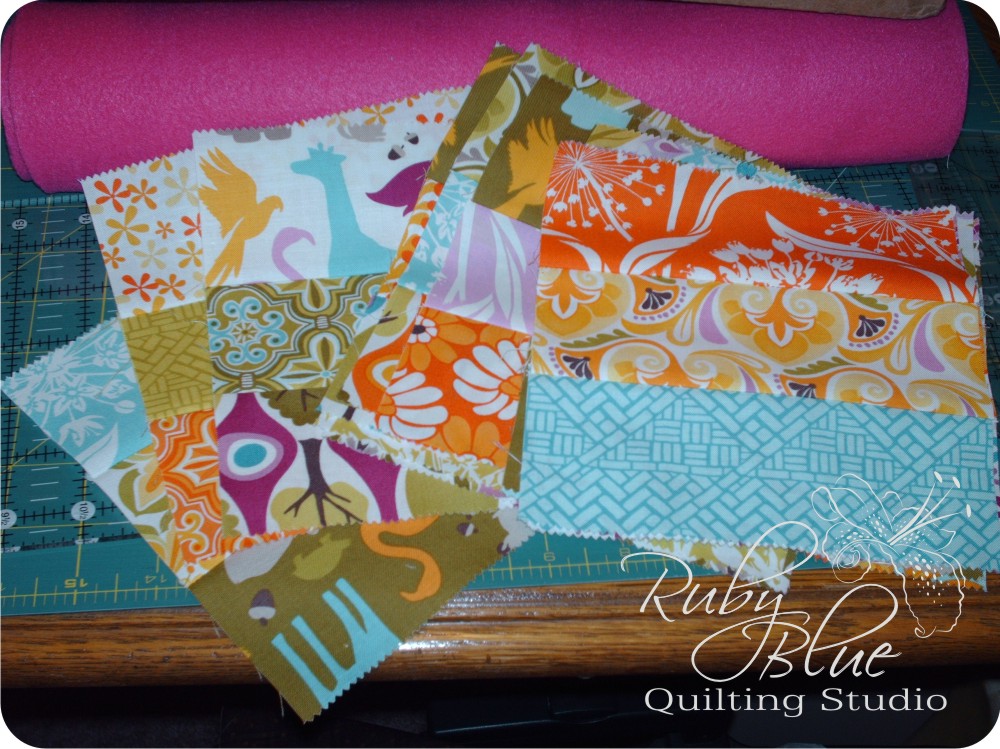
Try and mix the colors and fabric patterns to get a nice assortment. I was making a bunch of scarves, so I made many of these blocks.
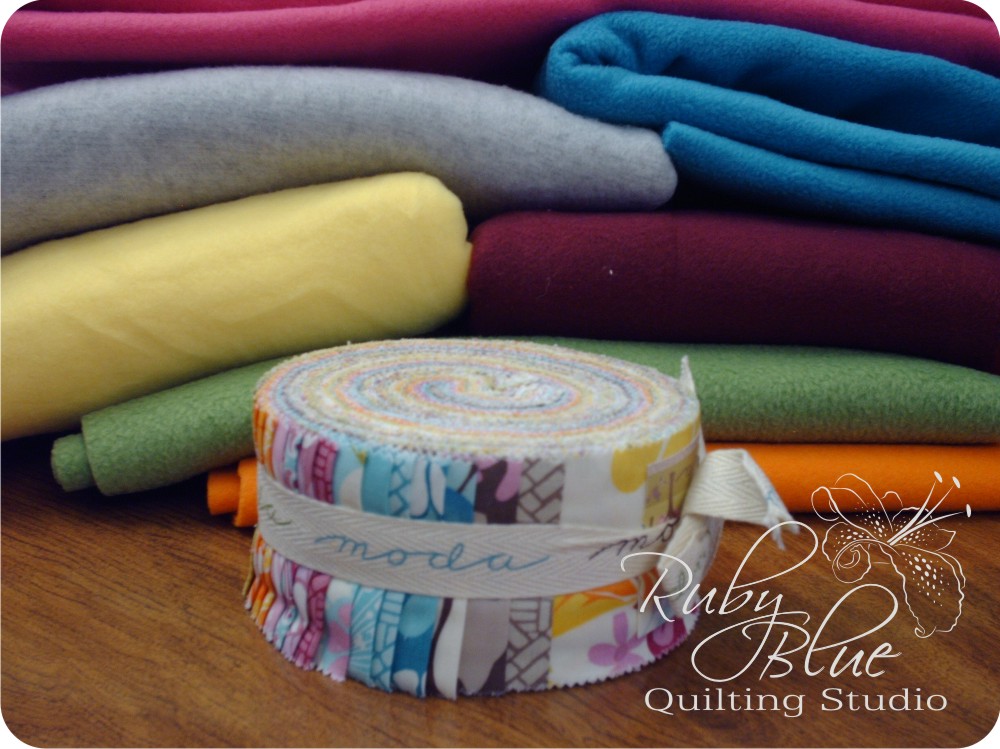
The next step is to choose your fleece. Like I said I was making a bunch of these for all of the ladies in my family, so I tried to make each one out of a different color fleece. It helps to roll the fleece selvage to selvage to reduce bulk.
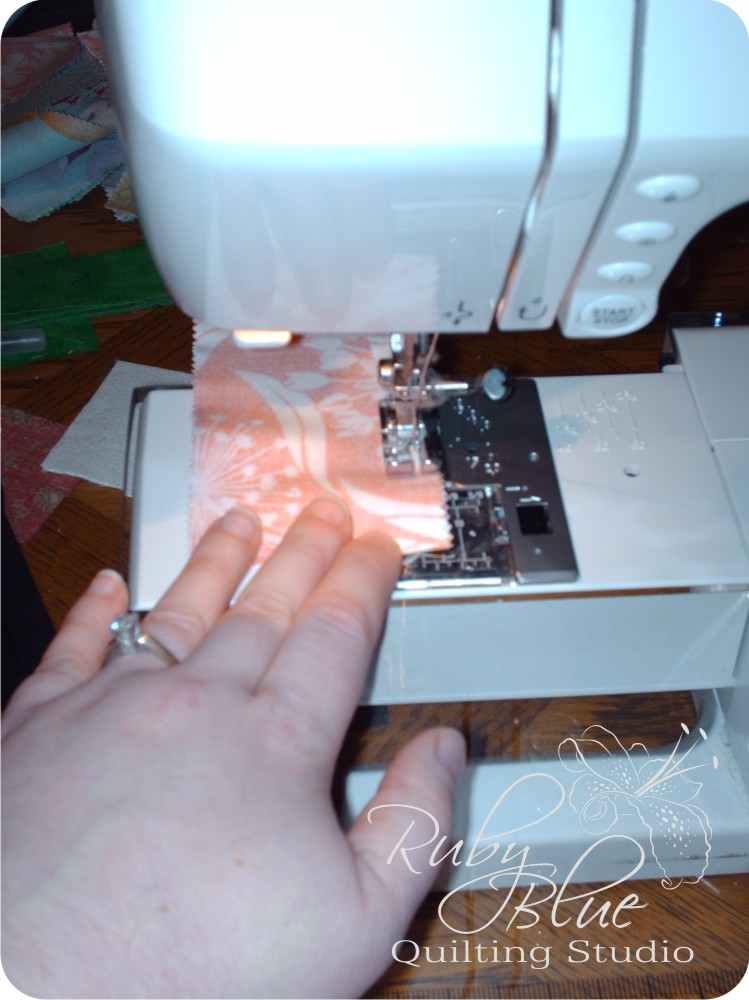
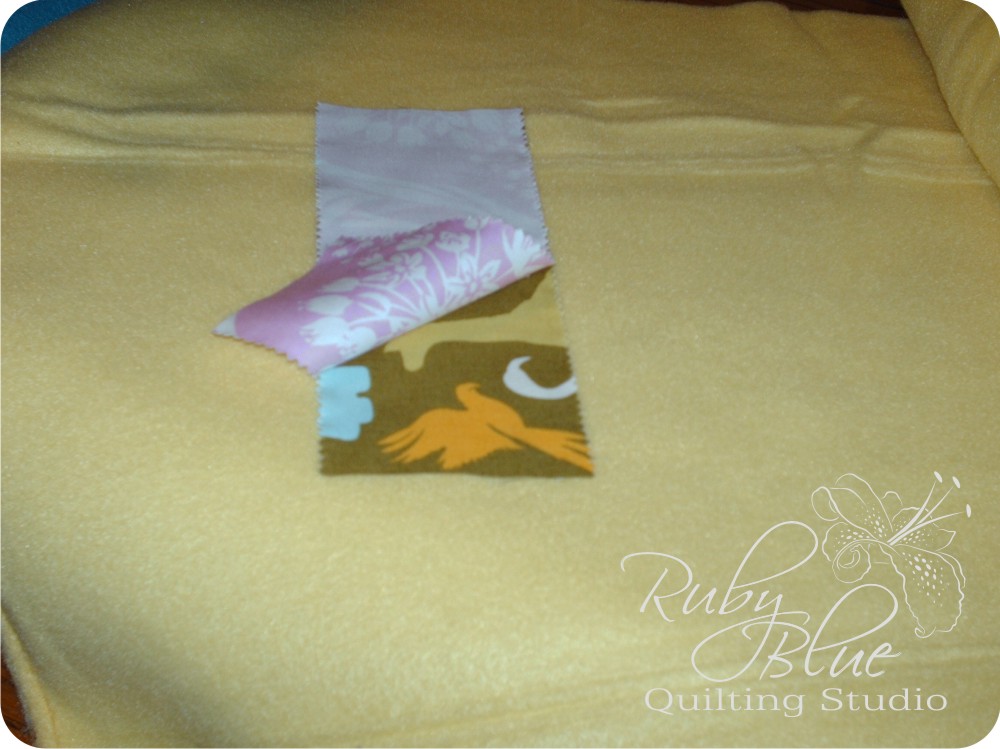
Choose 2 segments and lay them right sides together on the fleece a short distance from the selvage, and centered within the width of the fleece. Sew these together along the right edge starting and stopping your stitching even with the fabric edges. Backstitch (or use a locking stitch if your machine is equipped with one) at the beginning and end of each edge to secure the stitching. Trim back any loose threads once stitched on both the top and bottom.
Fold the fabric on top open and finger press into place. The nice thing about using fleece in this step is it basically acts like a design board so it will grab onto the fabric and no iron pressing needed! You can pin the pieces in place until the next piece is stitched, but it is not necessary.
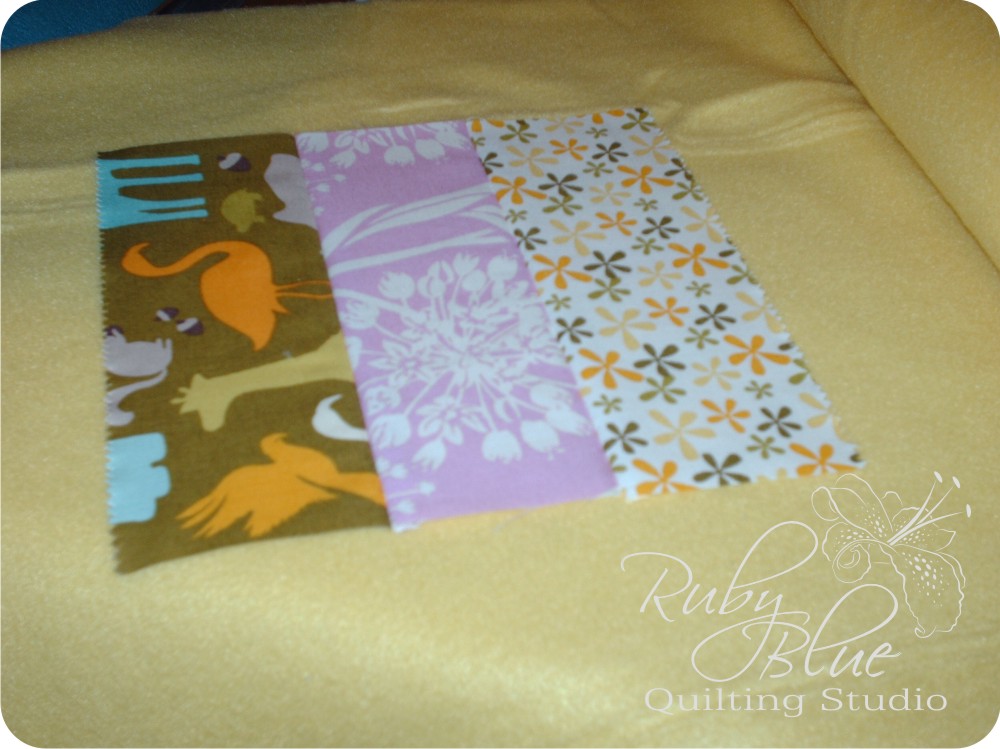
Add a third piece onto the scarf repeating the steps above.
Now grab one of the blocks made earlier, and line it up with the right edge of the pieces already stitched into place. Make sure the lines of stitching are running perpendicular to the pieces stitched already. Stitch into place. Trim your threads again.
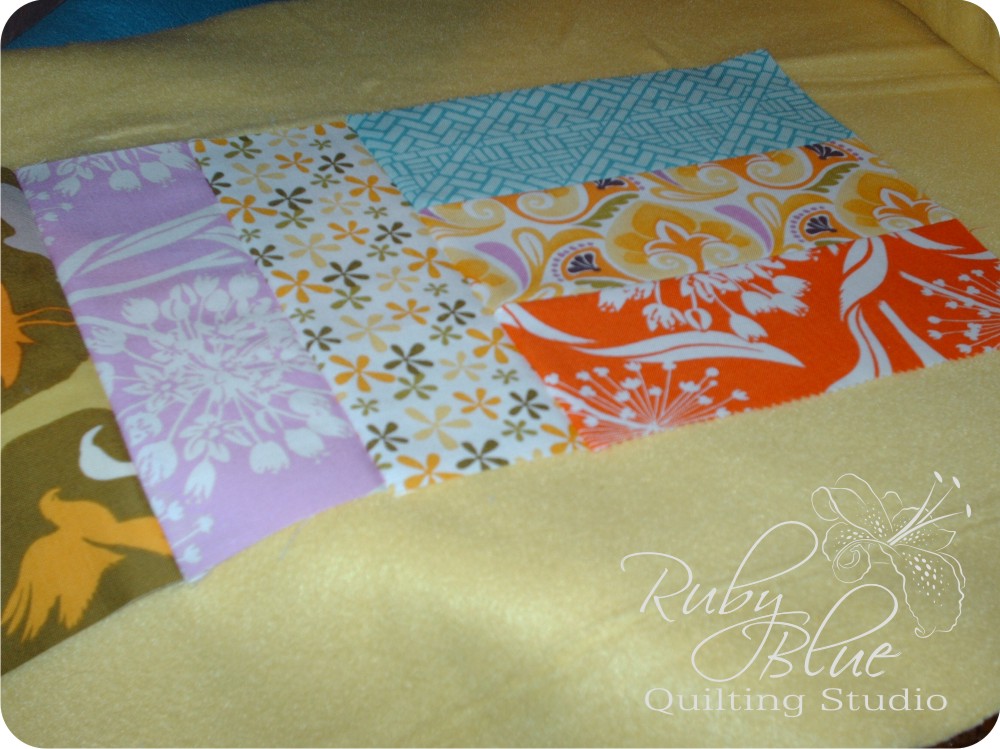
Finger press the block open and continue alternating 3 individual segments and one pieced block (starting and stopping with 3 individual segments). For a normal adult scarf, I would alternate 4 groups of individual segments and 3 pieced blocks.
A child’s scarf is similar at the beginning and ending with 2 individual segments and a smaller block to alternate. Depending on the age and height of the child, I would suggest beginning with a standard of 4 groups of 2 individual segments and alternating with 3 pieced blocks. I would then adjust this to the specific child to determine if it needs to be lengthened or shortened.

Once all of the pieces are stitched onto the fleece, top stitch around all edges to finish off the quilting. Since the other pieces were quilted as you went, there is no additional need to quilt further. However, you may choose to do so. Trim any threads once again.
Since fleece is a polyester material, it may stretch and get “wonky” on you (actually it will). It’s just a matter of how much. That’s why I suggest a minimum of 3/8 yard of fleece per scarf. This allows for slight stretching and will allow for more options in the next steps.
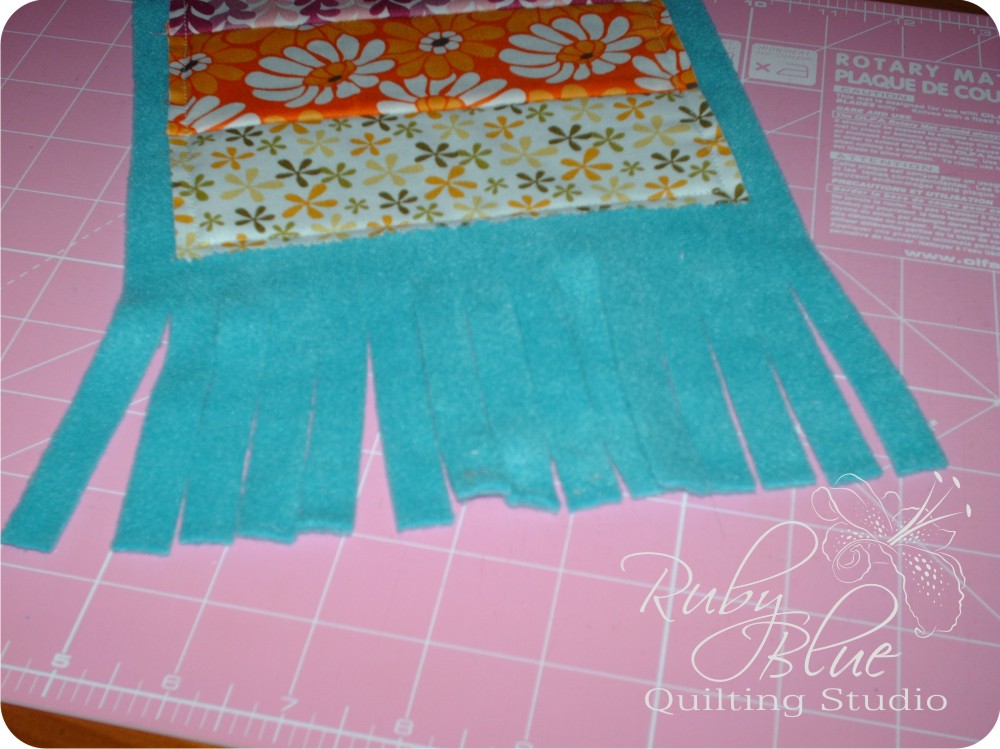
Trim the edges of the scarf however you desire. The one shown in the pictures below was trimmed close on either side and left long for fringe on the ends. You can have fringe on all sides or just three sides if you prefer. Some can be longer, some shorter. It’s up to you. If you wish to trim it close, I suggest leaving at least a 1/4″ of fleece around each edge of fabric.
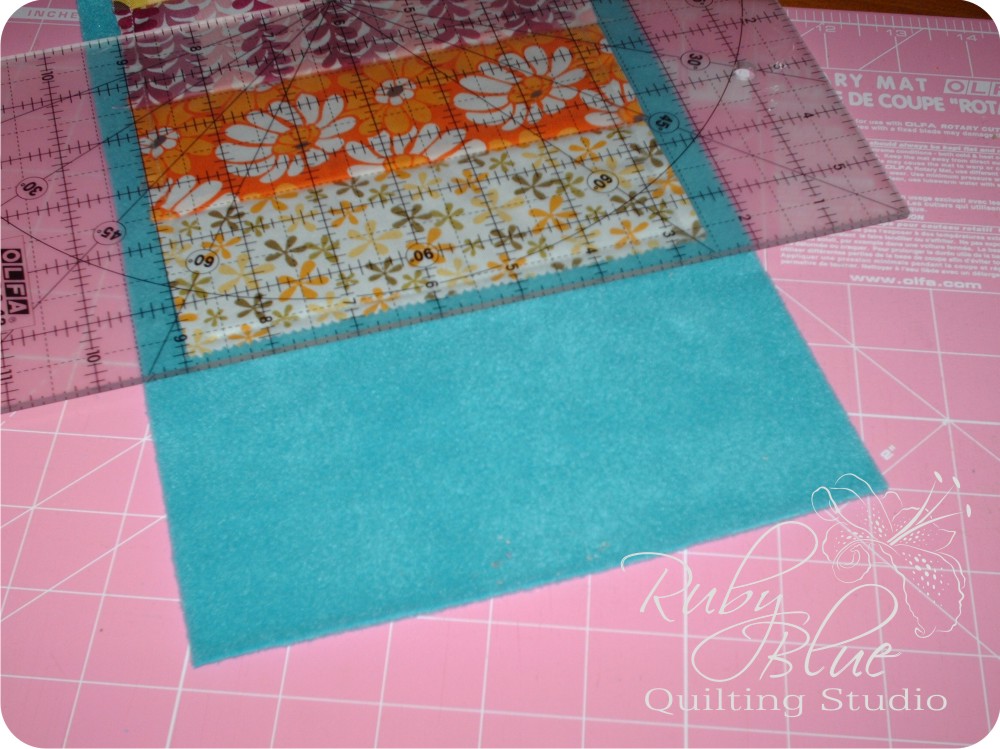
To trim the fringe, place one ruler along the edge of your fabric (you can line it up with the edge of the fabric, it doesn’t show it here but I did it in other scarves and liked the result better). Match the markings even with the dimensions of the scarf. This will act as your guide/ruler in the next step.
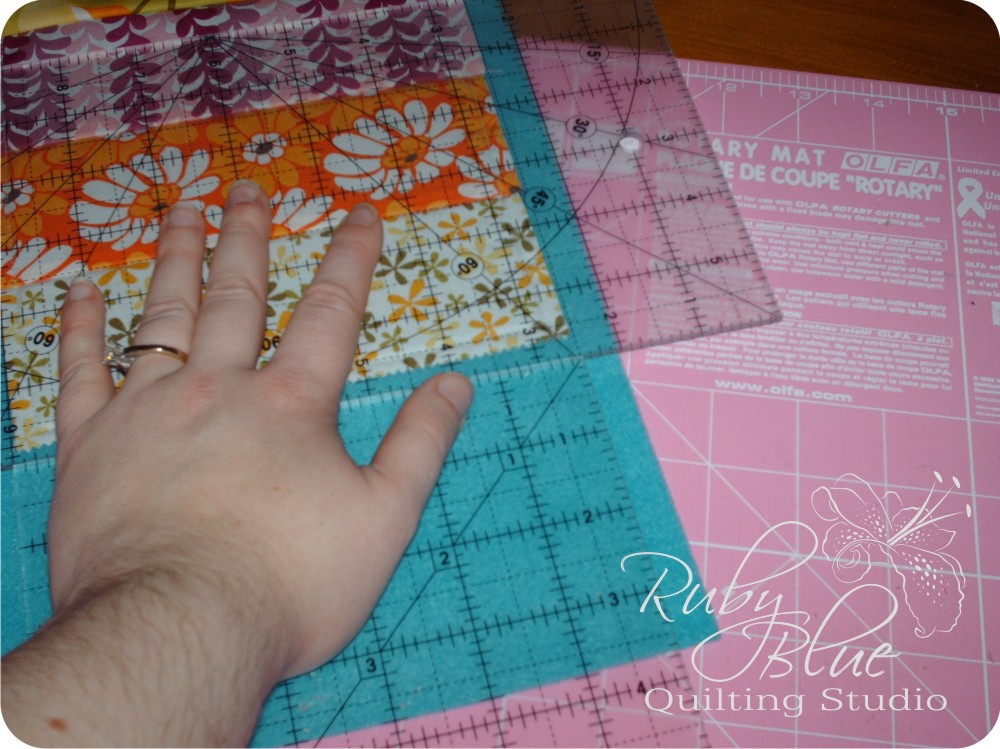
Line up a second ruler even with the first, matching the desired width of fringe cut you would like. For this scarf I cut fringe at each 1/2″ along the edge. Cut with your ruler carefully up to the first, the first will stop your cutter from cutting too far in to the scarf. Just go slow and breathe. Do not rush through this stage.
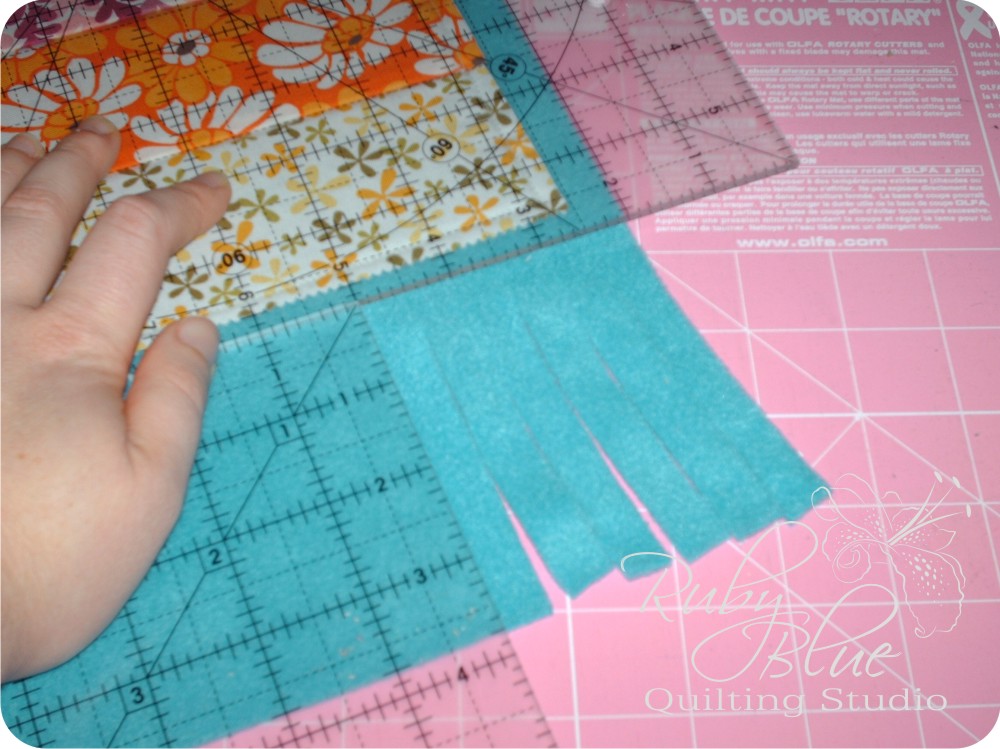
Keep moving along every mark cutting up to the first ruler. Since your cutter is round, it will not cut all the way to the ruler. My cutter is a 45mm and it left about a 1/2″ uncut gap in front of the first ruler. Obviously a smaller cutter may cut closer, but just be careful.

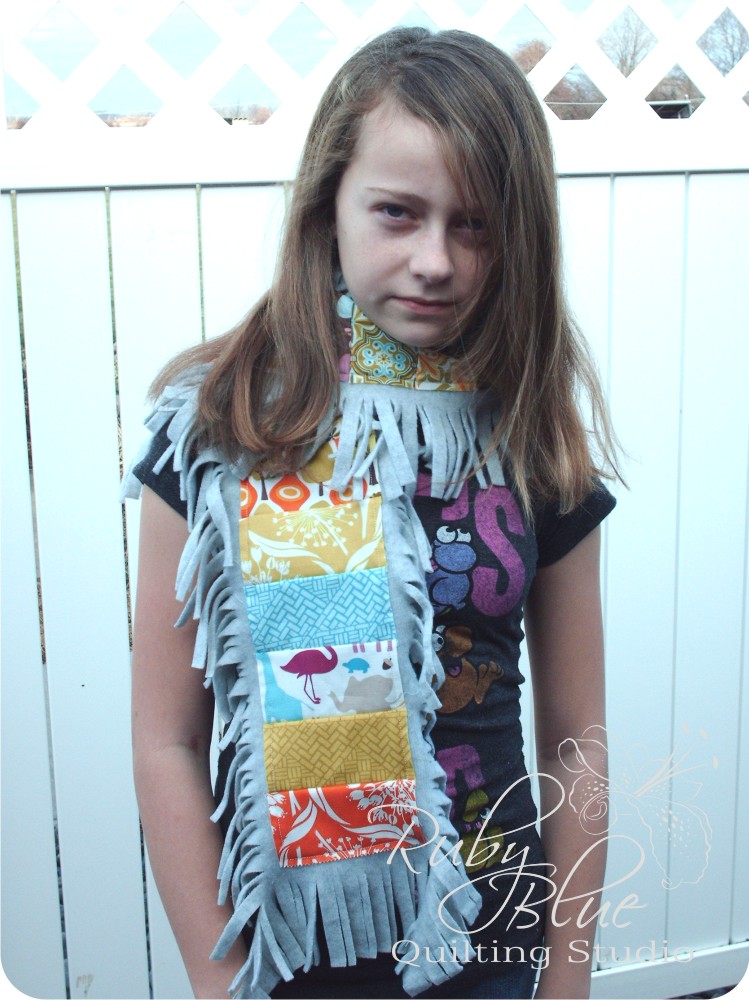
Emma is showing off a child’s scarf made like I demonstrated above. I only used one individual segment on either end to get the right length for her, and trimmed the edges close leaving the ends long with small fringe.
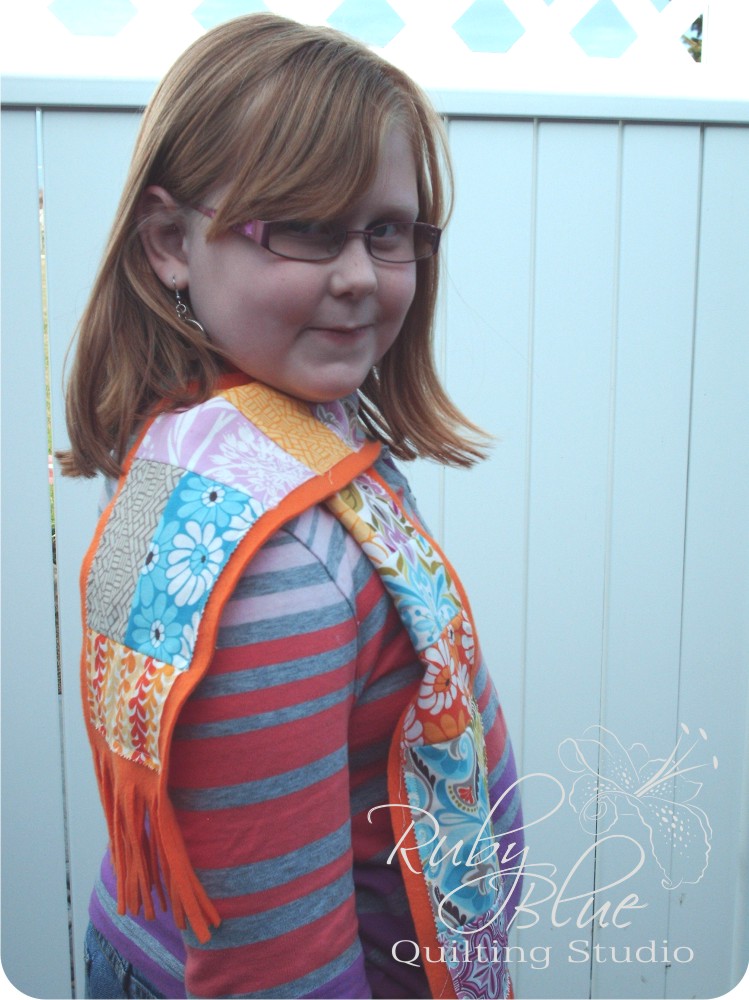
With Maggie’s, I took another option using the child’s size segments and individually sewing all of them on like a piano key border. For this little fashionista-in-the-making, I cut the fringe with two sizes alternating 1/4″ and 1/2″ cuts on all four sides with all fringe the same length, for a different look from her sister’s.
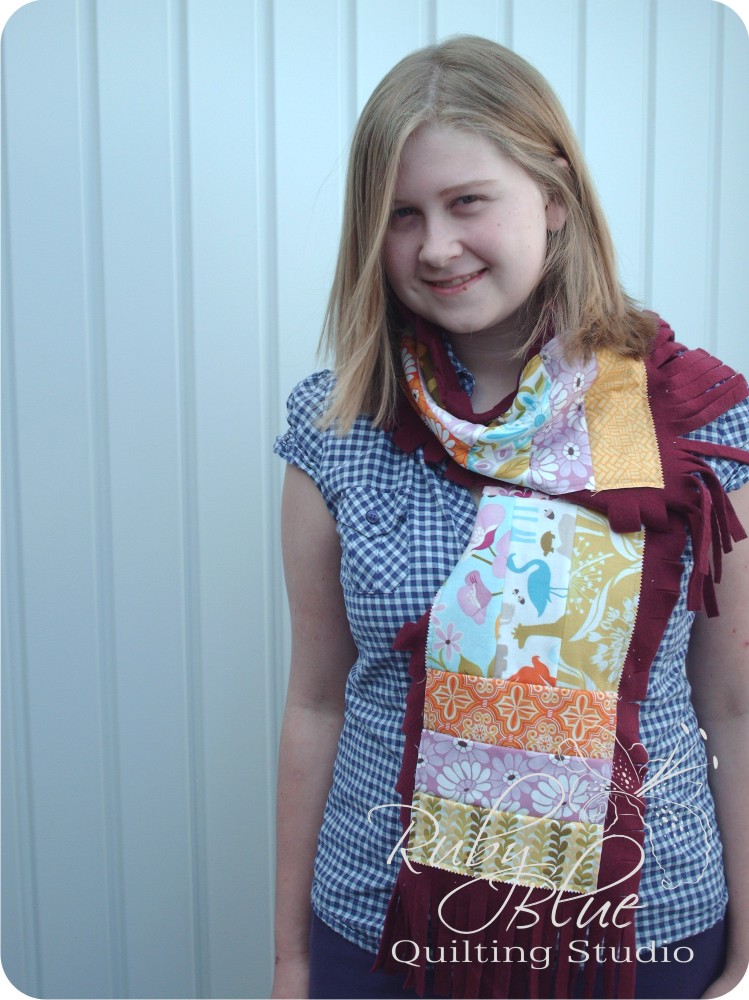
Claire got a traditional adult scarf using the techniques demonstrated. The ends have a small, thicker fringe and the sides are longer and cut thinner.
![]()
