![]()
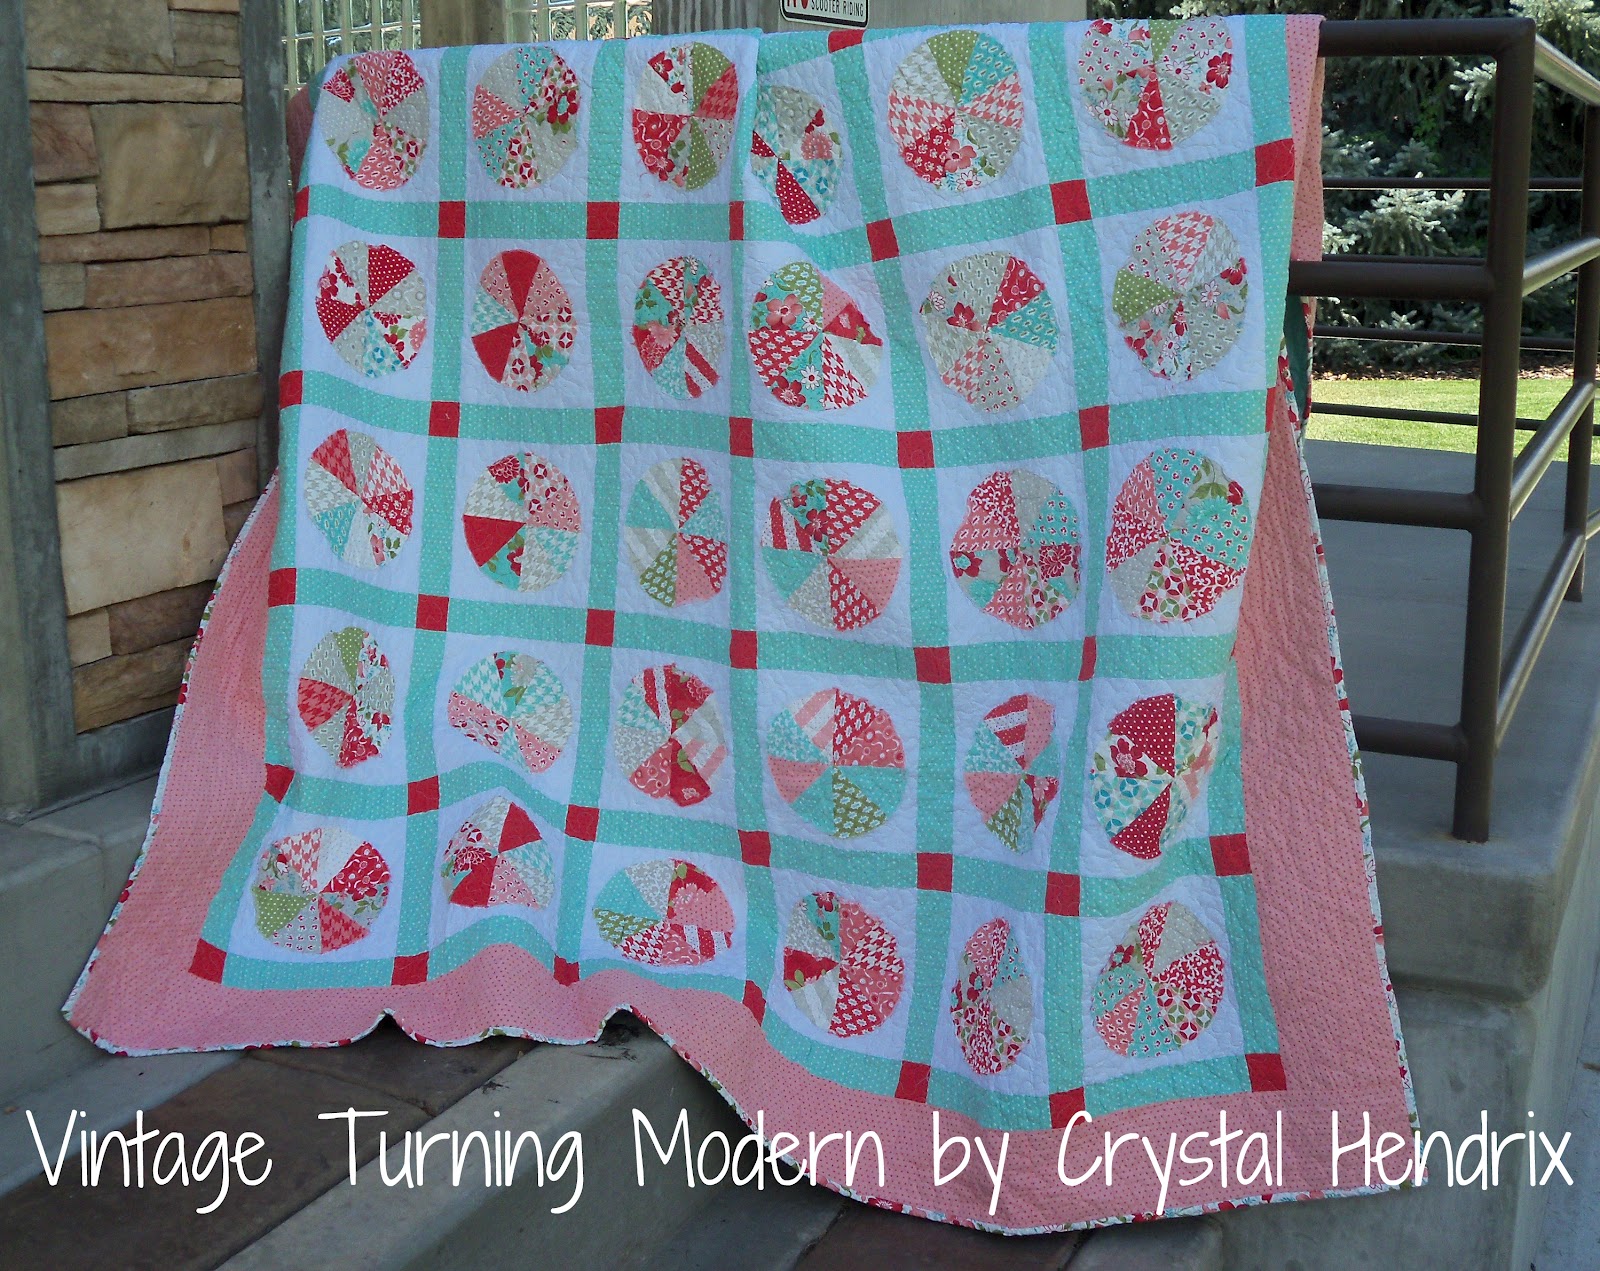
Hello All! It’s Crystal Hendrix from Hendrixville back with another tutorial! I don’t know about all of you, but I get very excited about new lines from Bonnie and Camille; so I combined two great love of mine, fabric from Bonnie and Camille and pizza!
I am please to announce that you can get this project in a quilt kit from an awesome quilt shop Wish Upon A Quilt. Wish Upon a Quilt is online and is open 24 hours a day, 7 days a week and has amazing deals and merchandise! Stop on over to check it out as well as pick up this awesome quilt kit!


You may be thinking, pizza? How does this relate to pizza? But you will see! A rotary knife is sorta like a pizza cutter, isn’t it?
We will be using every piece of our layer cakes. From the Bella White Layer Cake they will be used as our background piece that we will then applique our “pizza” to.
1. You will need to create a 10″circle template (circumference). I know that there are some special rulers out there that can do this, or you can use a compass, or you can do what I did….go through all of your bowls in your kitchen finding the perfect size!
Regardless of how you get your template, make one. Then use it to trace a circle onto each of your Vintage Modern Layer Cake pieces.
*Turn the fabric over and trace on the back.

To speed this process along, you can trace and cut out one circle and then use that as a template for a small pile of fabric (about 5 or 6 pieces) and pin it well to the stack, and then trace and cut out the stack of layer cake pieces. *Do whatever you feel comfortable with!

2. Once you have all 42 circles cut out, separate them into 7 piles of 6 layer cake pieces. You will use each pile one at a time to create your pizza.
Take your pile and cut all the pieces in half. Measure it up the best you can and try to get it even.

3. Separate the different pieces so that they are matched up with a different piece of fabric and sew a 1/4″ seam on the straight edge. Do this for all of your different 6 circles.

4. Once you again have 7 circles (although they will seem a little like ovals now) press the seam open. *If you don’t press your seams open, by the time you finish you pizza piece the middle seam will bulge..
5. Once you have pressed your seam open, line up your circle (oval) and cut it in half again. *Make sure that you cut perpendicular to your seam line. *By this time I started to use pins to match up my seams and hold the ends together.

6. It’s looking a little more like a pizza now isn’t it? Now press open your seams again and then line up your circle and cut again down the middle. You will be cutting down the middle of two different pieces, one on top and one on the bottom. Just like you would be cutting your pizza. Once you have cut all your pieces, switch up the pieces and pin and sew the pieces together again.

7. Press your circle (now they look like ovals again) seams open again and then line up your circle and cut down the middle again, perpendicular to the latest seam line. *This is your last pizza slice cut!

8. Switch up the pieces again, pin, sew and then press open your seams once again.

*While you sew this last seam, I did a double stitch across all of the seams to make it extra secure.

9. Once you have finished making your 42 different pizza slice blocks, line one on each piece of your white layer cake. When laying mine on, I just eye balled it on. Pin it on and then sew around the edges. You can choose to leave a 1/4″ seam allowance around the edges like I show above your you could do a zig-zag around the edges. Your choice.
Do this for all 42 pizza slice blocks and then your ready to start assembling your quilt!
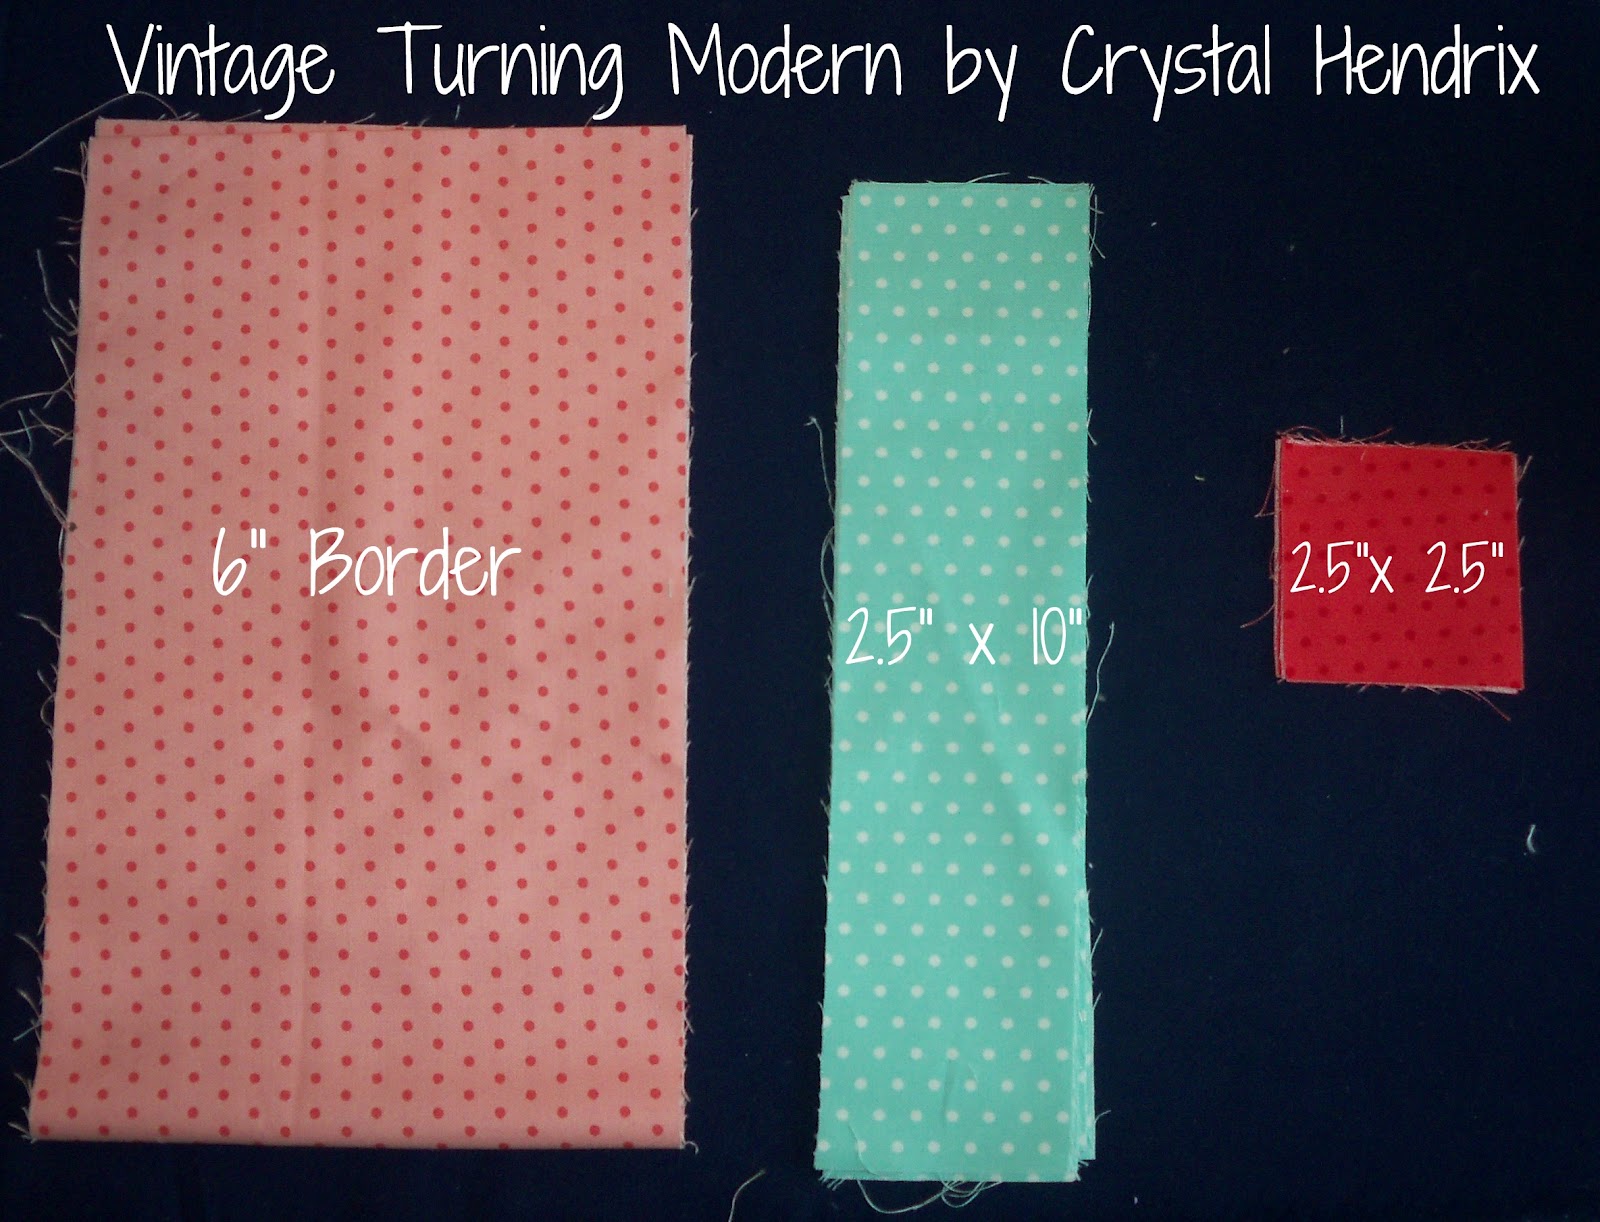
10. Now with your border and sashing fabric cut the following:
Border (Pink)
8 ~ 6″ x WOF (width of fabric)
Sashing (Teal)
97 ~ 2.5″ x 10″
Sashing (Red)
56 ~ 2.5″ x 2.5″

11. Begin to assemble your quilt as shown above. You will have a total of 7 stripes that have your pizza slice blocks and 8 strips of your sashing pieces. Once you have them, then you can add a sashing strip to your pizza slice strip and so forth. *Make sure to pin your seams so that you can assure that your seams line up.

12. Continue sewing your strips together until your quilt looks like above. Now you’re ready to add the borders.

13. With your border pieces, sew together pieces together until you have the following measurements:
2~ 6″ x 71.5″ and 2~ 6″ x 94″
Once you have these 4 pieces sew them to your quilt top. Sew together the shorter pieces first (top and bottom) then the longer pieces (side pieces).

Once you have your borders on, press and then baste and quilt as your heart desires! I did a simple stippling stitch.

Makes a beautiful quilt approximately 80″ x 92″ quilt. Perfect to use as a nice picnic quilt or to spread on a queen size bed!


I hope you have enjoyed this tutorial! If you have any questions please feel free to send me an email asking any question you have! I would love to see your creations using this tutorial or any of my other tutorials here on the Moda Bake Shop!
Enjoy!
Crystal Hendrix
{hendrixville.blogspot.com/}
![]()
