


1 Jelly Roll of Dark Bella Solids
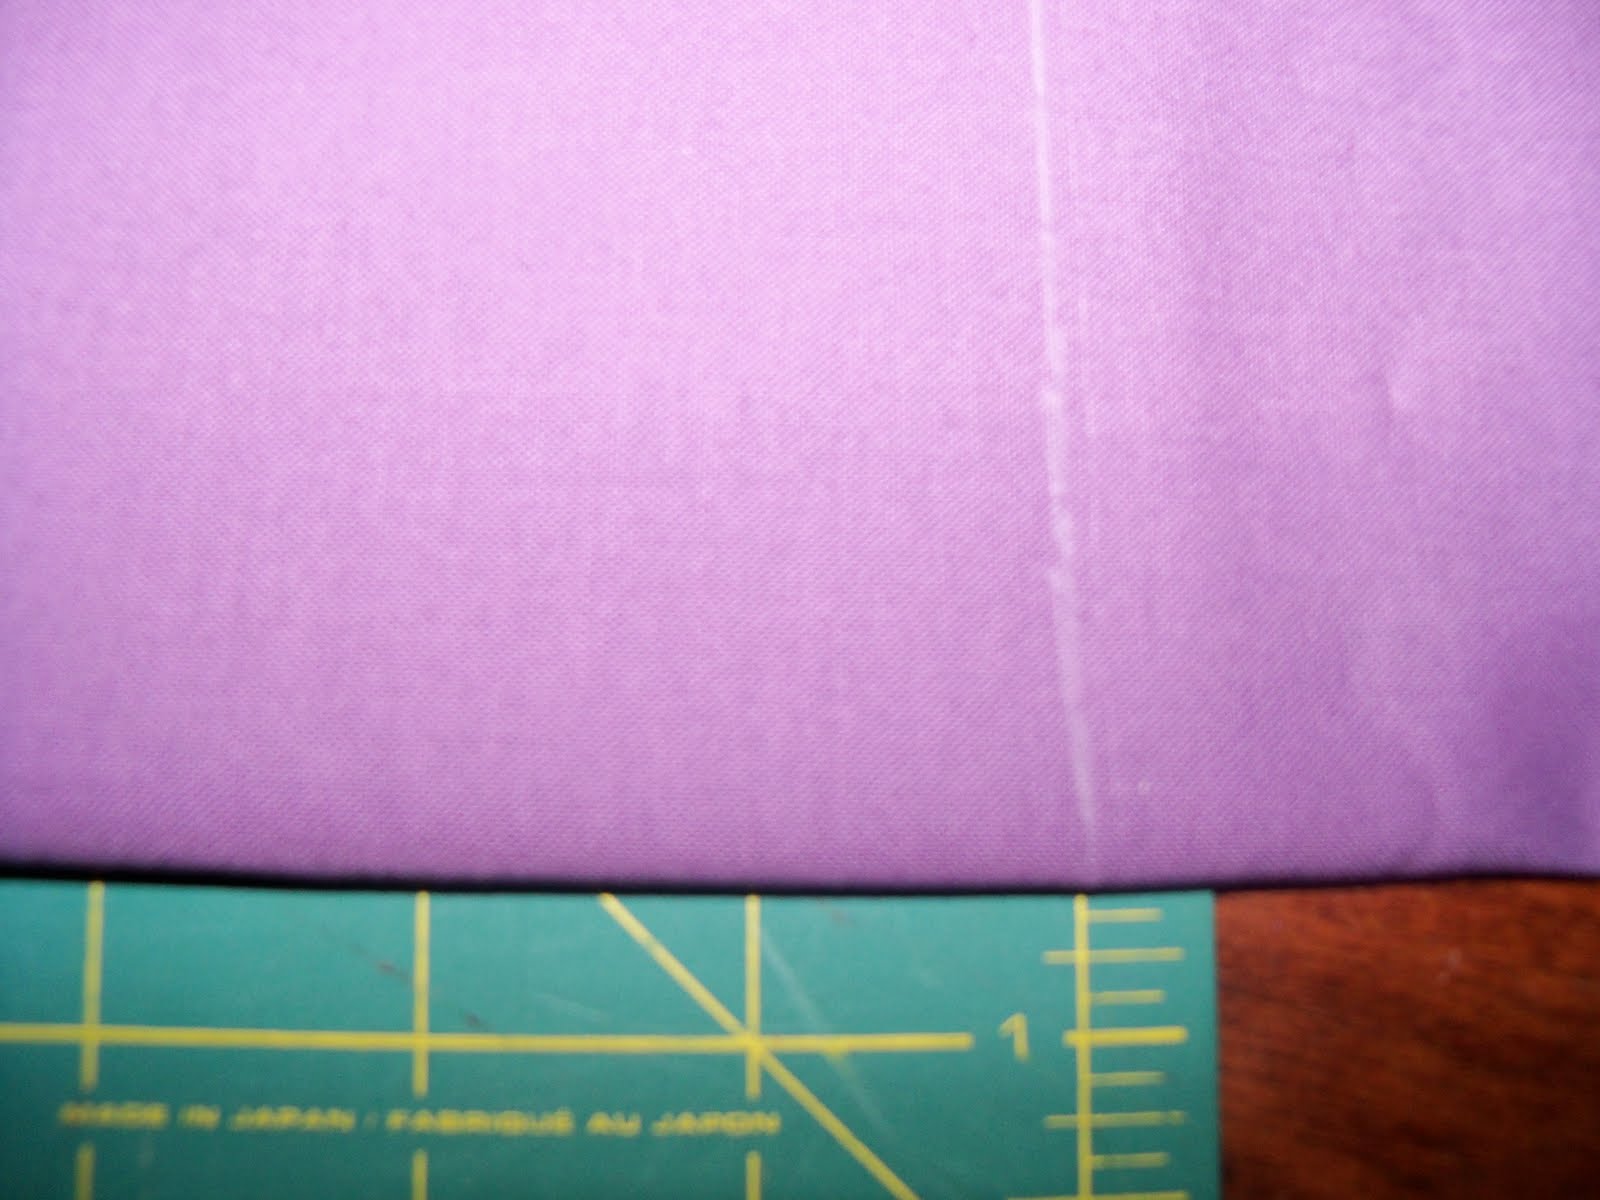
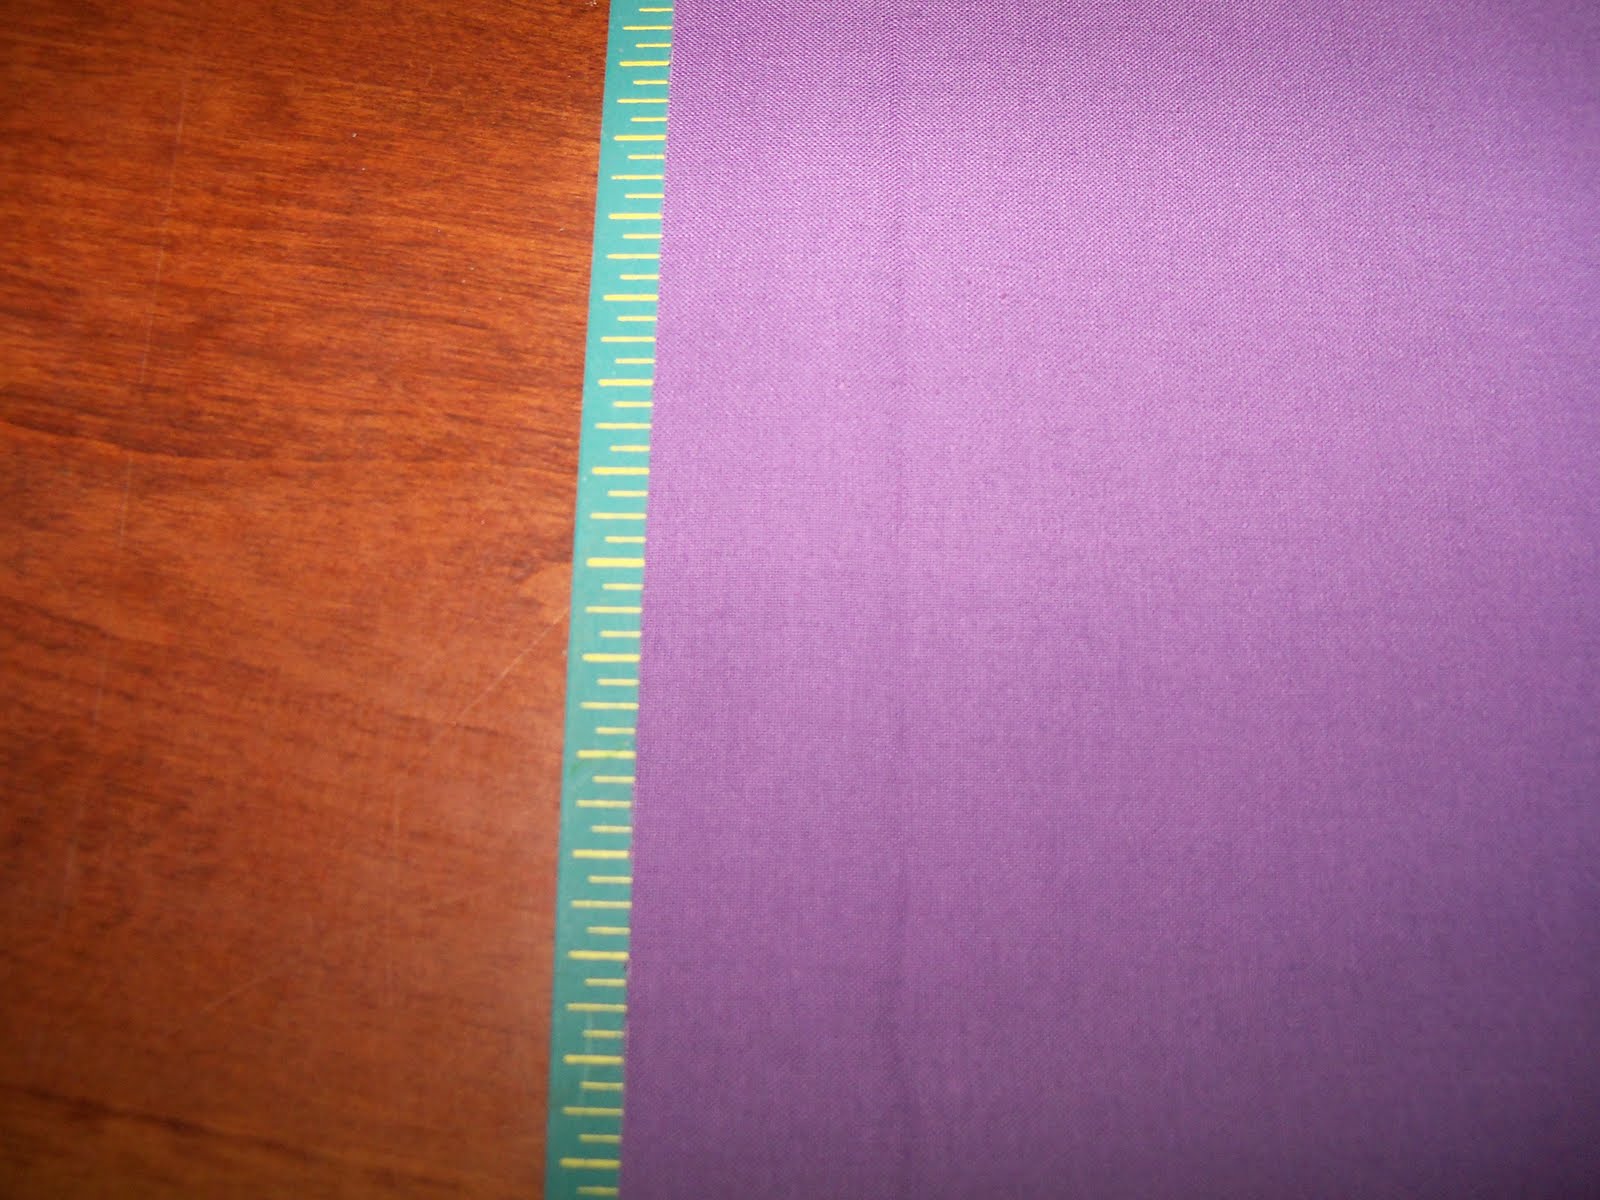
1 yard Bella Purple
2 yards Bella Aubergine for the top
3 yards Bella Aubergine for the backing

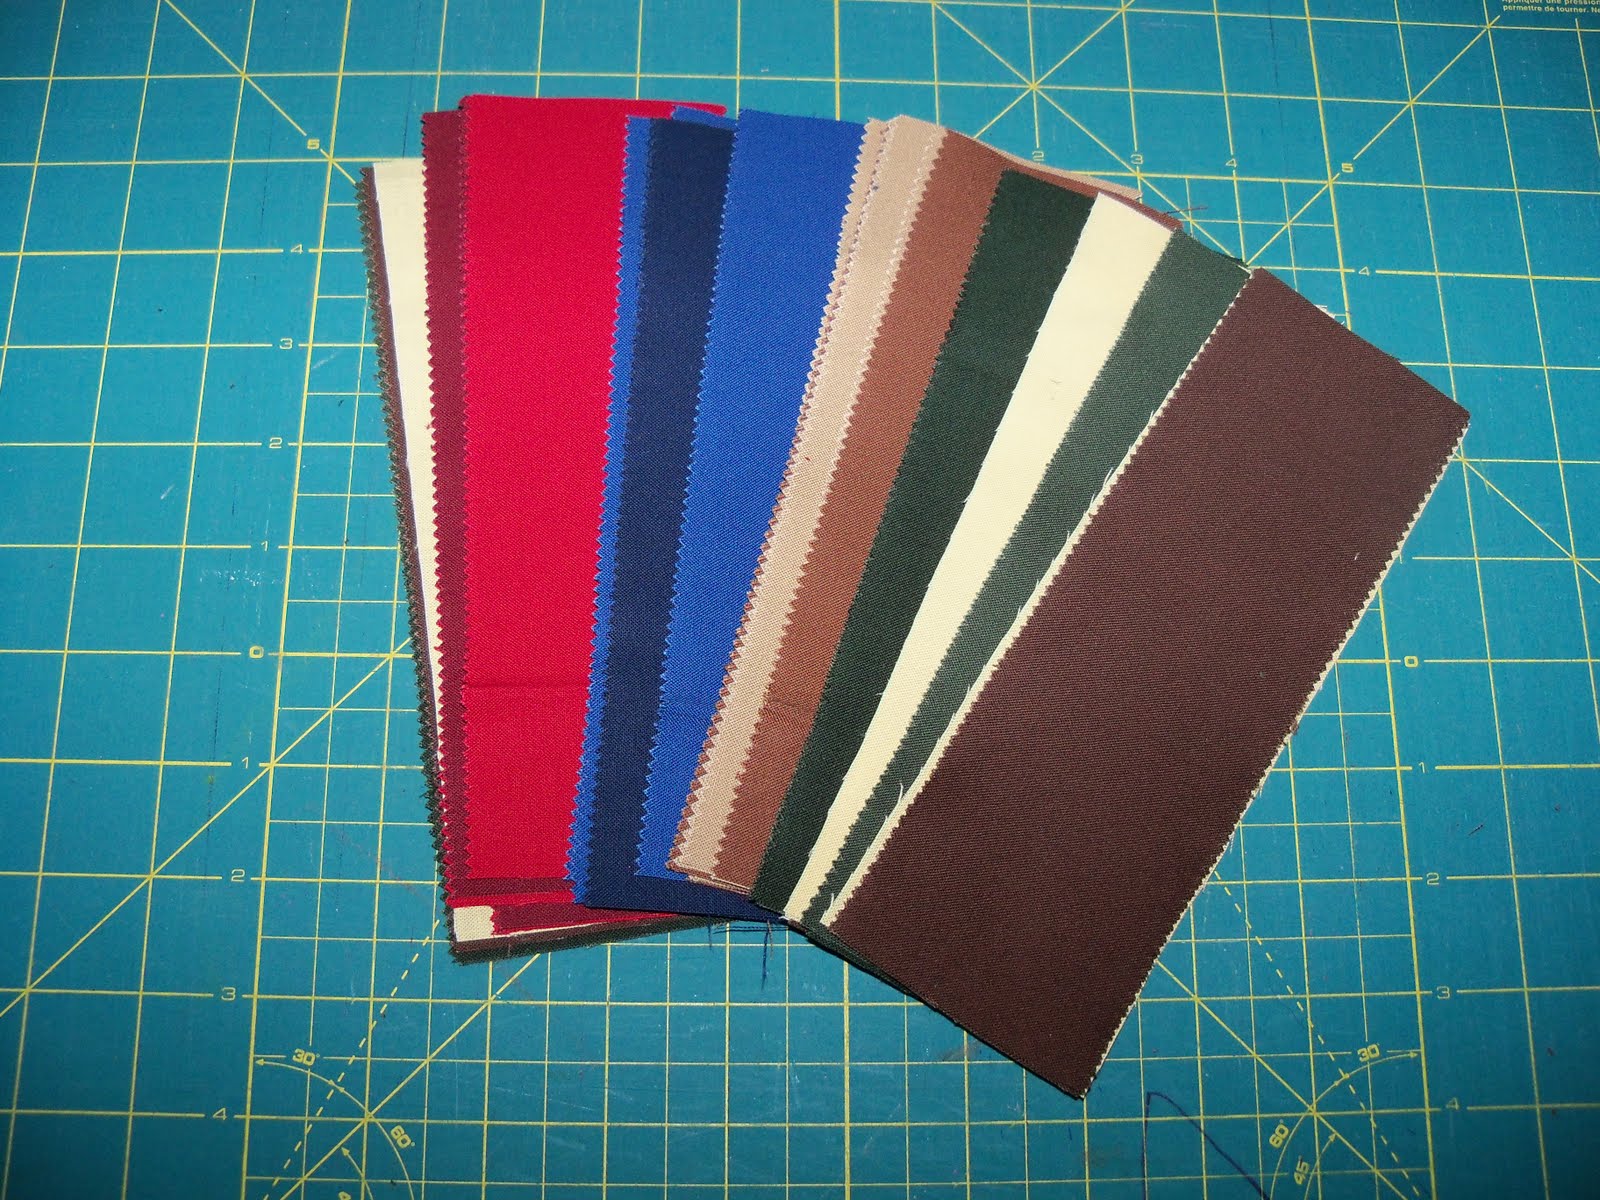
Out of the scraps cut three 2.5 inch squares.

Out of the Purple cut:
- four 10.5 inch squares (corners)
- six width of fabric (WOF) strips 1 inch wide (flange)
- seven WOF strips 2.5 inches wide (binding)
- two 10.5 x 40.5 inch rectangles (top border)
- two 10.5 x 48 inch rectangles (side border)
- two 8.5 x 48 inch rectangles (inner strips)

To cut the 48 inch long rectangles, carefully fold your fabric selvage to selvage. Square up the right hand side at the 0 inch mark.

Draw a line at the 24 inch mark with chalk or washable pen.
Carefully move the fabric to the right and place your marked line on the 0 inch mark.
Piecing:

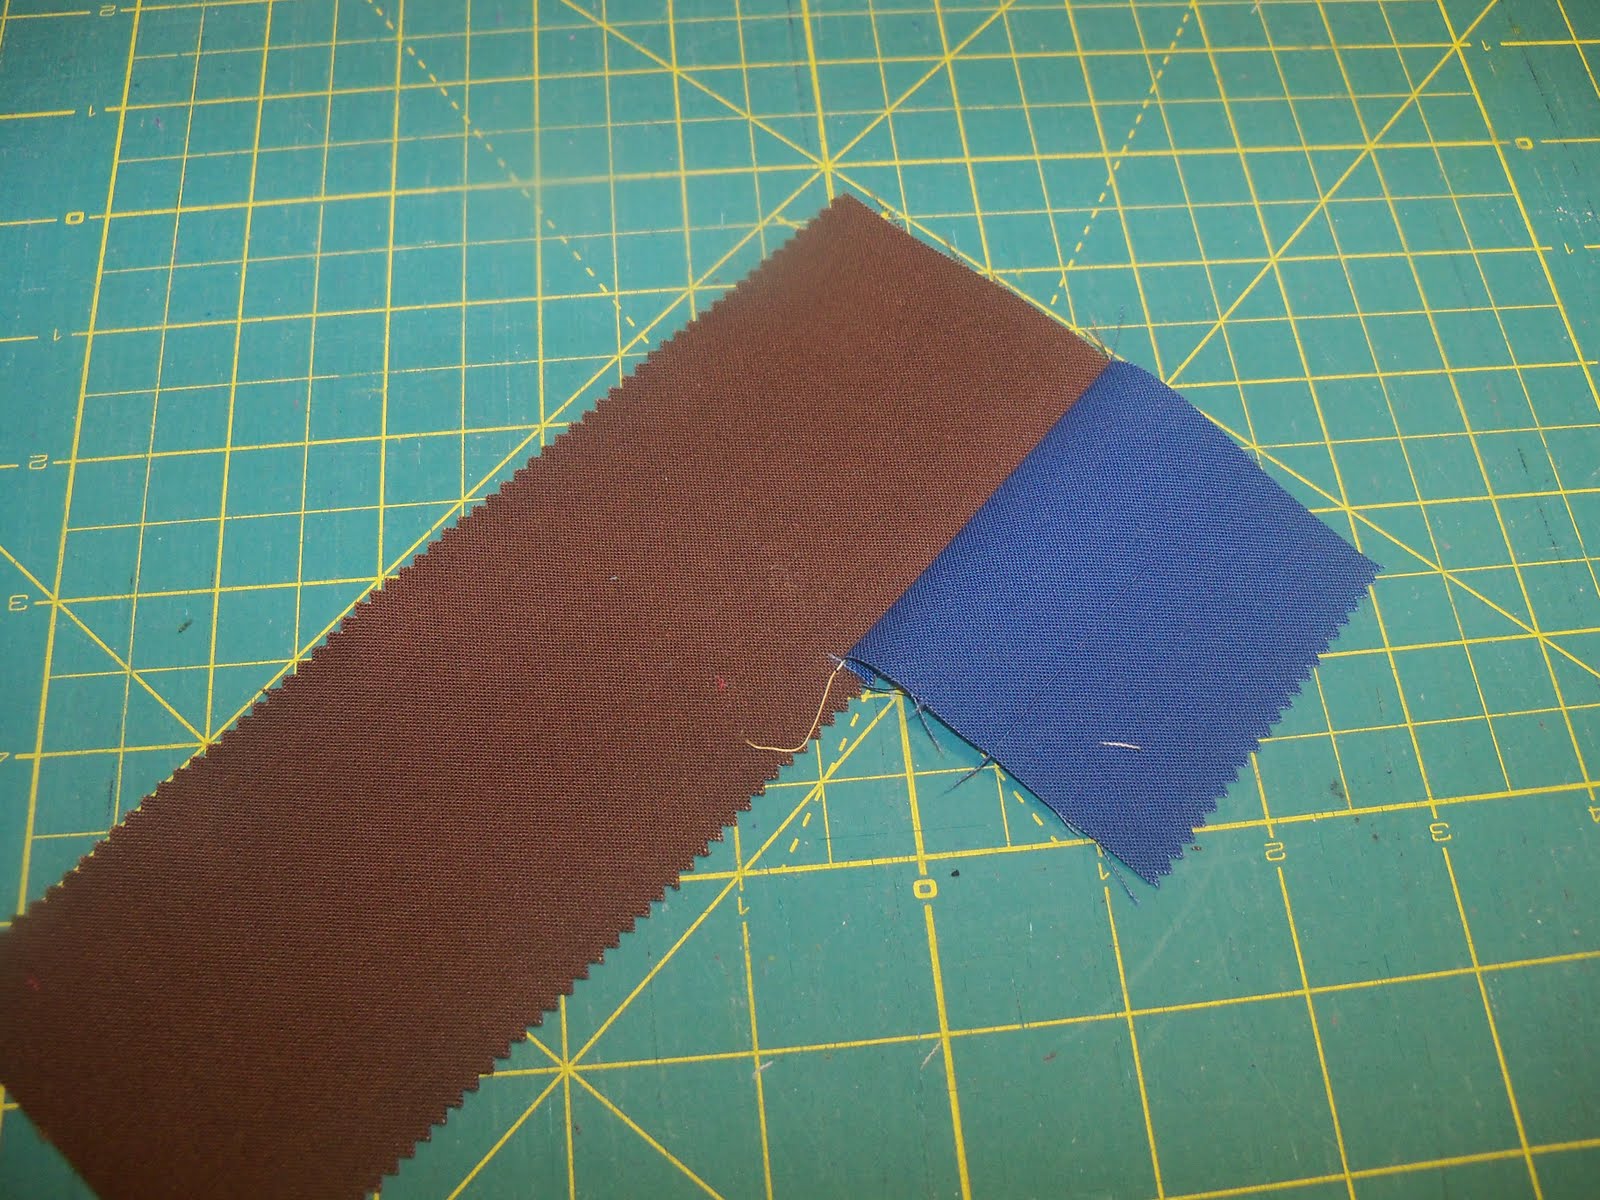
Take one 2.5 inch square and line it up with the end of one of the 7.5 inch strips.

Sew together.
Open and press.

Lay another 7.5 inch strip perpendicular to the first and sew together.

Keep sewing strips on alternating sides until the braid is 48 inches long.

Fold the braid in half and line up the folded end at the 0 inch mark at the end of the cutting mat.

Square off the end at the 24 inch mark. The braid is now 48 inches long.

Keeping it folded, carefully square up the sides.

The braid should measure 8.5 inches wide. Repeat for all three braid sections.

The exposed sides of the braid are cut on the bias and prone to stretching. To avoid unnecessary handling and stretching, carefully fold the braid into a bundle until you are ready to continue sewing.
Piecing the Middle
Sew the three braid and two 8.5 x 48 inch Aubergine pieces together length wise. Alternate the strips (Braid, Aubergine, Braid, Aubergine, Braid).
The Flange

Sew the 1 inch lengths of Purple fabric together. Press seams open. Then press the strip in half lengthwise. Cut the strip into two 48 inch and two 40.5 inch pieces.

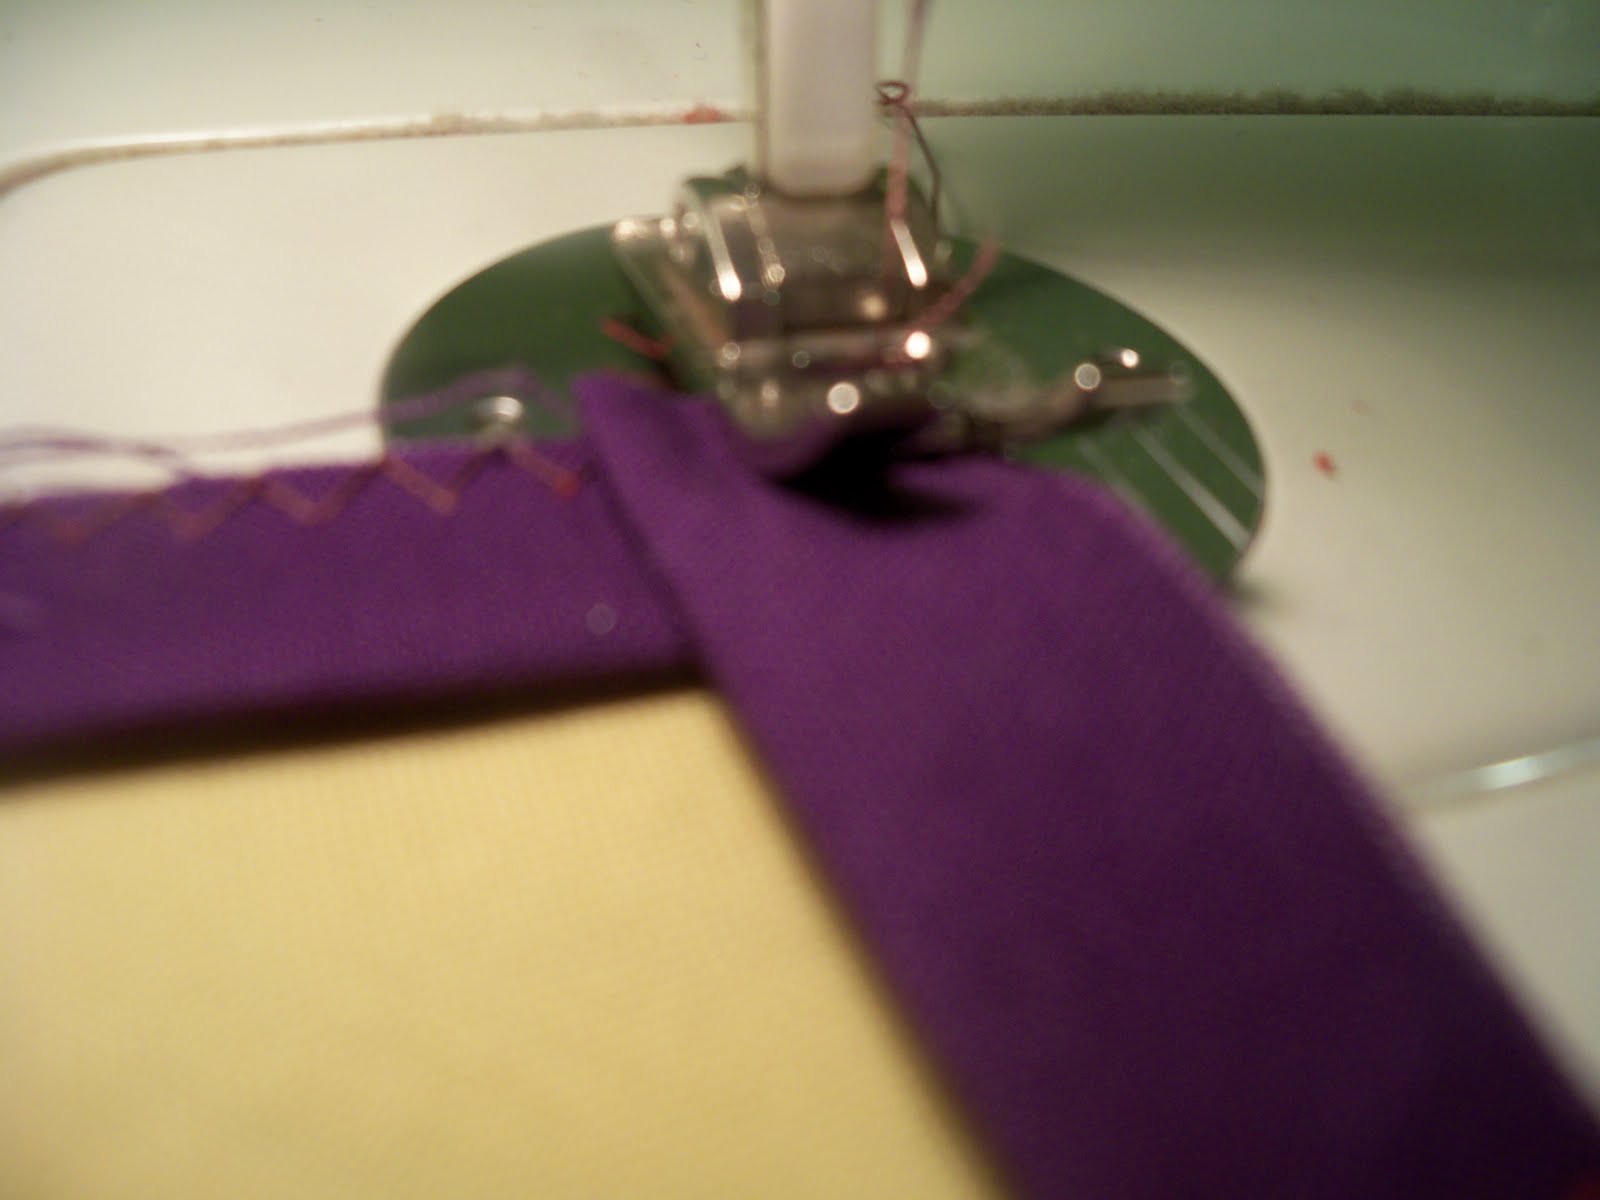
Attach the flange to each side of the pieced middle. Line up the raw edge of the flange with the edge of the middle section. Using a wide stitch, zig-zag along the edge.
When you attach the next side, simply overlap the ends and sew along the side as before. All of the loose ends will be enclosed when the borders are added.
The Borders
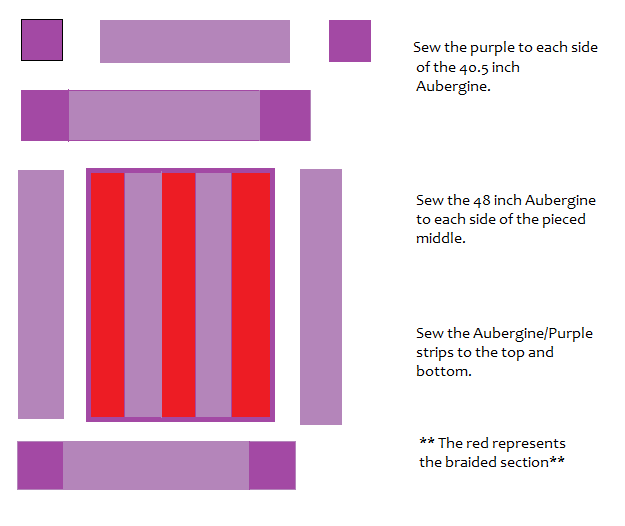 |
Sew the 10.5 inch Purple squares to each side of the the two 10.5 x 40.5 inch Aubergine strips. Press in towards the Aubergine.

Sew the 10.5 x 48 inch strips of fabric to each side of the flanged middle section. When you are done a neat 1/4 inch flange will nicely frame the middle. Press toward the Aubergine.
Sew the Purple/Aubergine strips to the top and bottom.
You did it!
Quilting
Now is the time to put on your creative thinking hat. This is a project that really lets the quilting shine. I quilted the middle strips with cables and the sides with simple piano key lines, but the sky is the limit.


One beautiful 60 x 68 inch Amish-inspired quilt.
If you are new to quilting and want to learn more, stop by my blog and check out the We Can Do It! Skill Builder Sampler. With weekly quilt block tutorials covering all of the basic quilting skills, you will be a pro in no time. 🙂
Happy Quilting!
Leila
![]()
