
![]()
Hi…I’m April (the words behind Mickey Zimmer and Sweetwater Cotton Shoppe), and we are delighted to bring you a tutorial on how to Pretty-fy your sheets…using a charm pack and a little bit of yardage. Hop on over to our blog and see what’s new… Happy quilting! mickey & april {sweetwater cotton shoppe}

 1 charm pack of Strawberry Fields
1/4 yd gray dot
1 yard strawberry print
1 queen size sheet set [***sheets may vary in size…change pattern accordingly]

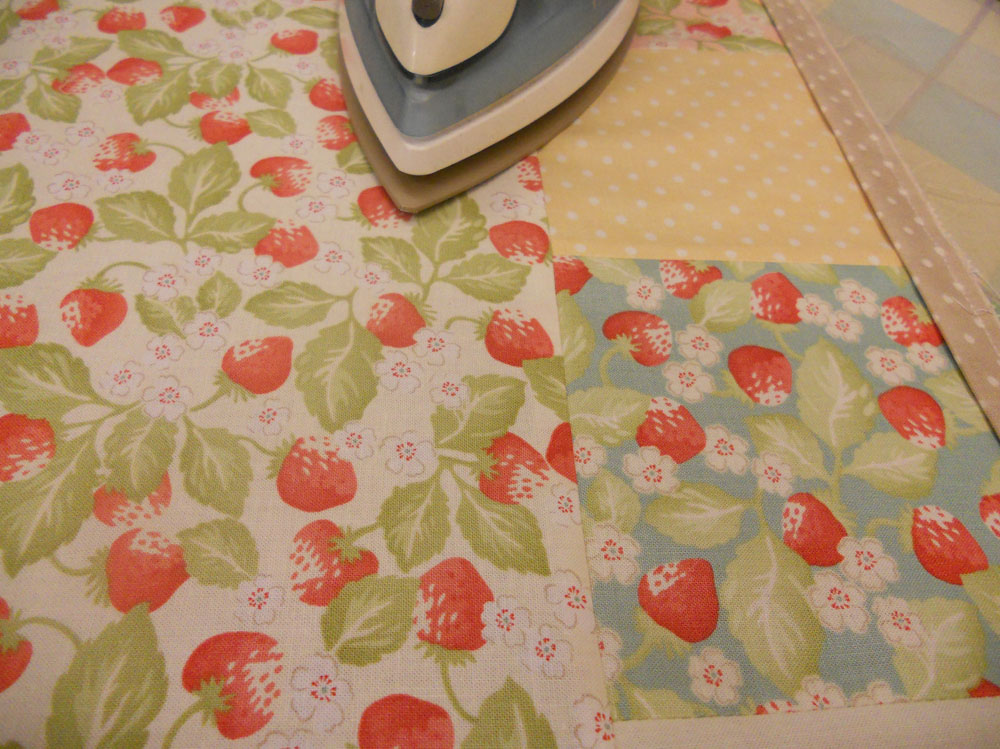
Use a 1/4 inch seam allowance unless stated otherwise.
On each pillowcase and flat sheet, cut 5 1/2 inches off the cuff end.

Now open the seams of each pillowcase using a seam ripper.

 From the strawberry print cut 4–9 x 42 inch strips
From the dot cut 4–1 1/2 x 42 inch strips.
 Sew 2 strips of the strawberry print end to end. Do this with 2 dot strips also.
 Press these seams open.
 Press all dot strips in half.
 Measure the flat sheet raw edge. Be sure that the long dot strip is that length plus 1 inch. Fold in each end of the dot strip 1/2 inch and press.

Now break open that charm pack…(admire the colors for a moment)…luscious aren’t they?!

Separate them into piles…2 piles of 10 squares and 1 pile of 20 squares.

Sew each pile of charms together.

Press these open also.


Sew the dot piping to charm strip…be sure to sew long piping to long charm strip and short piping to short charm strip. Repeat for 2 short and 1 long. When piecing the long piping strip be sure to center dot leaving 1/2 inch at each end.


Then sew strawberry strip to other side of charm strip.


 Lay raw 40 inch edge of pillowcase so right side is toward the charms and center it then stitch down…there will be excess at each end. When stitching it down make sure sewing line is to the left of stitch on piping. Repeat with other pillowcase.
 This part is tricky…layout the pillowcase then roll up the case.
 And bring the strawberry print over and lay it on top lining up the seam.
 Pin the layers together.
 Sew layer together using a 3/8 inch seam allowance.
 Pull the case out of one end…
 Press.
 Trim each side so that it is even with the side of the case.
 Fold pillowcase so that right sides are out and starting at the open end line up charms and sew.
 Turn pillowcase inside out and stitch 3/8 inch seam…this will finish off the edge.
 Repeat with end. First stitch end with wrong sides together.
 Turn inside out and stitch 3/8 inch seam allowance to finish edge.
 Viola! 1 pillowcase finished…repeat with second…
 To finish the flat sheet…lay it out like the pillowcases and roll the sheet and bring the strawberries over and lay on the seam.
 Pin this seam. Be sure each end looks like below. Stitch layers together.
 Fold in each end so that it lines up with sheet and dot.
 Stitch along edge.
 Press.


1 Pretty-fied Sheet Set

 Mom has put together 2 sets of these beauties…Strawberry Fields in front and Buttercup charms, Breakfast at Tiffany’s dot and whimsy piping. Perfect for a wedding gift…or use juvenile prints for a child’s room.

Press seam toward strawberry print.
 Lay raw 40 inch edge of pillowcase so right side is toward the charms and center it then stitch down…there will be excess at each end. When stitching it down make sure sewing line is to the left of stitch on piping. Repeat with other pillowcase.
***Flat Sheet…lay so that ends match up with dot ends…stitch down. Set aside for now.
 This part is tricky…layout the pillowcase then roll up the case.
 And bring the strawberry print over and lay it on top lining up the seam.
 Pin the layers together.
 Sew layer together using a 3/8 inch seam allowance.
 Pull the case out of one end…
 Press.
 Trim each side so that it is even with the side of the case.
 Fold pillowcase so that right sides are out and starting at the open end line up charms and sew.
 Turn pillowcase inside out and stitch 3/8 inch seam…this will finish off the edge.
 Repeat with end. First stitch end with wrong sides together.
 Turn inside out and stitch 3/8 inch seam allowance to finish edge.
 Viola! 1 pillowcase finished…repeat with second…
 To finish the flat sheet…lay it out like the pillowcases and roll the sheet and bring the strawberries over and lay on the seam.
 Pin this seam. Be sure each end looks like below. Stitch layers together.
 Fold in each end so that it lines up with sheet and dot.
 Stitch along edge.
 Press.

1 Pretty-fied Sheet Set
2 Pretty-fied Pillowcases
1 Pretty-fied Flat Sheet
1 Fitted Sheet
Mom has put together 2 sets of these beauties…Strawberry Fields in front and Buttercup charms, Breakfast at Tiffany’s dot and whimsy piping. Perfect for a wedding gift…or use juvenile prints for a child’s room.We hope you have enjoyed this tutorial…we sure had fun doing it for you! Also, we’d LOVE to see your Pretty-fied Sheets…so please, pretty please…email us those lovely pictures at sweetwatercottonshoppe@yahoo.com; we’d love to post them on our blog!
Happy quilting!
mickey & april {sweetwater cotton shoppe}
![]()
